Back Office Company Options in Restaurant Solution
Description
How to configure cash drawer checkout, printing non-priced modifiers on guest check, and nested modifiers
What's in this article?
Solution: Restaurant
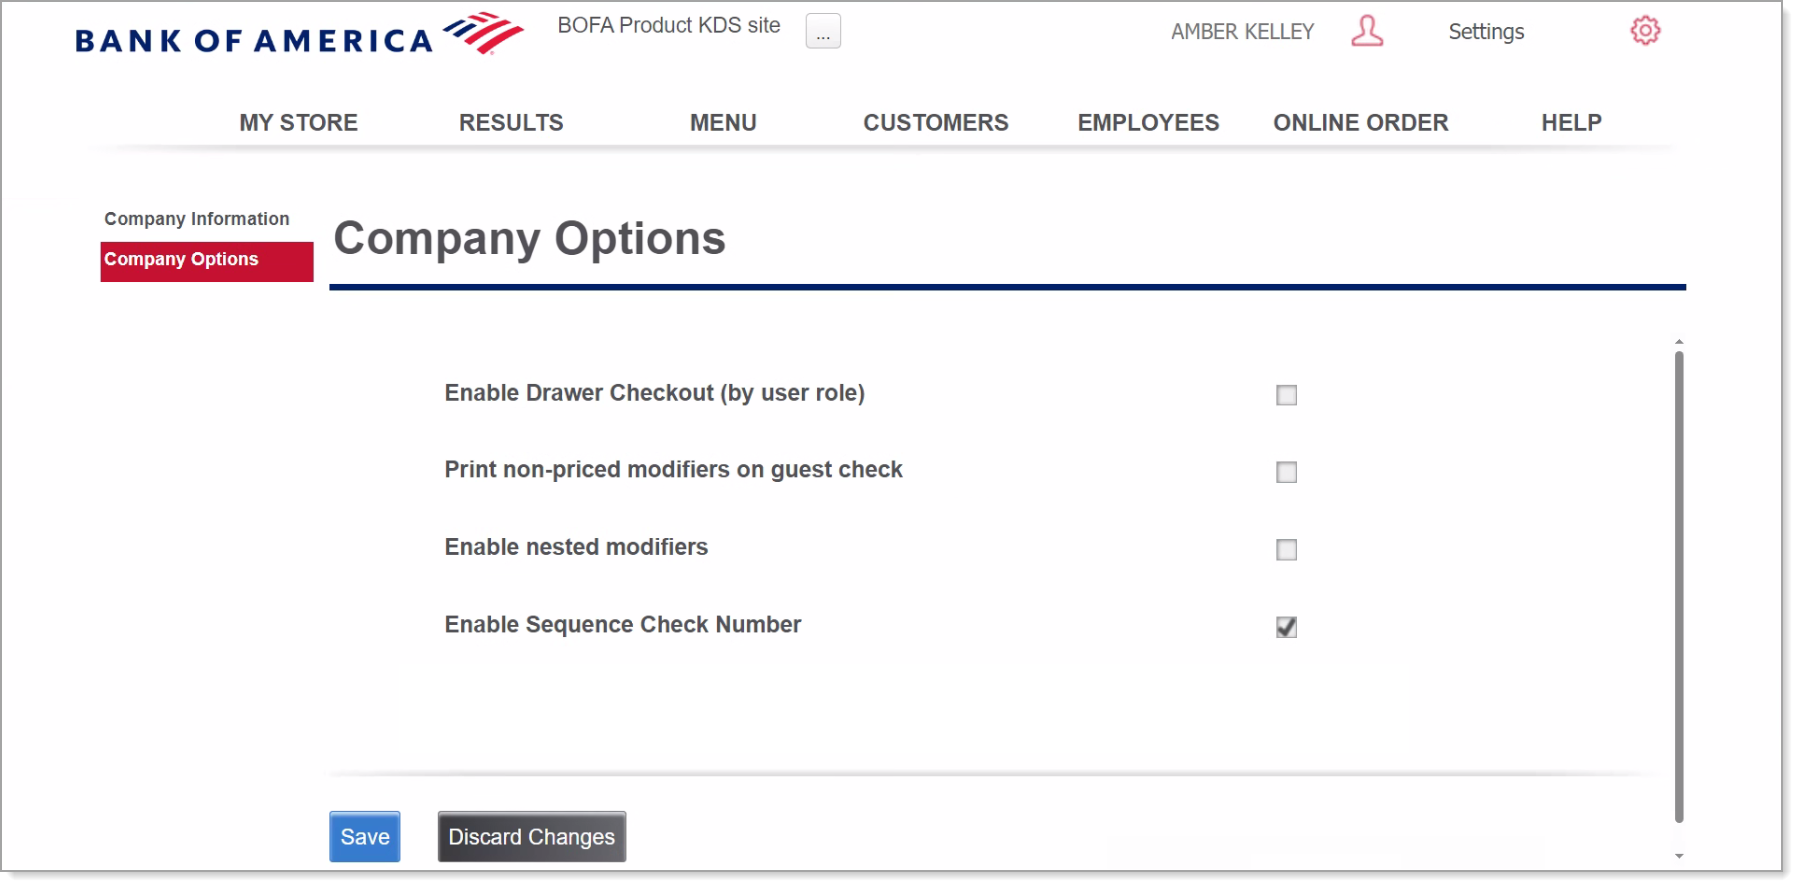
Company Options are all optional. Use Company Options to configure cash drawer checkout settings, whether to add non-priced modifiers to a guest check, and whether to enable menu modifiers to nest.
To configure cash drawer and modifier options in Company Options
- In Back Office, select Settings > Company Information > Company Options.

- Review and edit options as needed:
table listing options and their descriptions Option Description Enable Drawer Checkout (by user role) Drawer checkout enables you to assign multiple users to the same cash drawer and to have your employees enter a starting and ending bank amount. If you do not plan to use Drawer Checkout, leave this option blank. NOTE: If you enable Drawer Checkout, you must also access Employees > User Roles and update the user role settings to enable drawer checkout.
Maximum number of users per cash drawer Set maximum number of users that can be assigned to your cash drawer at one time. Ask for starting bank Prompt employees to enter a starting amount for the cash drawer. Ask for ending bank Prompt employees to enter an ending amount for the cash drawer when closing the shift, minus tips. Allow Multiple Drawer Shifts Allow cashiers to open drawer shifts on multiple cash drawers. This allows them to complete transactions from multiple devices, on multiple drawers. Print non-priced modifiers on guest check Print a non-priced modifier, like an extra condiment, on the receipt. Default option is to only print the non-priced modifier on the kitchen chit. Enable nested modifiers Allow modifiers to group together or "nest". Enable Sequence Check Number Enable sequence check numbering by terminal. For example, the tickets will number 1234, 1235, 1236, where the 1 represents the terminal number. If your terminals are connected by a Primary POS, the ticket numbers continue in sequence regardless of which terminal took the order. - Click Save.