Point of Sale Solution Back Office Online Products Import/Export
Description
What's in this article?
Extend your in-store sales to a new online storefront by copying over your product data in bulk to your Online Items in the Back Office — and have a shared inventory for products sold in person and online. When you complete an online sale, it will reflect one less unit from your overall shared inventory.
Copying your products into a separate list for online sales allows you to price products differently online than in the store.
Create and import online products in bulk
To create and import online products in bulk to the Back Office, you need to download your current in-store product data, download the online product template, copy the product data for the products you want to sell online to the template, and import the new online product file you created to the Back Office.
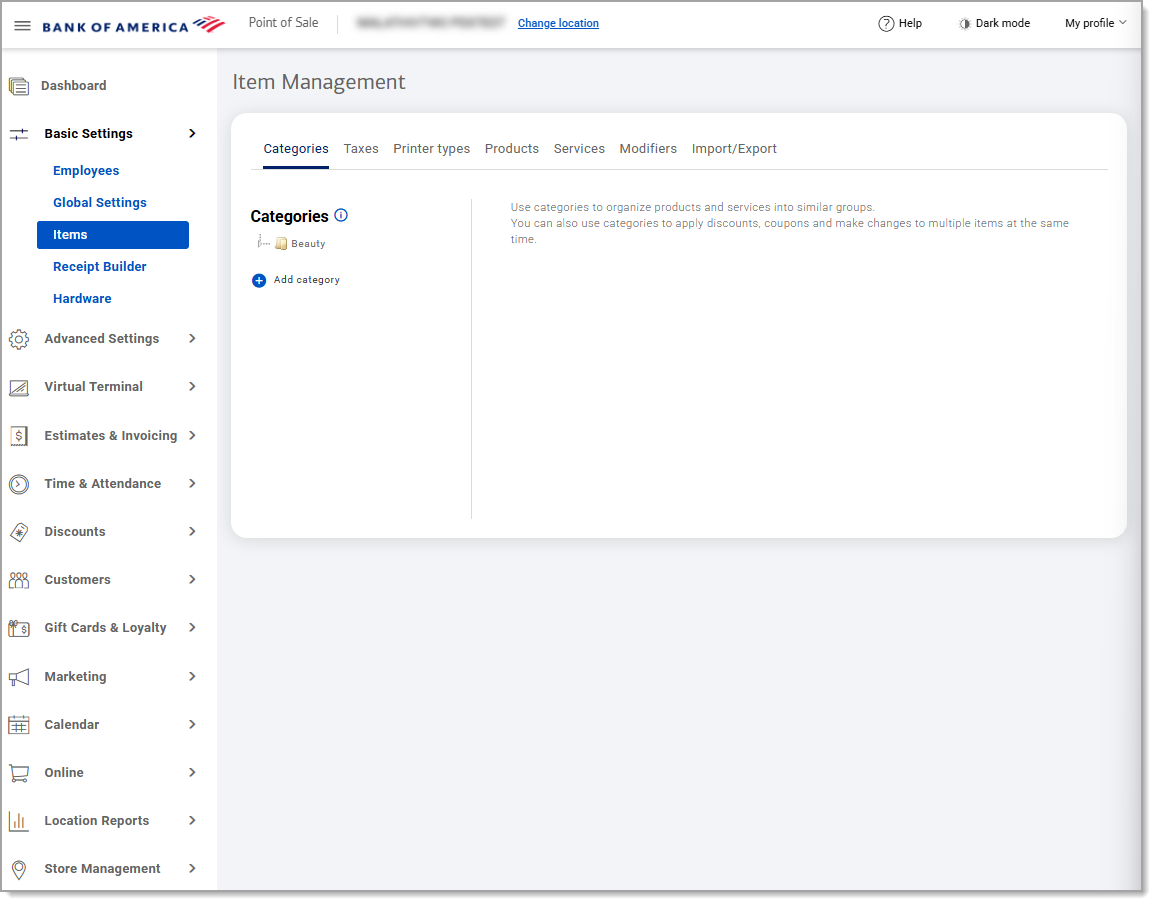
- In the Point of Sale Solution Back Office, select Basic Settings > Items.
- From the Import/Export tab, select Download stored data to download a copy of your in-store product data.
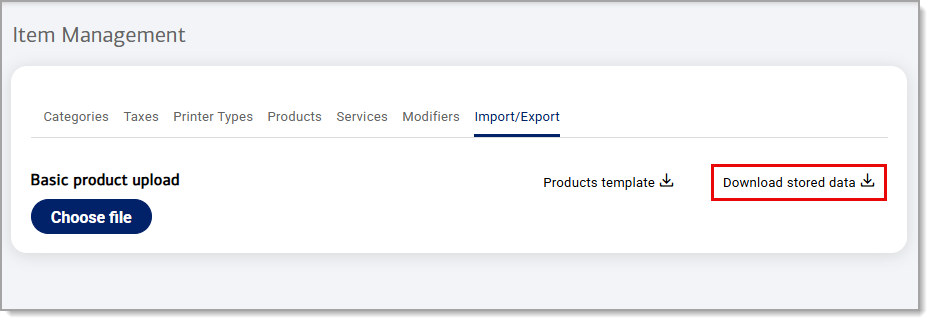
- From your browser download options, choose Save to save a copy of the download.
TIP! By saving a copy of the inventory prior to making your edits, you will have a back up version in case you need to restore the original inventory.
- Open the file and then choose Save As to save an editable version.
To download the online product template
- In the Point of Sale Solution Back Office, select Online > Items.
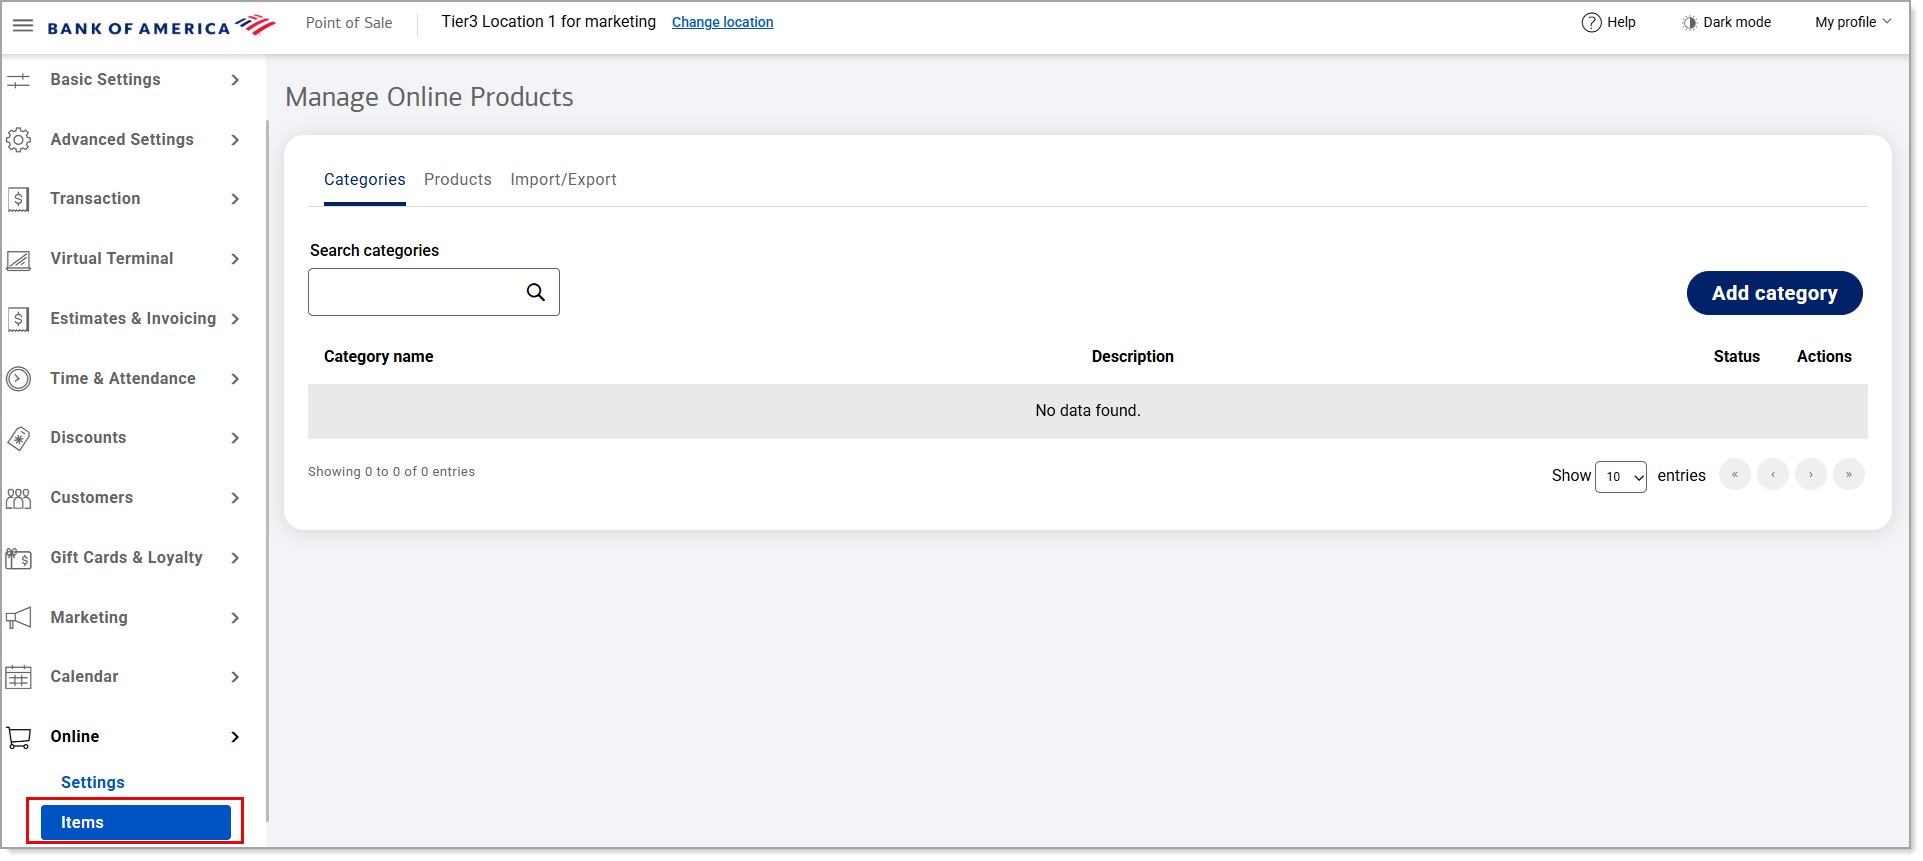
- From the Import/Export tab, select Download template to download a blank spreadsheet.

- From your browser download options, choose Save to save a copy of the download.
TIP! By saving a copy of the inventory prior to making your edits, you will have a backup version in case you need to restore the original inventory.
- Open the file and then choose Save As to save an editable version.
To copy product data to the online product template
- Open your stored product data spreadsheet and your online product template.
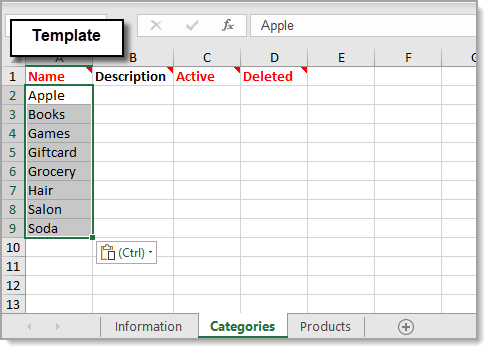
- Select the Categories tab on both files.
- For the categories of products you will sell online, copy and paste the category names from the Name column in the stored product spreadsheet to the Name column on the template. Repeat with the data in the Active and Deleted columns.
- (Optionally) Complete the Description detail.
TIP! Be sure to save periodically to prevent loosing your progress.
- Select the Products tab on both spreadsheets
- For the products you will sell online, copy and paste the product names from the Product column in the stored product spreadsheet to the Product column on the template. Repeat with the data in the other red columns.
- For the Price column, either copy and paste the prices from the stored product spreadsheet, or enter new ones for online sales.
- (Optionally) Complete the Description and Price fields.
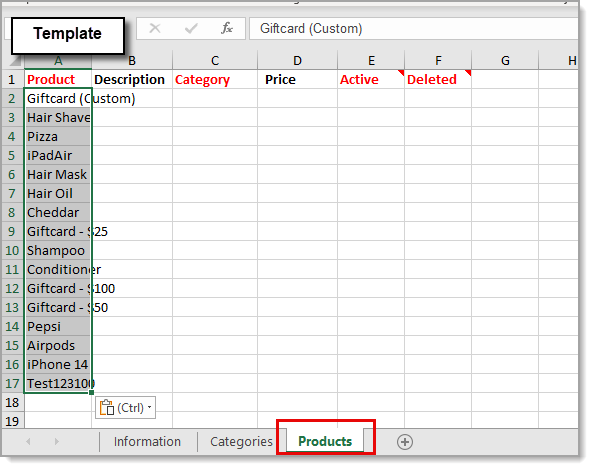
- Save your completed online product spreadsheet.
To import the online product file to the Back Office
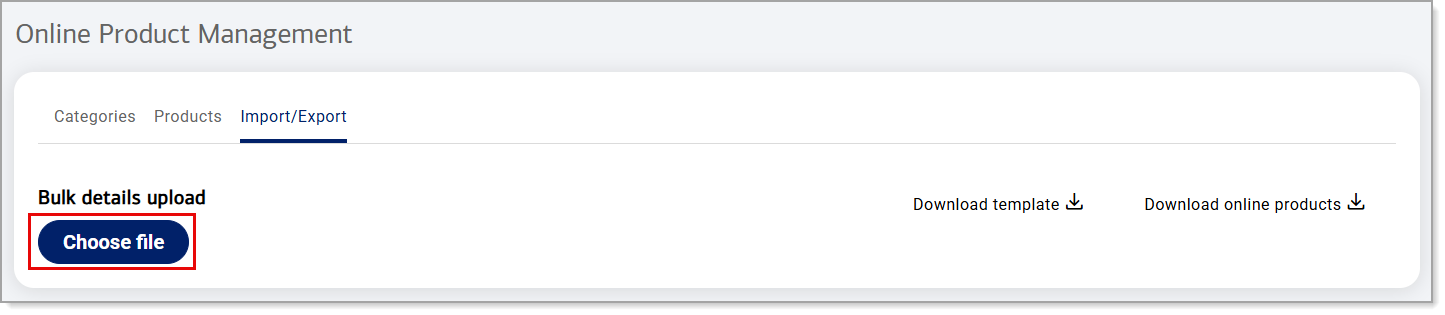
- In the Point of Sale Solution Back Office, select Online > Items.
- From the Import/Export tab, click Choose file.
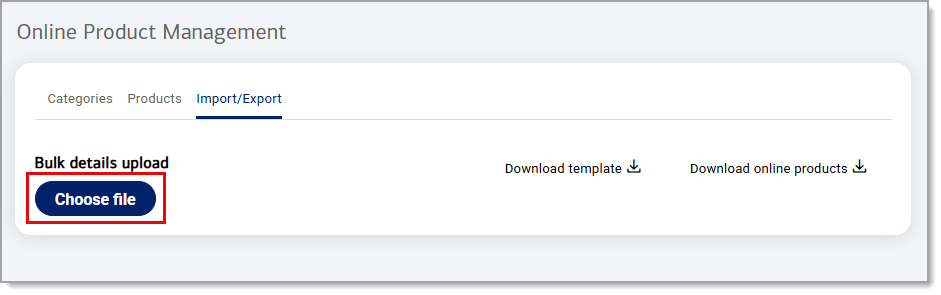
- Select the file of your online product data to import.
- Click Upload.

- Click on each of the Bulk details upload tabs to review the uploaded data. A successfully uploaded file does not indicate there are no errors in the file. If there is an Error/Warning listed in either of the tabs, the file will not publish. The Line number column in the display will indicate the exact line number on the worksheet of the error. If you need to correct the file, click Clear, correct the file, save it, and reupload it.
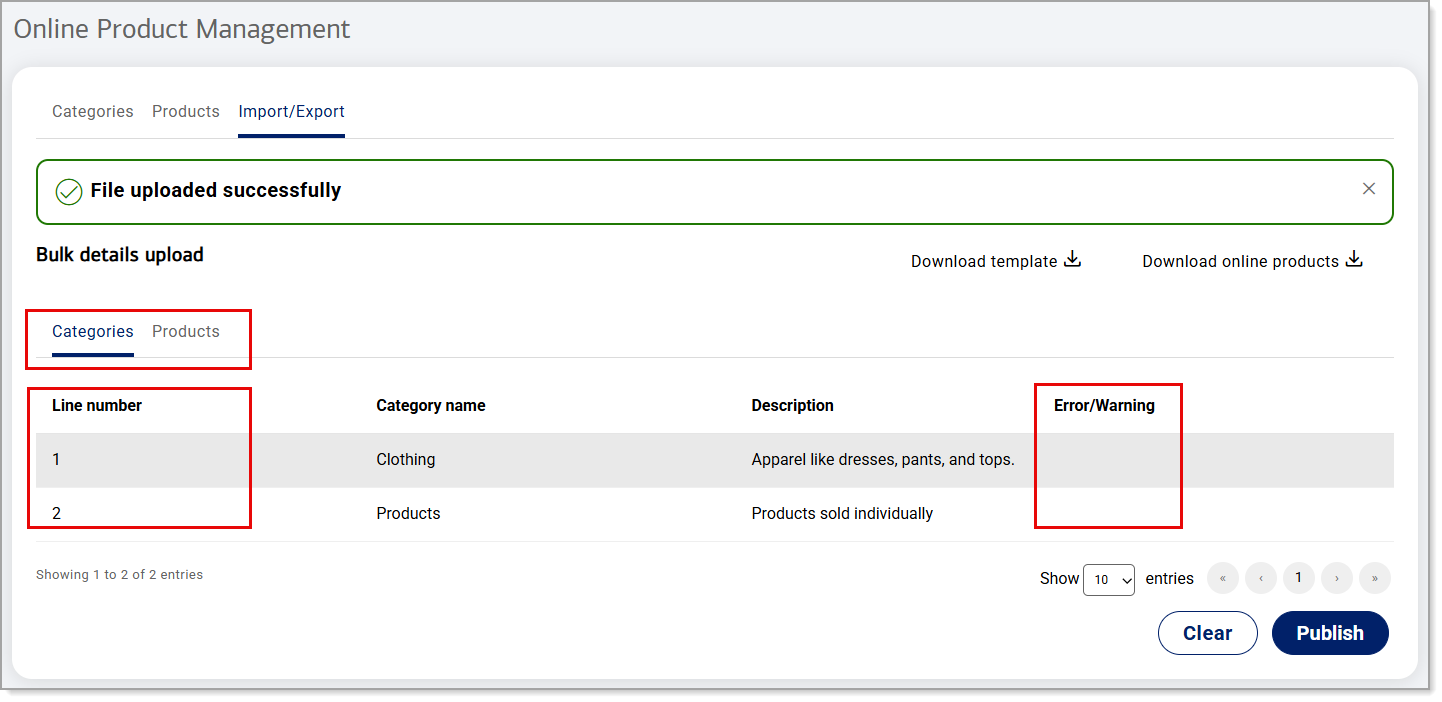
- If there are no corrections needed, click Publish.
Export and edit online products in bulk
Once your online product file has been imported to the Back Office, you can export it to make edits and upload it again.
To export the online products file
- In the Point of Sale Solution Back Office, select Online > Items.
- From the Import/Export tab, click Download online products.
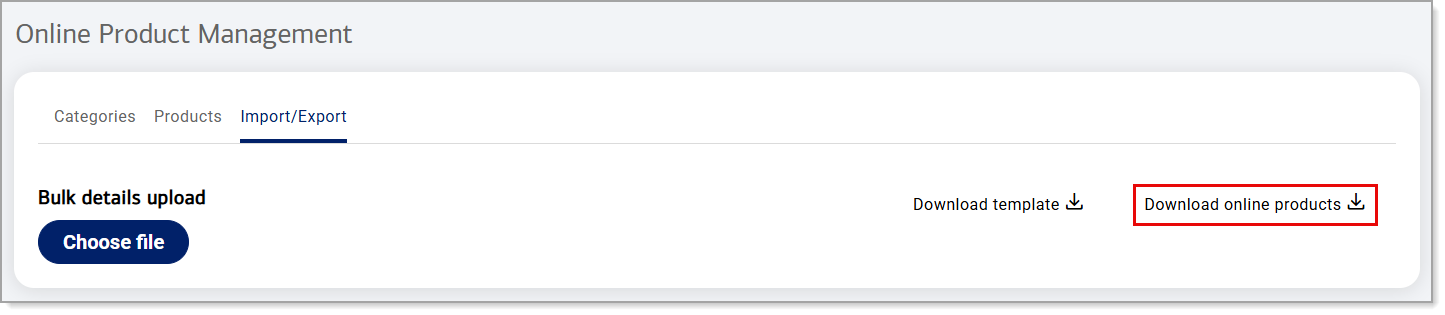
- From your browser download options, choose Save to save a copy of the file. By saving a copy of the file prior to making your edits, will will have a backup version in case you need to restore the original file.
- Open the file and then choose Save As to save an editable version.
To upload the online products file
- In the Import/Export tab, click Choose file.
- Select the edited file to upload.
- Click Upload.
- Click on each of the Bulk details upload tabs to review the uploaded data. A successfully uploaded file does not indicate there are no errors in the file. If there is an Error/Warning listed in either of the tabs, the file will not publish. The Line number column in the display will indicate the exact line number on the worksheet of the error. If you need to correct the file, click Clear, correct the file, save it, and reupload it.
- If there are no corrections needed, click Publish.