Point of Sale Solution Back Office Online Settings
Description
What's in this article?
The Point of Sale Solution allows you to create one of three website types for your business: eCommerce, Ordering, or Appointments. Only one site type can be active per account.
- eCommerce and Ordering sites are similar, but Ordering supports tipping while eCommerce does not.
- To sell items online, categories and products must be configured in Back Office, either individually or in bulk. Product images display only when items are set up individually.
- Appointment sites allow customers to book services online based on employee or resource availability (for example, resources might include staff, equipment, or rentals). Services must be configured in Items > Services and set to Active. Images are not supported for services.
Online settings control your business hours, site appearance, and payment options.
- *music*
- This video covers how to manage your online settings in the Point of Sale Solution Back Office.
- To set up your online store settings, click Online, then Settings. You can select one of three website types per account, e-commerce for selling items, ordering, for selling items with a tip option and appointments for scheduling appointments online.
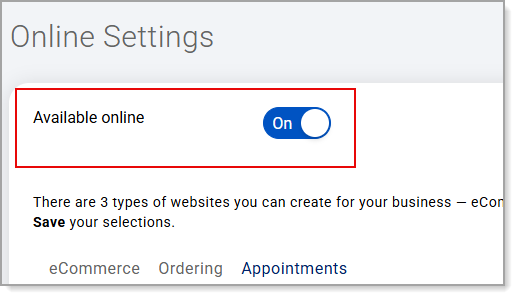
- Click Available Online to make your site live and visible to the public.
- E-commerce and ordering have similar settings, but ordering also gives you the option to accept tips.
- Under Online Store Settings, click the Online toggle to enable your website to take orders.
- The Online Ordering toggle controls whether your business is available to receive new orders.
- Order Processing controls if payment is required to submit an order, whether customers must be logged in, whether they can schedule a pick-up or delivery time, and if in-store approval is required to confirm an online order.
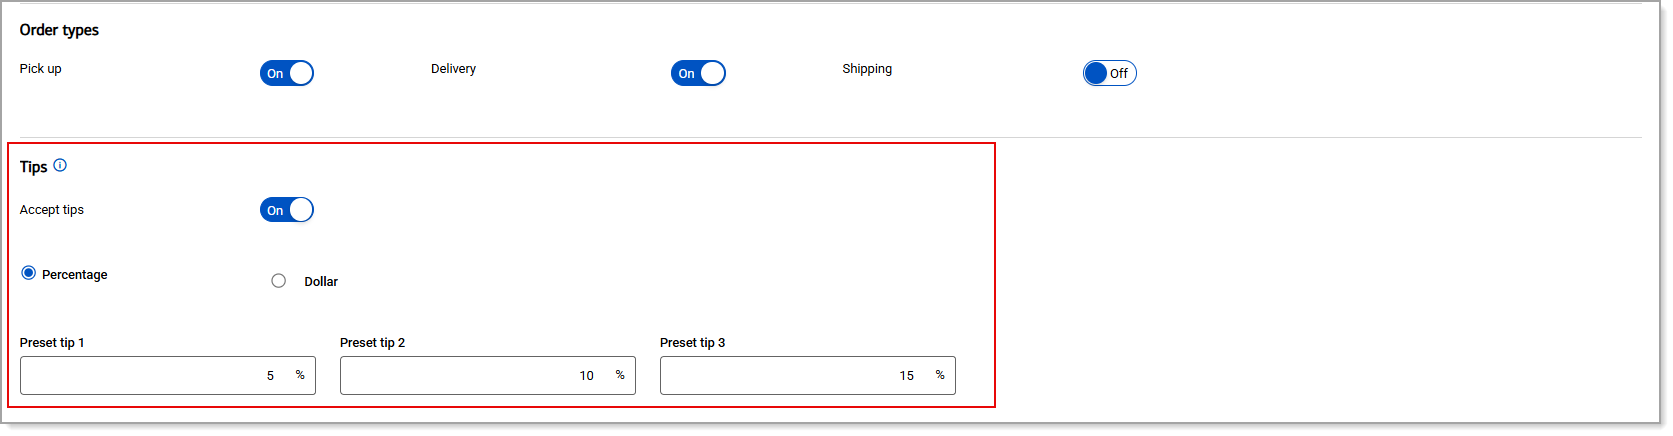
- Order Types allows you to set order type options like pick-up, delivery and shipping.
- Accept Tips enables in-line tipping and suggested dollar amounts or percentages.
- The Store Theme controls how your online store will look. You can add a caption, select a theme color, upload your business logo, upload a banner, and enter text that will be displayed at the bottom of your website.
- Business Hours, lets you set pick-up and delivery times after an order is submitted, as well as define the hours your business accepts new orders.
- Reporting allows you to designate an employee and register to track online sales.
- Make sure to click Save anytime you make an adjustment to your online settings.
- The setup for an Appointments website is mostly the same with just a few different settings.
- The Online Appointment toggle controls whether your business is available to schedule new appointments.
- Other key differences include Appointment Process, which determines whether a customer has to finalize payment or be logged into a computer to complete an order, adding a directional map as a visual, and set appointments by resource based off category and item availability.
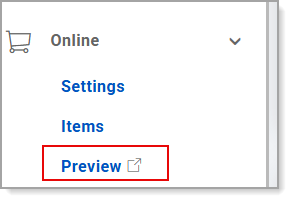
- To preview your online site, click Online, then Preview.
- *music*
To configure your online store settings
- In the Point of Sale Solution Back Office, select Online > Settings.
- Select a site type tab to create and configure an online site: eCommerce, Ordering, or Appointments.
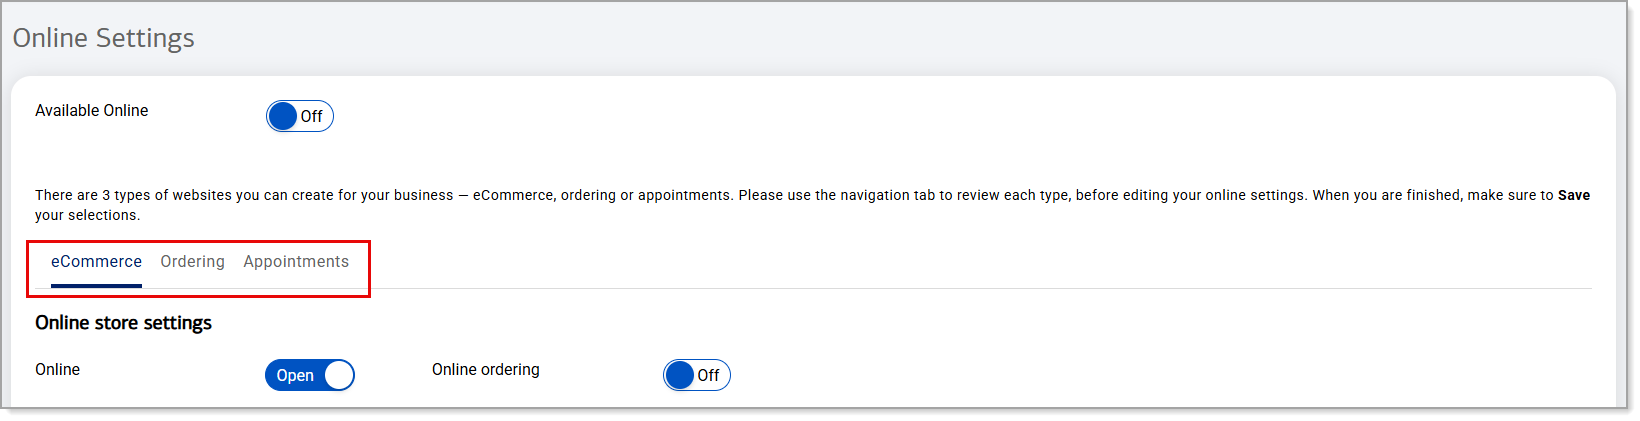
NOTE: Only one type of site may be configured for your business.
eCommerce site
Creates an online store that sells items or services but does not offer the option to tip.
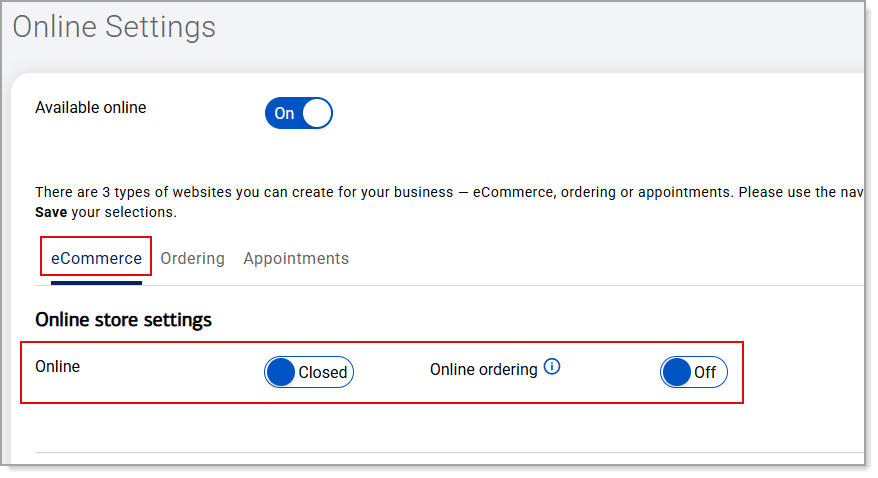
- Select the eCommerce tab.
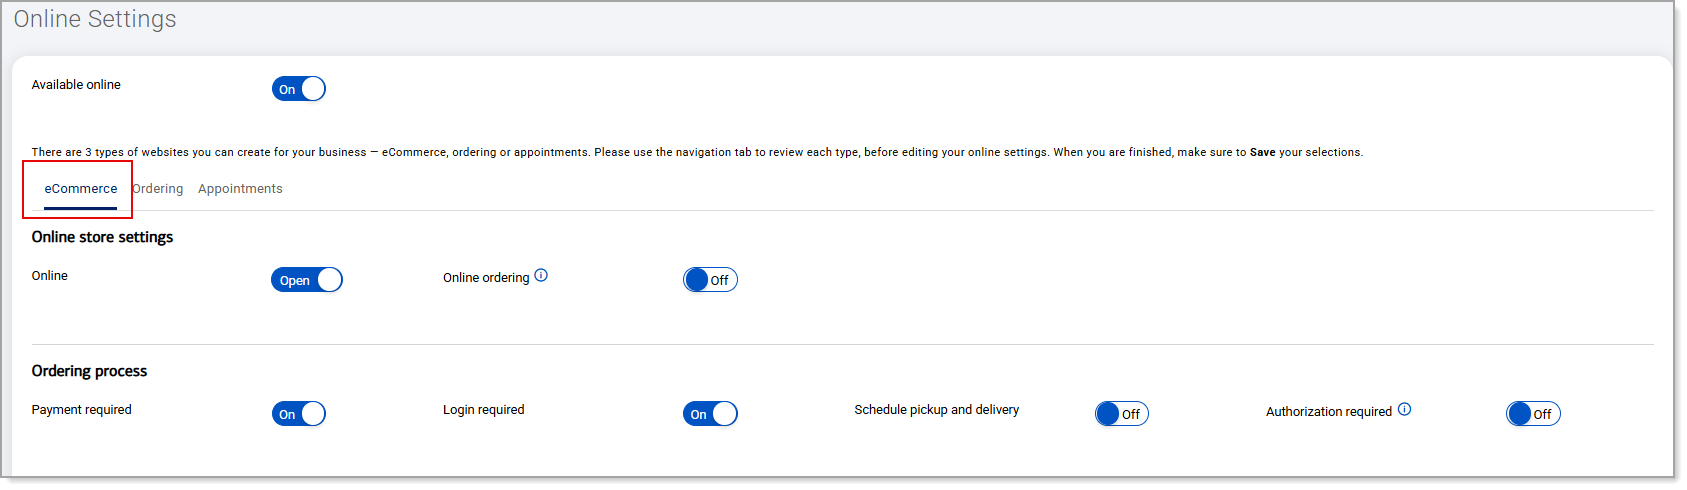
- Configure the ordering process:
Ordering configuration options Option Description Payment required Require payment to complete the order.
A credit card tender type is required and cannot be removed.
Select whether gift cards are accepted.Login required Require customer login to order. Schedule pickup and delivery Allow customers to schedule order pickup/delivery. Authorization required Require in-store manual approval for online orders. - Enable the order types that should be available in the store: Pick up, Delivery and/or Shipping.

Ordering site
Creates an online store that sells items or services and offers the option to tip.
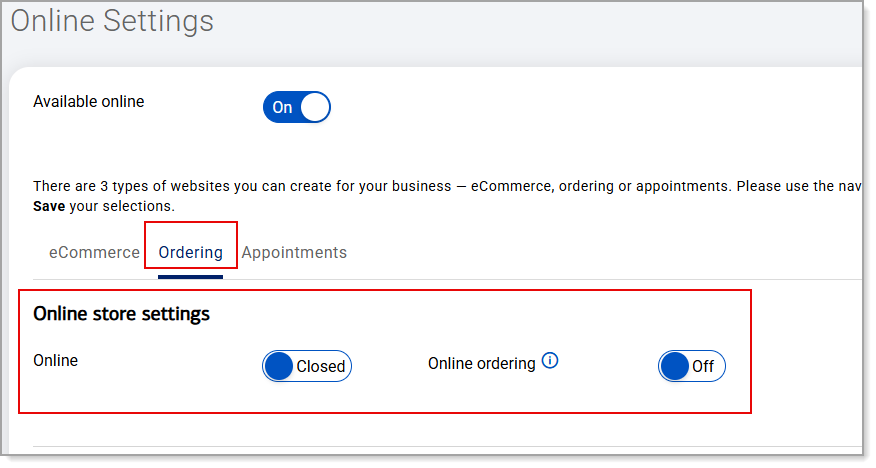
- Select the Ordering tab.
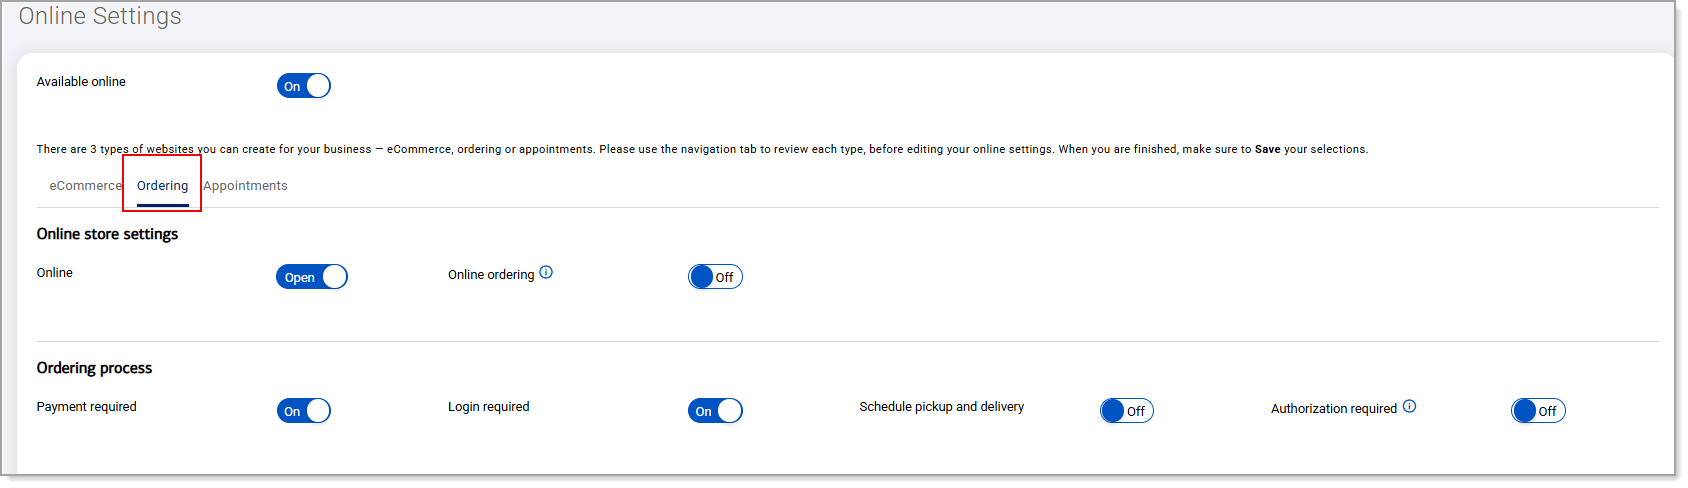
- Configure the ordering process:
Ordering configuration options Option Description Payment required Require payment to complete the order.
A credit card tender type is required and cannot be removed.
Select whether gift cards are accepted.Login required Require customer login to order. Schedule pickup and delivery Allow customers to schedule pickup or delivery of their order. Authorization required Require in-store manual approval for online orders. - Enable the order types that should be available in the store: Pick up, Delivery and/or Shipping.
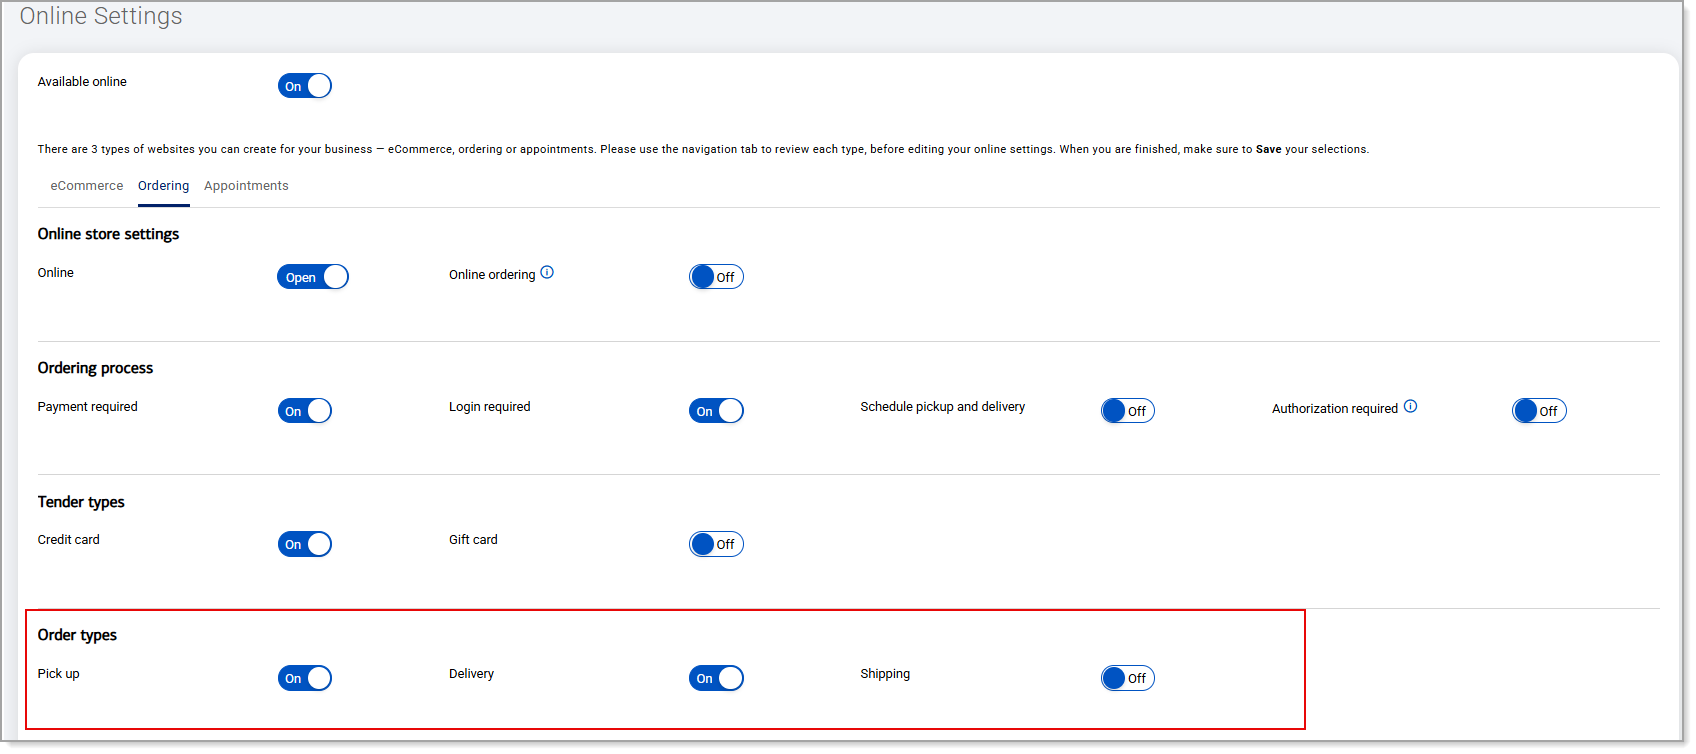
- Enable Accept Tips options. If you enable tipping, set the inline tipping suggested dollar amounts or percentages.
Appointments site
Creates an online site for setting an appointment with your business.
- Set your Calendar Settings for whether bookings will be based on employee or resource availability.
- If your Calendar Settings are set to Employees, services not assigned to a resource will display on your site for scheduling. Those services do not have to be assigned to a staff member to display.
- If your Calendar Settings are set to Resources, services assigned to a resource will display on your site. Those services can, but do not need to have, a staff member assigned to them.
- Select the Appointments tab.
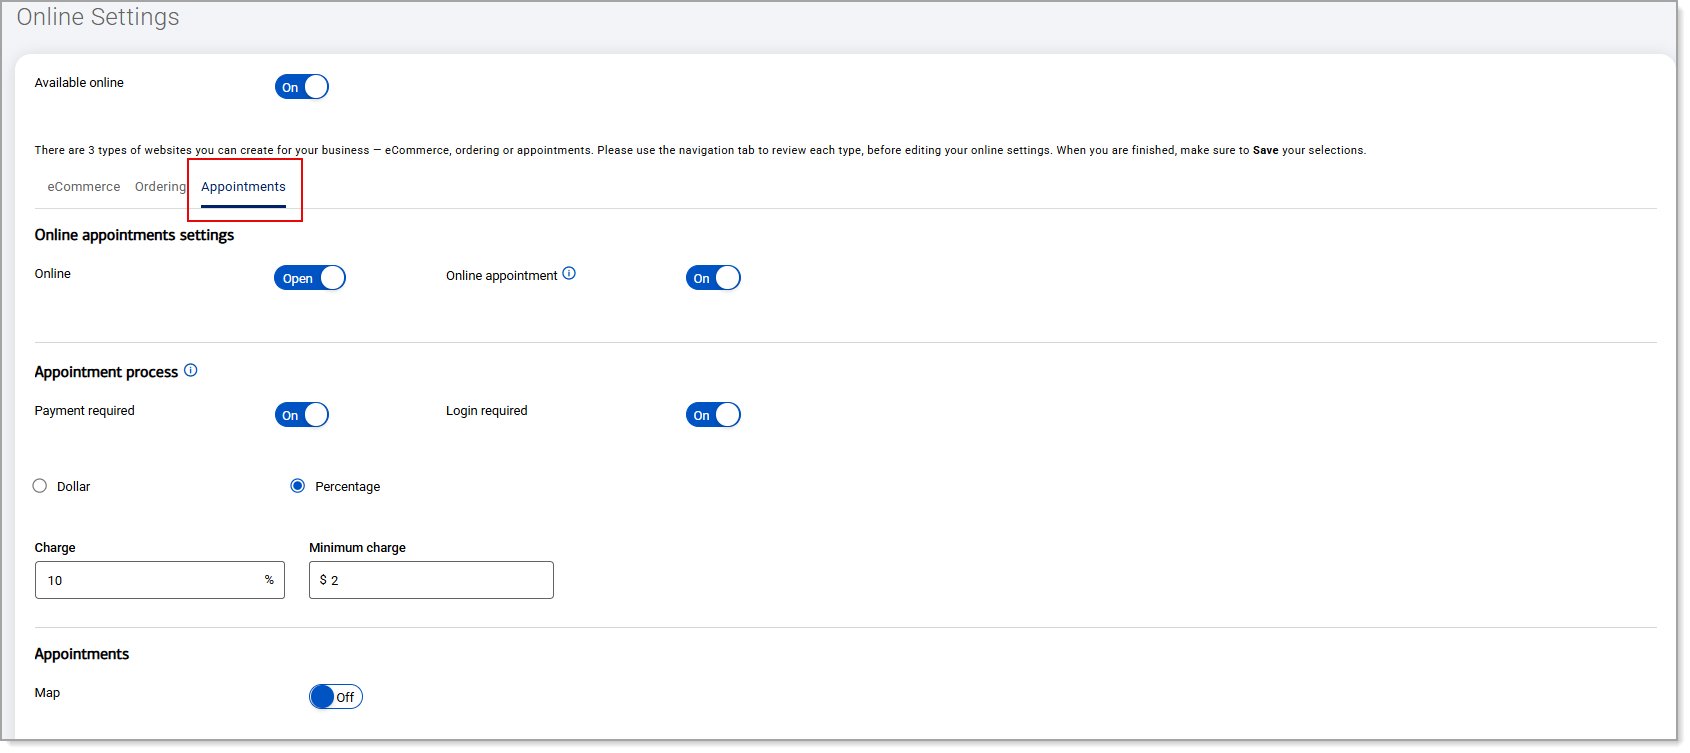
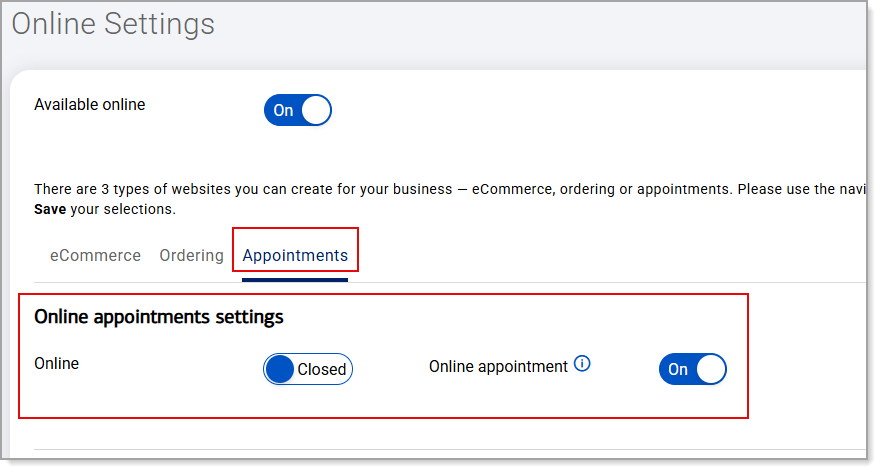
- Set your online appointment site settings:
- To open or close the online site, enable or disable Online.
- To allow appointments to be made online, enable or disable Online appointments.
- Set the appointment process options:
- To require payment to make the appointment, enable Payment required. If enabled, set the payment as a dollar amount or a percentage of the appointment charge.
- To require that the customer login to make an appointment, enable Login required.
- Enable Map to map the appointment location for the customer.

- For appointments by resource (rentals, equipment, a bowling lane, etc.), in the Resource tabs section, enter the Category (Resource group) and Item (Resource item) you wish to allow booking for. This type of website can support one category of items for booking.
 The Category and Item you choose will show as tabs on your site. Customers will then be able to click Book Now for an item under the category they wish to book, select their desired date, and make the appointment. In this example, the Category is "Pool Tables" and the Item is "Table":
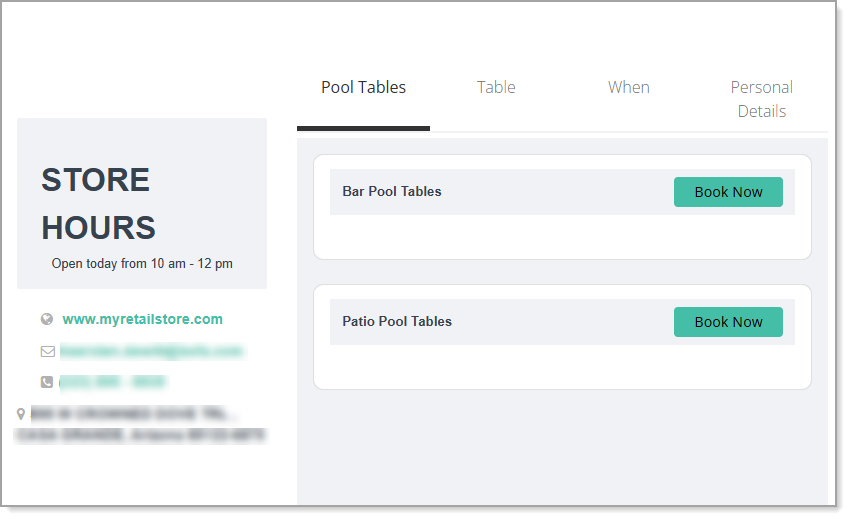
- Select the eCommerce tab.
- Set the store theme settings. The store theme settings control how your online store will look, such as the color, your banner and footers.
Store theme settings options Store theme setting Description Caption Enter text that will appear as a caption on your online site. Color Select a theme color from the color picker. Logo Upload a logo to the site. Minimum width is 170 pixels and minimum height is 60 pixels. Maximum width and height is 200 pixels x 100 pixels. Images must be in either JPG or PNG format. Banner A default banner will display unless you choose a banner image for your site. Banner width must be 1200 pixels. The height of the banner can be between 400 and 900 pixels. Images must be in either JPG or PNG format. Footer text Enter text that should appear in the footer of the site. You can enter up to 5000 characters. Terms and conditions Enter your terms and conditions for the site. Privacy policy Enter your privacy policy for the site. Return policy Enter your return policy for the the site. WARNING! Terms and conditions and a Privacy policy must be entered or the site will not be approved for a marketing account to create and deploy marketing campaigns.
- Set the business hours for each day of the week.
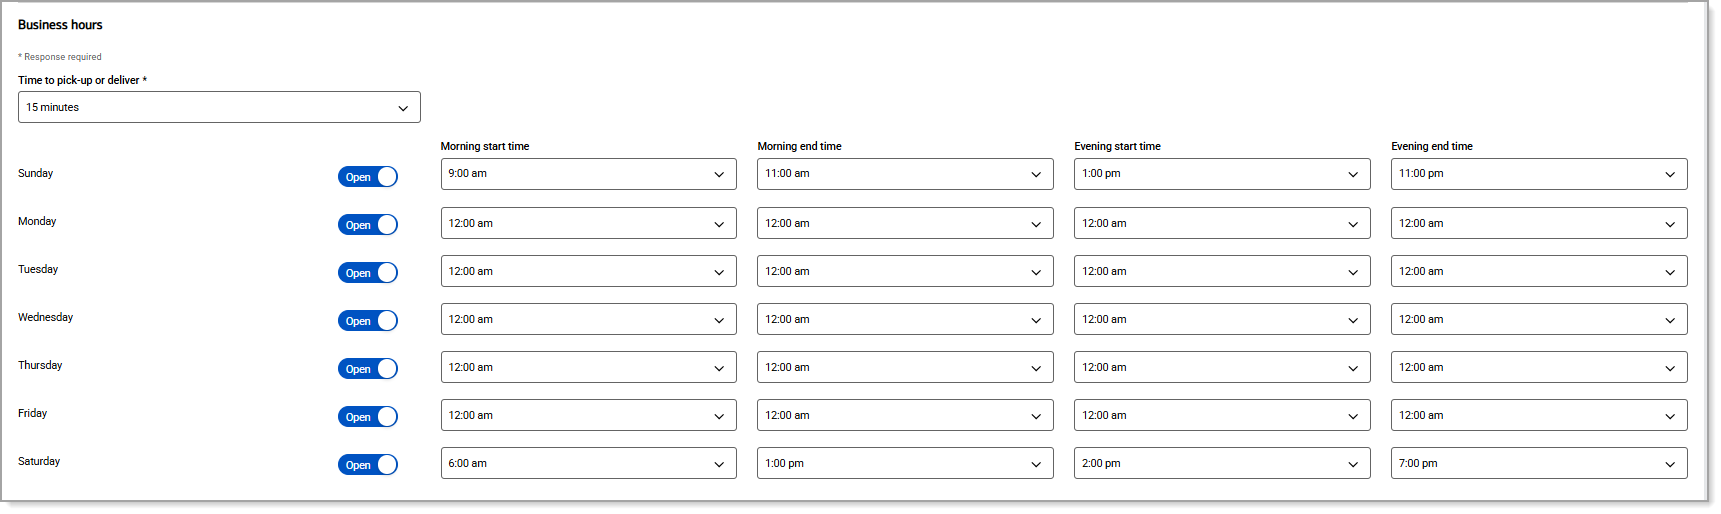
- eCommerce and Ordering sites require that business hours be set.
- If the site has non-business hours, visitors are alerted that the business is closed; however, a future order can still be scheduled if the Schedule pickup and delivery setting is enabled for the site.
- Online orders, including future orders, are managed in the Point of Sale Solution App.
- Appointment sites accept appointments for services based on employee scheduling, not the business hours set; appointments for a resource are accepted based on the business hours set here.
- Select the Time to pick-up or deliver any items for your eCommerce or Ordering site from the dropdown list.

- Configure reporting for your online site:
- From the Employee dropdown list, choose an employee who will track online sales.
- From the Register dropdown list, choose a register that will process online transactions.
- Click Save.

- Preview your online site in the Back Office at Online > Preview. Use your back arrow ← to return back to the Online Settings page.
- To make your site live, set the Available Online setting to On at the top of the Online Settings page.
- Set your online store settings for your site:
- From the site tab, enable or disable Online to open or close the online store.
- For Ordering and Appointments sites, enable or disable Online ordering or Online appointment to allow ordering or appointment booking from your active online site.
- From the site tab, enable or disable Online to open or close the online store.