Point of Sale Solution Back Office QuickBooks Integration
Description
What's in this article?
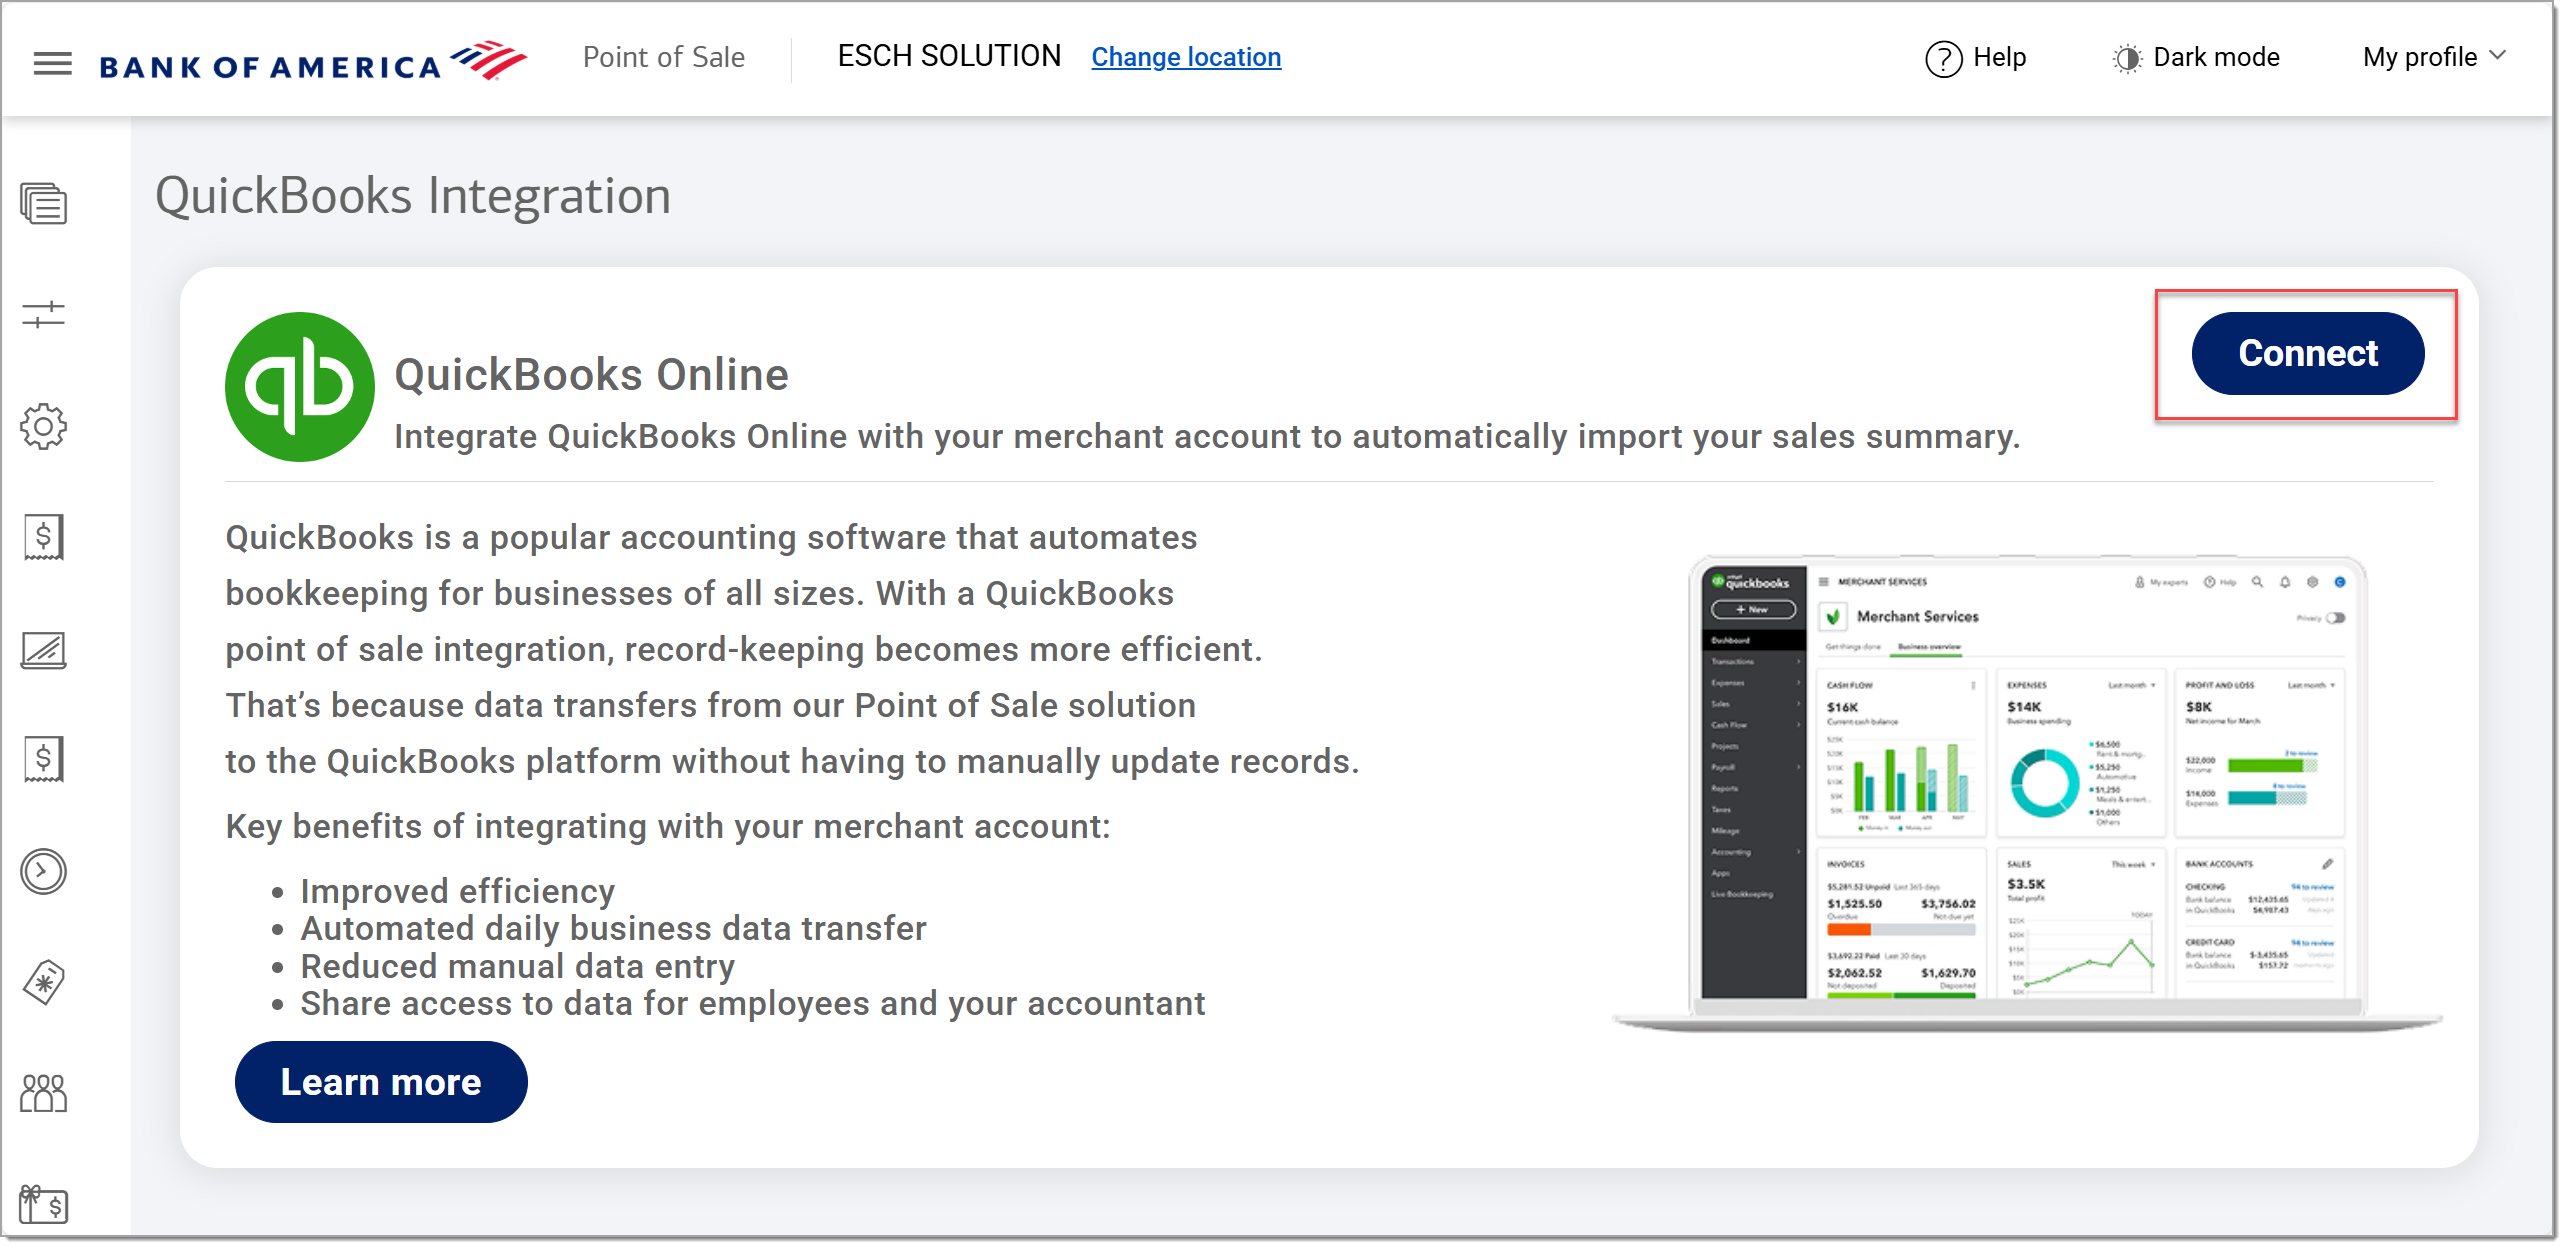
QuickBooks® is a popular accounting software that automates bookkeeping for businesses of all sizes. Integrating your Point of Sale Solution with QuickBooks streamlines record-keeping by automatically transferring sales and payment data, eliminating the need for manual updates.
A summary of sales and payment data is sent from your merchant account to QuickBooks once every 24 hours. You choose the initial transfer date and the daily transfer time during setup, and data is sent automatically each day thereafter.
The data sent to QuickBooks includes:
- Total sales amount by product category and taxable vs. non-taxable items
- Total amounts for discounts, gratuity, delivery charges, and taxes applied
- Total payments received by tender type (credit & debit card, cash, gift card, custom)
NOTE:
You must have an active account with QuickBooks before completing the connection steps below.
To connect with your QuickBooks Online account
- In the Point of Sale Solution Back Office, select Store Management > QuickBooks, then click Connect.
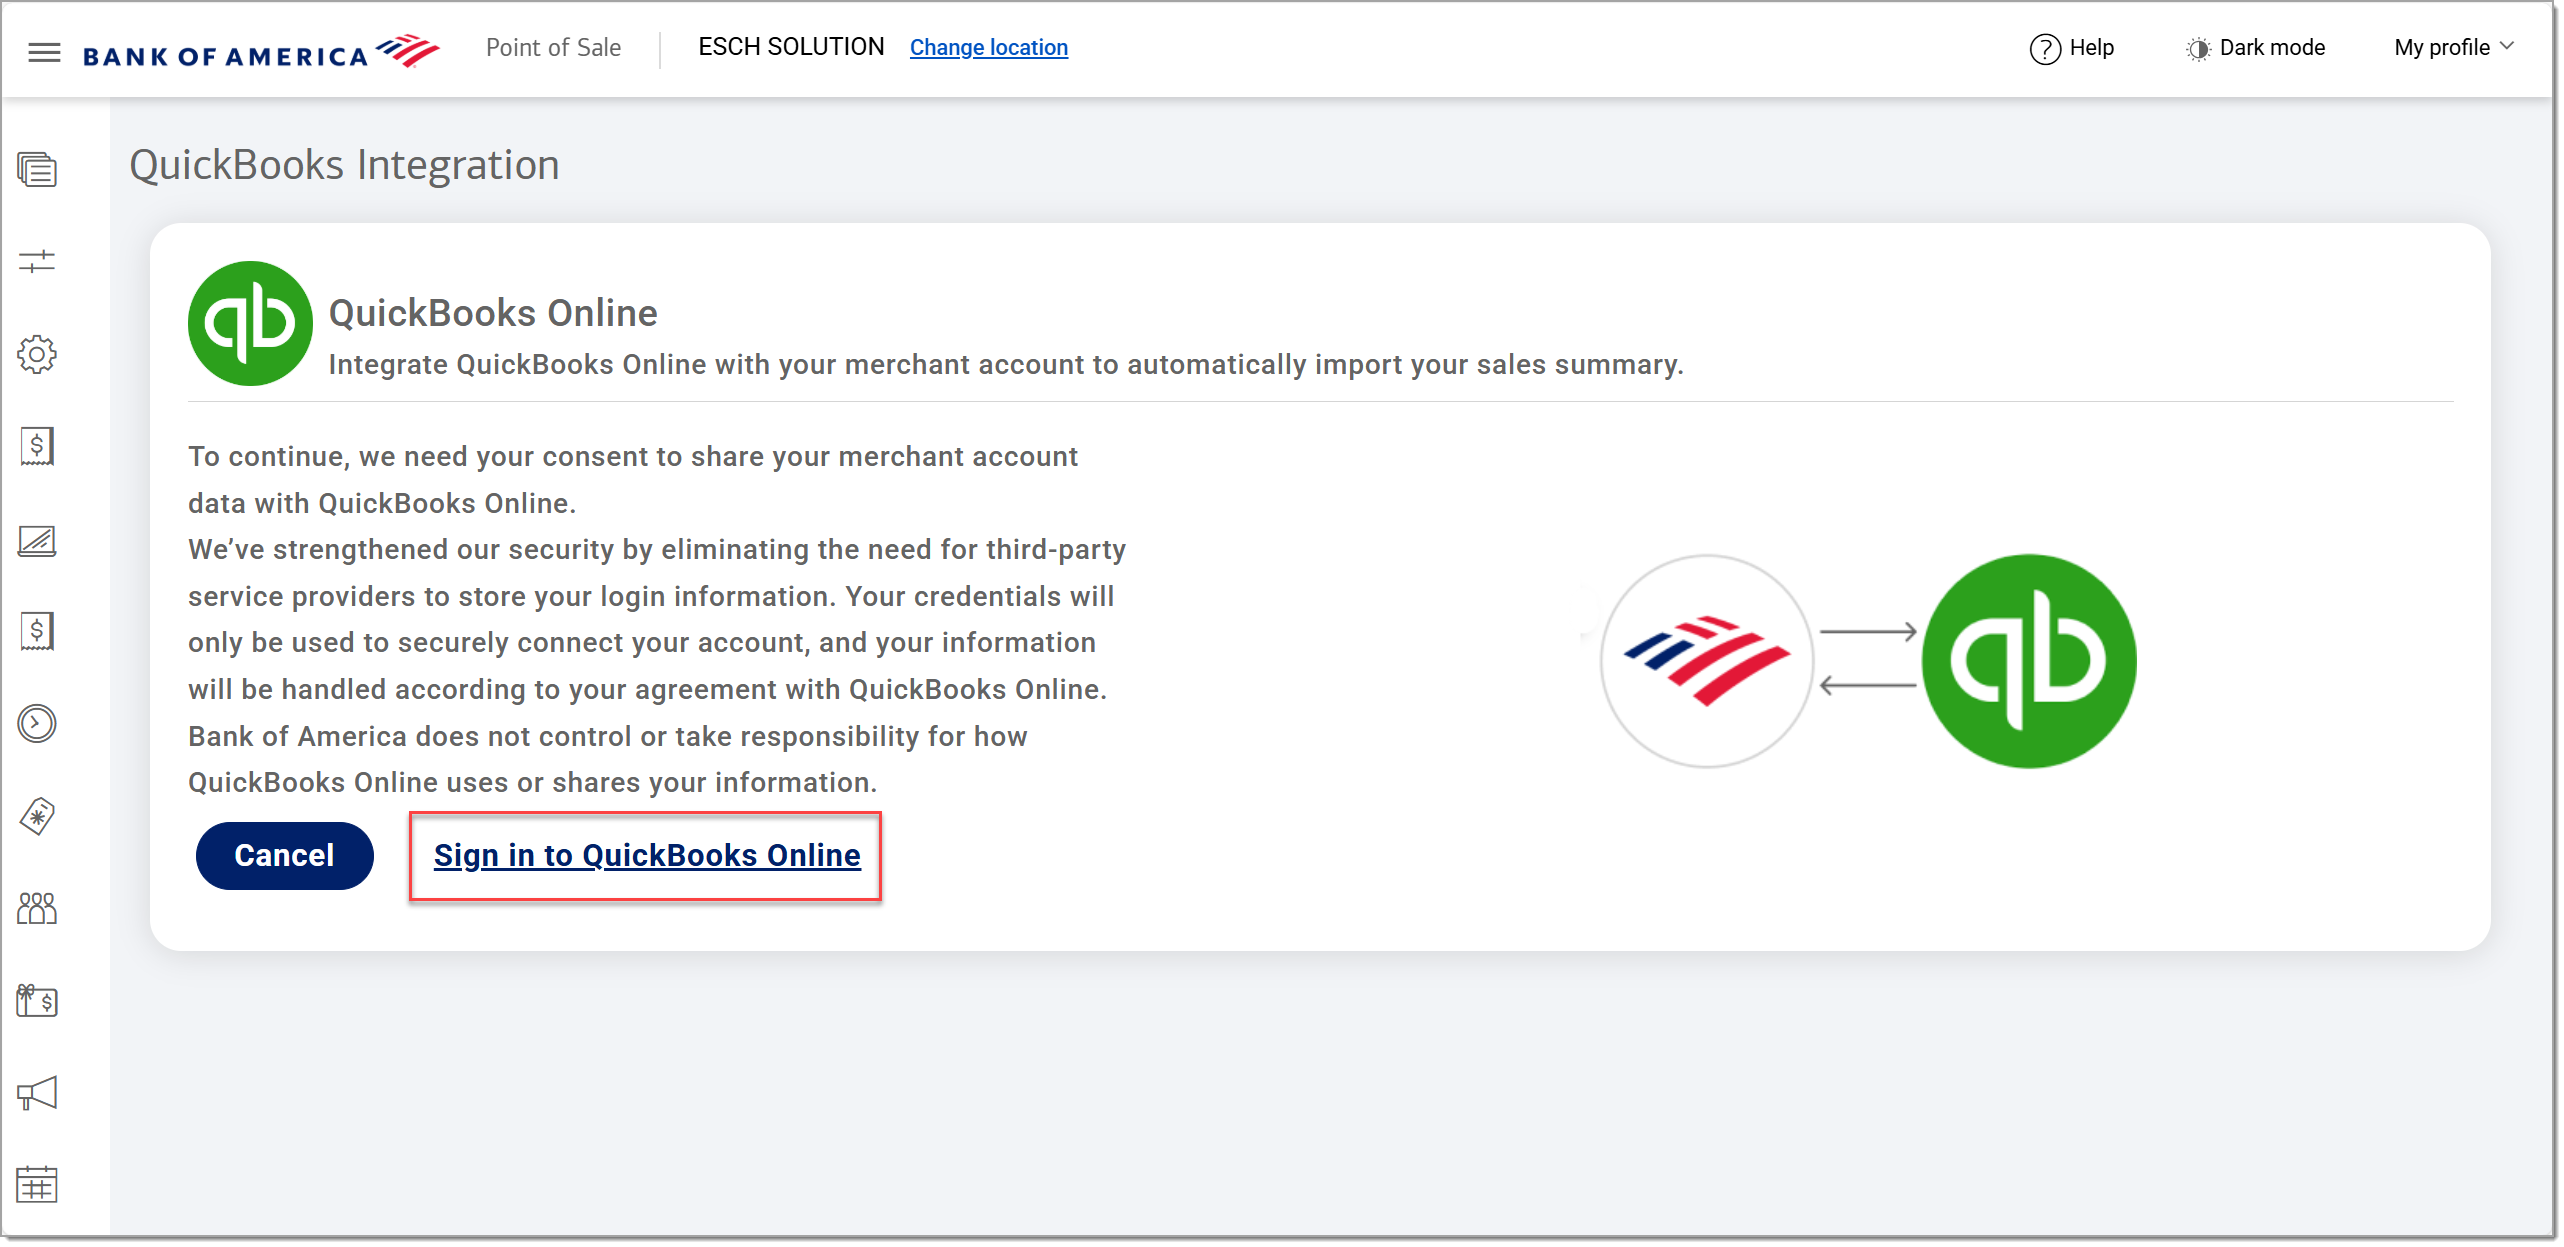
- Click Sign in to QuickBooks Online.
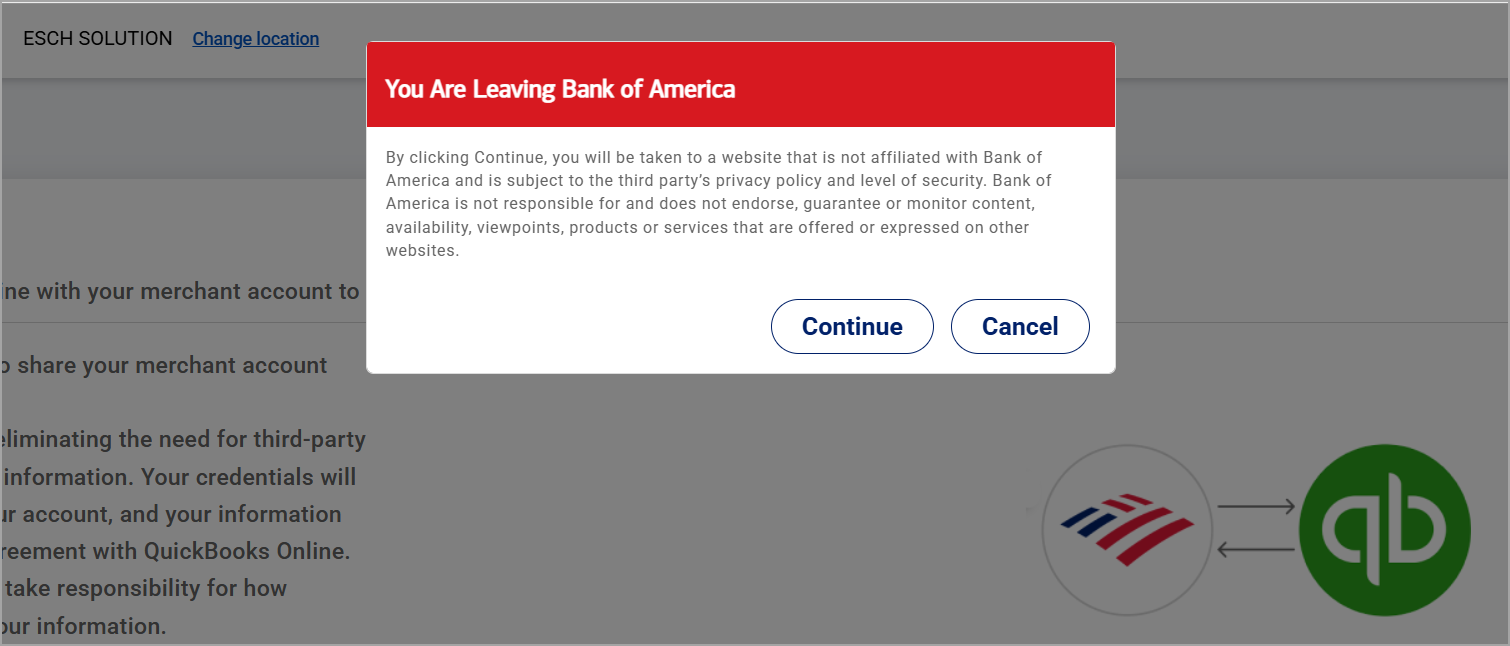
- Click Continue.
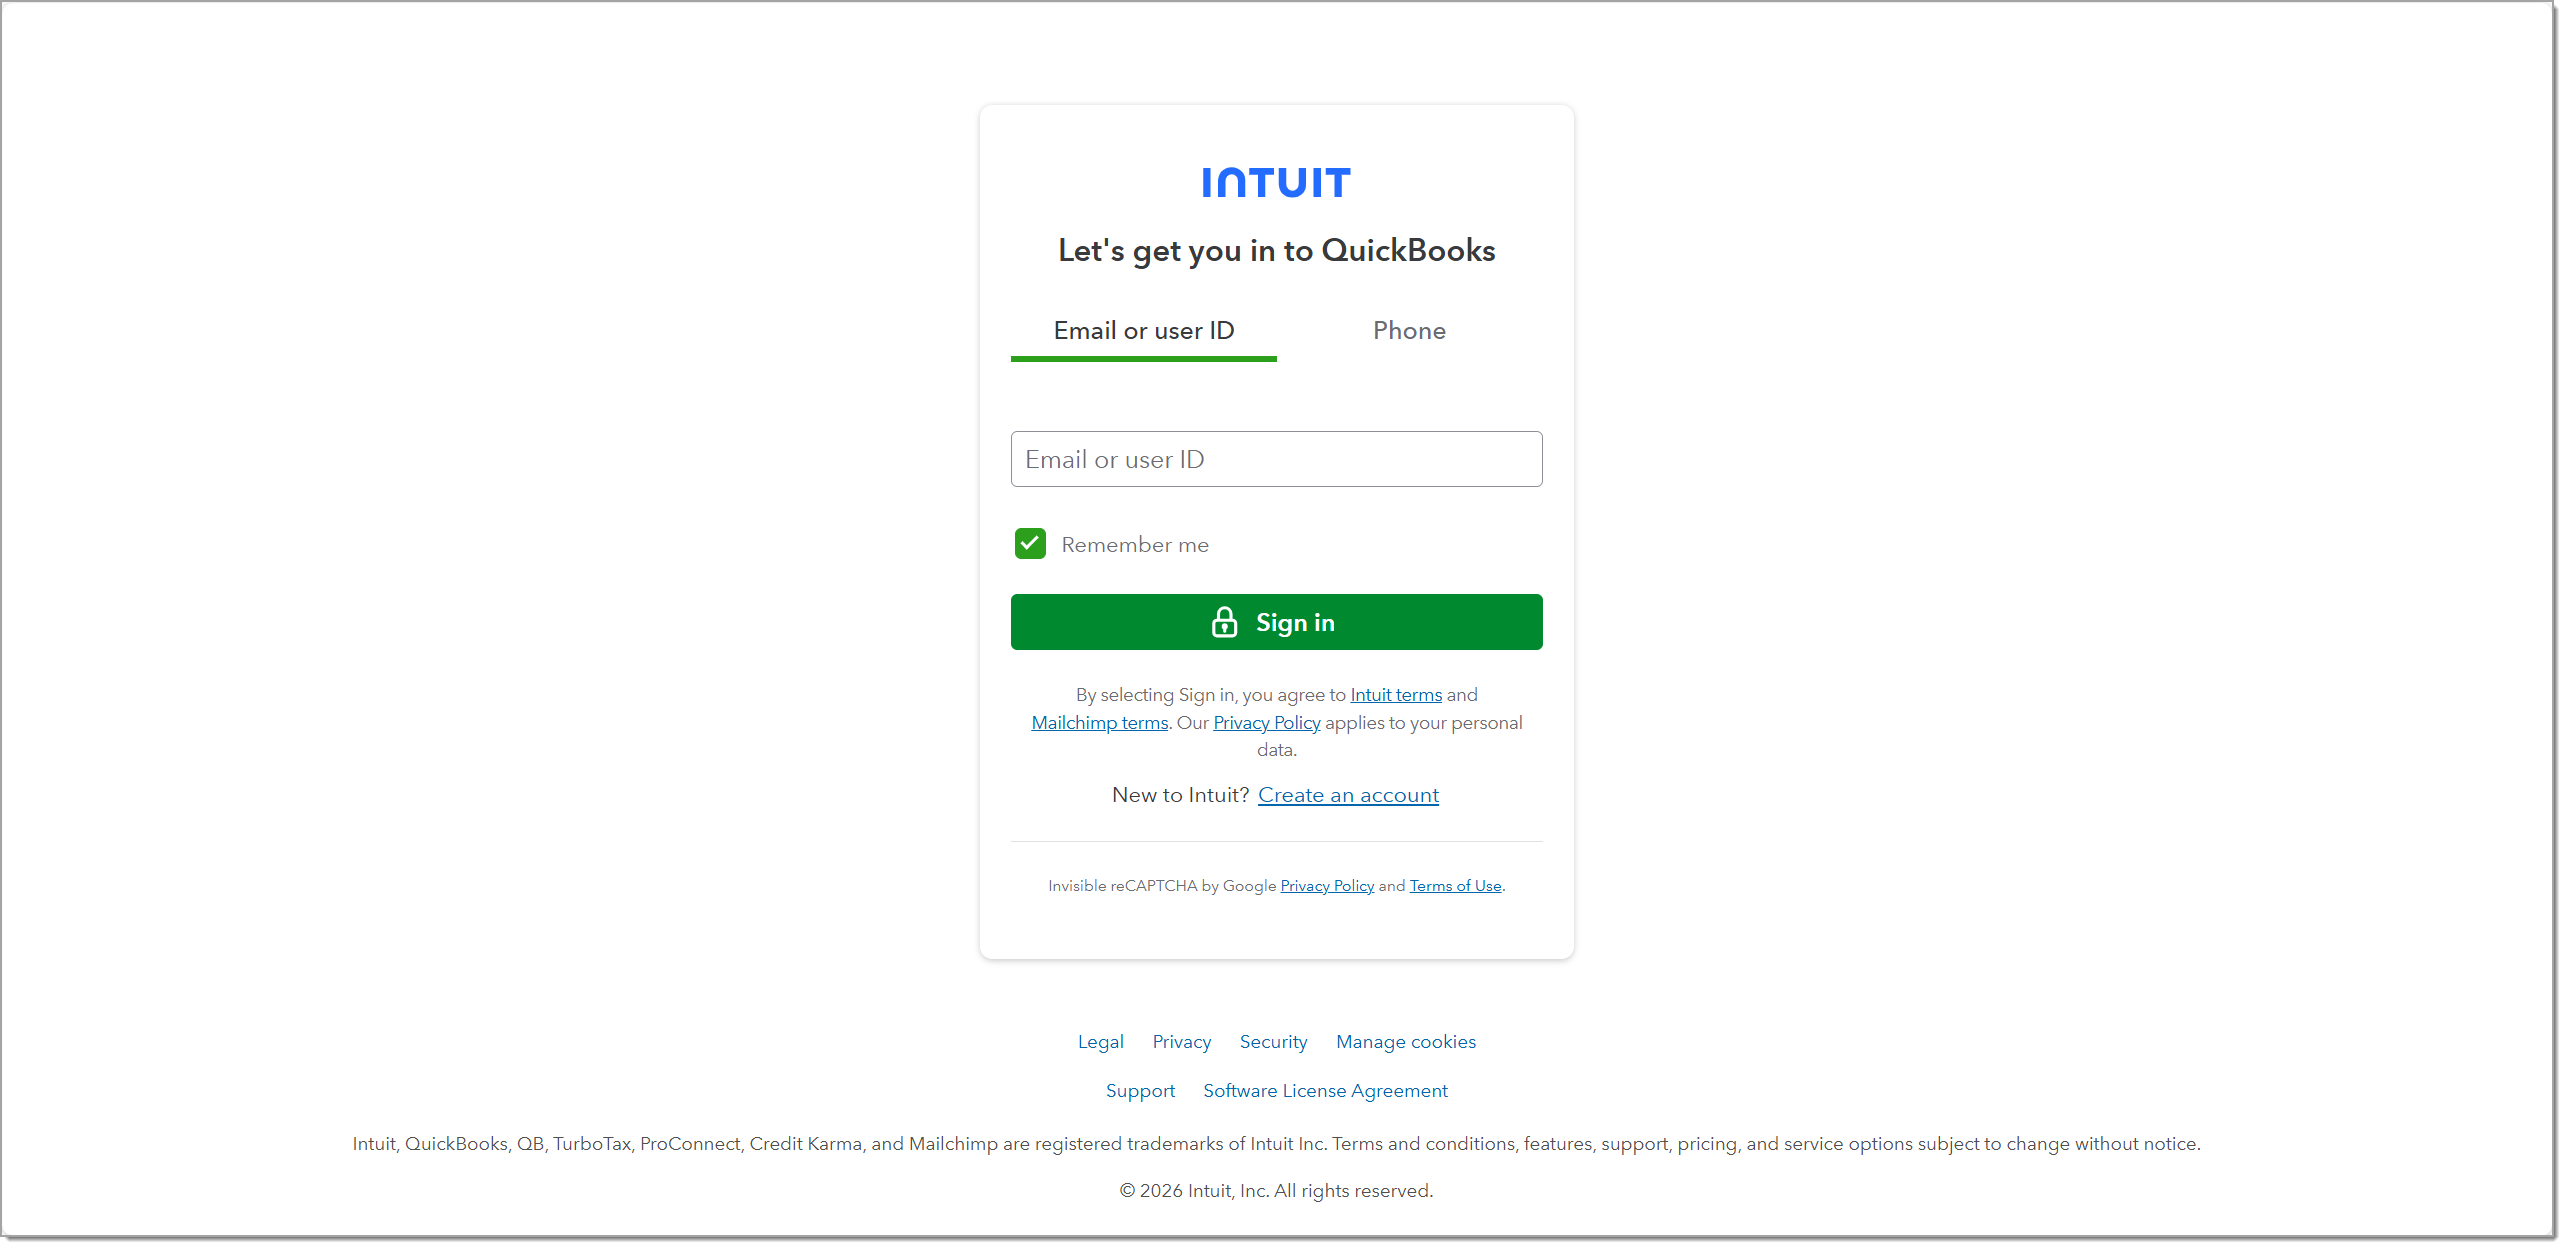
- When redirected, sign in with your QuickBooks credentials. Your login credentials are stored securely to enable communication between your merchant account and QuickBooks.
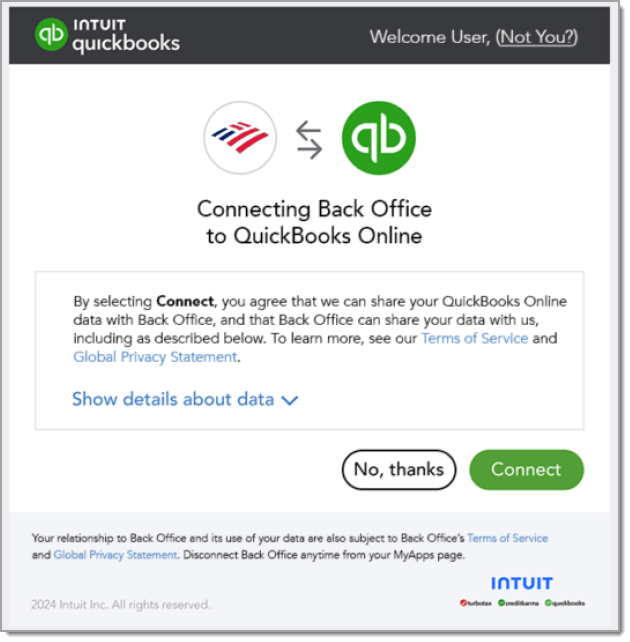
- Click Connect to agree to share data between the Point of Sale Solution Back Office and QuickBooks Online.
- Select the following configuration settings:
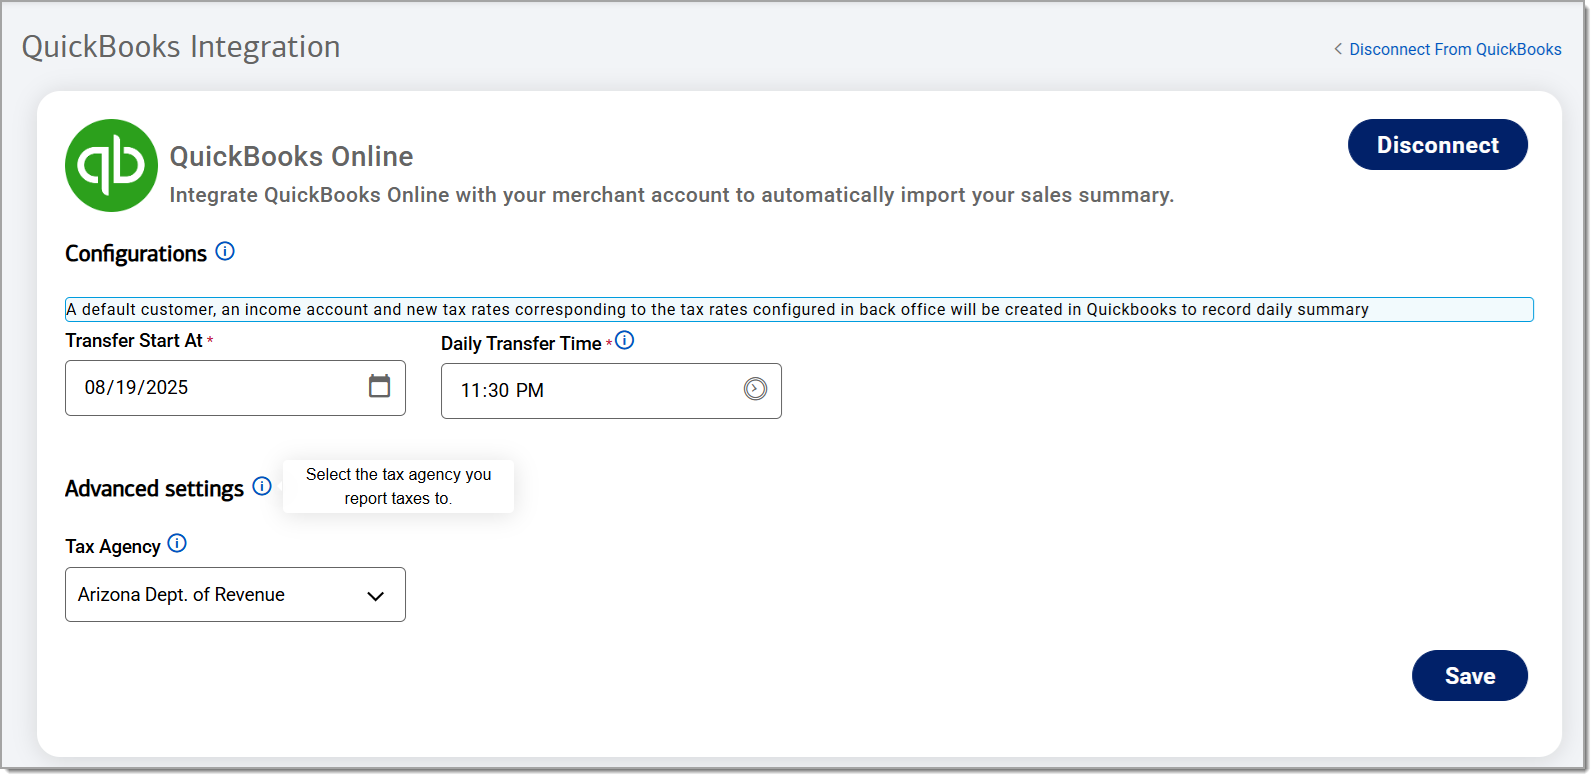
- Transfer Start At: The date daily data transfers will begin.
- Daily Transfer Time: The time each day data will be sent to QuickBooks.
- Tax Agency: The tax agency you report taxes to.
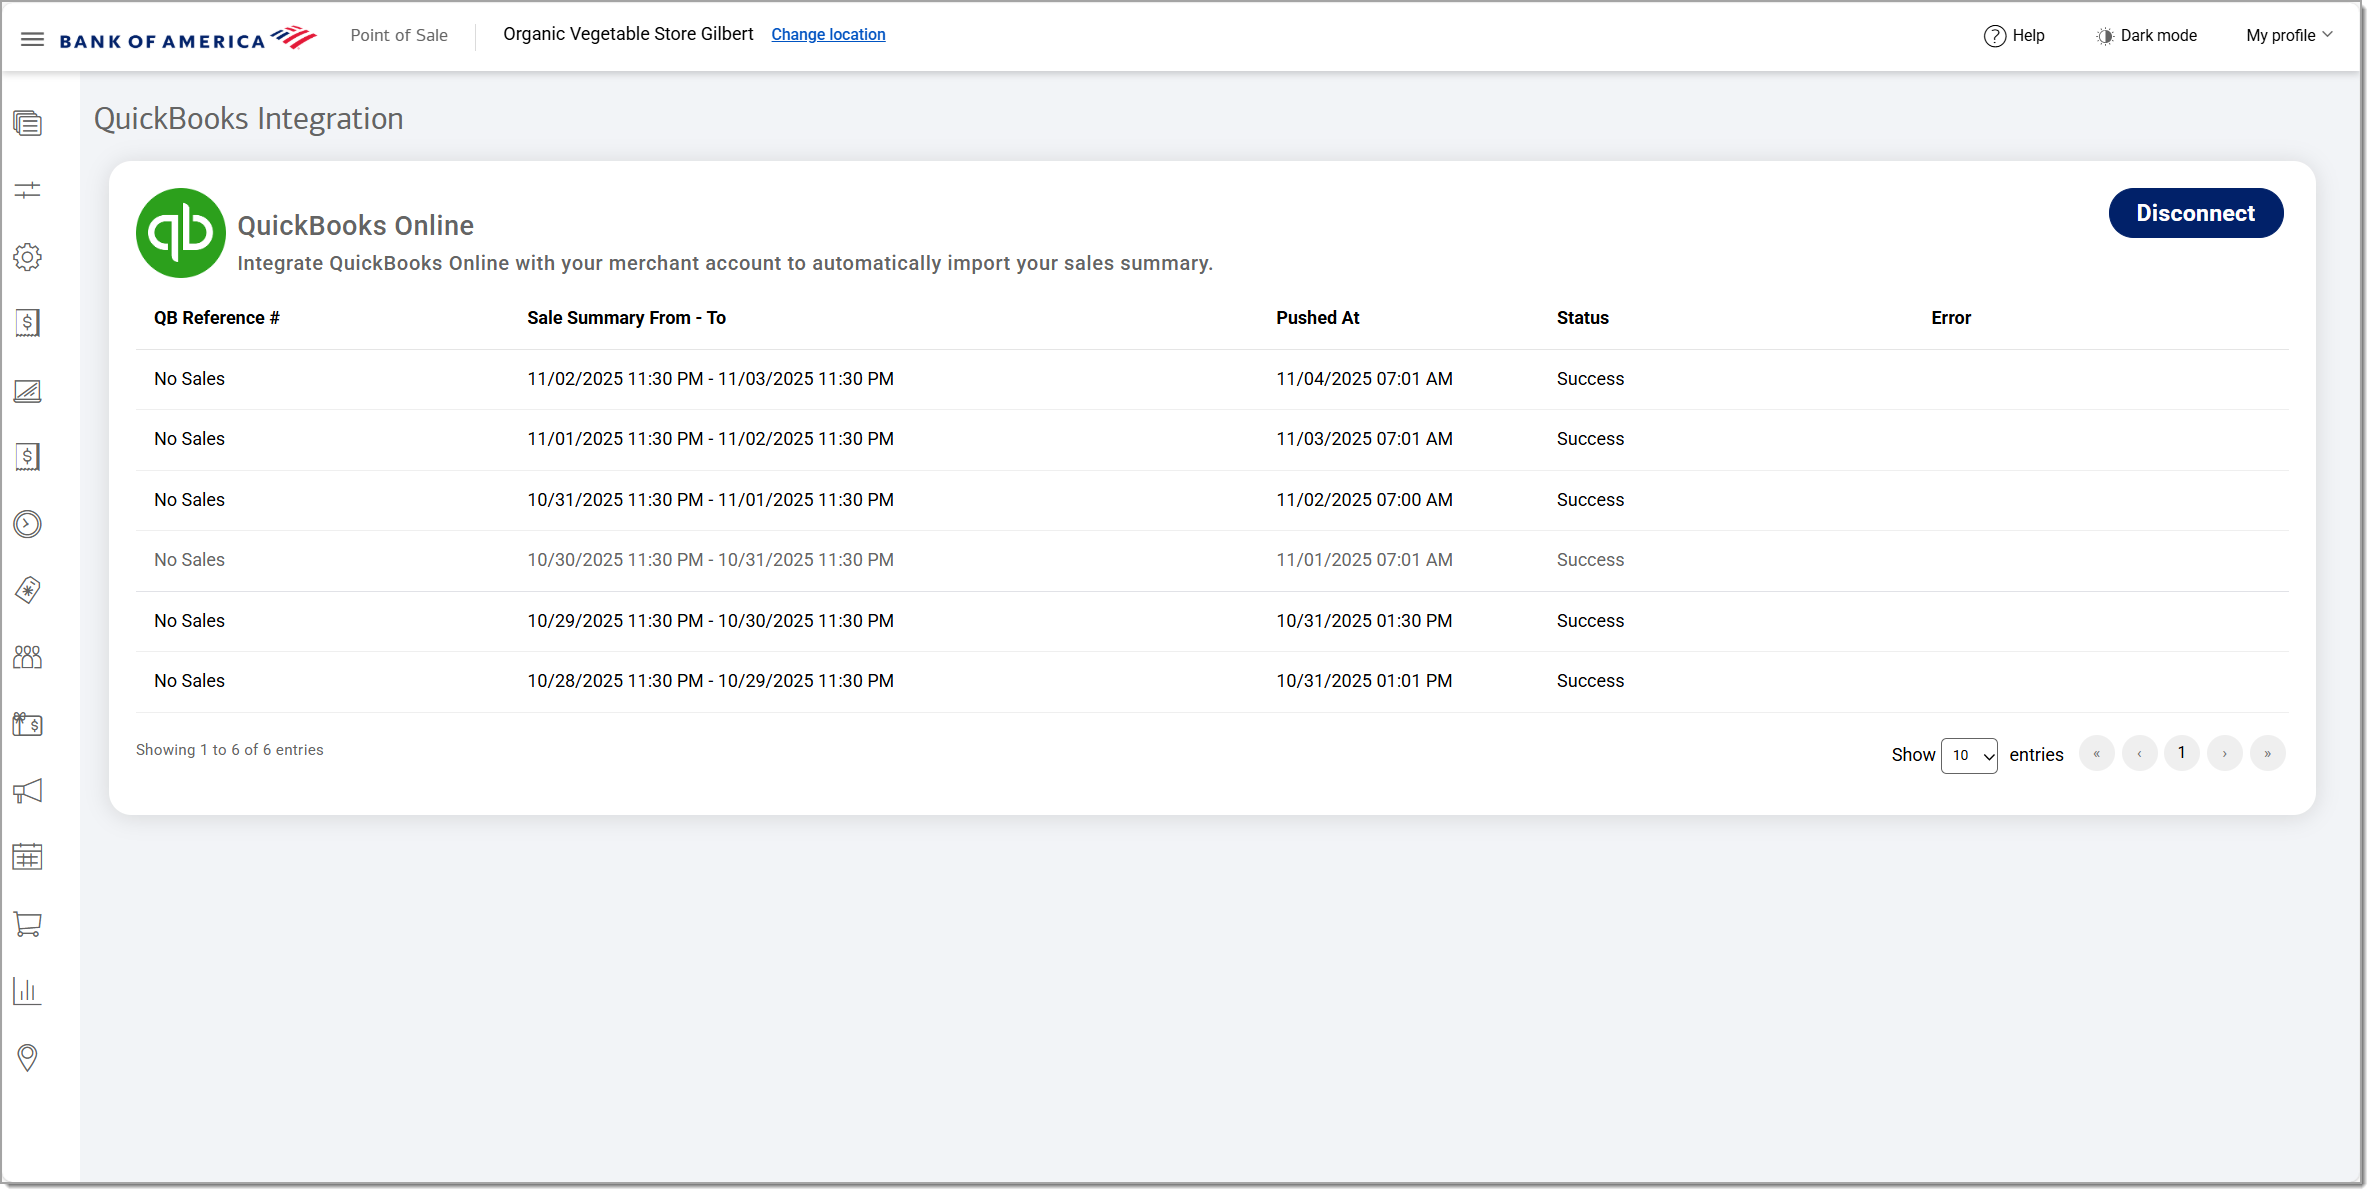
- Click Save. Daily data transfers will begin on your selected start date and time. You can view the status of the transfers by returning to this page.
IMPORTANT!
The configuration screen appears only once during initial setup. To change the transfer settings later, you must disconnect QuickBooks from the Point of Sale Solution Back Office and then reconnect the integration.
NOTE:
Once connected, you can disconnect the integration at any time by clicking Disconnect.