Point of Sale Solution Back Office Profiles
Description
What's in this article?
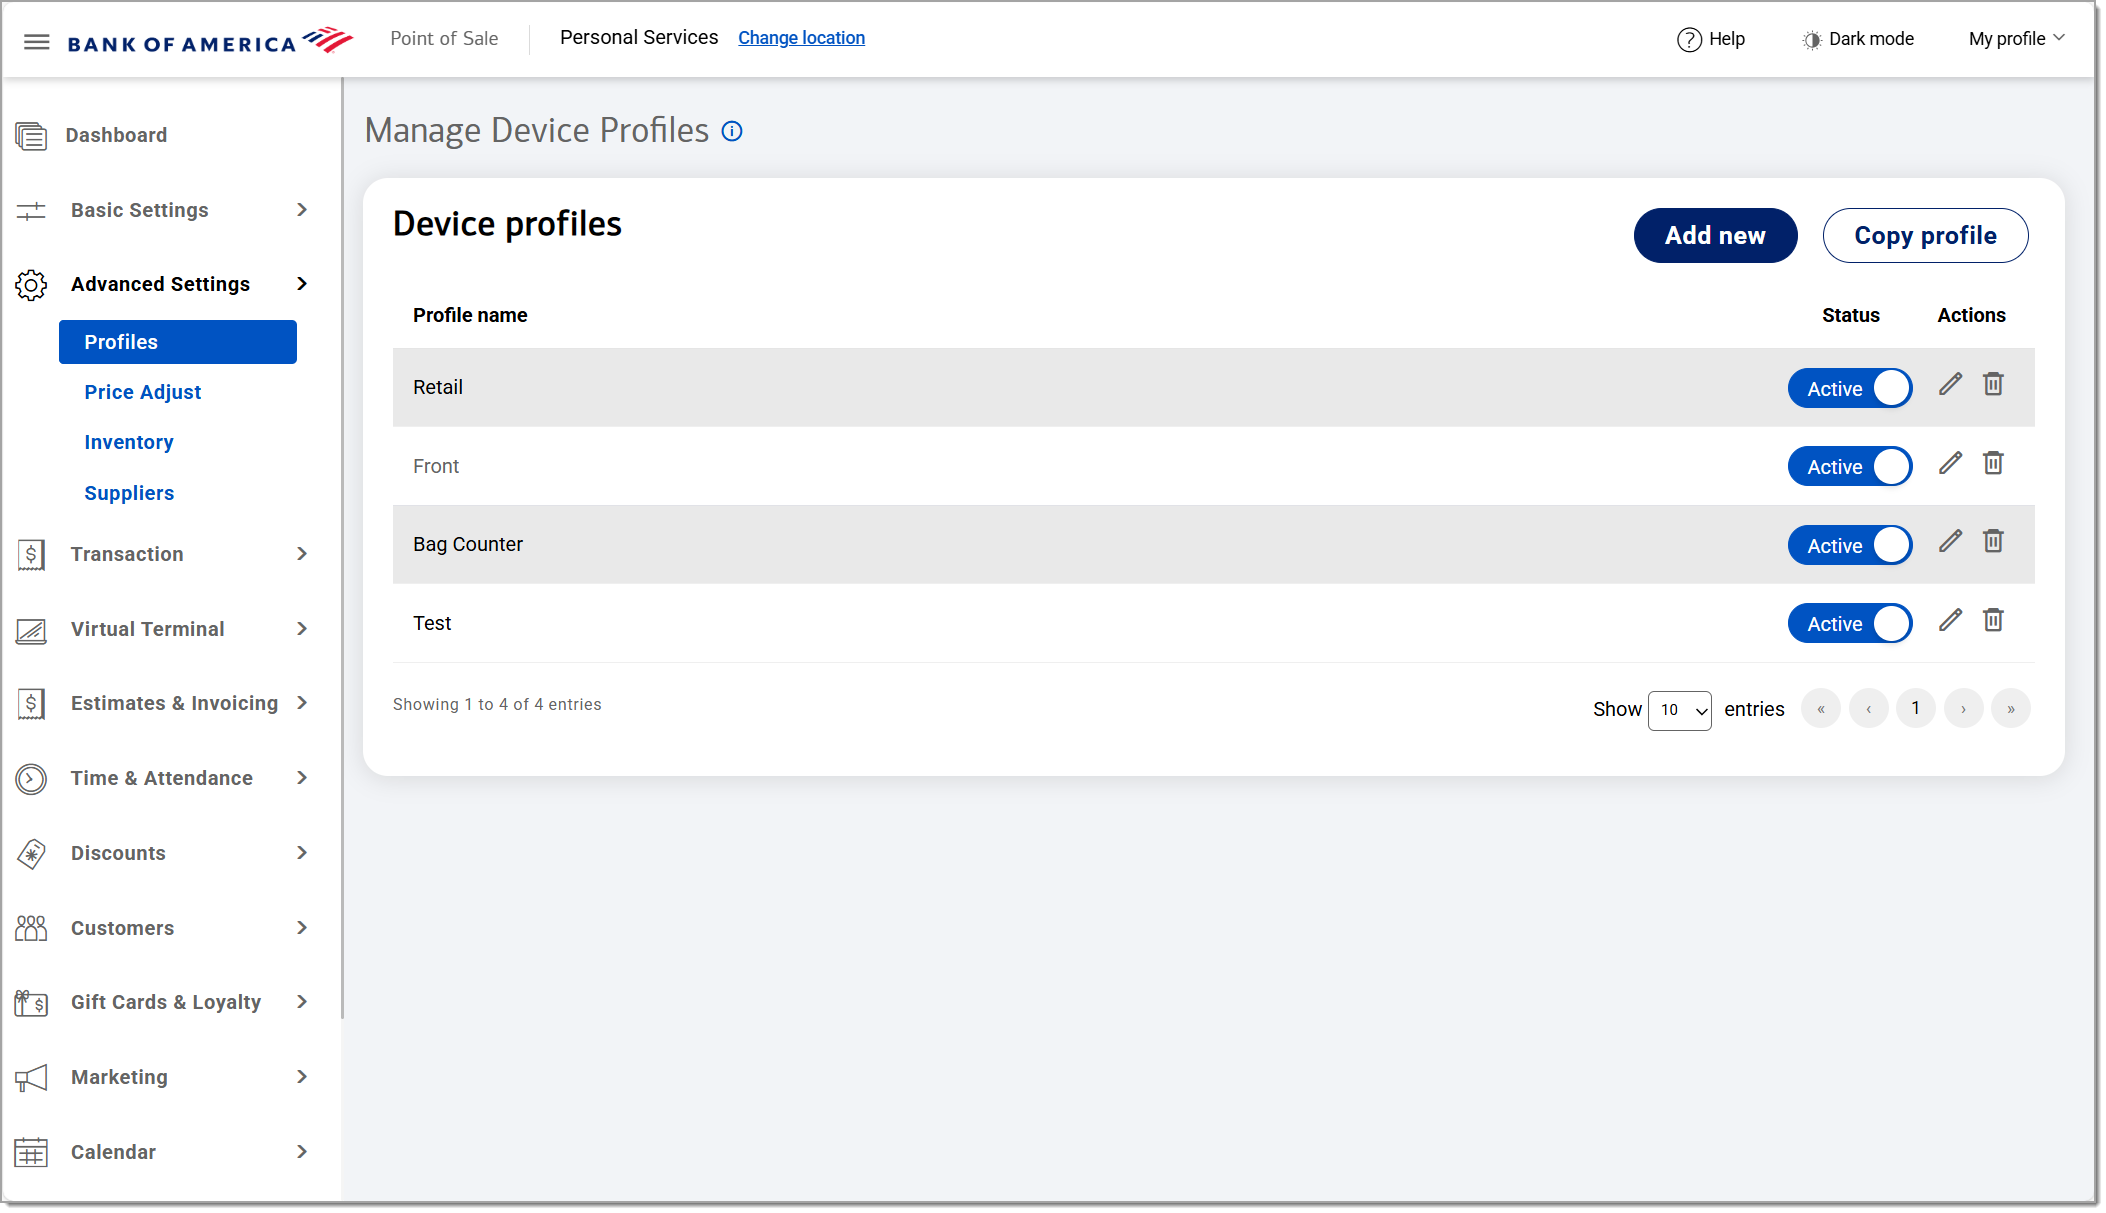
Profiles control what buttons appear and how they look on your Point of Sale app. If you prefer not to use the default profile setup, which organizes buttons based on the order of how your categories are listed for your inventory, you can update it or create a new one.
You can set up a single profile for all of your payment terminals or you can create custom profiles for terminals based on their use. For example, if your business has a restaurant and a gift shop, you might want a custom layout for your Point of Sale app in the restaurant and a different one for the gift shop that is more simple to use.
The options available to create buttons on your Point of Sale app depend on the item categories and inventory items that have already been created. You will create buttons for each inventory category and then the products in those categories will be available to build the additional screens for each category page. In the Point of Sale App, a category can display a maximum of 33 item buttons per category.
Watch the video:
- *music*
- In the Point of Sale Back Office, click Advanced Settings and select Profiles.
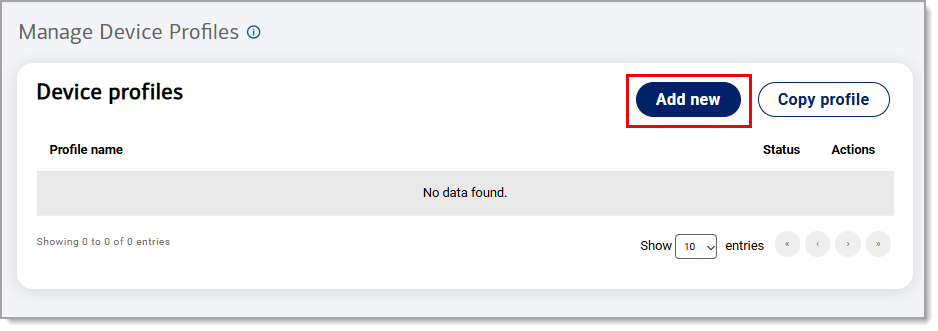
- Click the Add New button to create a new profile.
- Note: If desired, an existing profile can be used as a template.
- In the Create Profile dialog box, enter a name for the new profile.
- Click Create.
- Click the Copy Profile button to use an existing profile as a template.
- In the Copy Profile dialog box, select an existing profile in the Copy From dropdown and enter a name for the new profile.
- Click Copy.
- In the Manage Profiles dialog box, navigate to the Profile Name of the new profile.
- Click on the corresponding pencil icon located in the Action column.
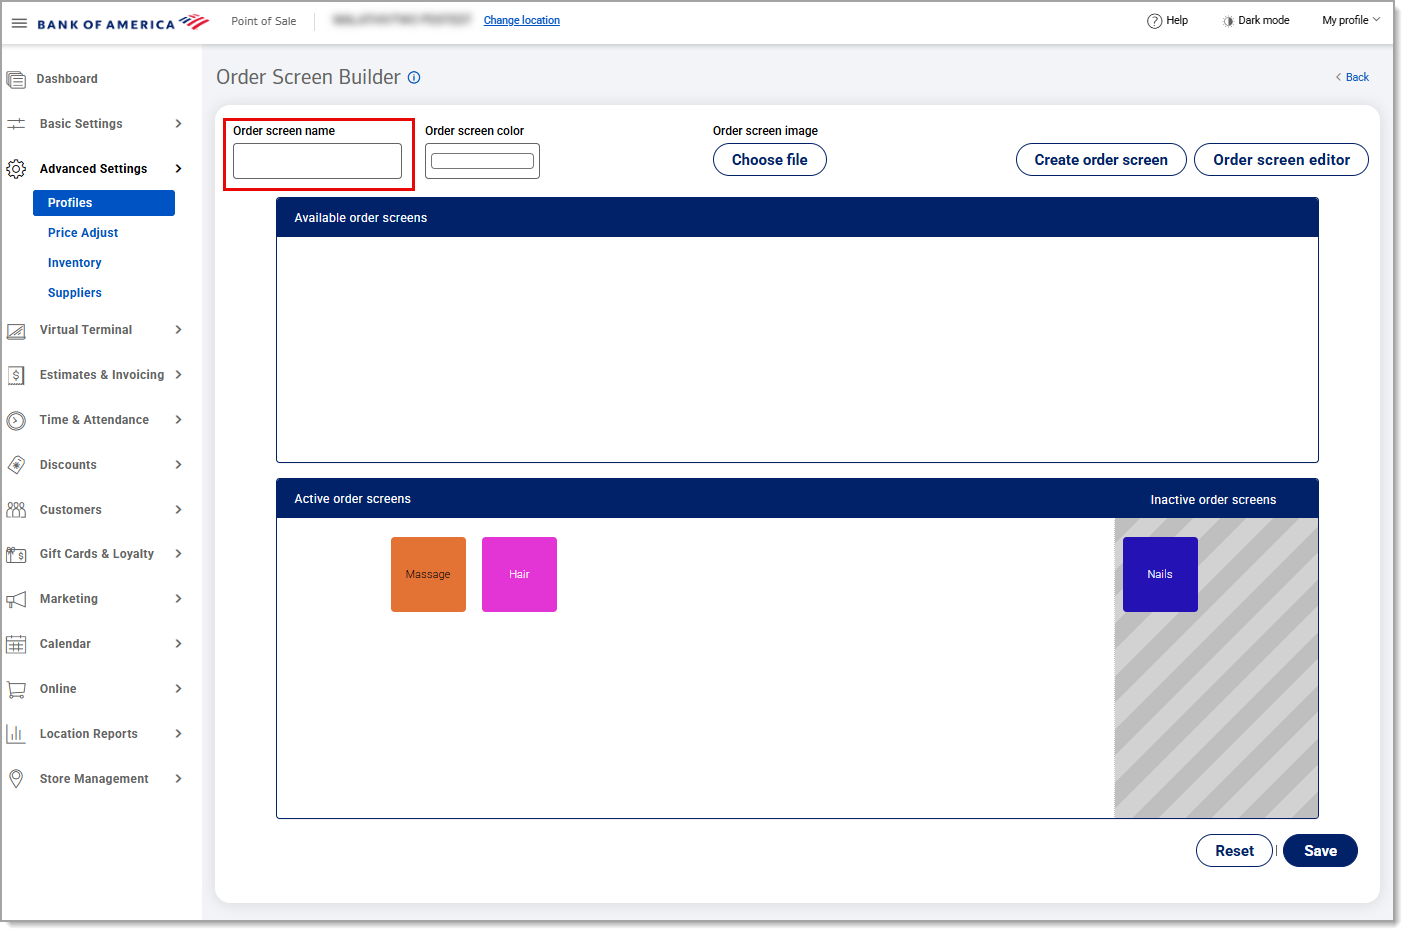
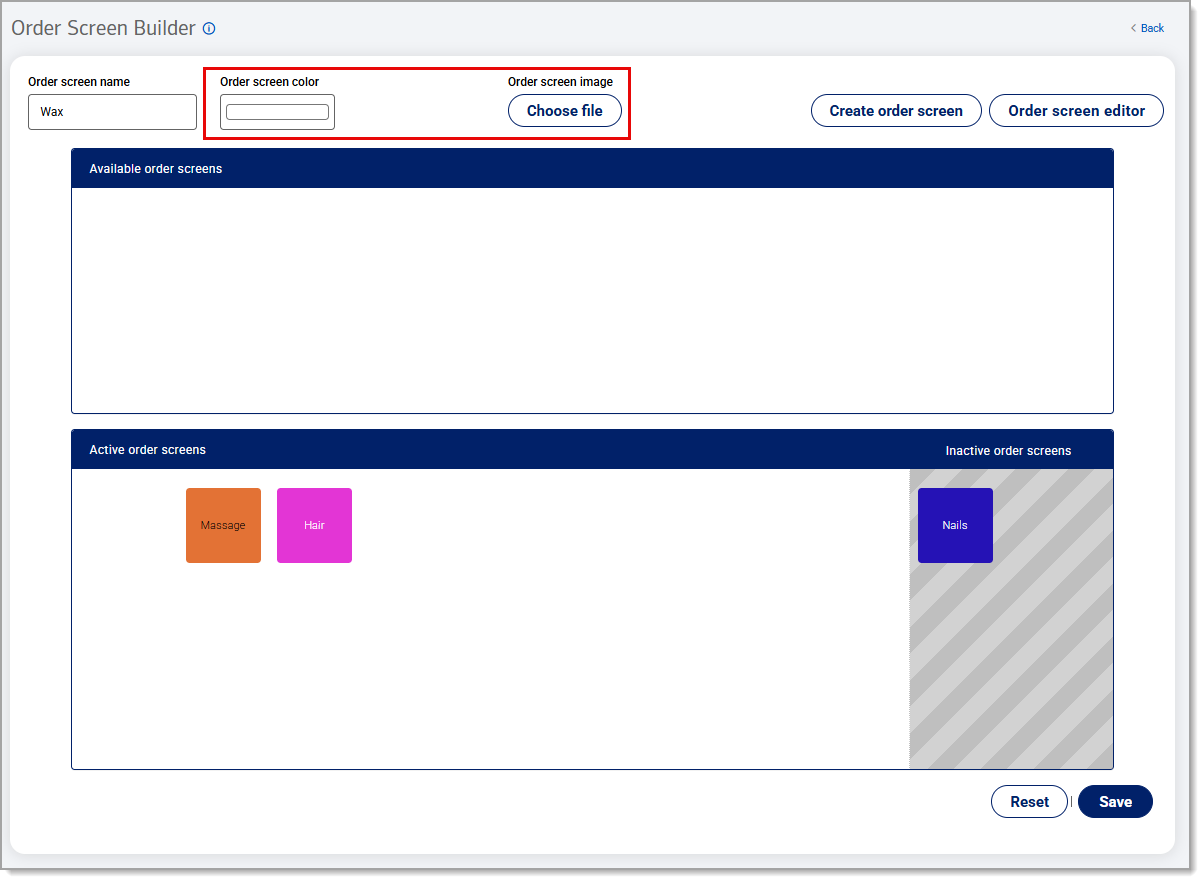
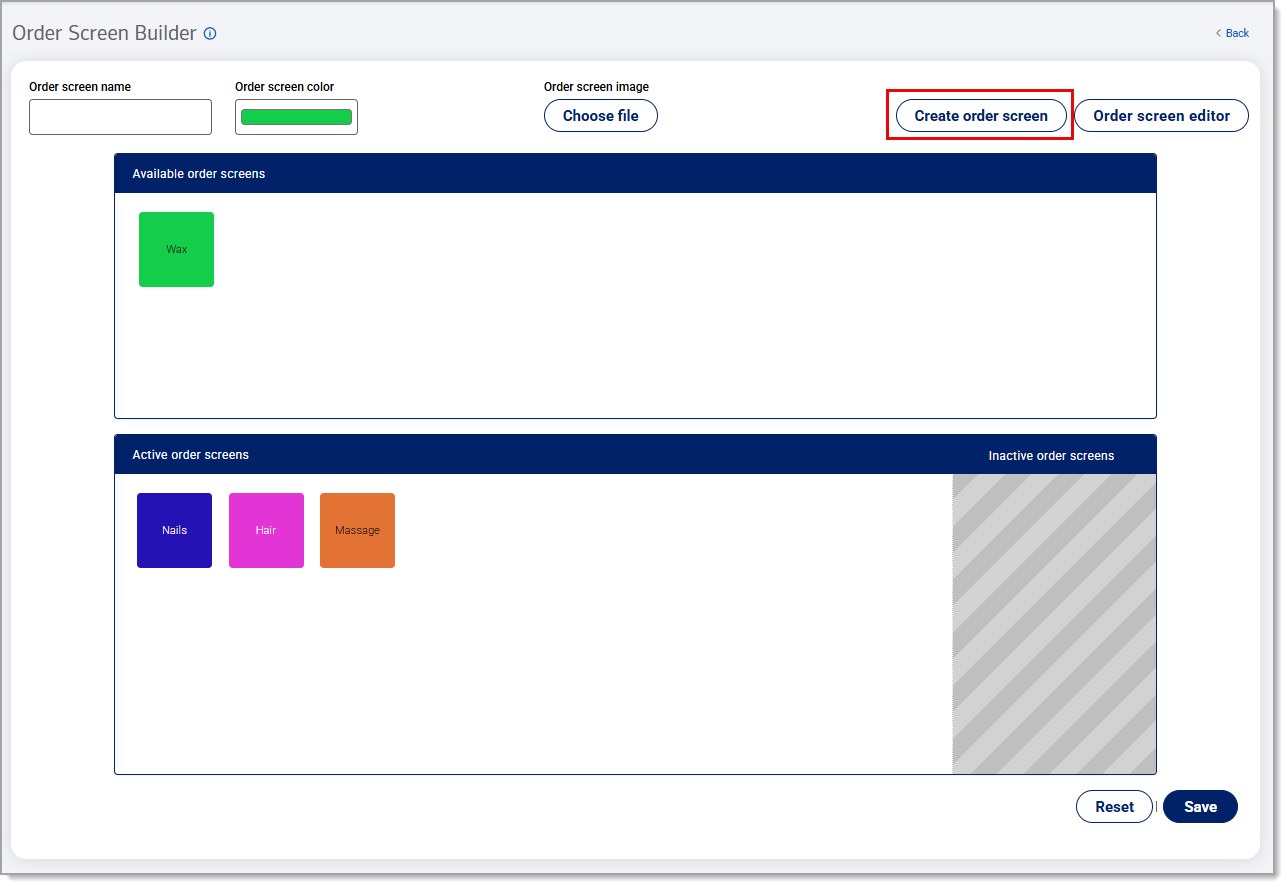
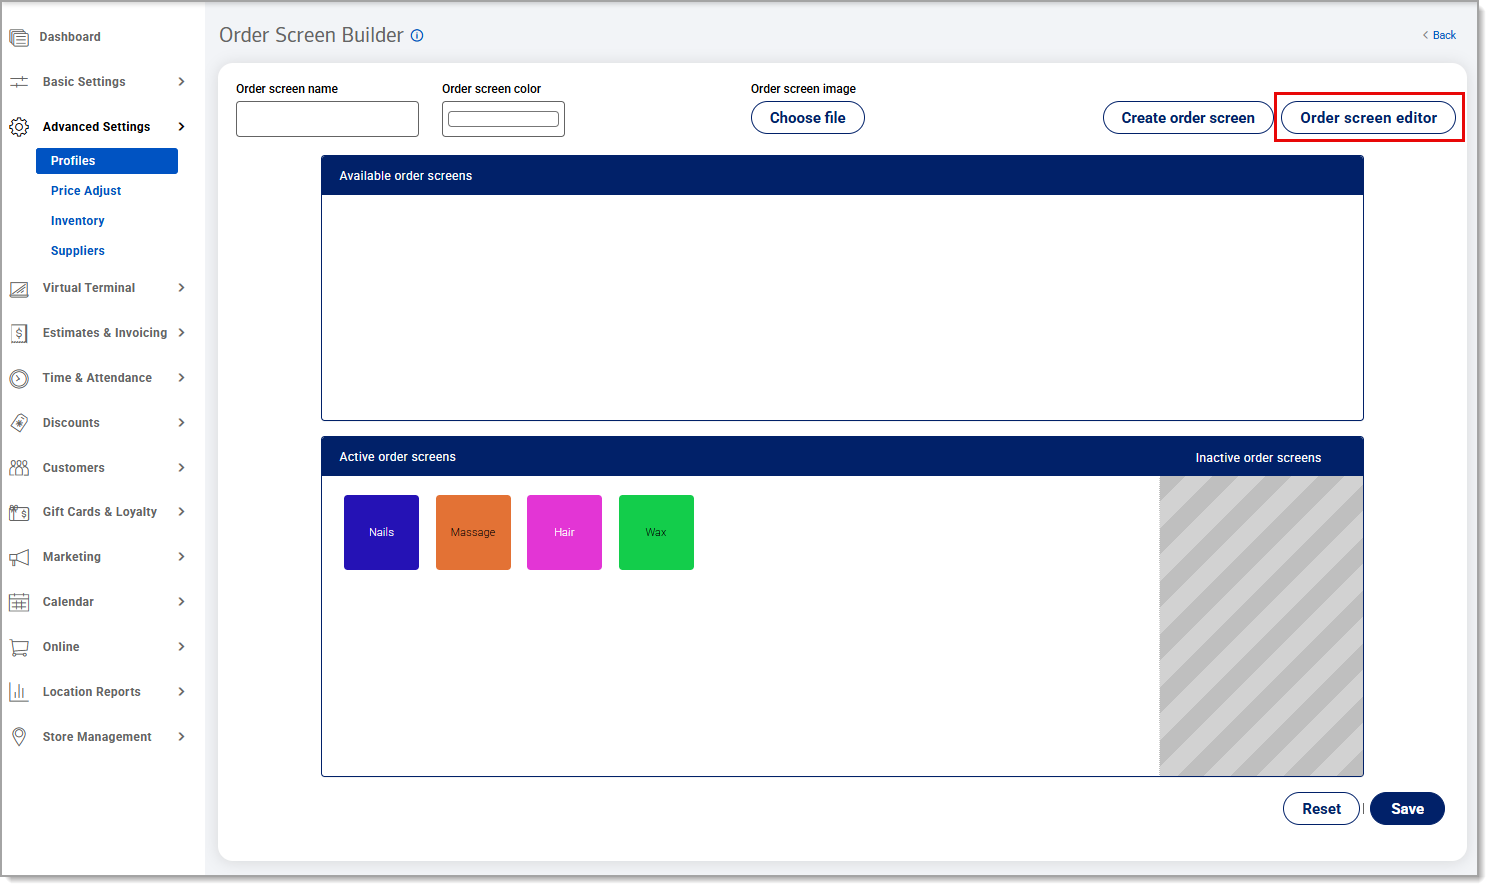
- In the Order Screen Builder dialog box, enter a Category name for the order button, for example Bags or Pizzas.
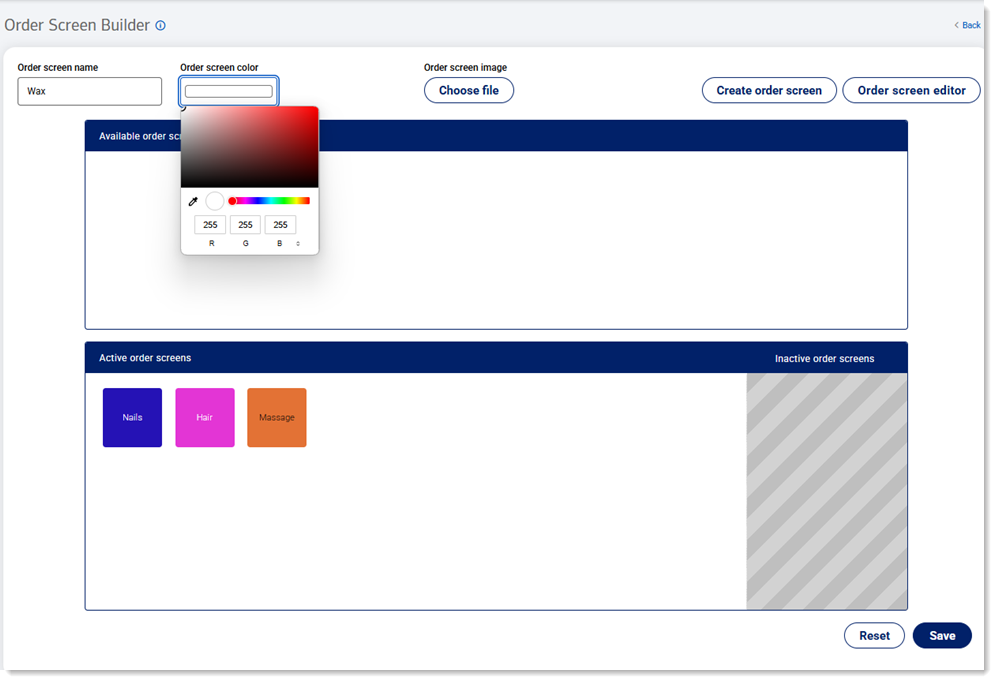
- These next two steps are optional, you can click the Order Screen Color field to select the color for the order button.
- And you can click the Choose file button to select an image for the order button.
- Then click Save.
- Next drag and drop the buttons located under Available order screens in any order you prefer under the Active order screen, then click Save.
- Next click Order Screen Editor, from here in the Products and Services Section you can search by Product or Category, you will drag and drop the button under the Order screens section.
- You will see the names of the section you created from the pervious page at the bottom of the screen to let you know what buttons need to be in that section.
- Note when you finish adding your buttons make sure to click Save before you move on to the next section.
- *music*
Create or update a profile
The Order Screen Builder in the Back Office is separated into two parts. When you create a new category button, the button will appear in the top build window (staging section). It is ready for placement on your Point of Sale app screen, which is represented in the bottom build window.
Drag and drop the category order buttons from the staging section to the bottom window. When you have finished placement of the category buttons, the items that are in your inventory for those categories will populate and can be added to each category page. You do not need to create buttons for inventory items.
After completing your profile design, you will be ready to load the profile to a register.
- To create or edit a profile
- In the Point of Sale Solution Back Office, select Advanced Settings > Profiles.
- Choose whether to create a new profile or use an existing profile as a template:
- Create a new profile
- Click Add new.
- Name the new profile.
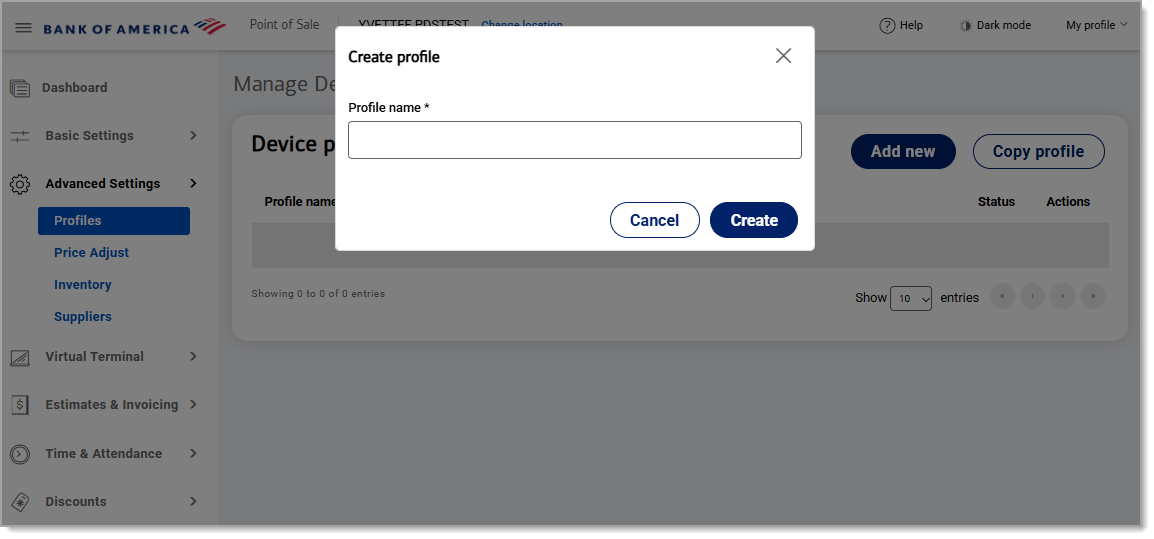
- Click Create. Your new profile is created and will appear at the end of your profile list.
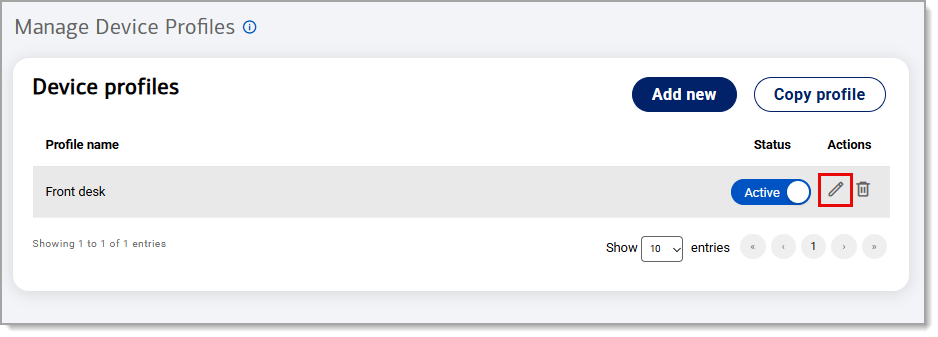
- Navigate to your newly created profile and click the Edit icon to edit it in the Order Screen Builder.
- Click Add new.
- Edit an existing profile
Select a profile to update:
- Click on the Edit icon next to the profile you would like to edit.

- Make your edits and click Save.
- Click on the Edit icon next to the profile you would like to edit.
- Create a new profile
- In the Point of Sale Solution Back Office, select Advanced Settings > Profiles.
- To create a category button
Use the Order Screen Builder to create the category order buttons for the categories in your inventory that you want to display on the Point of Sale:
- From the Advanced Settings > Profiles screen, click on the Edit icon next to the profile you would like to create a button for.
- Enter an Order screen name for the button.
- Choose the button color and/or image.
- Select a button color
Click in the color field to open the color selection dialog. You can choose a color and shade, use the color eye dropper, or enter a RGB code for a specific color.
- Select a button color
- Click Create order screen to create the button.
- Drag and drop the category order button(s) from the upper section to the lower section, placing them in the arrangement you would like them to appear on the point of sale.
- When your order buttons are all placed, click Save. You are now ready to add items to the categories in the Order Screen Editor.
NOTE: Items available correspond to the items you have created in each category in your inventory.
- To add products to a category page
You are now ready to add items to the categories in the Order Screen Editor.
NOTE:
Items available correspond to the items you have created in each category in your inventory.- From the Advanced Settings > Profiles screen, click on the Edit icon next to the profile with a category you would like to add products to.
- Click Order screen editor.
- Use the search box to search for the item name to add to the profile screen.

- Drag and drop buttons from the Products and services section to the Order screens section below.
- Click Save and then move to the next category to add items to repeat the process. Once the new profile is complete, it can be assigned to a register.
Assign a profile to a register
After creating or updating a profile, you can assign that profile to a register or group of registers.
To assign a profile to your register
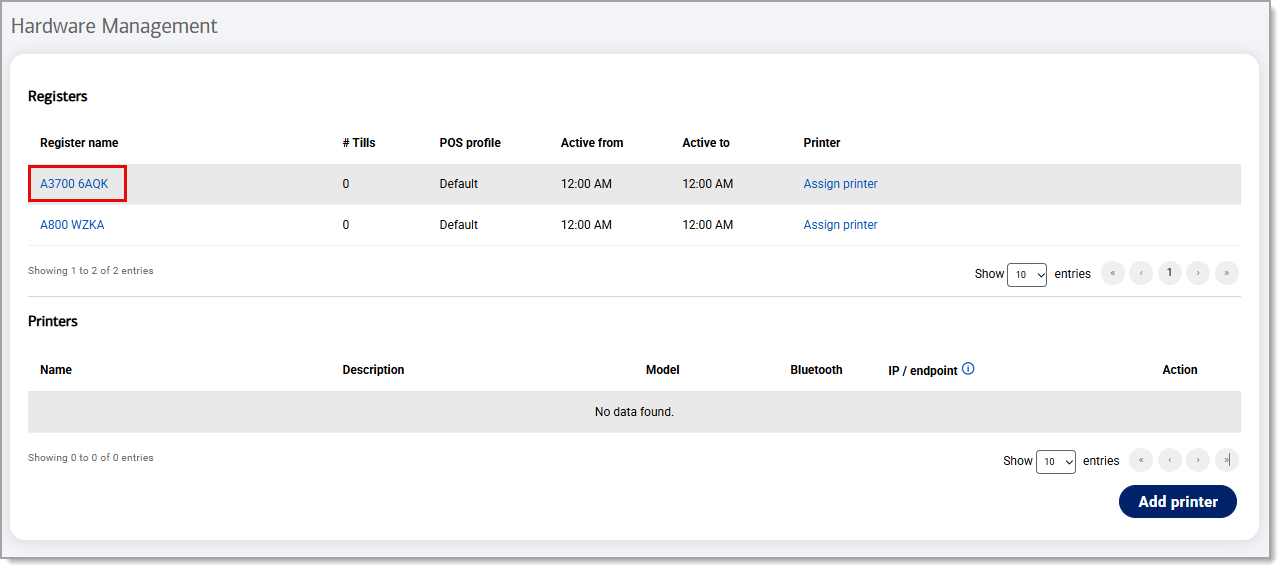
- In the Point of Sale Solution Back Office, select Basic Settings > Hardware.
- Select the register.
- From the Pos profile dropdown, select the profile to assign to the register.
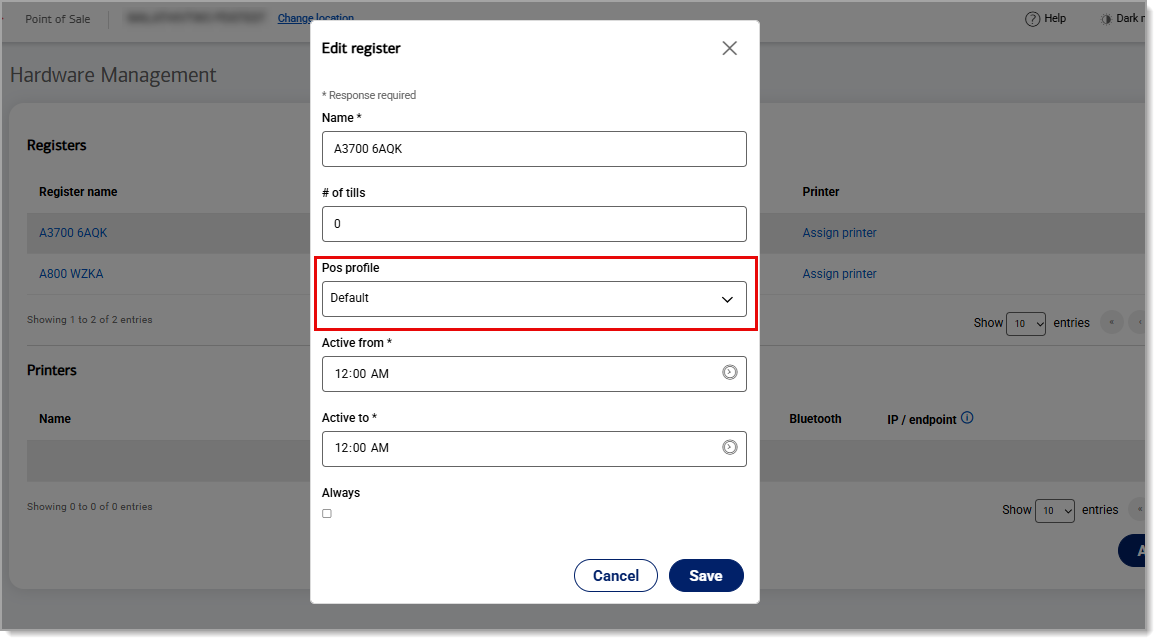
- Click Save. The "Register Details saved successfully" message displays.
- Synchronize the register with the Back Office to update the register immediately.