Essentials Suite App Customer Assignment
Description
How to enable the prompt to assign a customer to a sale and add or remove a customer from a sale in the Essentials, Essentials Light or Retail App
What's in this article?
Solution: Essentials Light | Essentials | Retail
Assigning customers to sales allows you to track your customers' purchase history and preferences. It also enhances your ability to market to customers with integrated email marketing and loyalty rewards.
You can configure the app to remind you to assign a customer to each sale.
- To add a customer to a sale
Each new sale is assigned to the "walk-in customer" default, but you can easily assign a sale to a specific customer by looking up a customer record at any point during the transaction. If a customer is already assigned to a ticket, you can replace the customer by searching and assigning a new one.
- From the Ticket Entry screen, tap the Customer tab or from the slide out menu, tap Customers.
- Enter all or part of the customer's name in the Search bar.
NOTE: You can also search for a customer using the camera by scanning a bar code or QR code.
- Scroll through the list of matching results and tap the customer you're looking for.
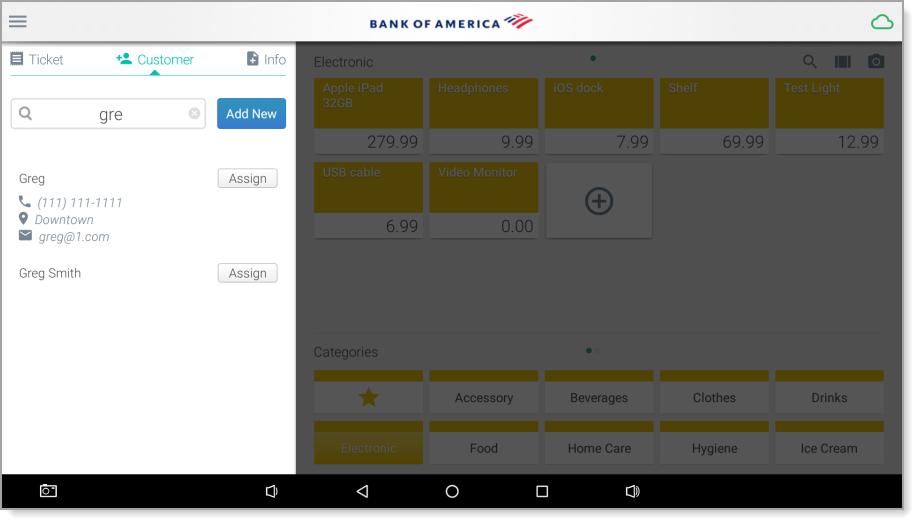
- Tap the Assign button to attach the customer to the ticket.
- To remove a customer from a sale
- From the Ticket Entry screen, tap the customer's name to display the Customer Info window.
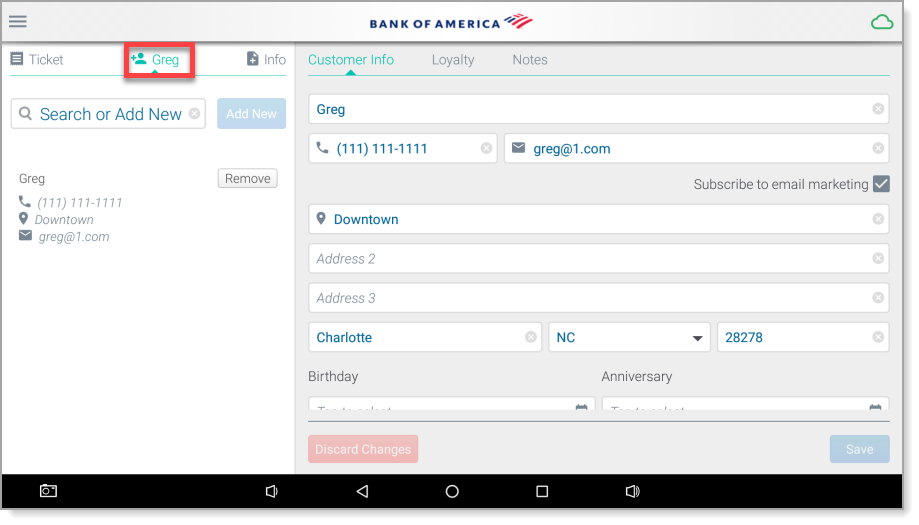
- Tap the Remove button.
- From the Ticket Entry screen, tap the customer's name to display the Customer Info window.