Back Office Categories
Description
What's in this article?
Solution: Essentials Light | Essentials | Retail | Restaurant
Items are grouped by categories and subcategories that you create. Categories drive everything about your items - from how items are sold at the POS to how sales reports are generated. Grouping items into categories makes it easier for you to manage your inventory and for employees to find items in the Point of Sale app. Depending on your solution, a category may even be grouped into a department to further organize your items.
Start with broad categories. You can add more specific categories later.
NOTE:
Essentials Light users are limited to 10 categories.
Create or edit a category
Categories and subcategories that you create for your inventory will appear on the POS device. If you are a multi-store customer, ensure that you are in Company view before you begin.
- To create a category
- In the Back Office, select the Inventory (or Menu) tab. Your business type will determine which tab option appears.
- Select the Categories & Items subtab.
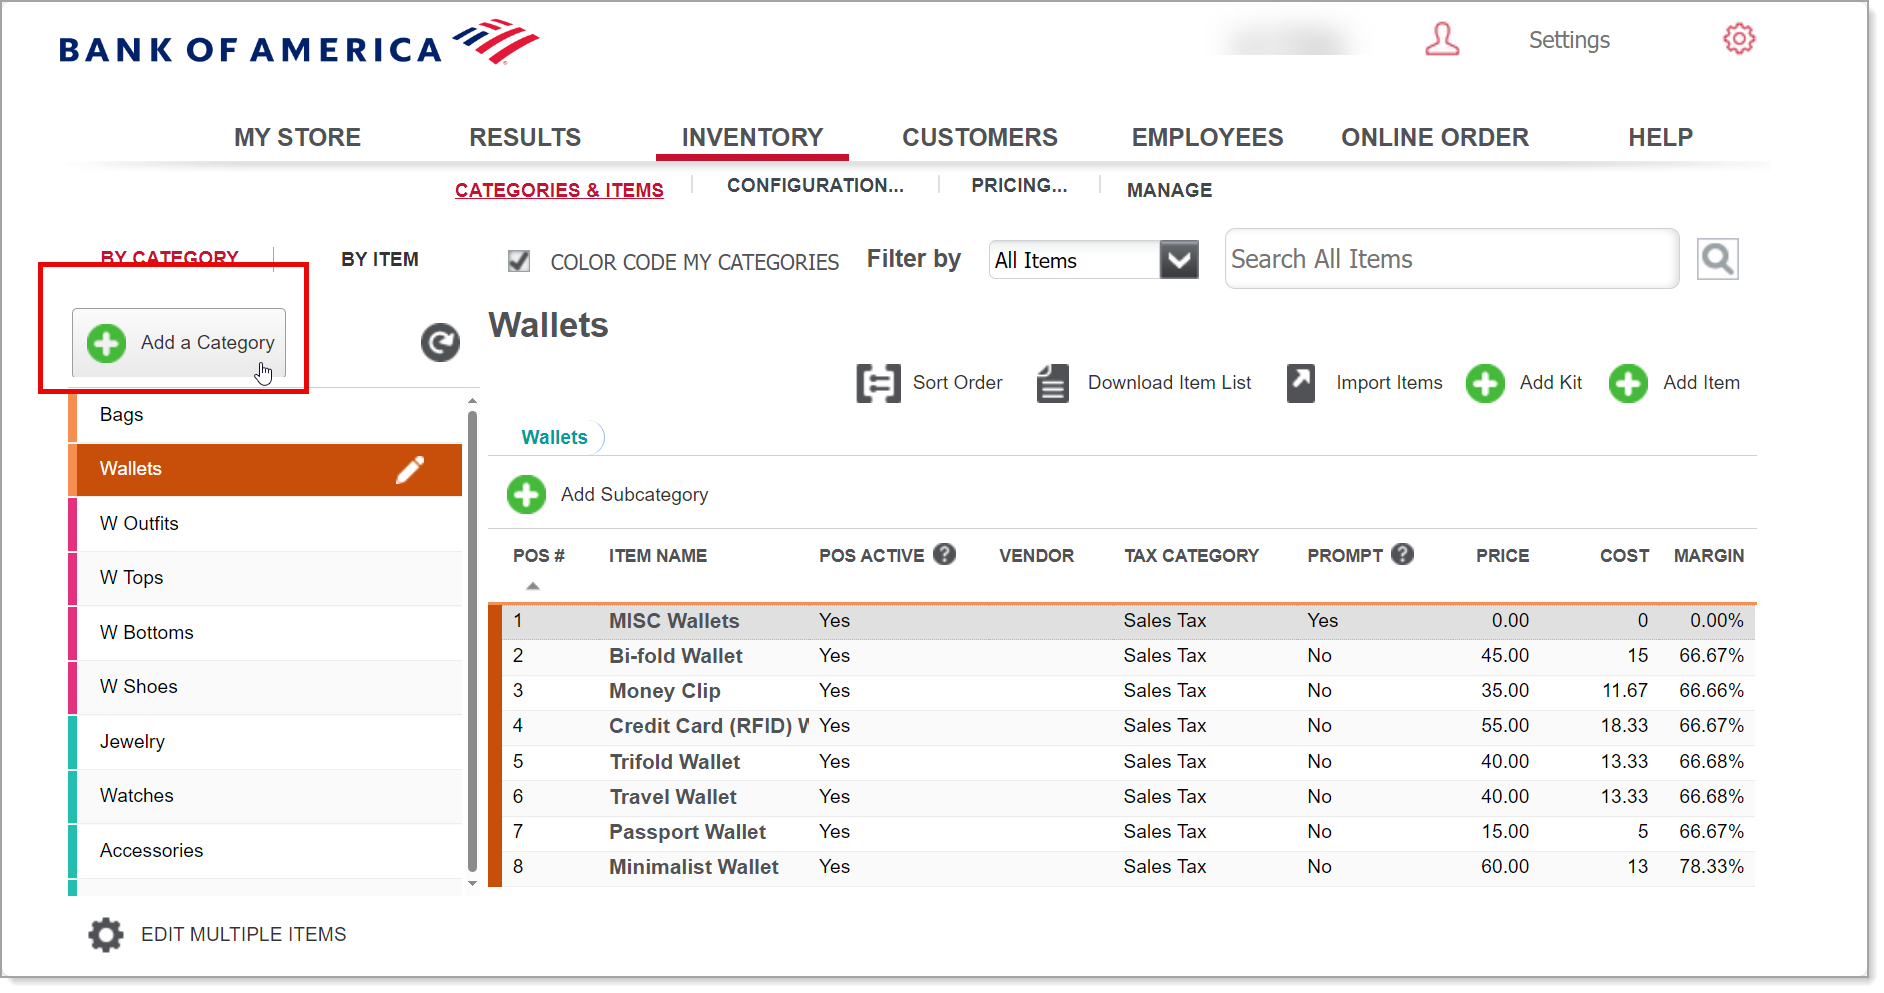
- Click the Add a Category button.
- Enter a name for the category.
- (Optional) Select a Department for the category from the dropdown list. Learn more about Departments.
NOTE: Departments are not an option for Essentials Light.
- (Optional) Select tags to apply to the new category.
- Select a color code for the new category.
NOTE: If you would prefer not to have color coding, clear the Color Code my Categories checkbox at the top of the screen.
- Click Save.
Sort categories
Once you have created your categories and items in the Back Office, you may want to change the order they are displayed both in the Back Office and on your POS device(s).
- Single store users can do this from the Back Office or from the POS device if they are Essentials or Restaurant Solution users.
- Multi-store users can only edit the sort order in the Back Office.
While in sort mode, you can sort the order of your categories and the items within the categories using the arrow buttons, but you cannot add a new item, edit an item or import items while in this mode.
NOTE:
Essentials Light users cannot sort the categories on the POS.
Remove a category
Removing a category is a "soft delete". This means that although the category is removed from your view, all the data and activity associated with that category is still shown in reports, transactions, etc.
Hide empty categories
Multi-store locations that sell different items in different locations can hide, or un-assign, any items from the POS and hide the empty category buttons. The option must be turned on for each device. A store can only hide categories that have no assigned items. You can adjust item assignment at the company view or the individual store view.
NOTE:
Essentials Light users cannot use the Point of Sale app to hide categories.