Back Office Settings for My Account
Description
What's in this article?
Solution: Essentials Light | Essentials | Retail | Restaurant
From your user profile, you can access account settings and information, including information about your account, the stores for your account if you have more than one store, and the devices assigned to your account. You may also use send messages to the POS devices for your store(s) and change the websites that appear for the POS user when they select the Help option from the menu.
Overview
View details about your account, including your account number, account history, the number of stores for your account (if applicable), the number of point of sale devices registered to your account, and the rate plan, which indicates the software option for your account: Essentials Light Solution, Essentials Solution, Restaurant Solution.
- View an overview of your account information
- In the Back Office, select your user profile at the top of the screen > My Account.
 The My Account overview displays account details like the status of your subscription, the number of devices, and your rate plan.
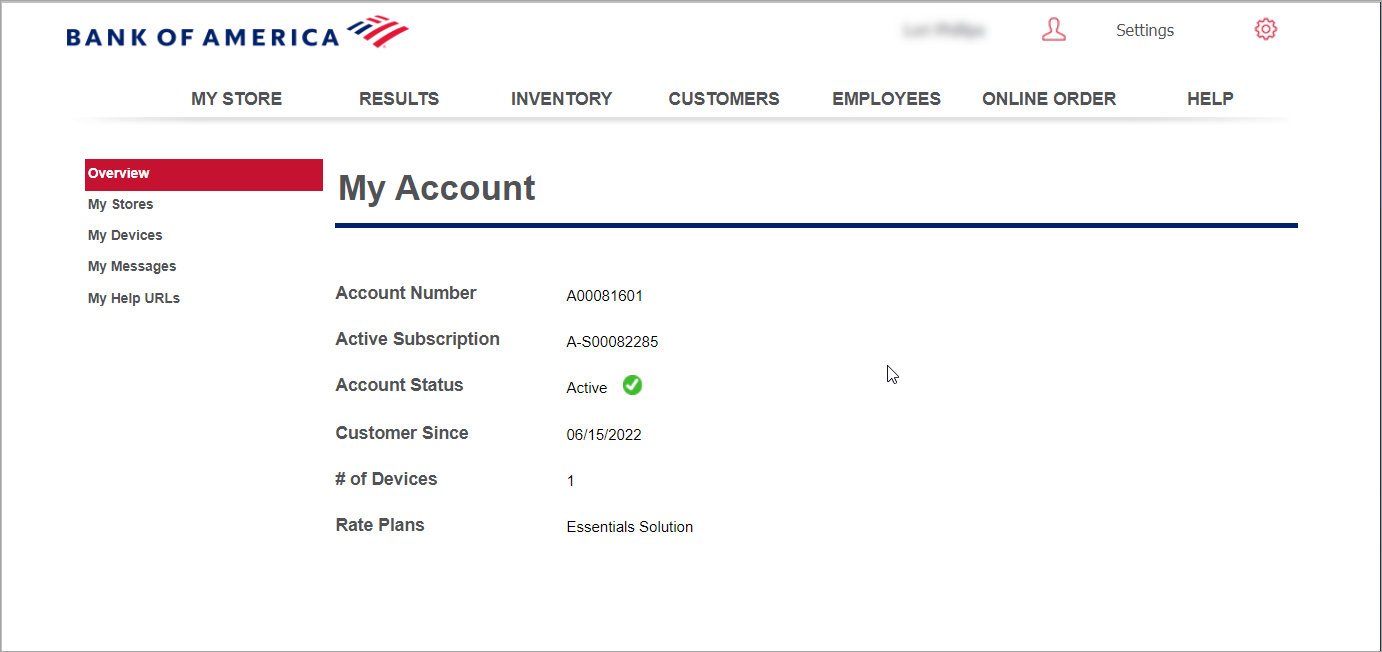
- In the Back Office, select your user profile at the top of the screen > My Account.
My Stores
The My Stores screen was designed for our customers who are using our multi-store feature. You can deactivate a store that is no longer in business; however, you cannot delete your last store. Essentials Light users are limited to one store.
My Devices
You can view the devices for your account, deactivate devices you are no longer using, and edit the Station Name of a device. The Station Name appears in the Device Activity report and can also be found in the Point of Sale app home screen by clicking the Information icon. The Station Name is a description name for the device that helps you identify the device quickly. The Device Name is the actual name of the device. Names are created when the device is first set up, but can be updated directly on the device if desired.
If you have Restaurant Solution, your Primary POS (Primary Device) will also be indicated. Learn more about device management.
My Messages
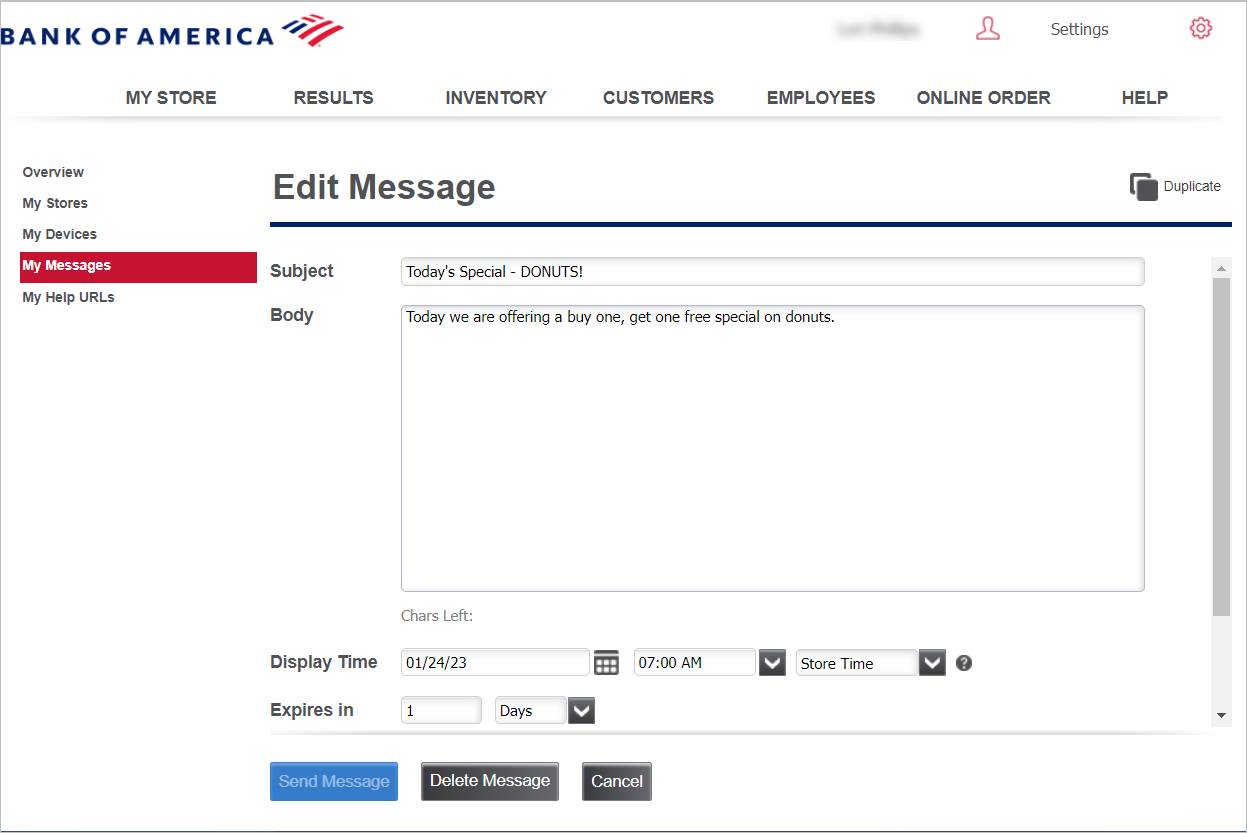
You can create, schedule and send notifications that appear on the POS to alert users of important messages. In Company view, multi-store users can send short notes to all or selected sites in real time. It’s a great way to let employees know when promotions are live.
When a message is sent, an alert will appear on the POS as a new notification and a number badge will indicate how many new messages have not been viewed. To view the message, simply tap on the icon. Then, tap on the message you wish to view. Once the alert is viewed, the number badge disappears/is decremented but the icon displays until the expiration date/time for the message is reached.
NOTE:
Scheduled and Sent messages appear on the My Messages screen. Once a message has been delivered, it can no longer be edited or deleted.
- Edit or delete a pending message
- From your user profile, select My Account > My Messages.
- Click on the pending message from the Inbox.
- View, edit, or delete the message.
My Help URLs
Point of Sale app users can access a link to the Help website from the slide-out menu. You can add up to five additional URL addresses that will appear when someone taps Help in the Point of Sale app slide-out menu.
NOTE:
The website URLs you configure will open up within the Point of Sale app. They will not open the website in a separate internet browser window.