Back Office Tags in the Retail Solution
Description
What's in this article?
Solution: Retail
Tags are a way to group items for things such as promotions. Tags can include departments, categories, items, and items with variations, which are referred to as objects in this guide. When you configure a promotion, tags identify the items required for a promotion to apply. You can also assign a department, category, item, or item with variation to a tag at the specific object page. For multi-site locations, you can only create and edit tags at the company level. Tags are read-only at the store level.
Before you configure a promotion, you must first create a tag. Tag creation and editing occurs in the Back Office and requires the appropriate user access level. You can create a tag at the Tags page or when creating a promotion.
Other important information regarding tags:
- You can have multiple tags.
- A department, category, item, or item with variation can belong to different tags.
- When you assign a department or a category to a tag, all items belonging to the department or category belong to the tag.
- You cannot create tags from the Point of Sale app.
- The Item Import function does not support tag assignment.
- The Edit Multiple Items function does not support tag assignment.
- If a promotion uses a tag, you cannot delete the tag.
To create a tag
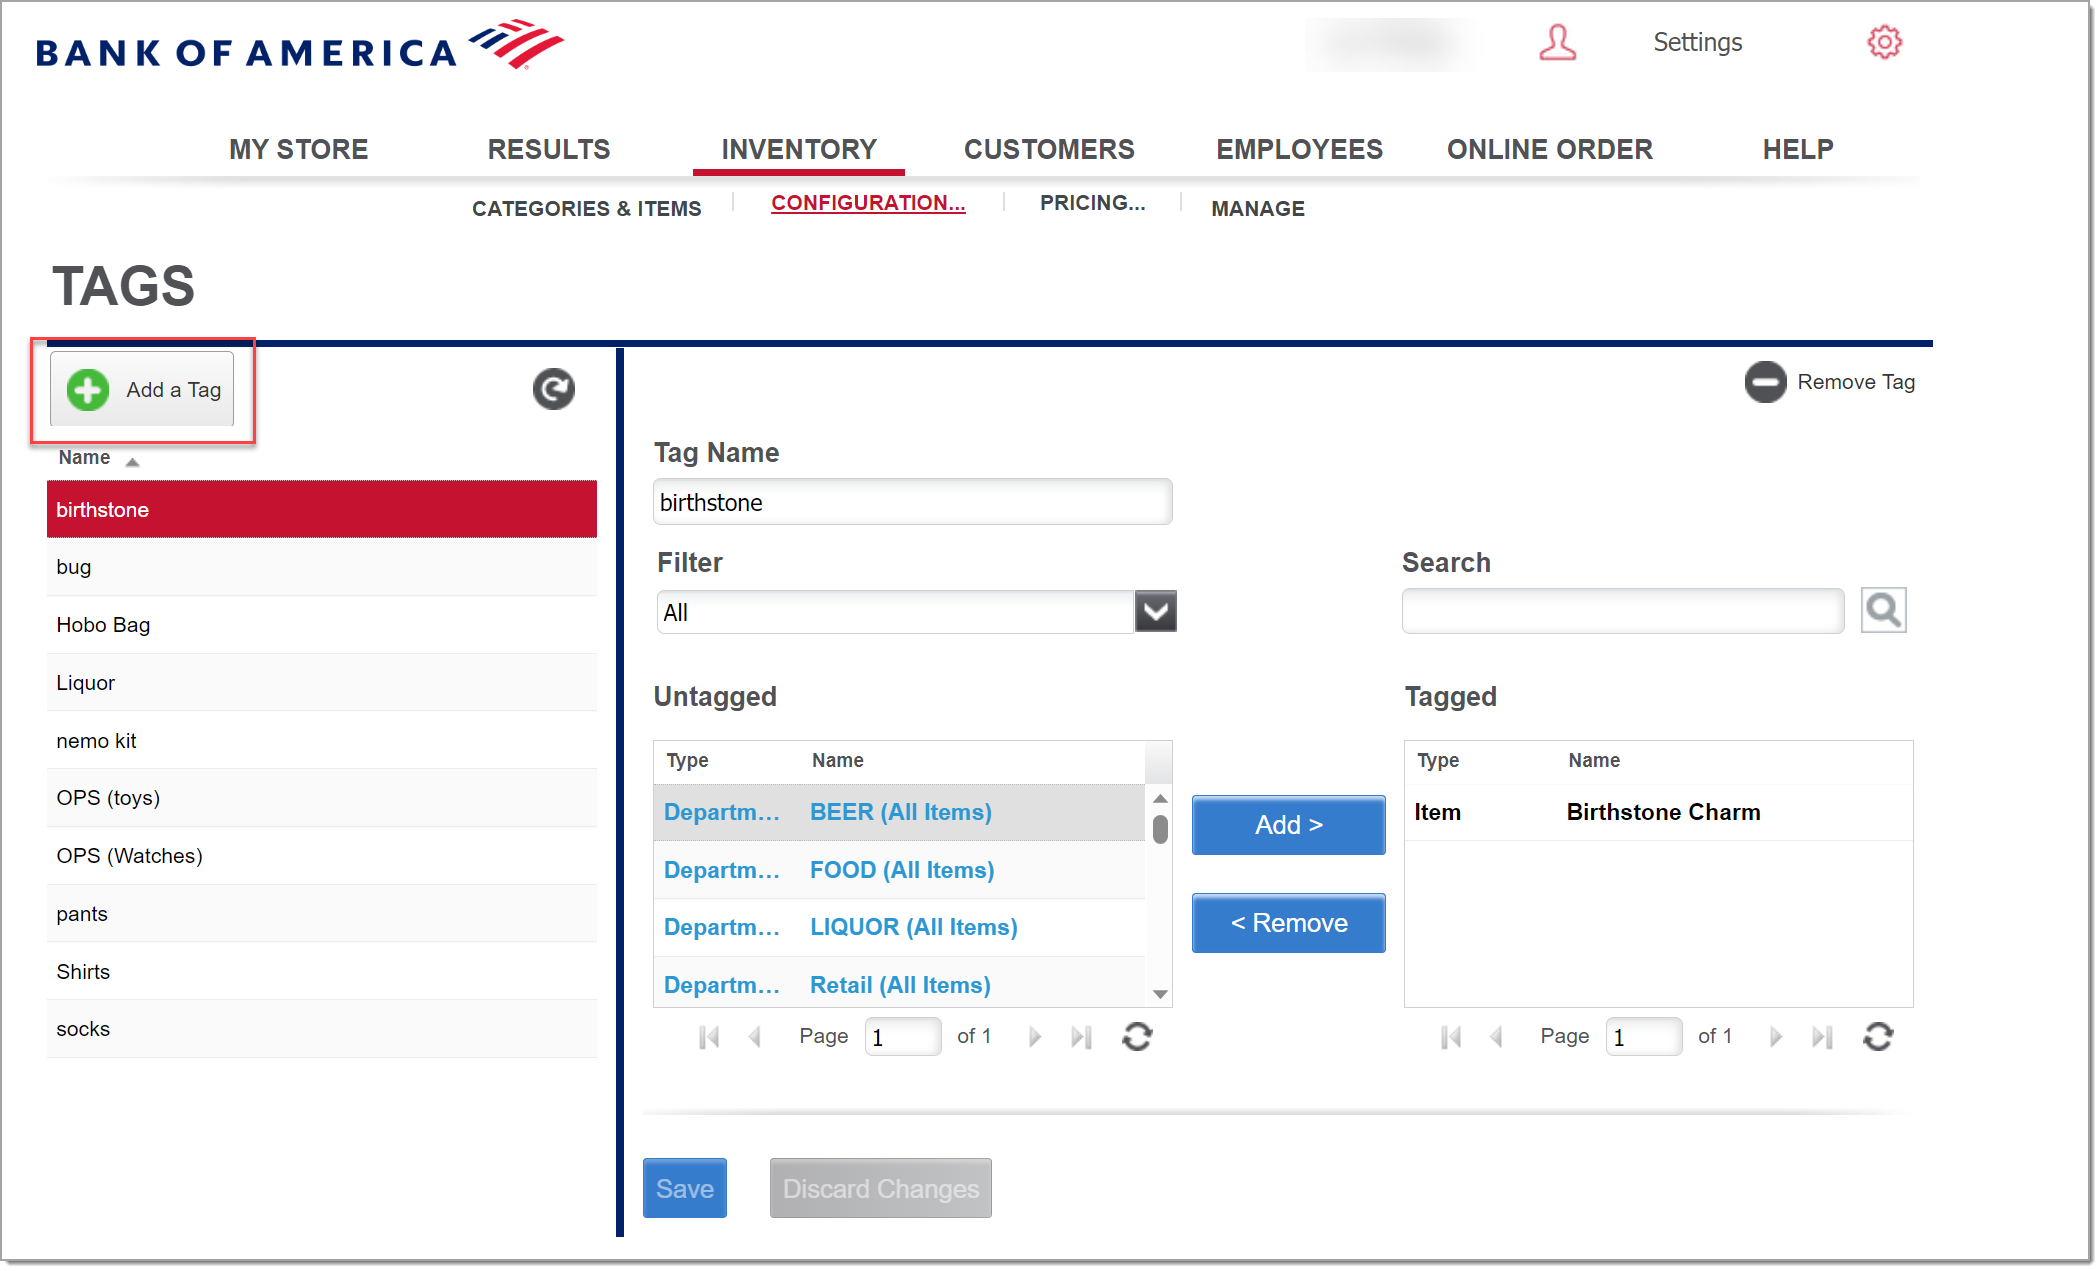
- In the Back Office, select the Inventory tab.
- Select Configuration subtab.
- Select Tags

- Click Add a Tag.

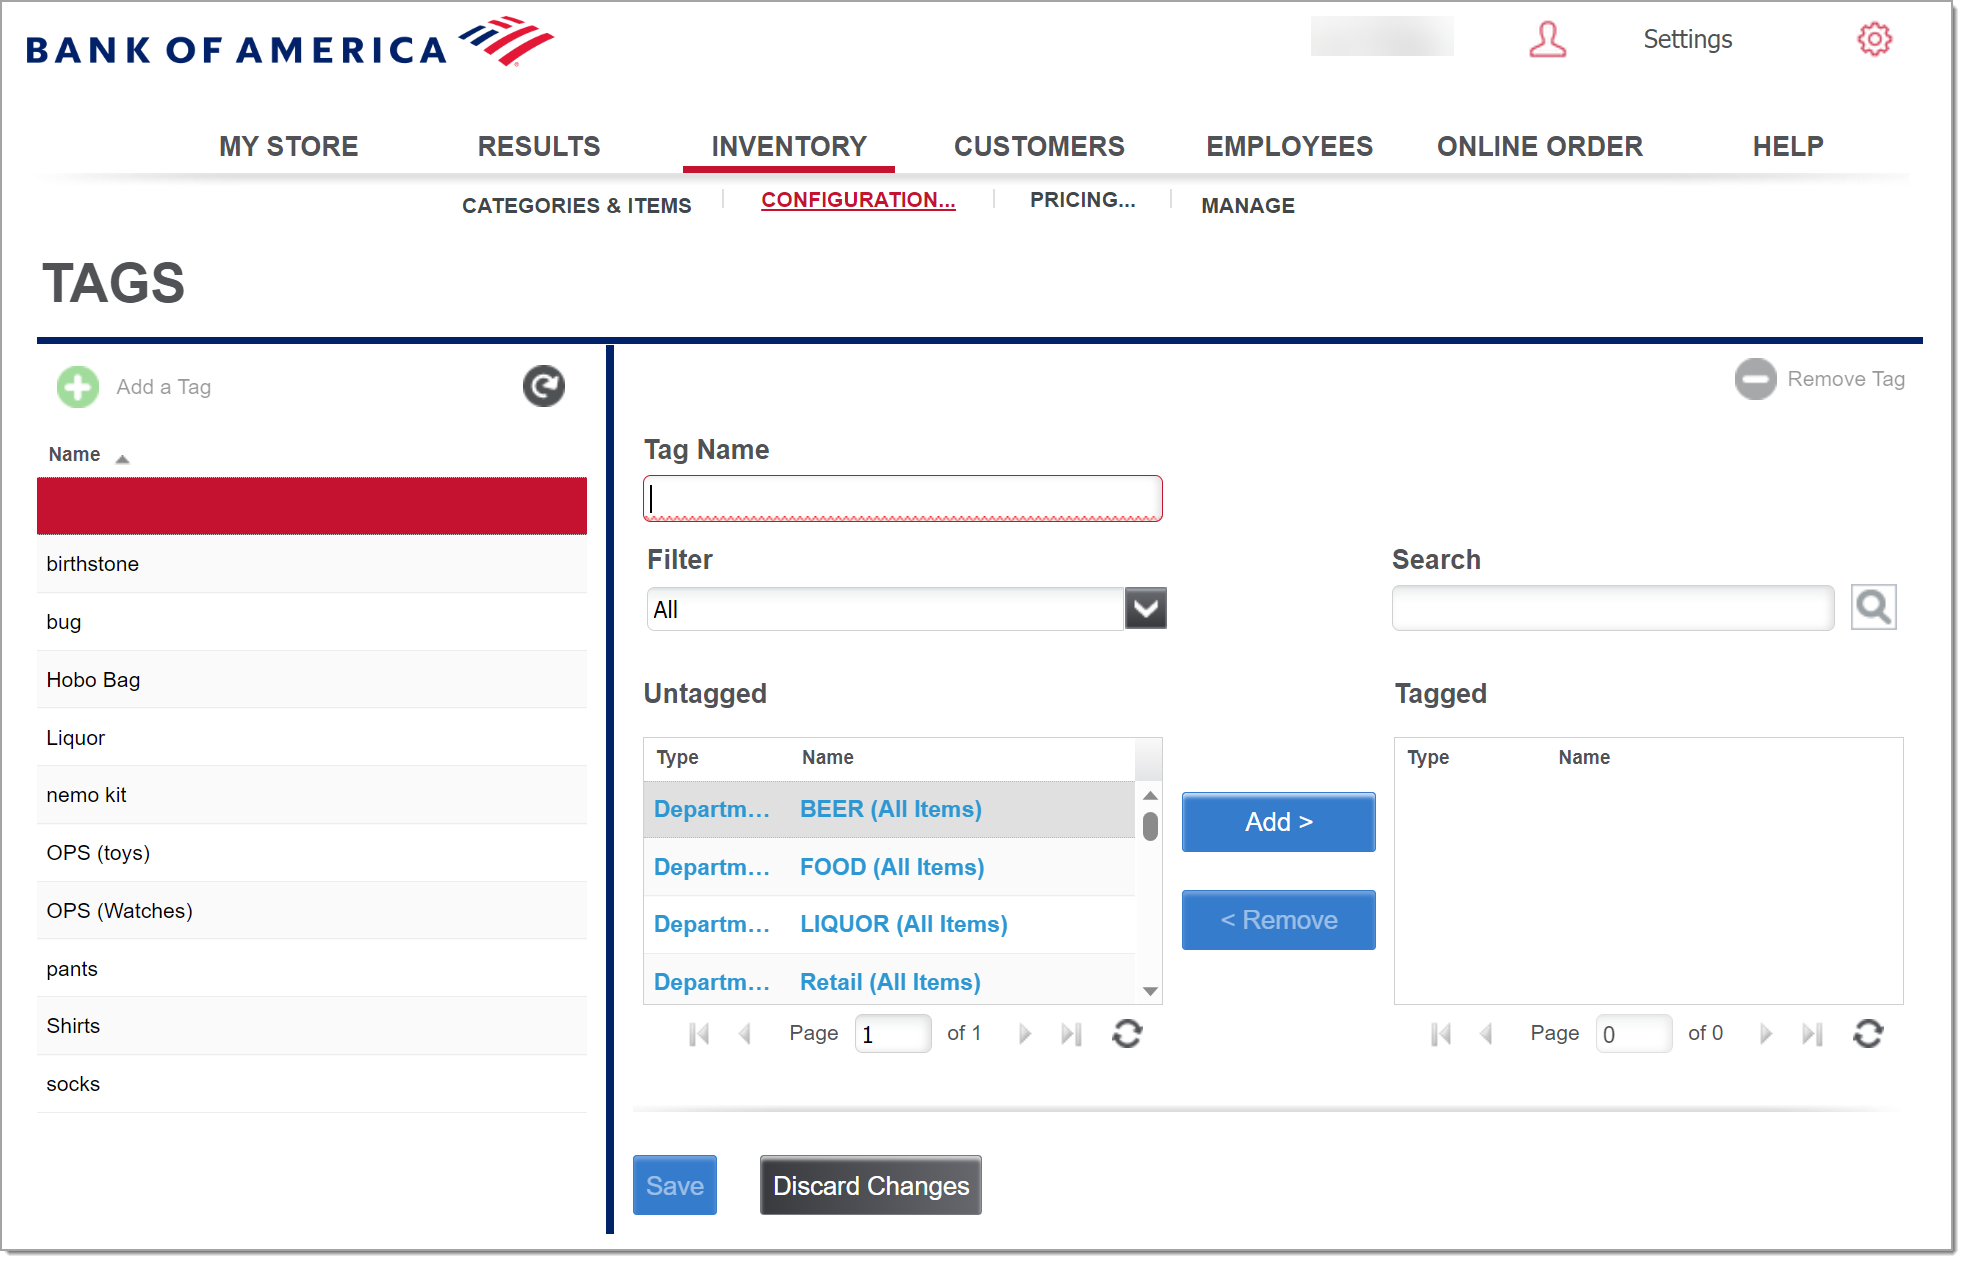
- Enter a Tag Name.

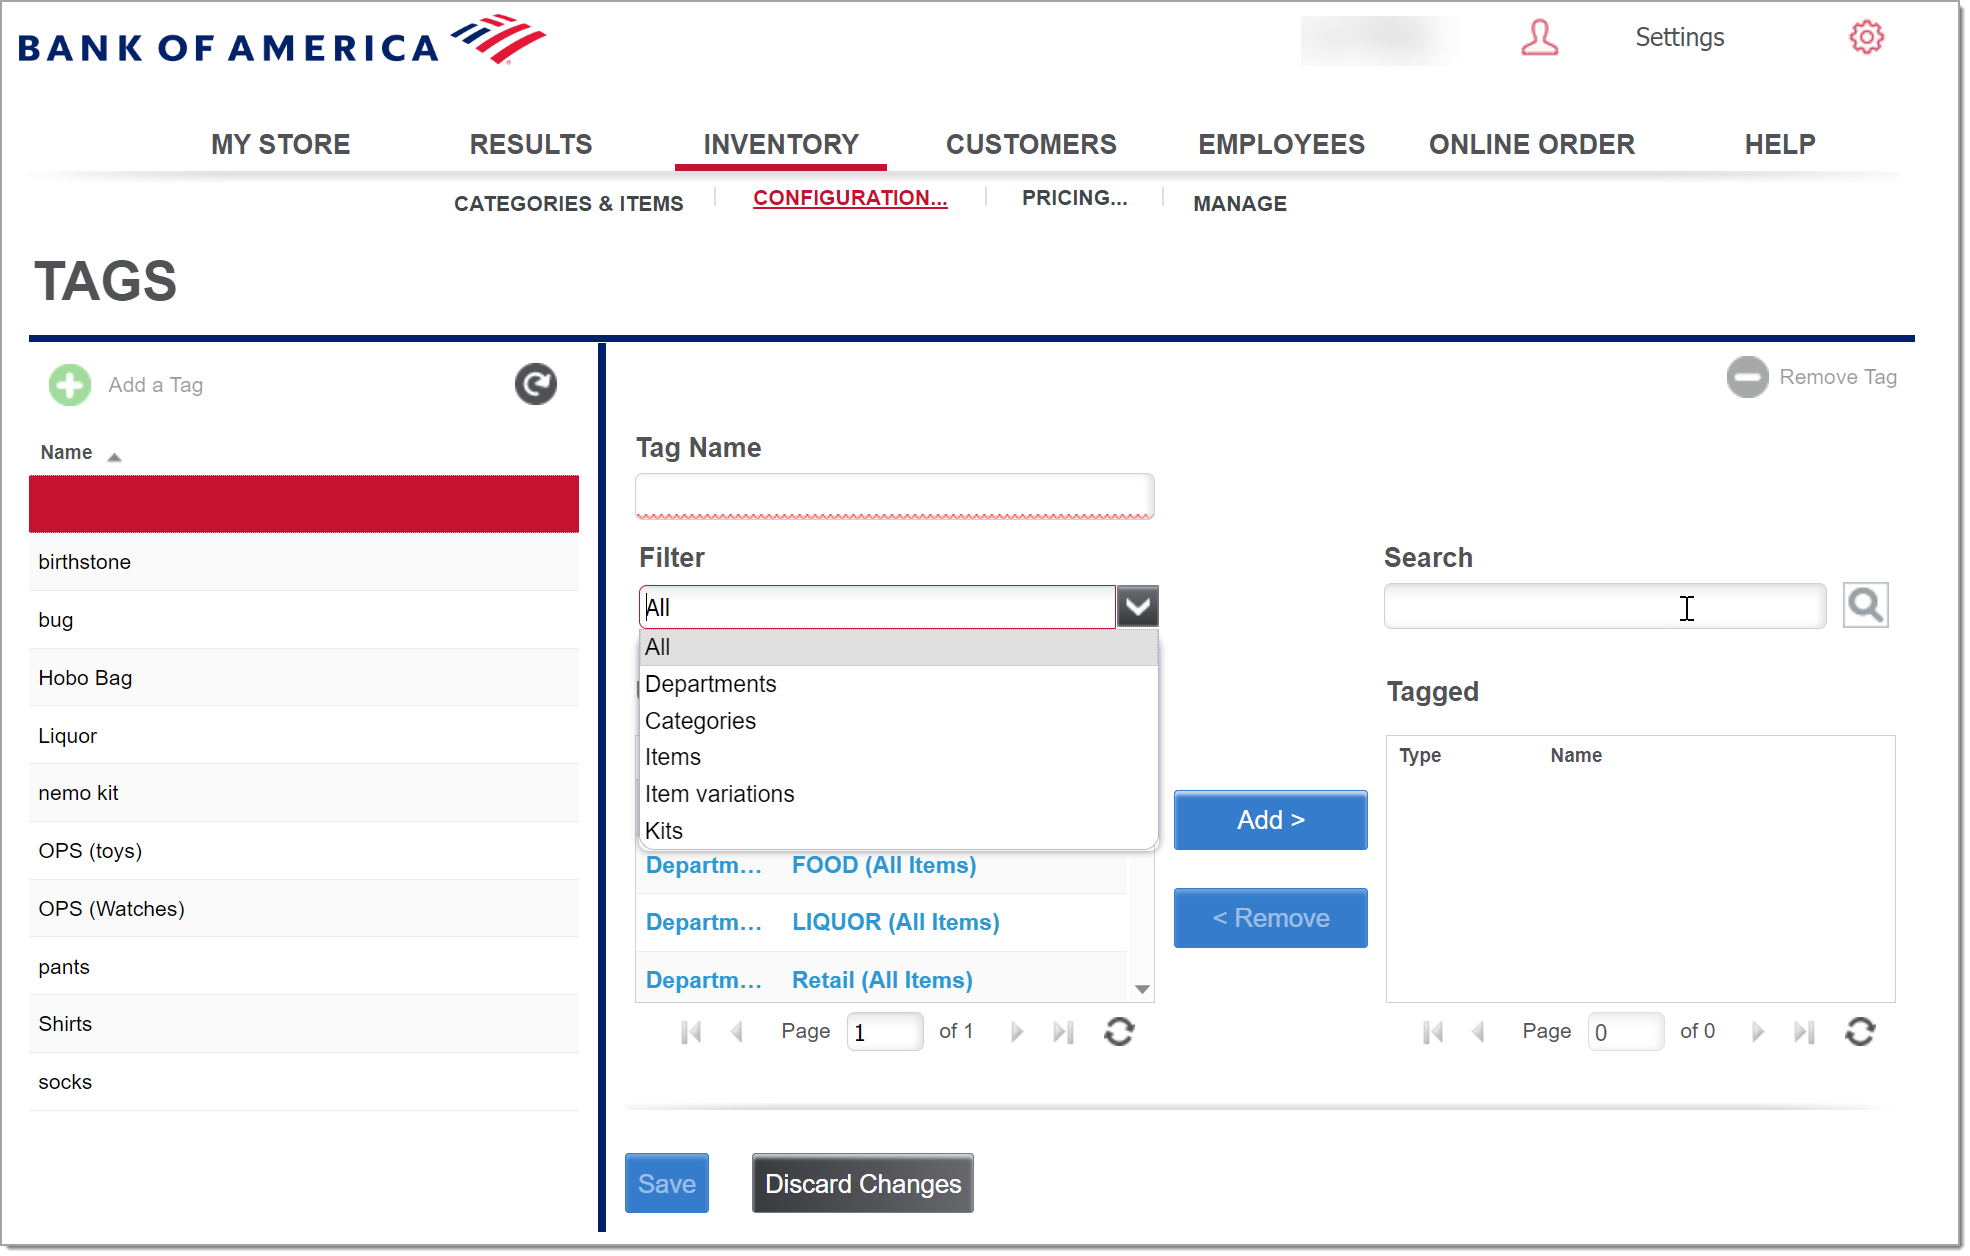
- Click the Filter dropdown list and select an object type. When you assign a department or a category to a tag, all items belonging to the department or category belong to the tag.

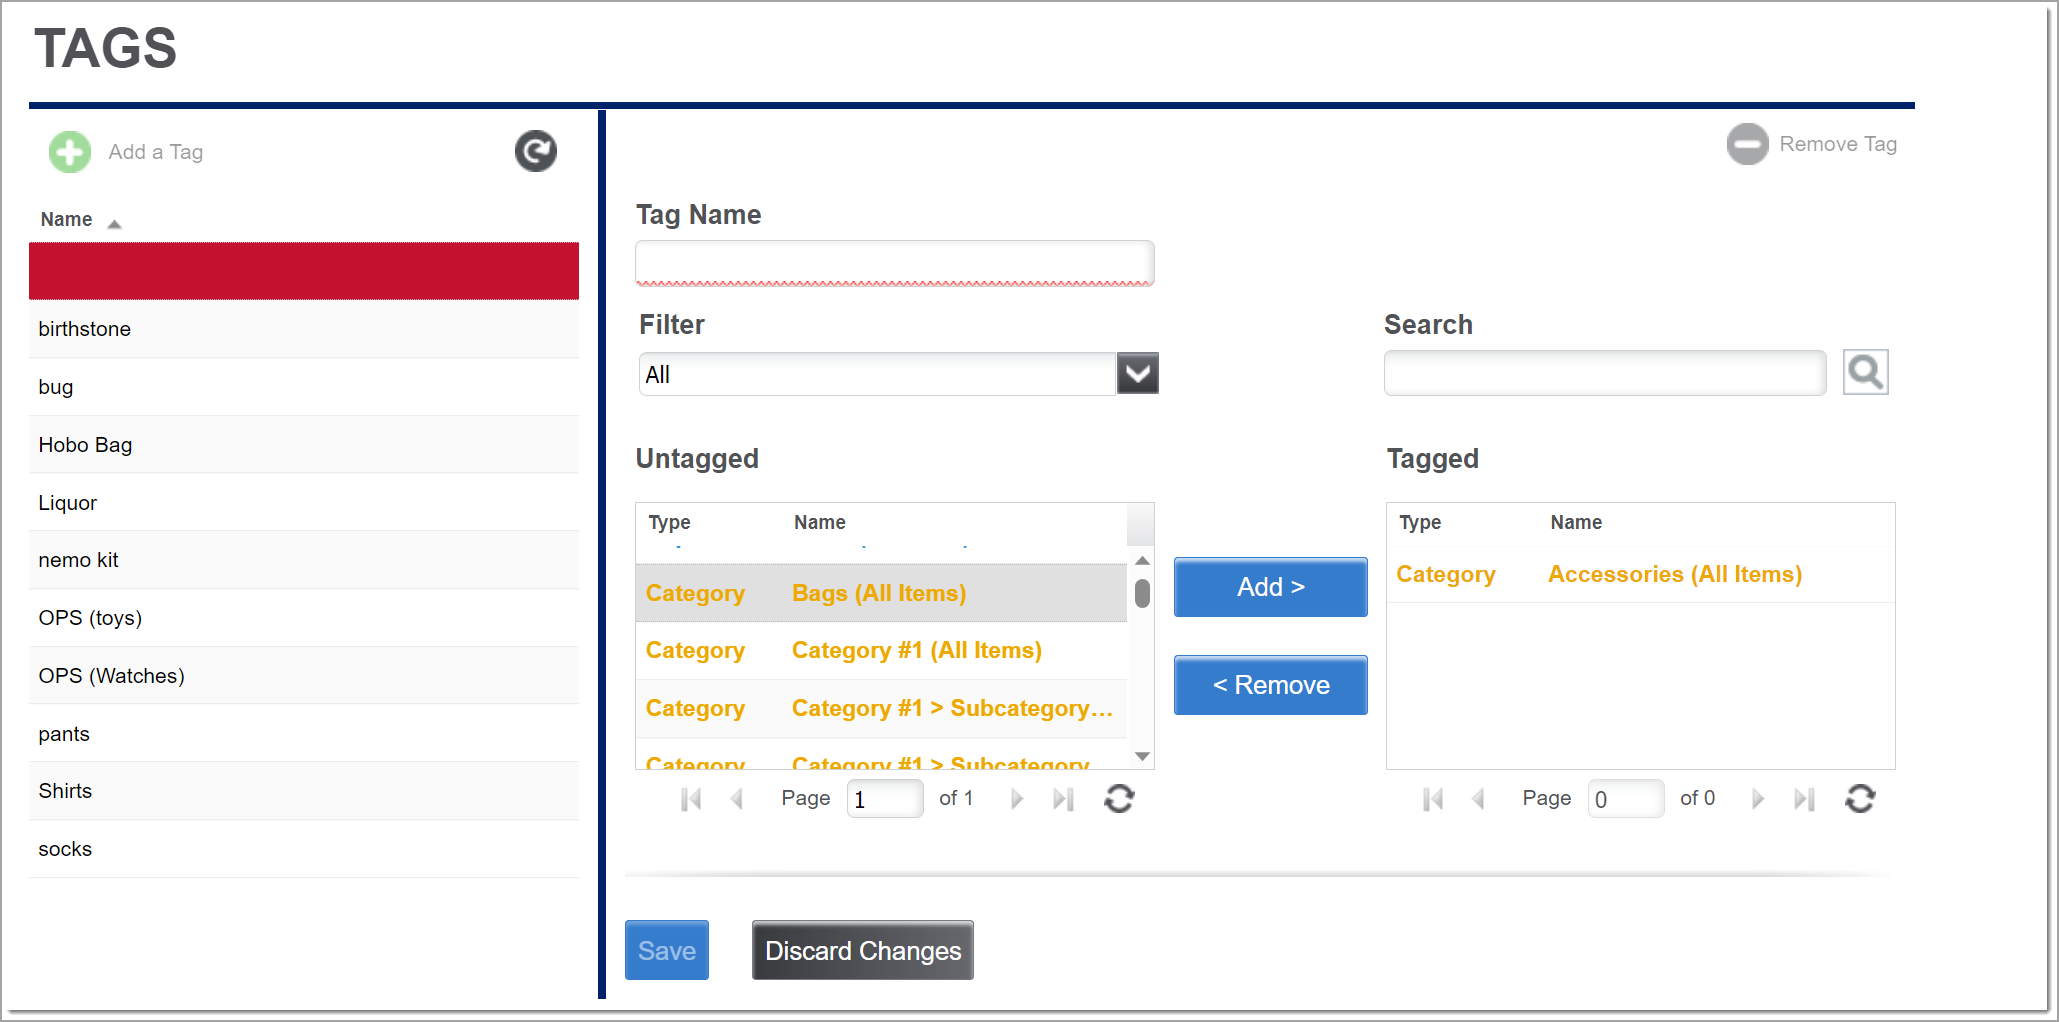
- In the Untagged list, click desired object and click Add to move the object to the Tagged list.
Example: You may want to tag all items in the category "Sides" for a promotion. Filter for category and then add the Sides category to the Tagged list. You can add more than one object to the tag.
- Click Save and select Close.