Merchant Services Account Unified Checkout for Point of Sale Solution
Description
What's in this article?
Unified Checkout, accessed through the Payment Acceptance Configuration in the left navigation of your Merchant Services account, controls the digital wallet options for your online payment acceptance. Unified Checkout is automatically enabled for your business if you accept card not present payments for Point of Sale Solution. Card not present transactions occur in one-time payment, recurring billing, estimates and invoicing, and online sales.
Configuration in your Merchant Account will be required if you would like to add Apple Pay®, Click to Pay, Google Pay™, and PAZE™ digital payment solutions to your website. Additionally, acceptance of digital payments may require that you complete registration and certificate activities for the digital payment provider. Once configured for your e-commerce website, the Unified Checkout digital payment options will appear for your customers. Note that the Apple Pay payment method only appears within an Apple browser.
To configure Unified Checkout for Point of Sale Solution
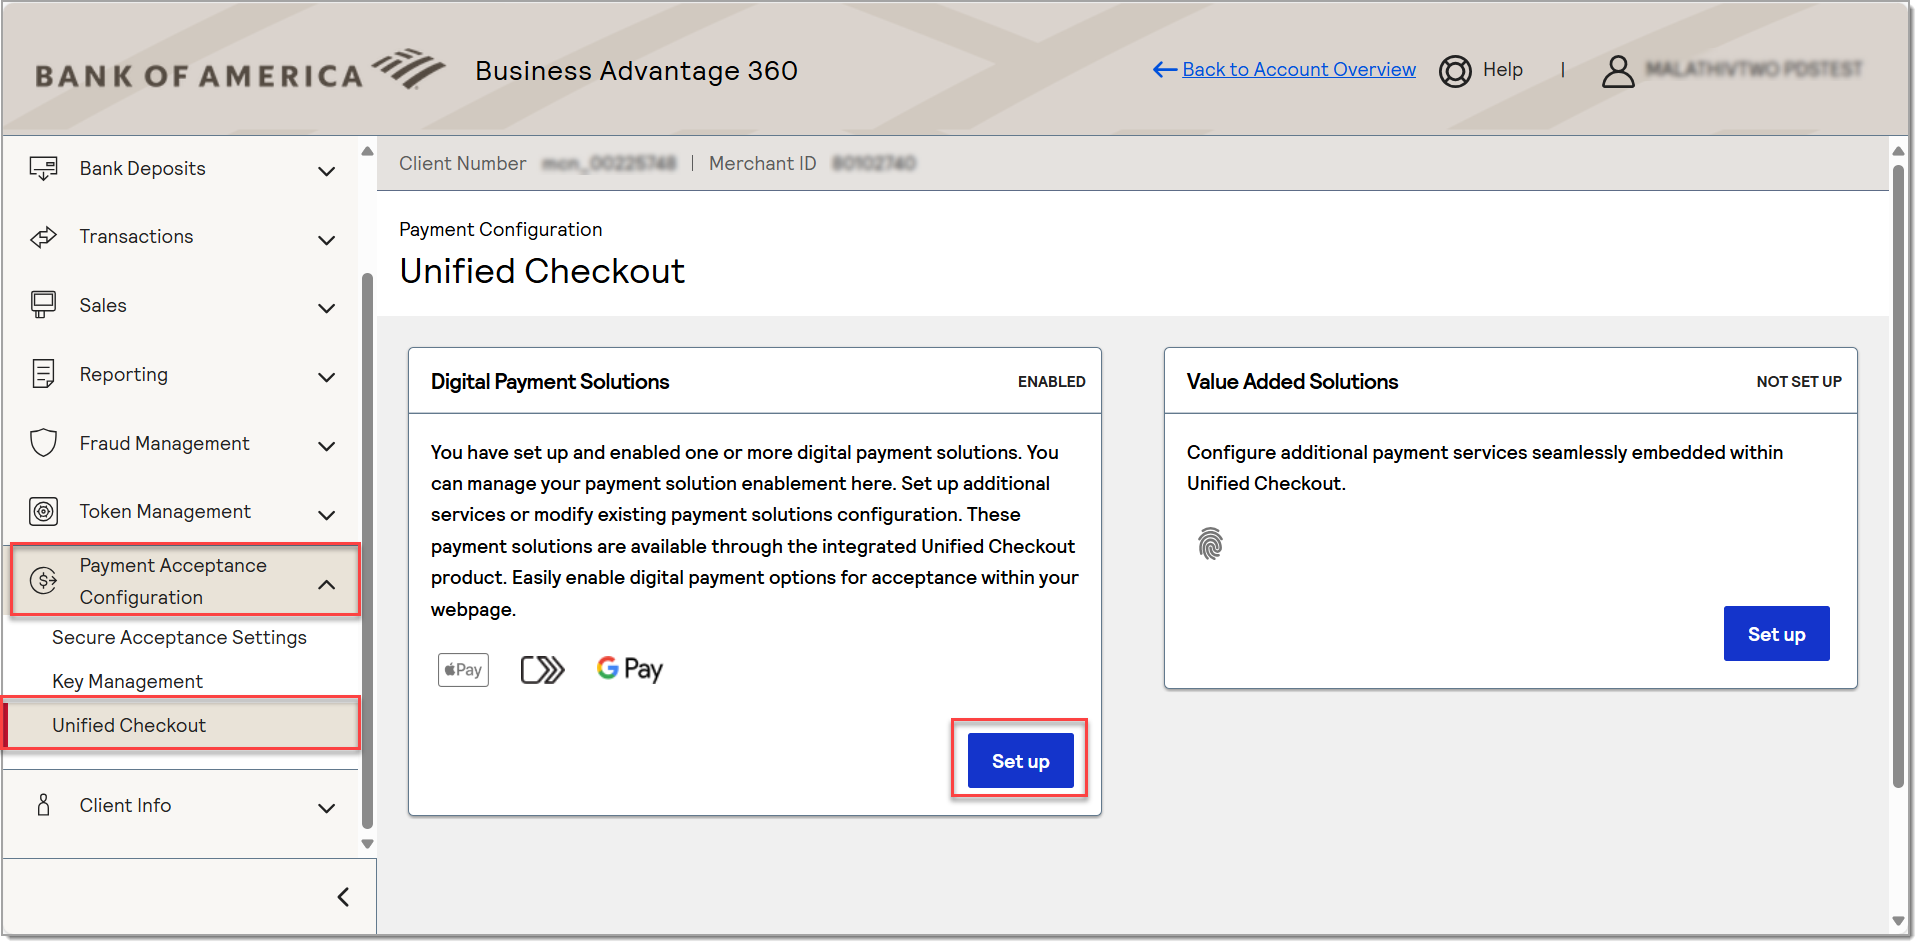
- Log in to your Merchant Services account in Business Advantage 360 online banking.
- In the left navigation, select Payment Acceptance Configuration > Unified Checkout.
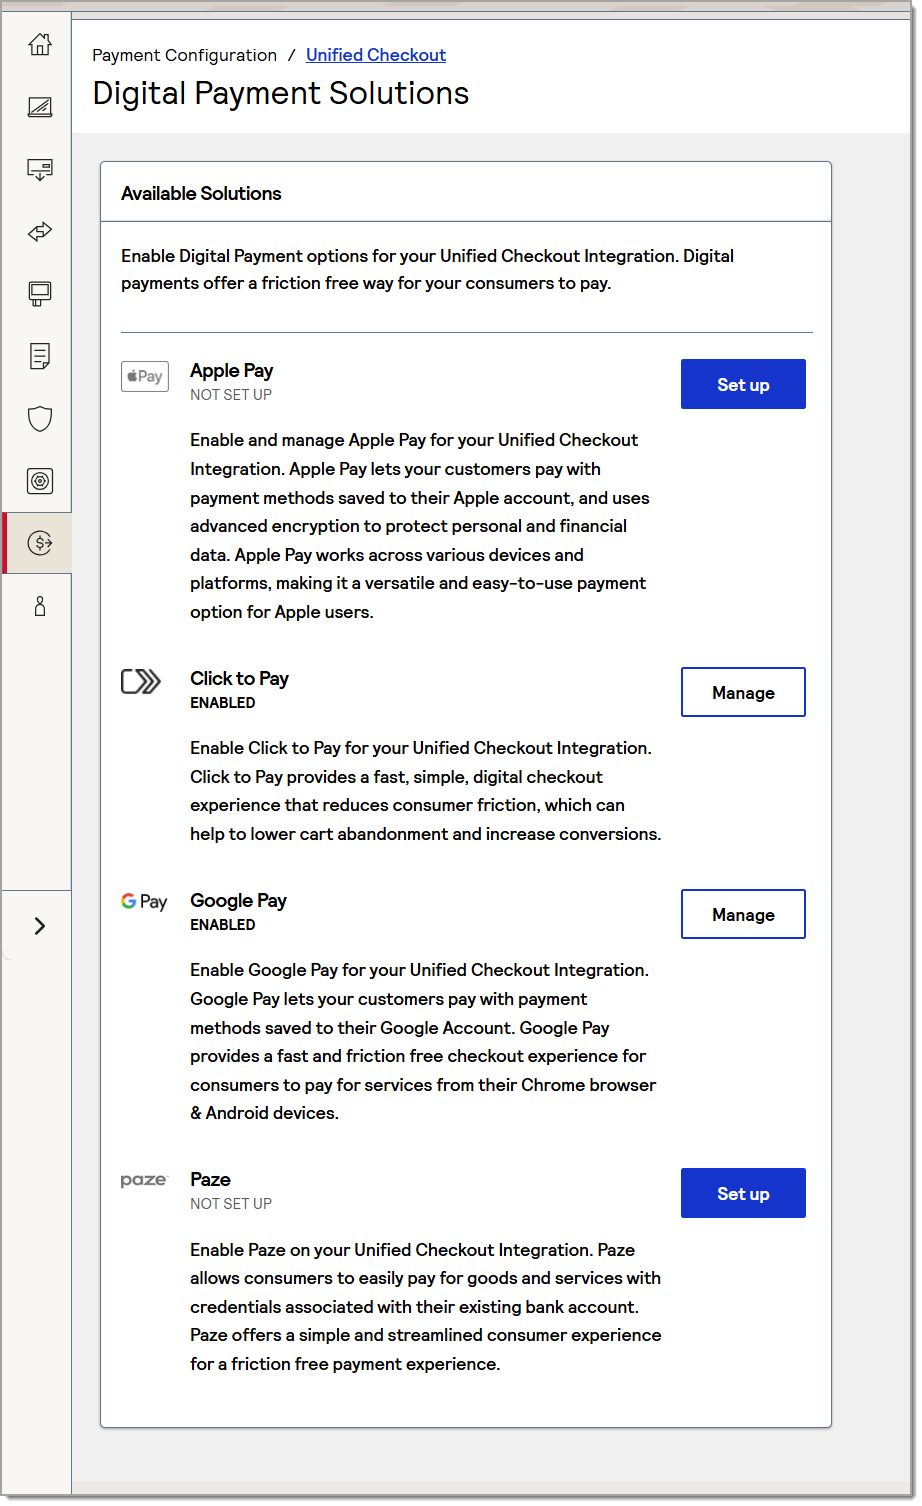
- In the Digital Payment Solutions box, click Set up.
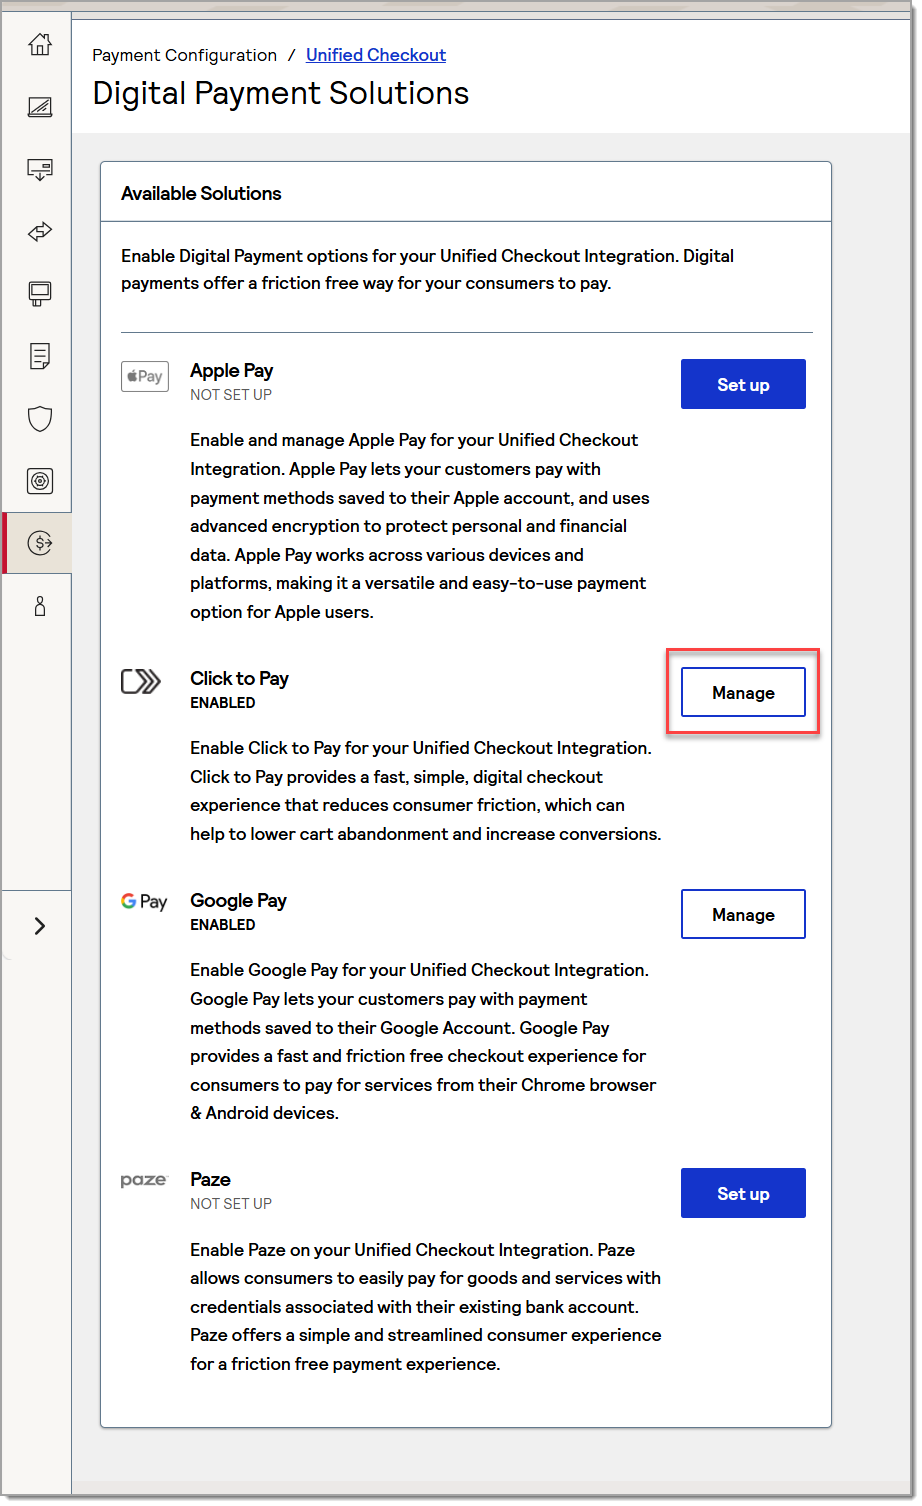
- Click Set up for the desired digital payment type, then complete the setup information:
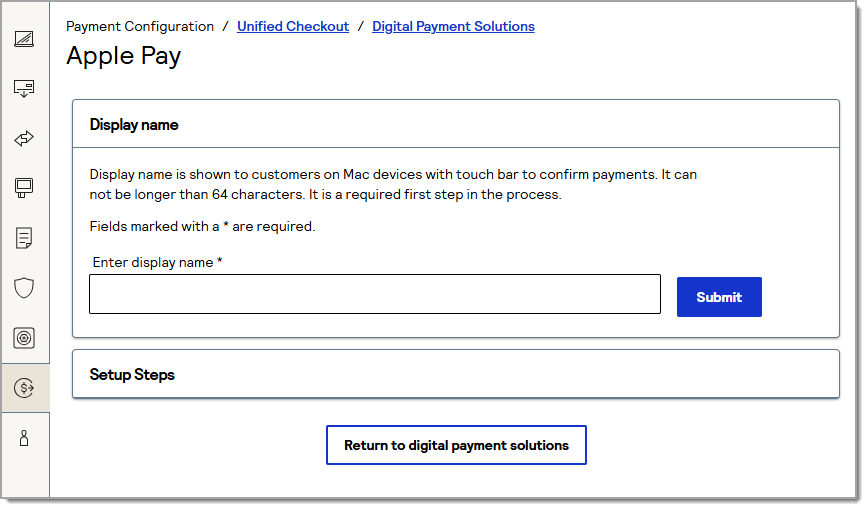
Apple Pay
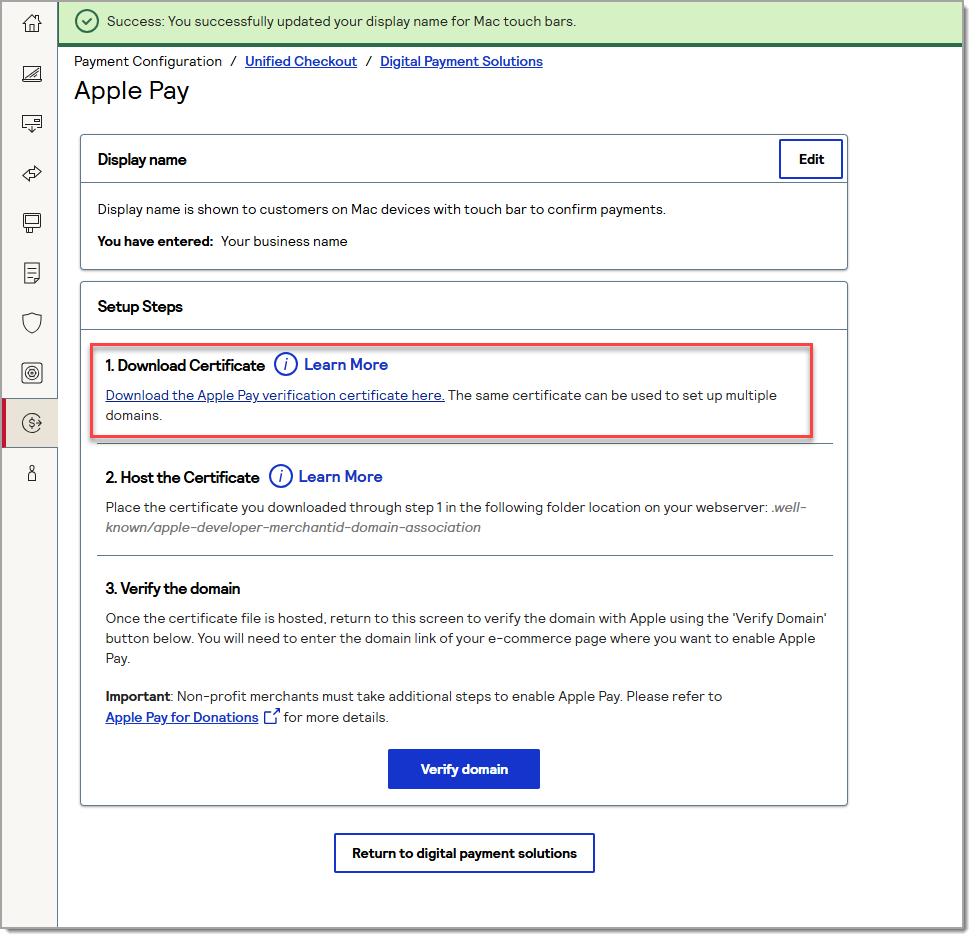
- Your DBA name should auto-populate. If needed, edit your Display name to correct the Doing Business As Name shown. Click Submit.
- Click the Download the Apple Pay verification certificate here link. The certificates will automatically download to the appropriate locations for the Point of Sale solution.
- Click Verify Domain.
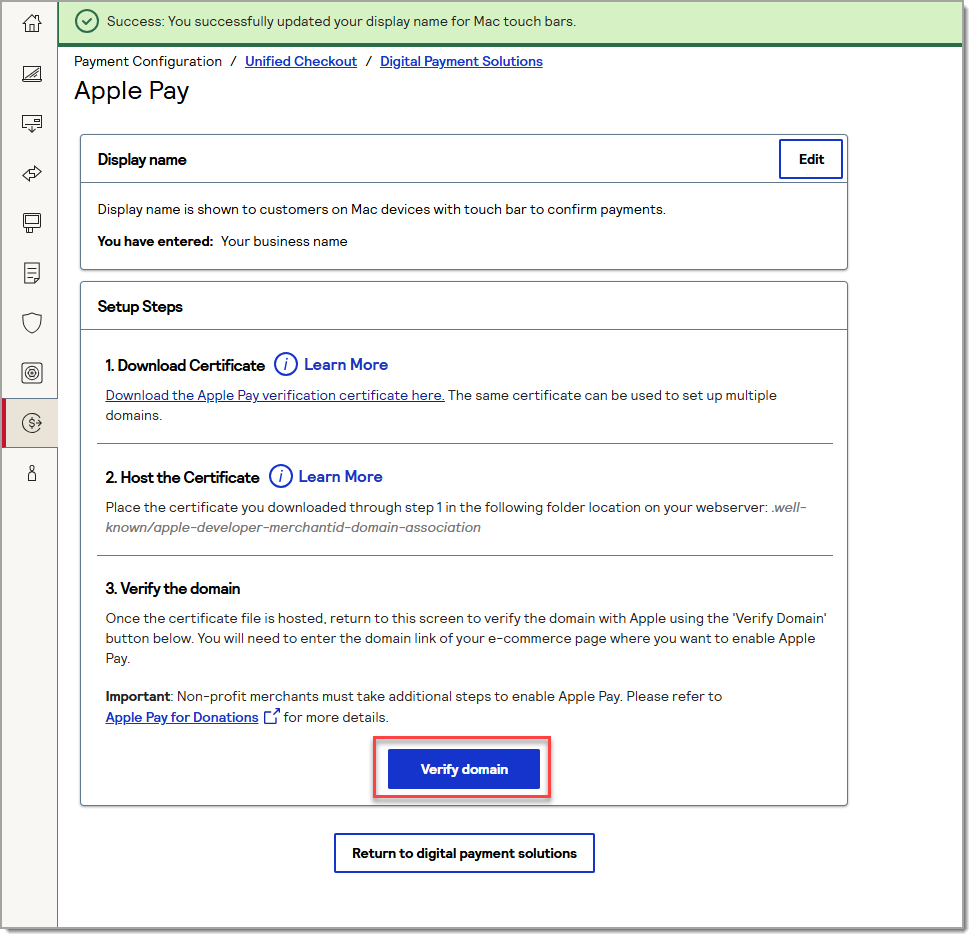
- Enter the domain verified domain names. You can enter all three even if you do not currently use online ordering or gift cards.
Domain Name Solution https://www.business-hub.com All solutions https://www.order-hub.com Online ordering https://www.ecards-hub.com Gift Cards - Click Verify.
- When you verify your domain, you are agreeing to Apple's terms of service.
- The Verified Domain will appear in the column to the right.
- You can add additional domains. Remove expired domains by clicking the icon to the right.
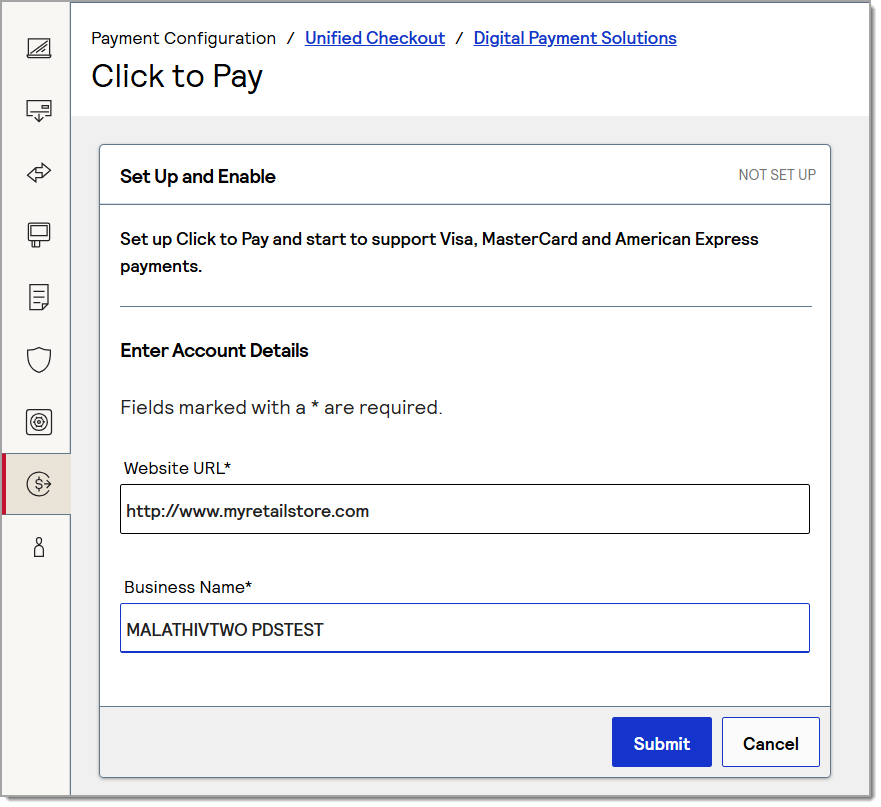
Click to Pay
- auto pop Enter your business website URL and your business name, then click Submit.
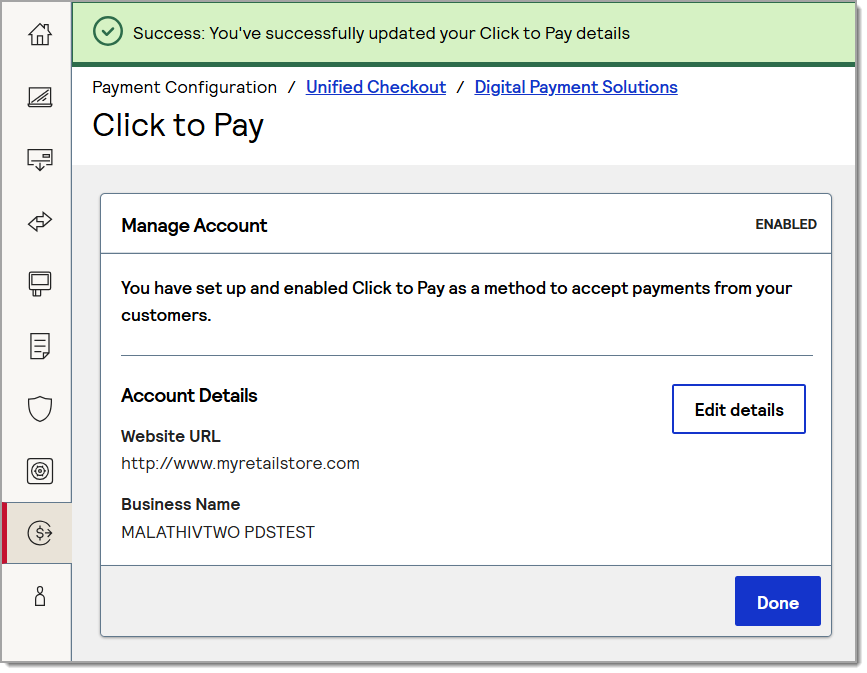
- Click to Pay immediately enrolls your business in American Express and Visa Click to Pay. Mastercard Click to Pay will register in about an hour. Click Ok, got it to continue.

- Click Done.
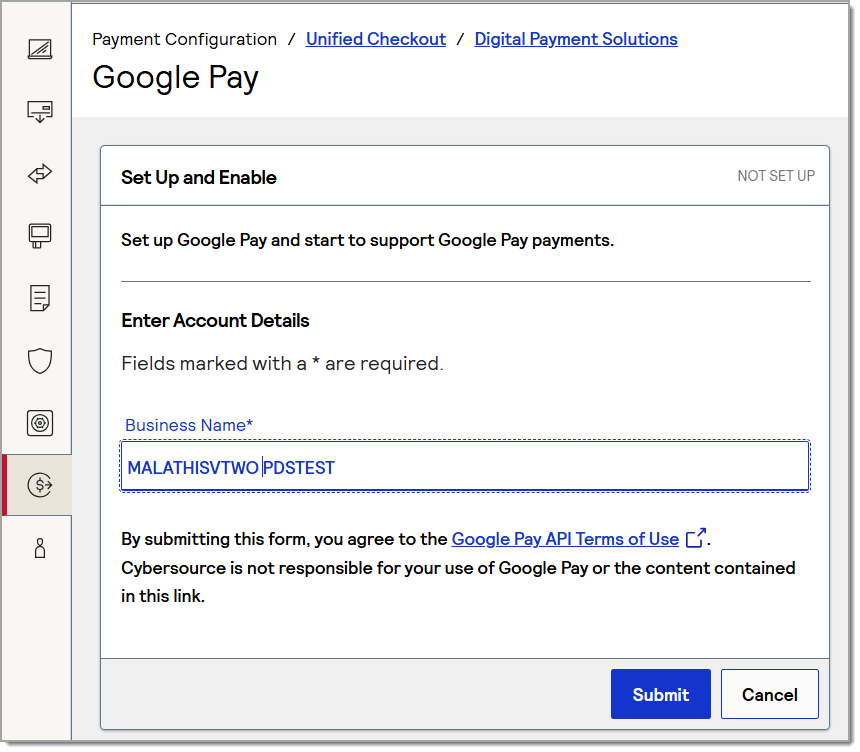
Google Pay
- auto pop Enter your Business Name, then click Submit.
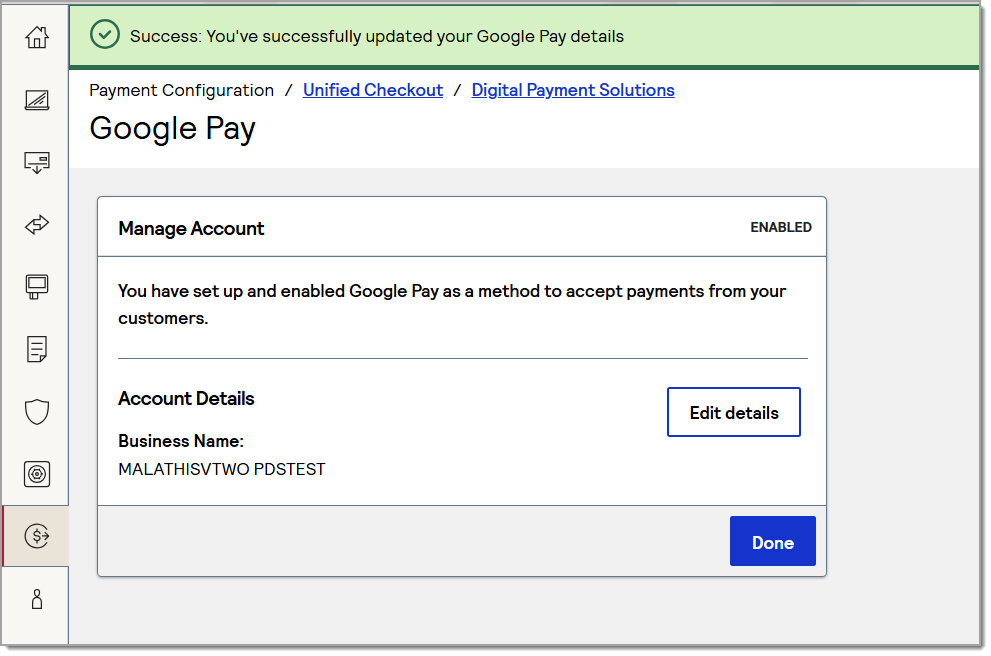
- Click Done.
Paze
- Your legal name should auto-populate. Enter your business legal name.
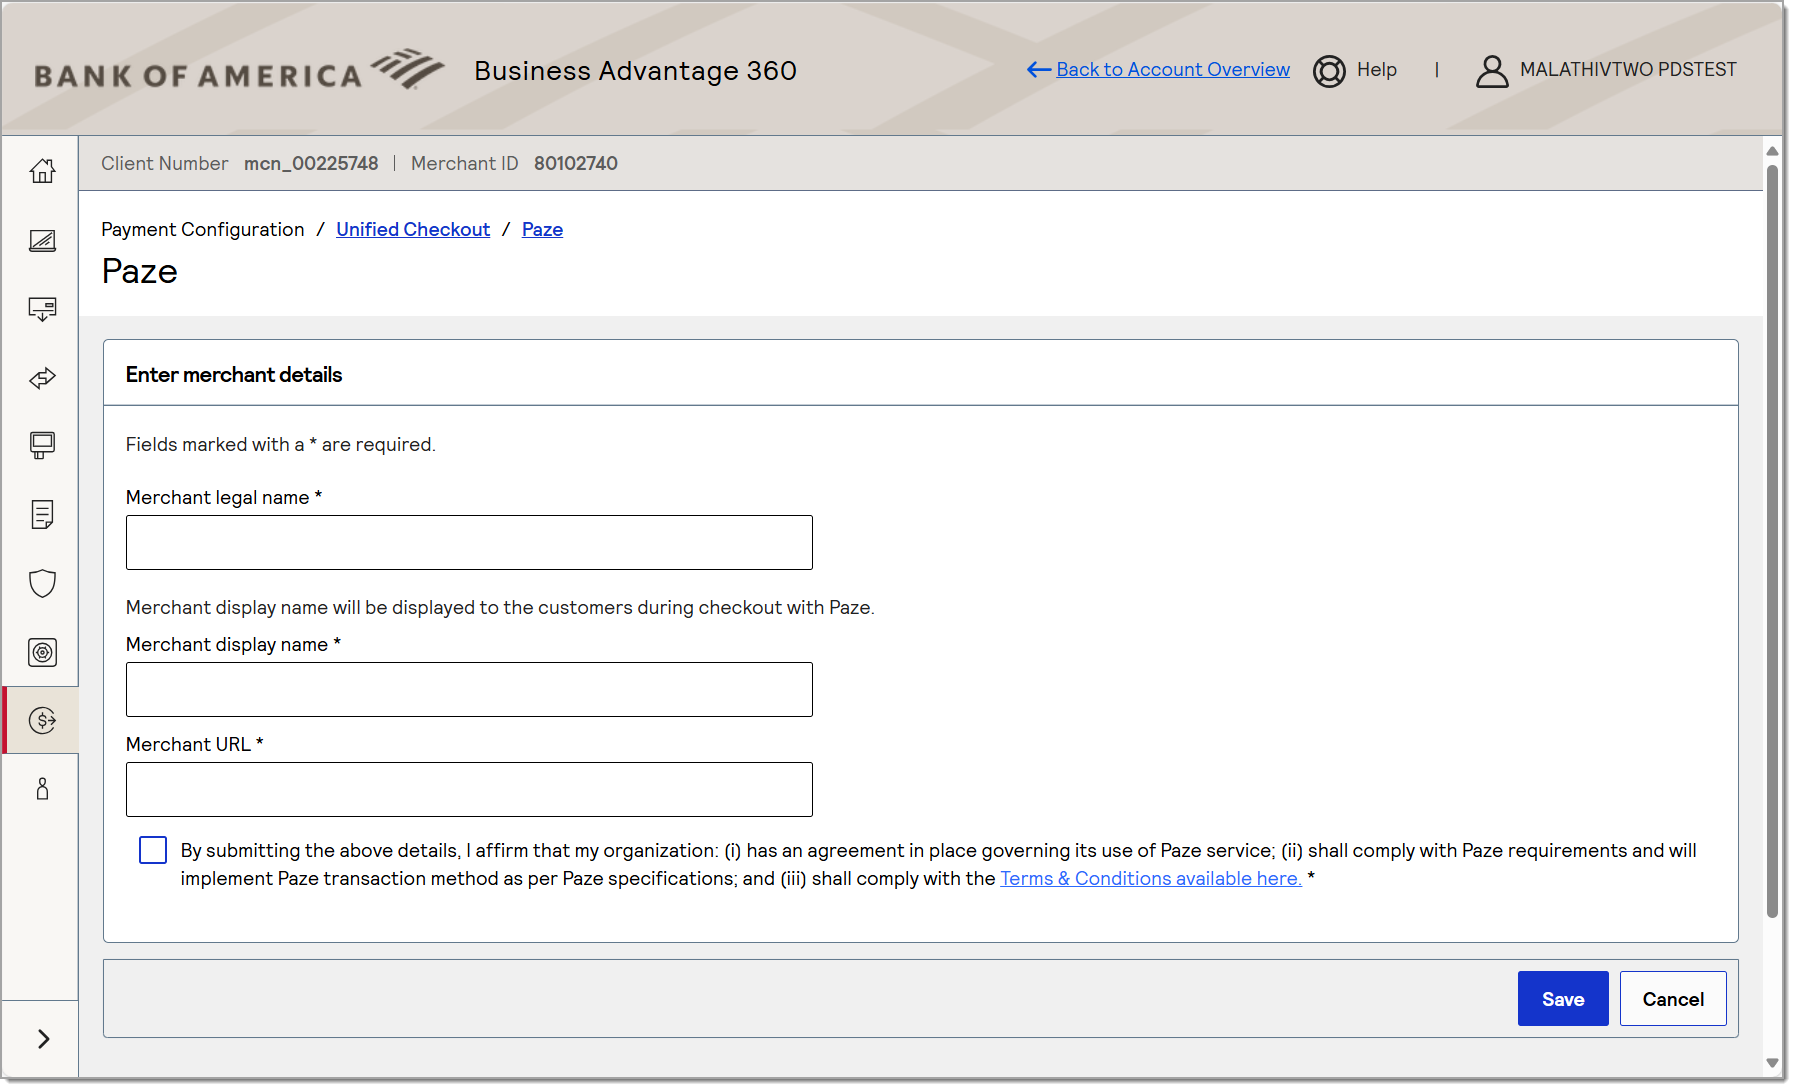
- Auto-pop. confirm and update if needed. Recommend editing if you have more than one location to differentiate between locations. Enter the display name that you would like your customers to see when they checkout with Paze.
- Enter the website for your business (not the online store website).
- Review the terms and conditions, then select the checkbox to acknowledge that your organization has an agreement with Paze, that you will comply with the requirements and specifications to use Paze as a payment method, and that you will comply with the terms and conditions.

- Click Save.
- Your DBA name should auto-populate. If needed, edit your Display name to correct the Doing Business As Name shown. Click Submit.
- Your digital payment method is configured for your website. To make changes in the future, return to this page and click Manage to edit the configuration.