MobilePOS Dashboard Inventory Management
Description
What's in this article?
You can manage the items in your inventory, organize them into categories, and manage your stock of items. Inventory can be managed either through the MobilePOS Dashboard or by using the MobilePOS app.
Use the Inventory menu to group items into categories. You can also add, search for and categorize your inventory and customize tax rates. Changes to inventory items made through a registered MobilePOS app will be reflected in the MobilePOS Dashboard in real time; although stock quantities do not change based on sales.
Inventory Items
You can add items to the inventory that will be available when using the Inventory sale mode in the MobilePOS app. There is no limit to the number of inventory items you can add.
- To add an inventory item
- In MobilePOS Dashboard, select Inventory > Items from the left navigation.
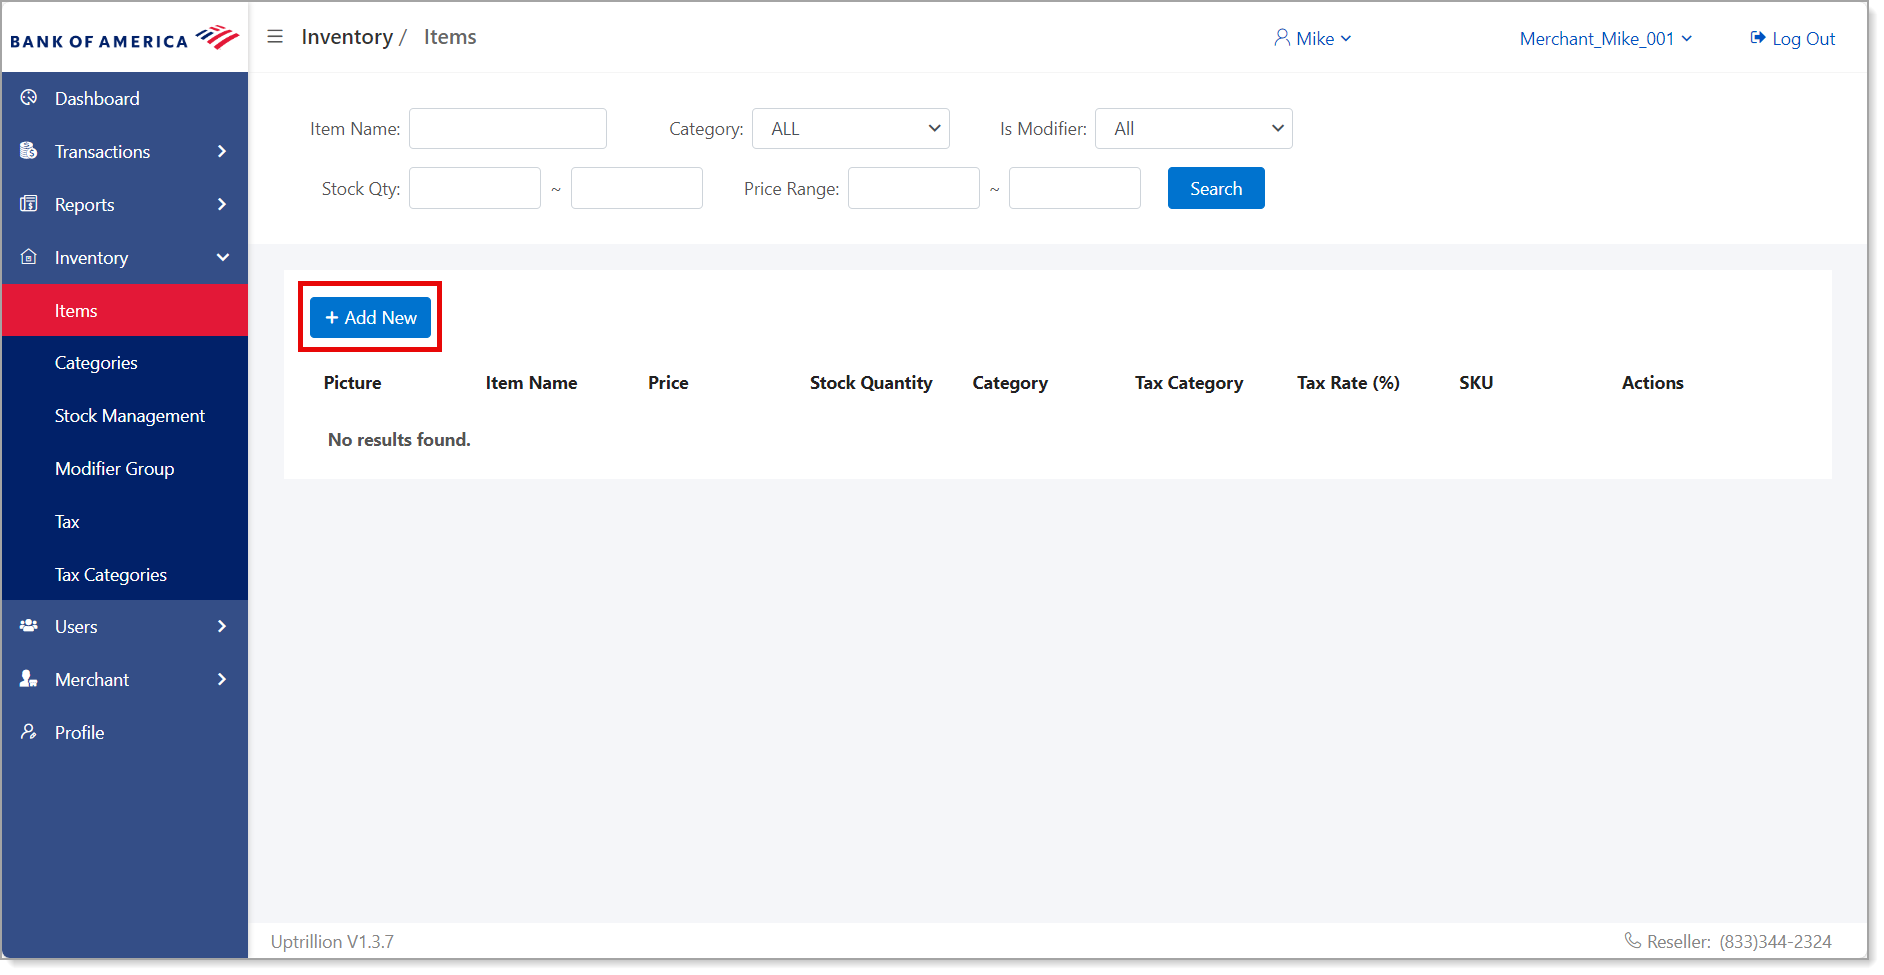
- Click Add New to create a new inventory item.
IMPORTANT! Special characters (!, @, #, $, %, -, / etc.) are not supported and may cause an error during checkout. Enter inventory names without using special characters.
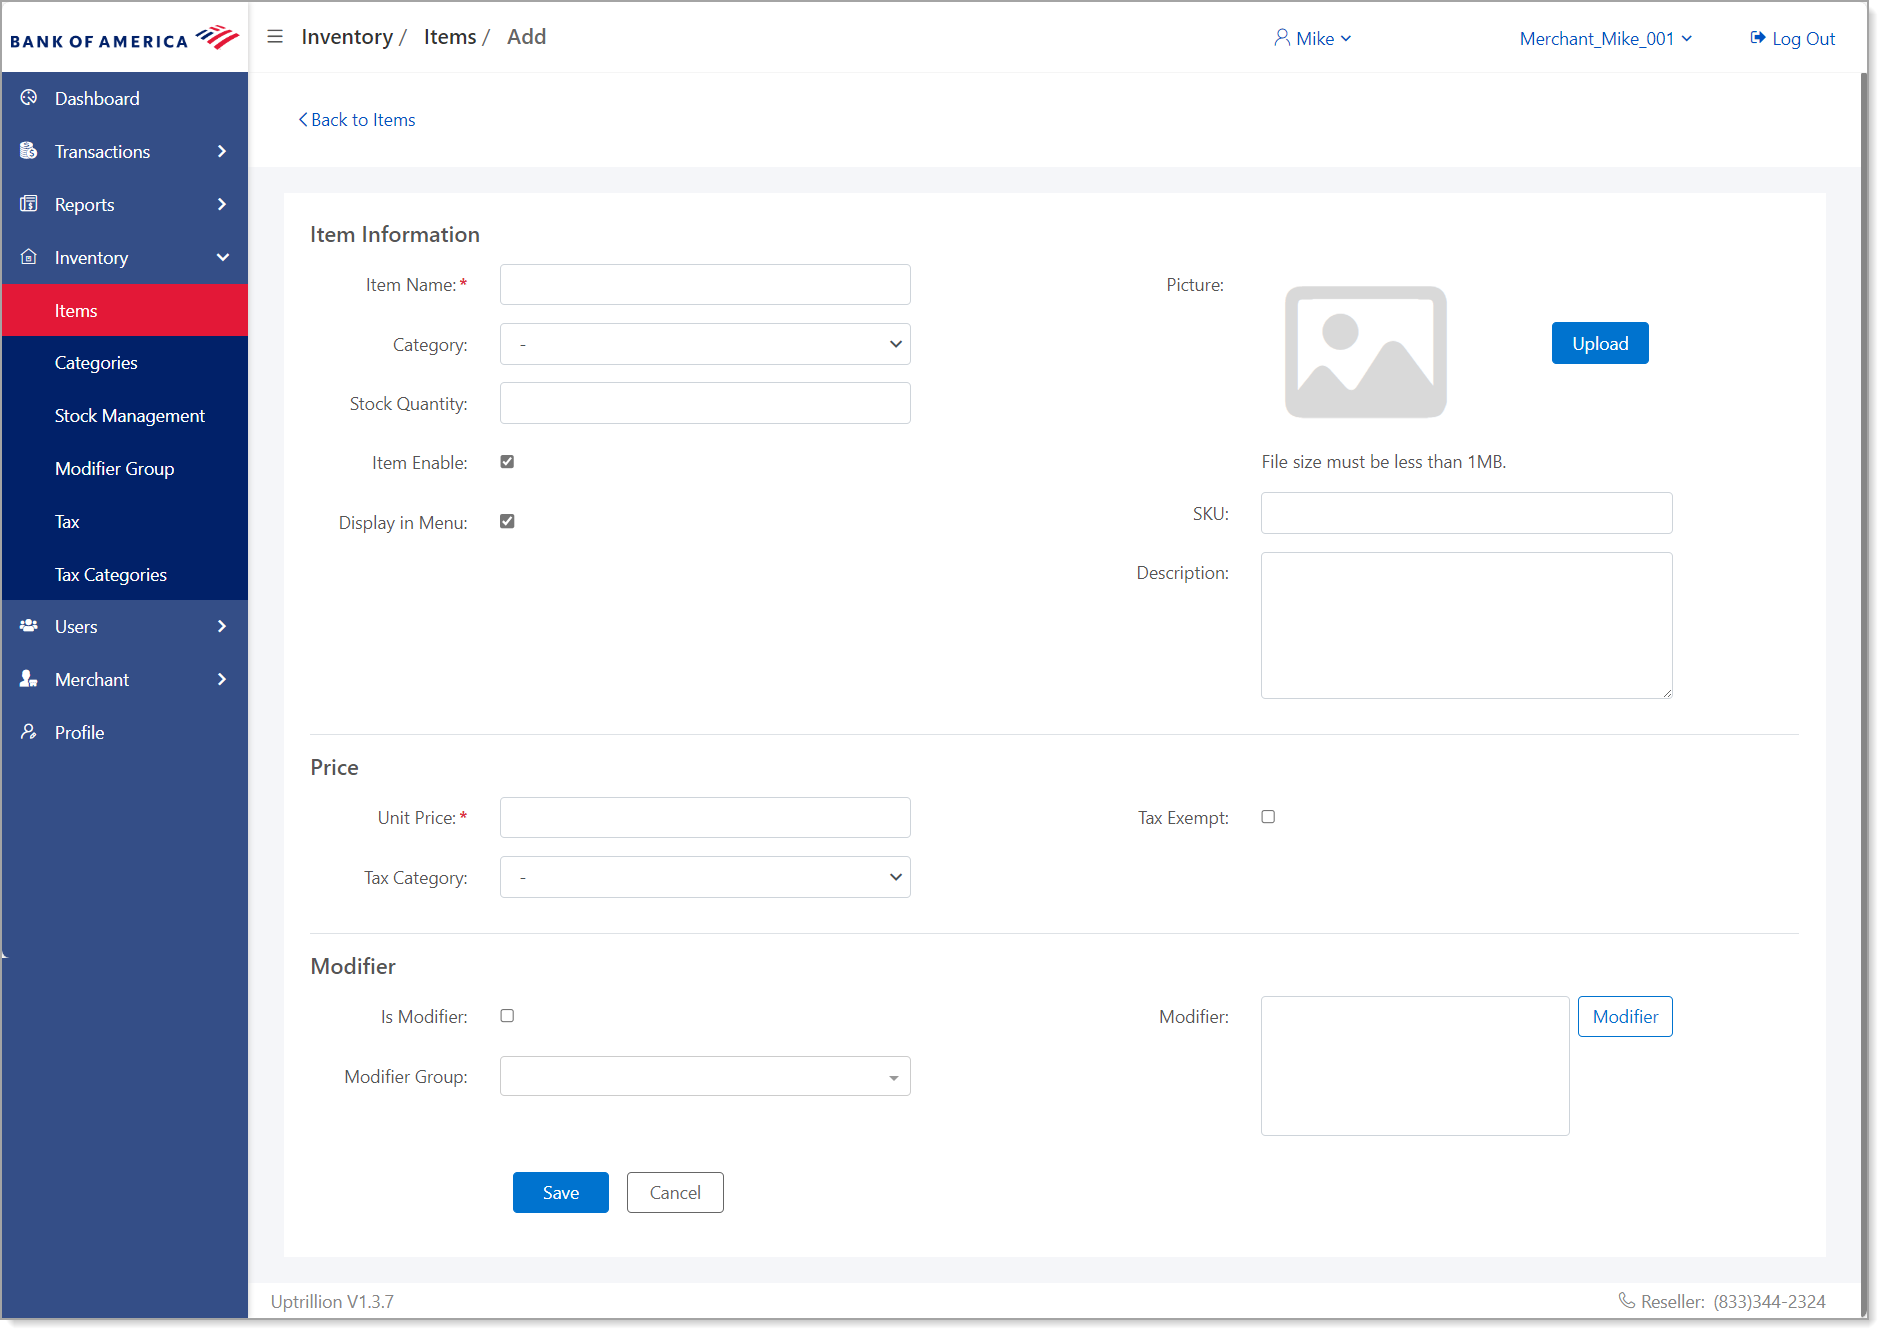
- Enter an item name. This is a required field.
- Select a category for your item. When you create inventory categories (see below), the categories will populate this list.
- Enter a stock quantity, if desired.
- Select Item Enable to make the item selectable within the MobilePOS app.
- Select Display in Menu to display the item in the MobilePOS app.
- Click Upload to select an image for the new inventory item.
- Enter a SKU for the item. The maximum length is 32 characters.
- Enter a description for the item.
- Enter a price. This is a required field.
- Select a tax category, or if the item is tax exempt, select the Tax Exempt checkbox. When you set up a tax category (see below), the tax category options will populate the dropdown list.
- Click Save. If you have enabled the item, it will immediately be available on the MobilePOS app.
- In MobilePOS Dashboard, select Inventory > Items from the left navigation.
- To manage an inventory item
Use the following options to manage inventory items.
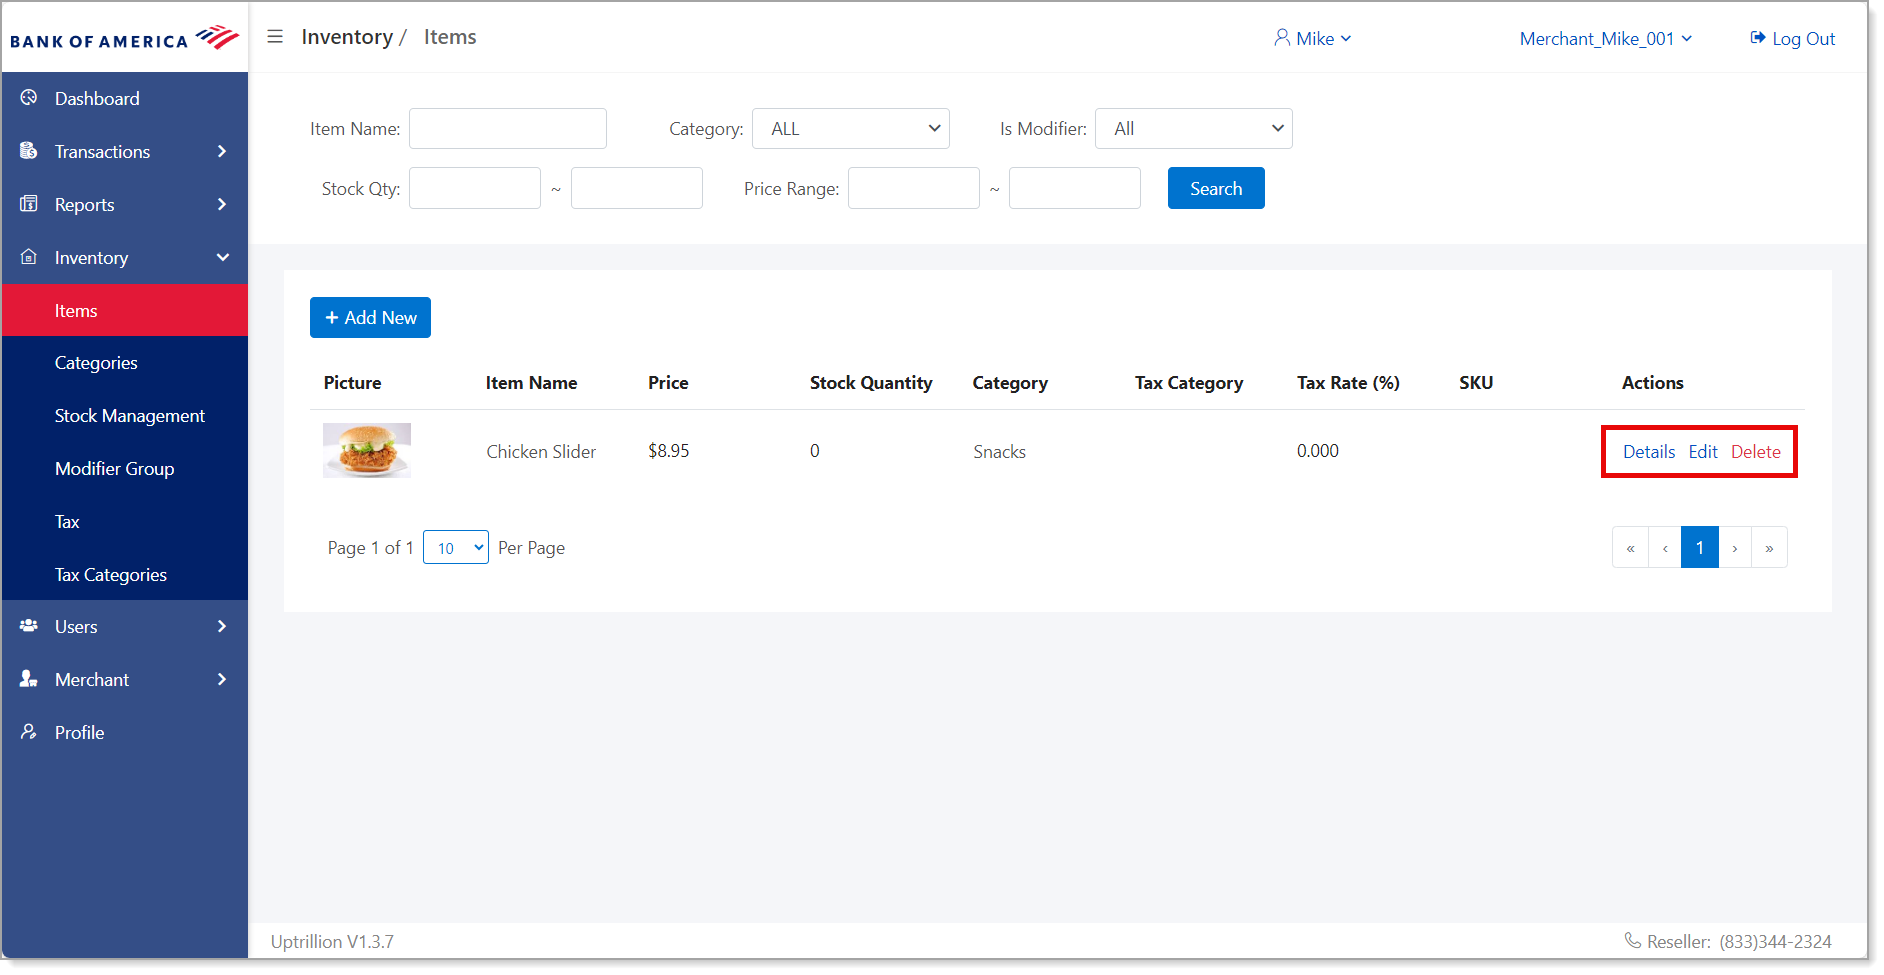
table listing options and their descriptions Option Description Details Click Details to view item details, including the item information, price, and who created the item or updated it last. Edit Click Edit to update item information. Change the information as needed, then click Save. Delete Click Delete to remove the item. Click OK to confirm.
Inventory Category
Inventory categories group your inventory items to make selection of an item easier in the MobilePOS app.
- To create an inventory category
- In MobilePOS Dashboard, select Inventory > Categories.
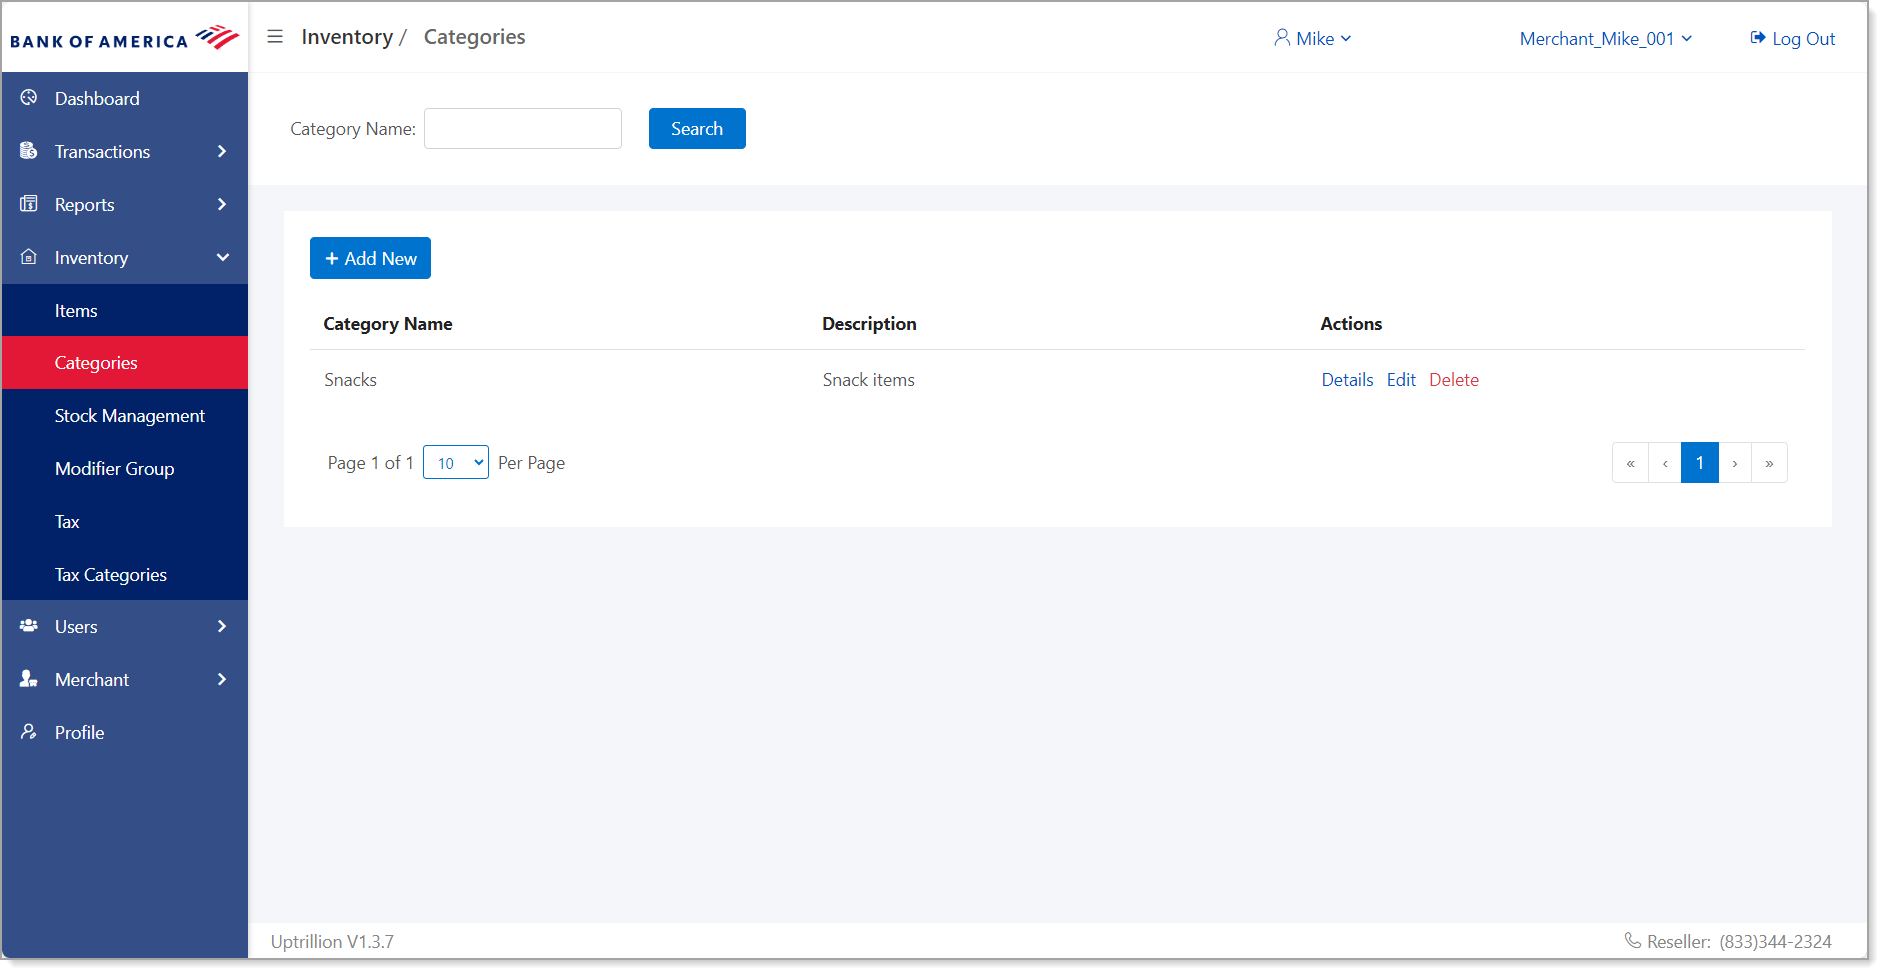
- Click Add New to create a new inventory category.
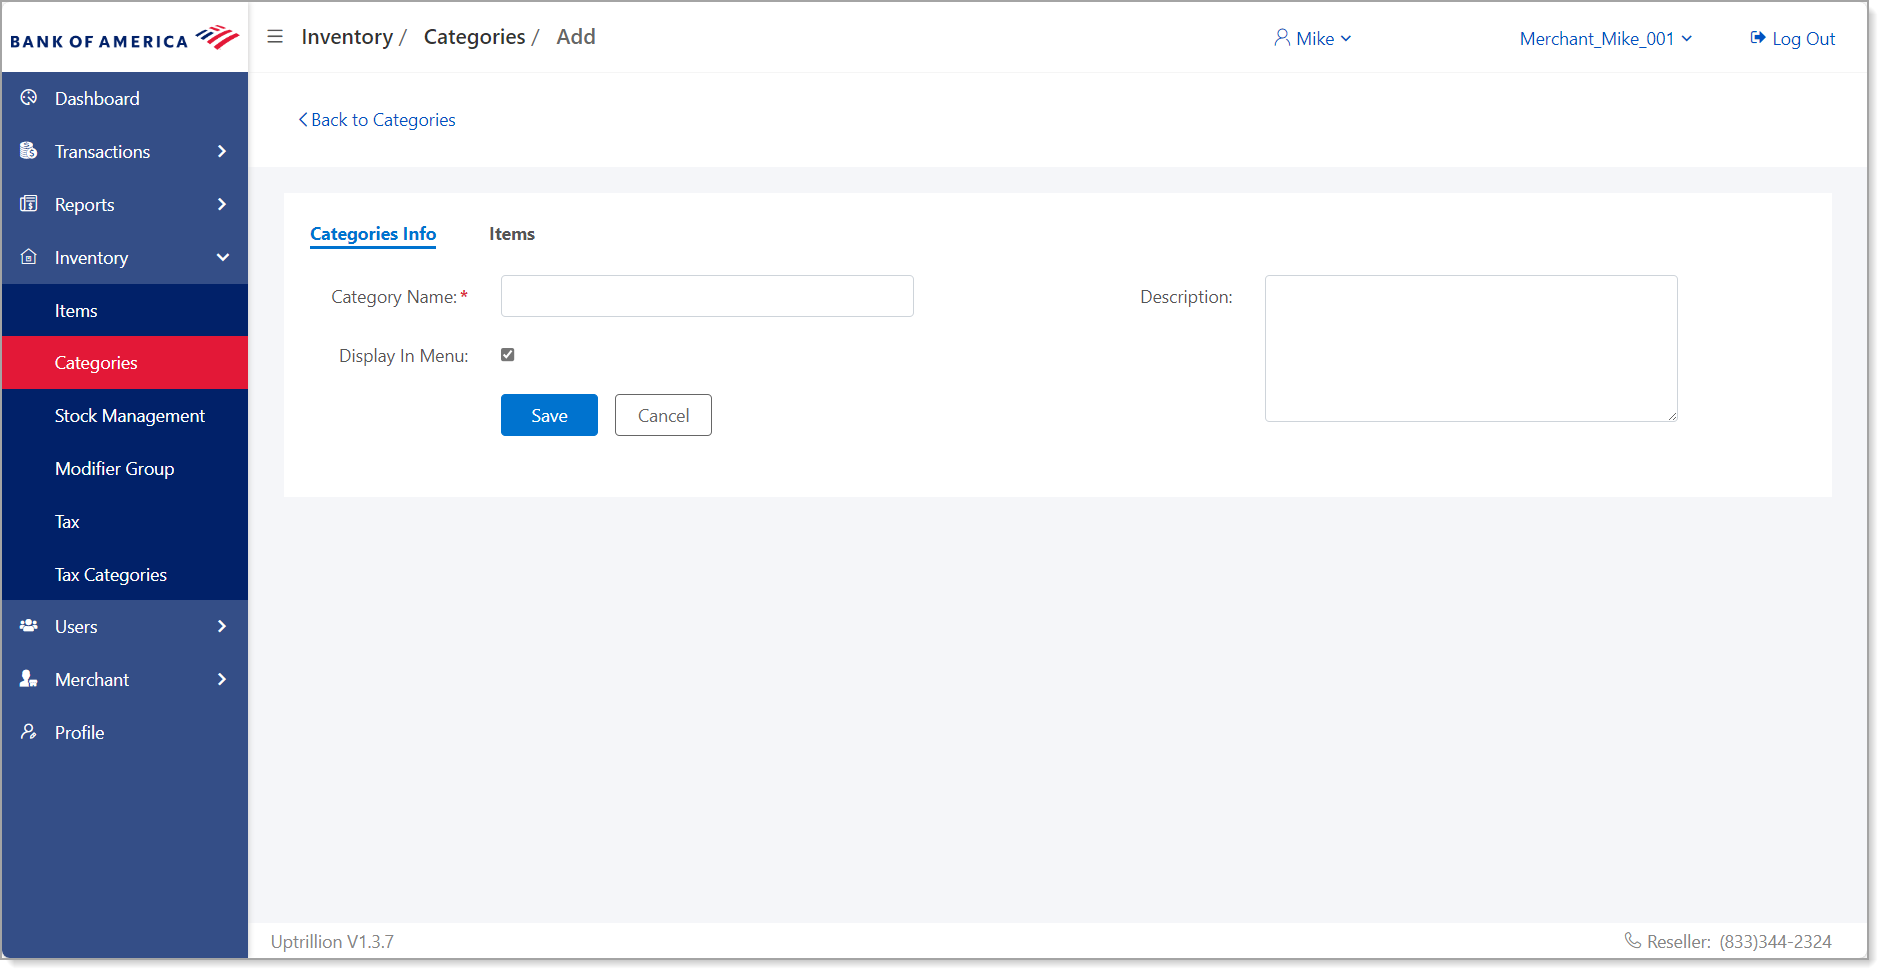
- Enter a name for the new category. This is a required field.
- Enter a description for the category.
- Select Display in Menu to make the category visible in the MobilePOS app.
- Click Save.
- In MobilePOS Dashboard, select Inventory > Categories.
- To add multiple items to a category at one time
- After creating your category, select Edit to edit the category.
- Select the Items tab.
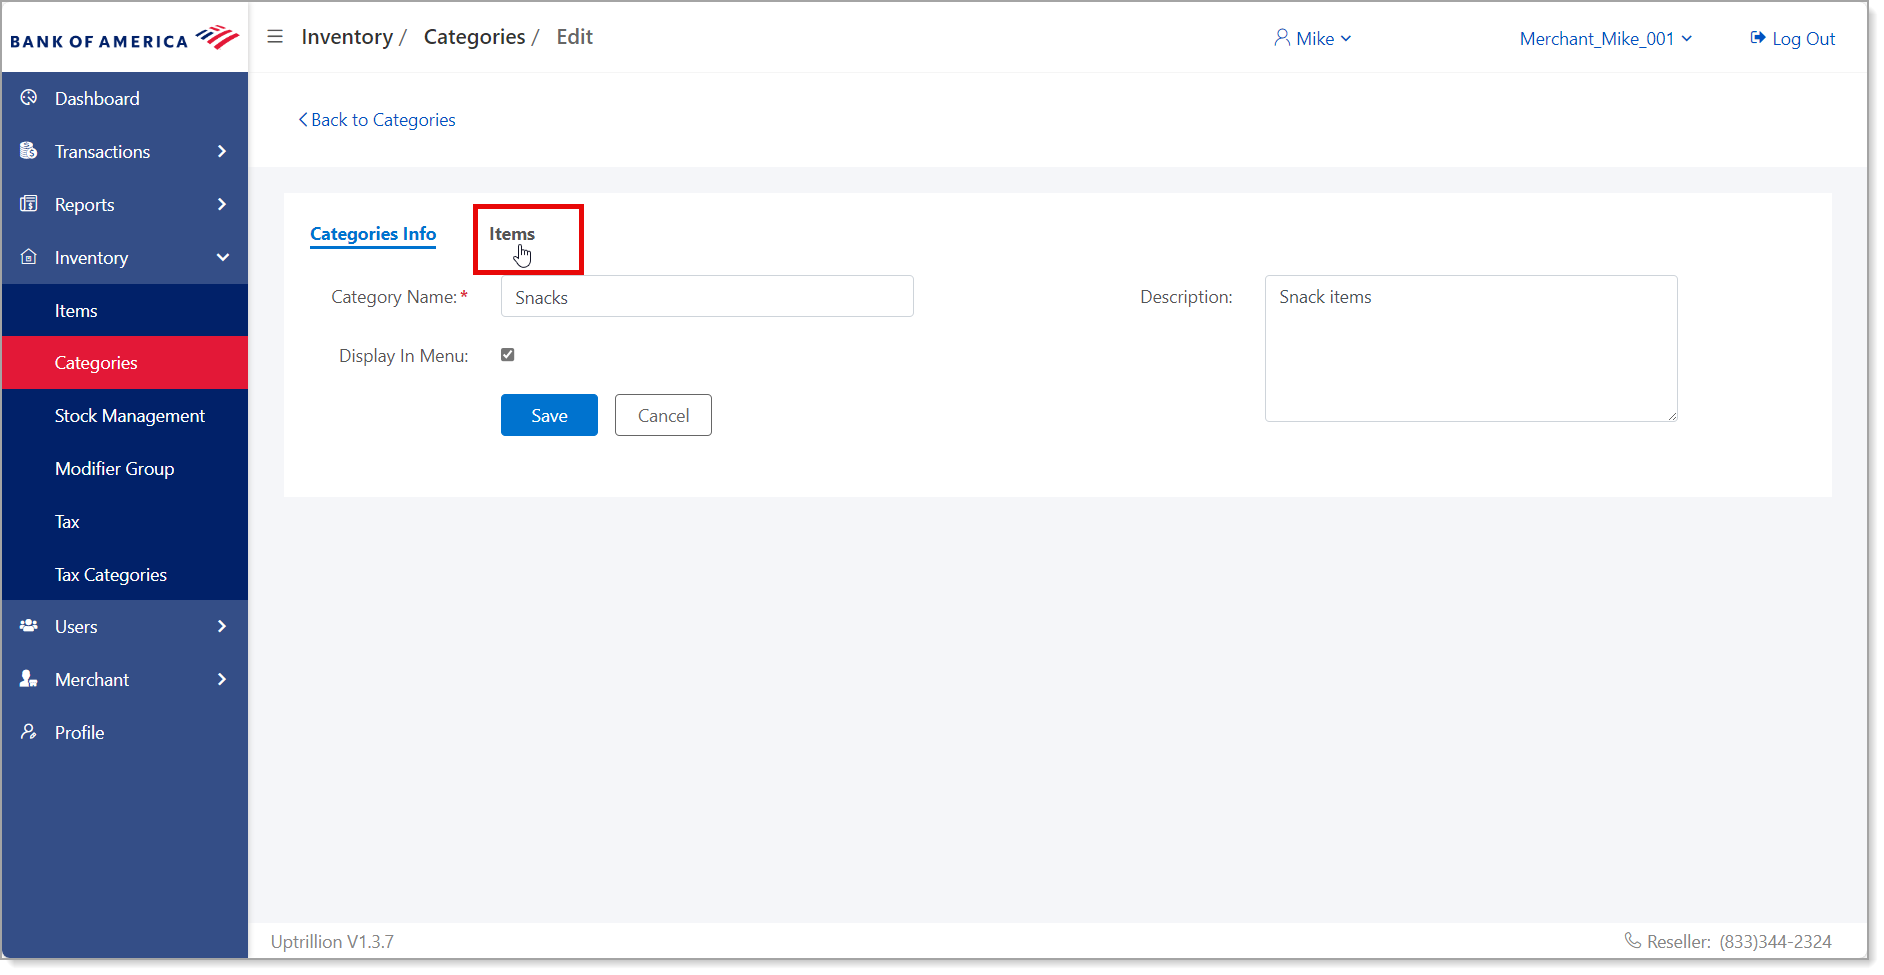
- Click Add Items.
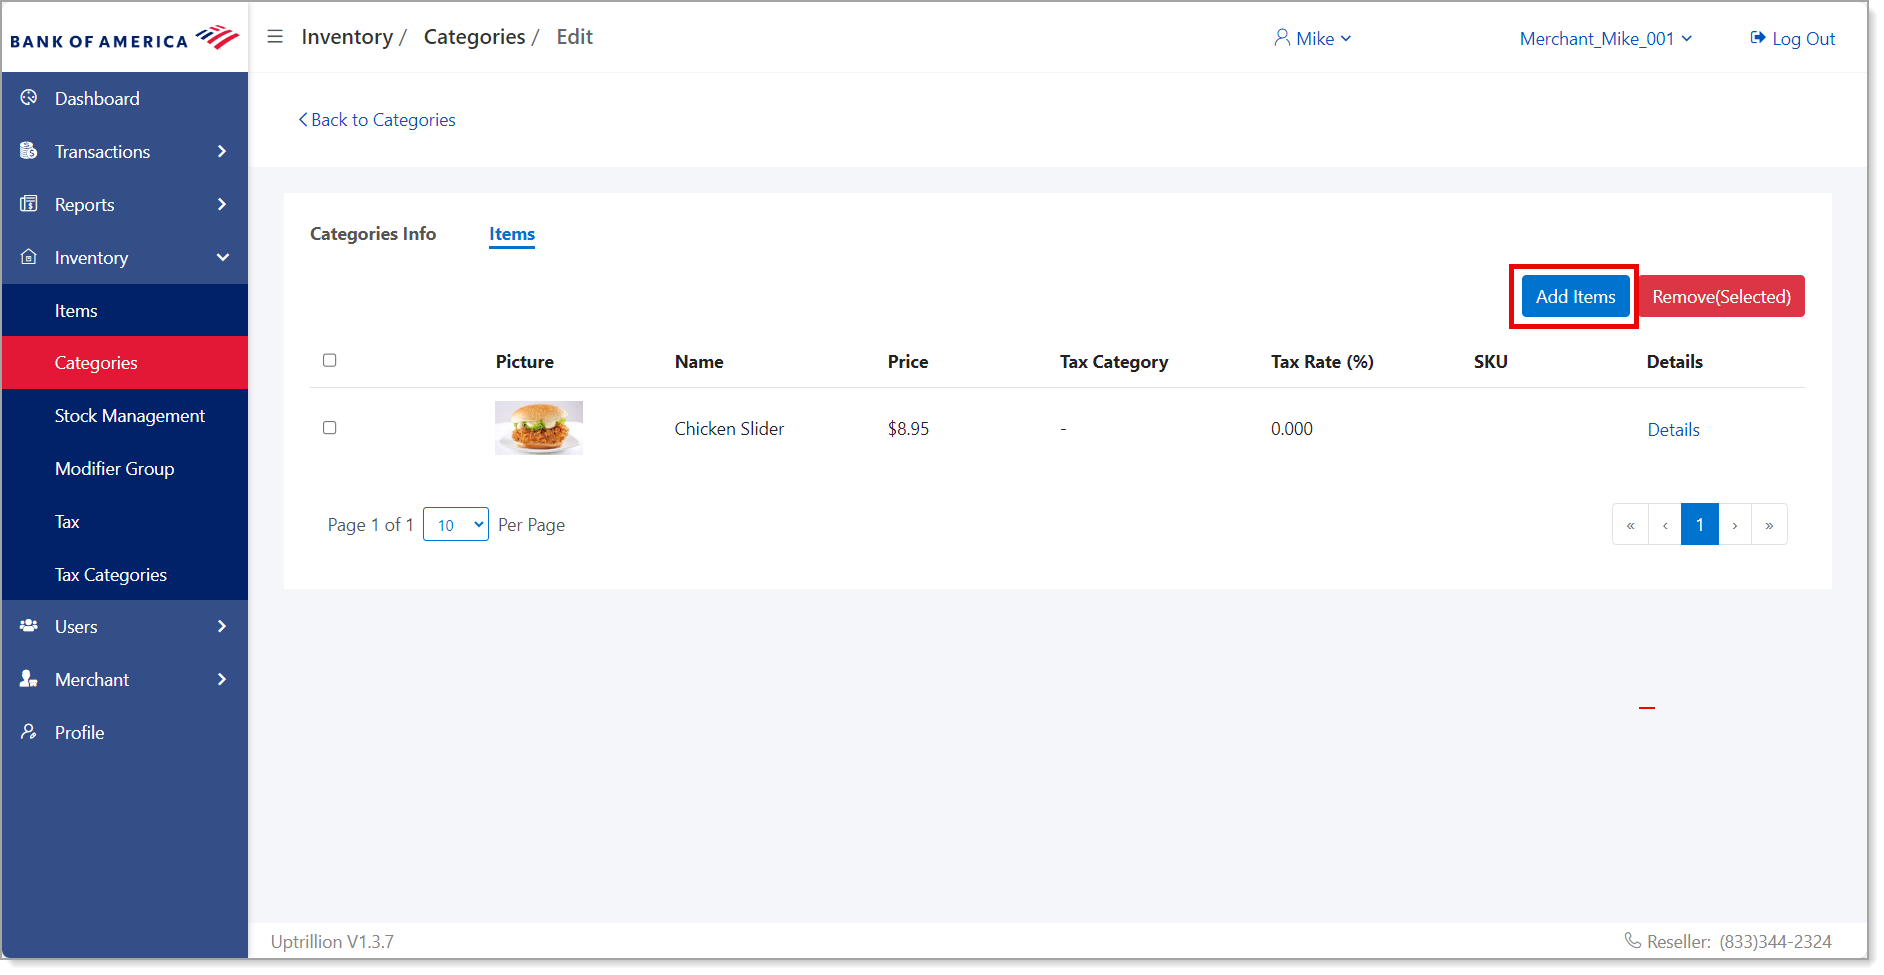
- Select items from the list to add to the category.

- Click Add Items. You can remove items from a category by selecting the items to remove and clicking Remove (Selected).

Stock Management
Stock Management provides inventory management options to track stock on hand, stock coming in and stock being moved out of your inventory. Sales on the MobilePOS app will not decrease the inventory count.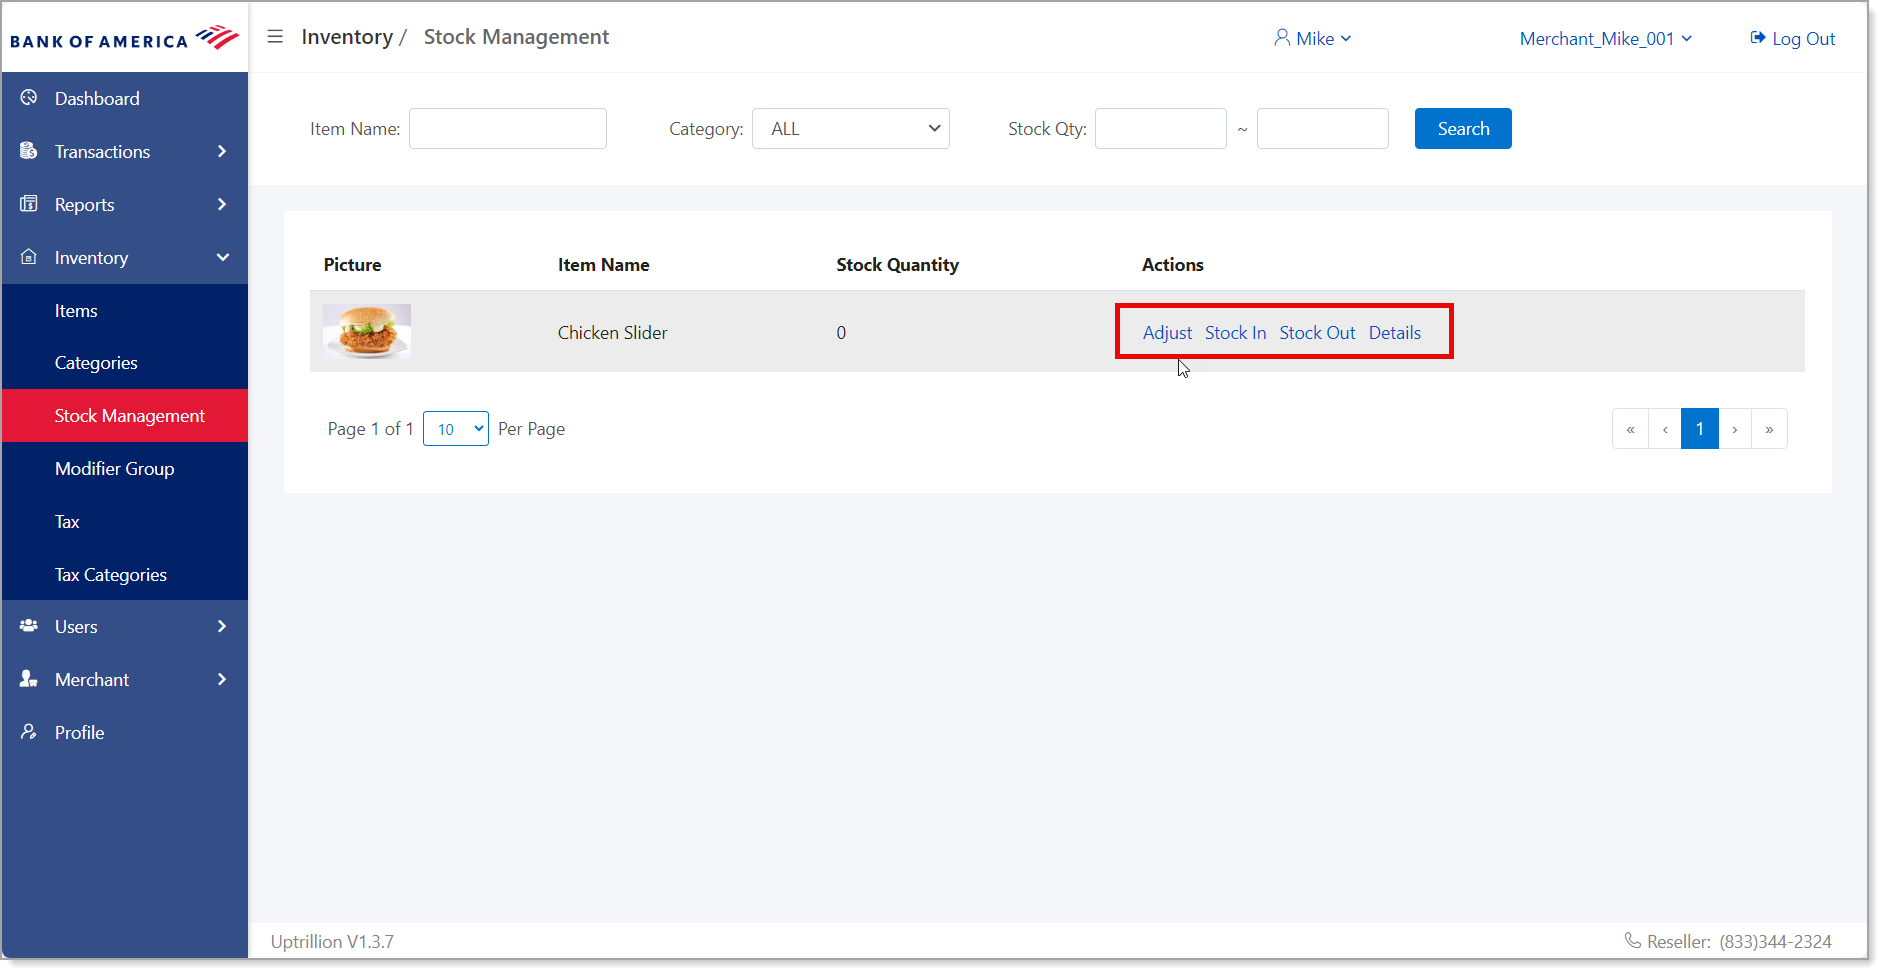
Tax
Manage tax rates for your items using the Tax options.
- To add a new tax, sales tax or default tax
- In MobilePOS Dashboard, select Inventory > Tax from the left navigation.
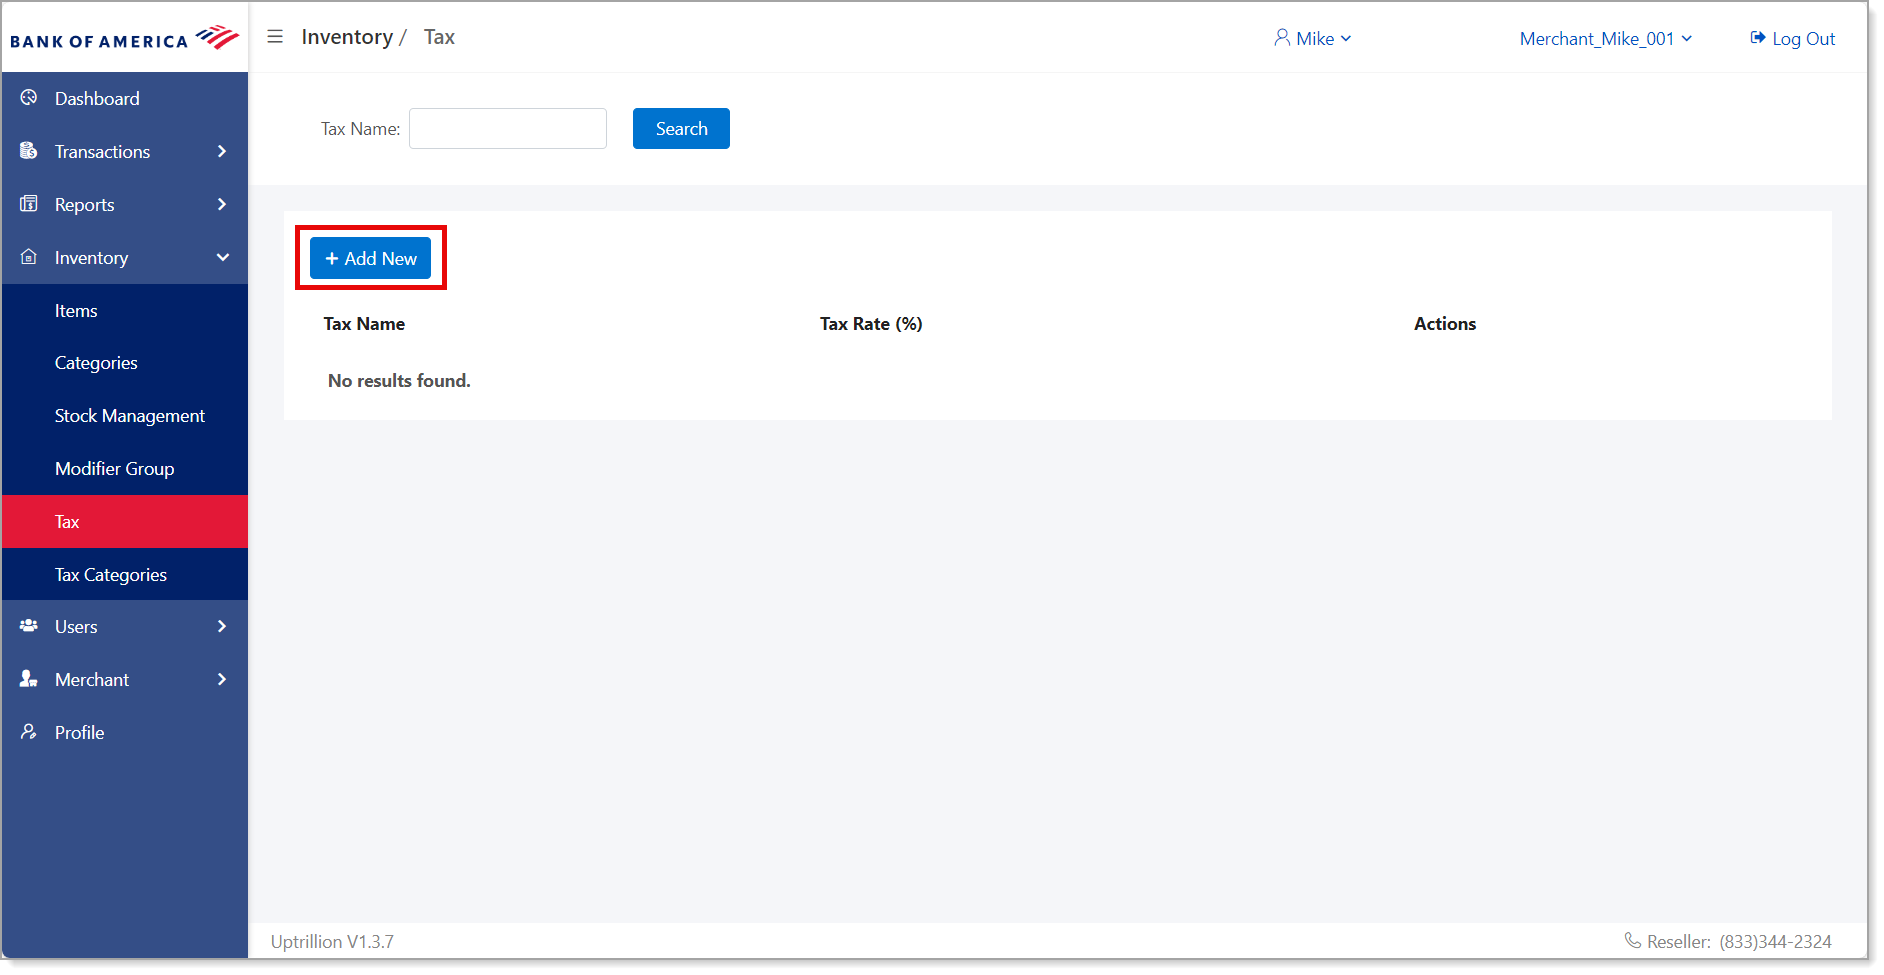
- Click Add New to add a new tax.
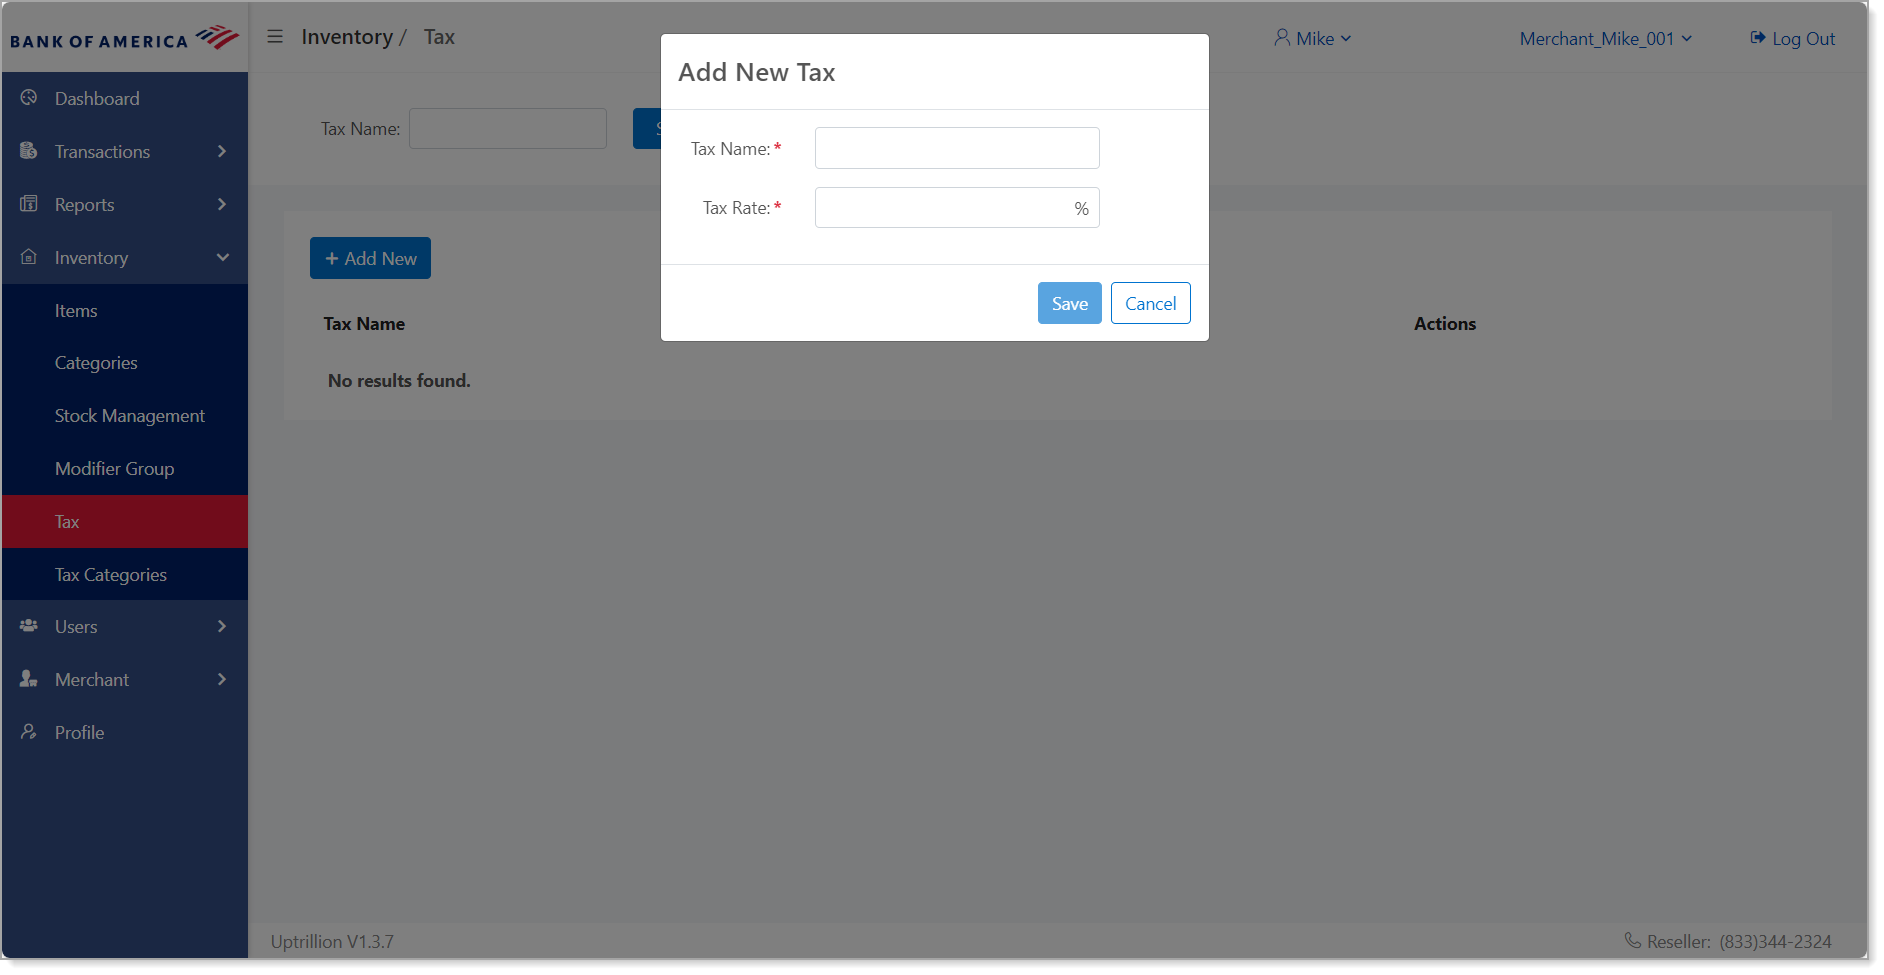
- Enter a tax name to help you identify the tax later. This is a required field.
- Enter a tax rate. This is a required field.
- Click Save. The new tax is created.
- In MobilePOS Dashboard, select Inventory > Tax from the left navigation.
Tax Category
Tax categories combine tax rates, grouping your taxes so that you can easily apply more than one tax rate to a sale. Add the individual tax rates using the Tax option first, then group them using Tax Category.
- To add a tax category
- In MobilePOS Dashboard, select Inventory > Tax Categories from the left navigation.
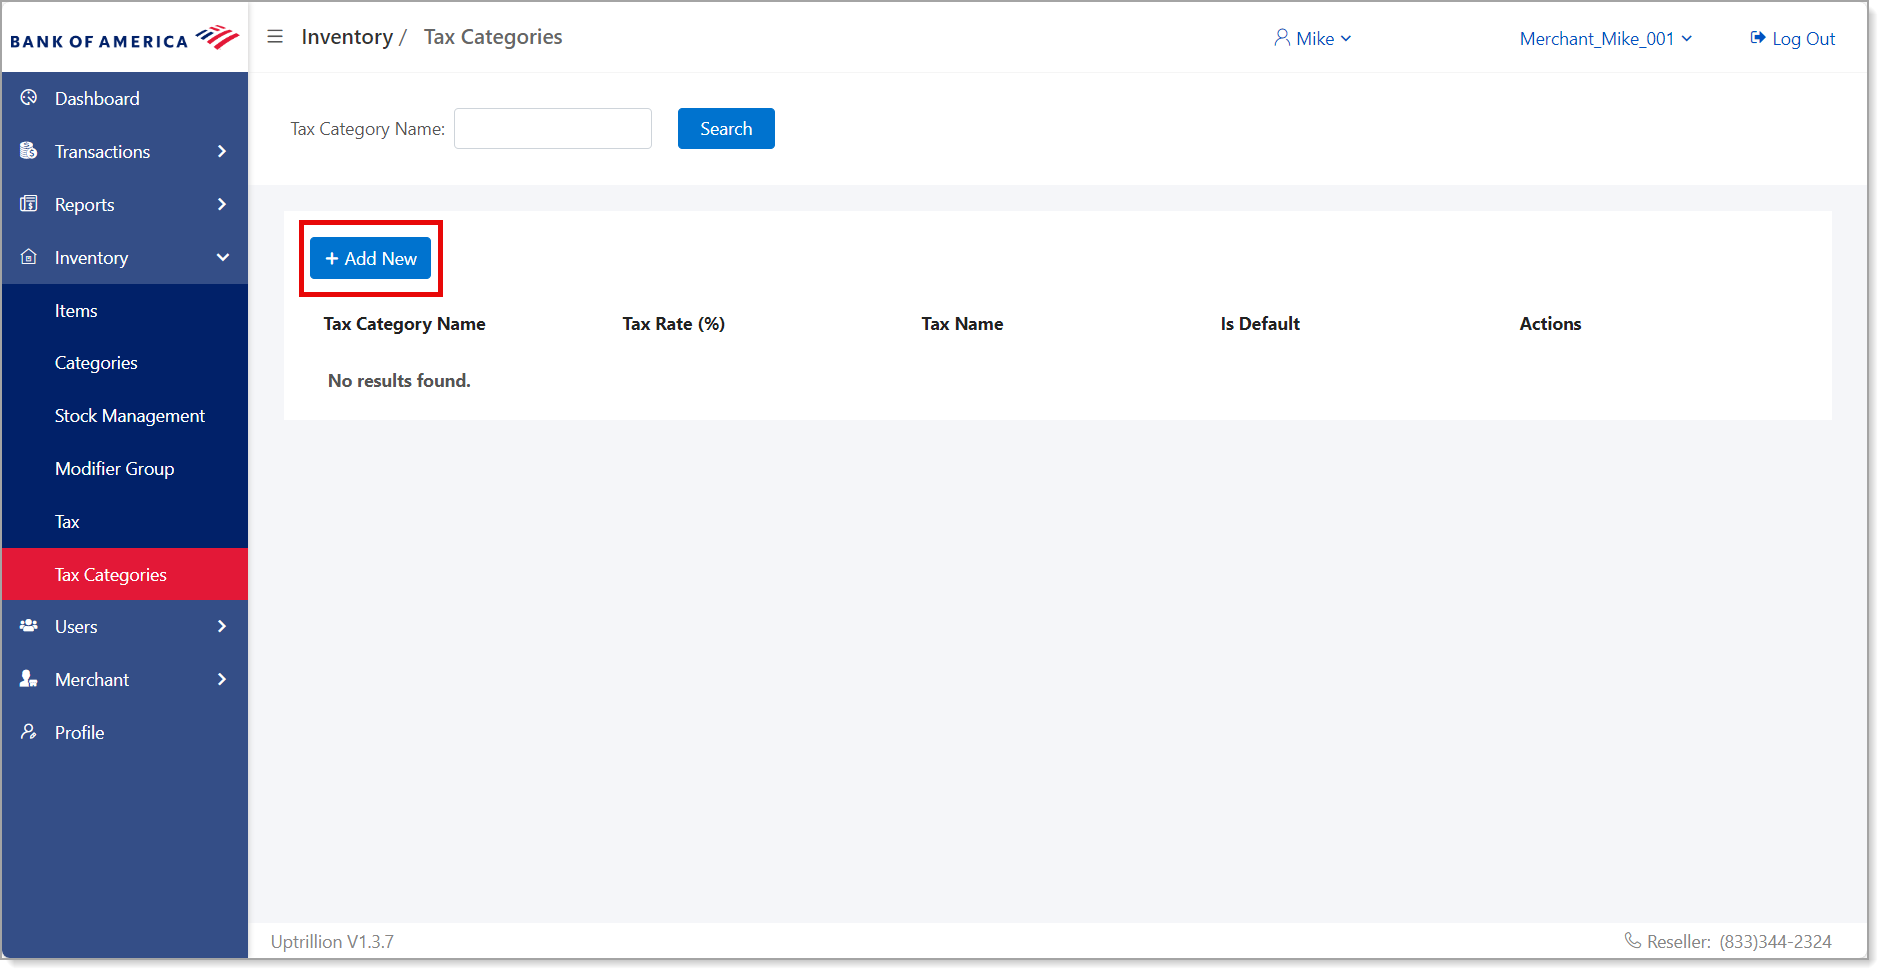
- Click Add New to create a new Tax Category group.

- Enter a name for the new Tax Category. This is a required field.
- Enter a tax rate. This is a required field.
- Select whether the tax category will be the default tax to apply to a sale.
- Select the checkbox for each tax to group for the Tax Category.
- Click Save.
- In MobilePOS Dashboard, select Inventory > Tax Categories from the left navigation.