Point of Sale Solution Back Office Estimates
Description
What's in this article?
Create an estimate from a custom template and email it to your customers. Your customers will be able to quickly accept or reject the estimate.
Create an estimate template
An estimate template makes creating custom estimates faster and easier. Your business contact information will automatically populate on the estimate. As you customize your template, the preview will update so you can see what it will look like for your customers.
Watch the video:
- This video will walk you through how to create an estimate template from the Point-of-Sale Solution Back Office.
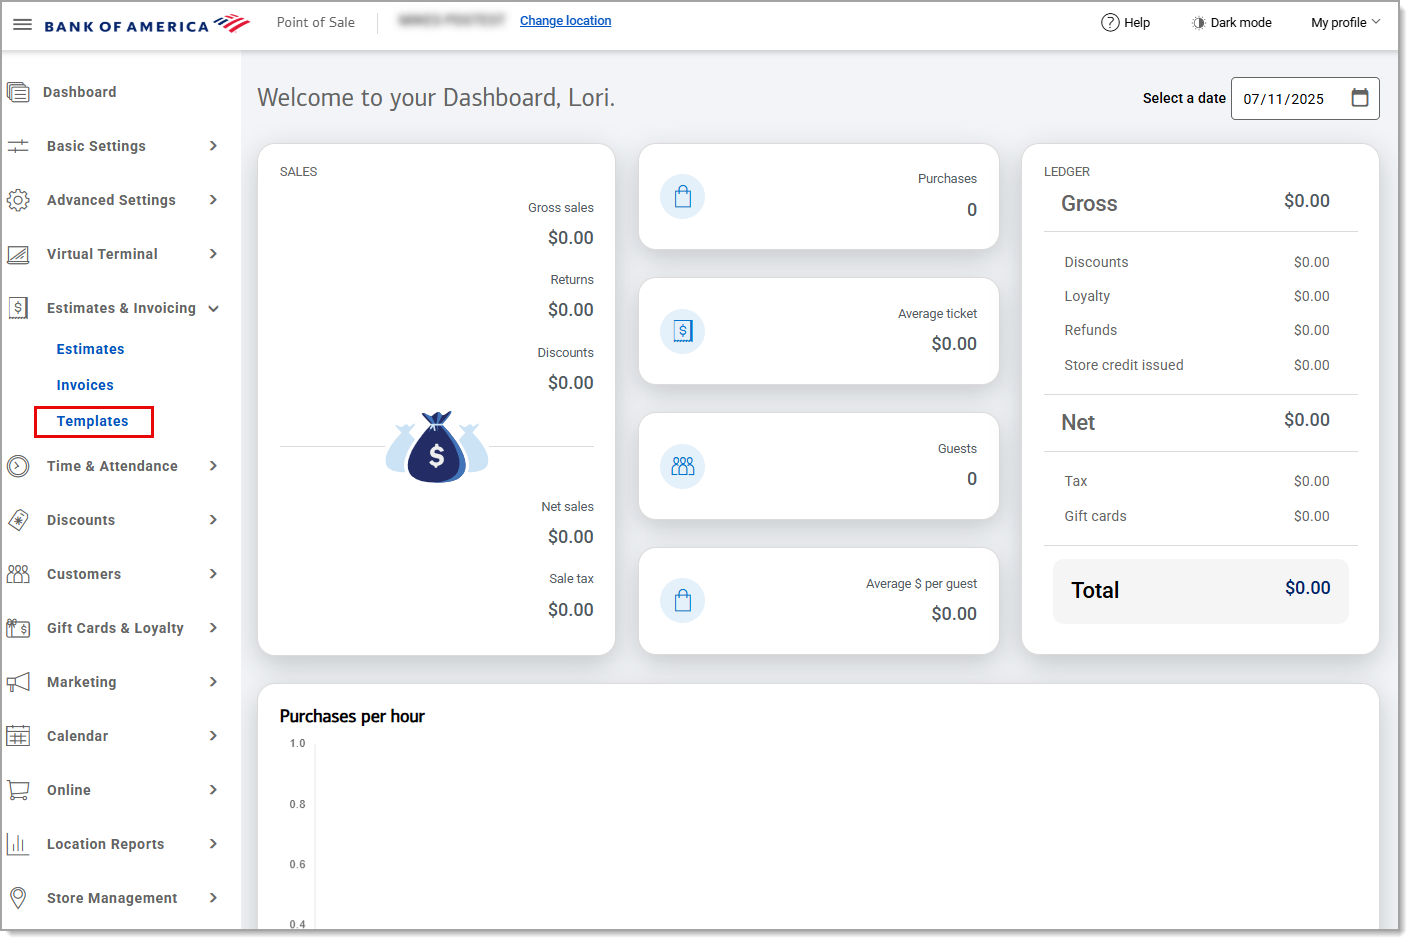
- In Point of Sale Back Office , select Estimates & Invoices > Templates> then at the top click the estimates tab.
- On the Estimates tab, you can customize your Estimate template. With options including you logo, background color, address, accept online, tax, term, and extra text.
- Click Save.
To create an estimate template
- In the Point of Sale Solution Back Office, select Estimates & Invoices > Templates.
- On the Estimates tab, customize your template:
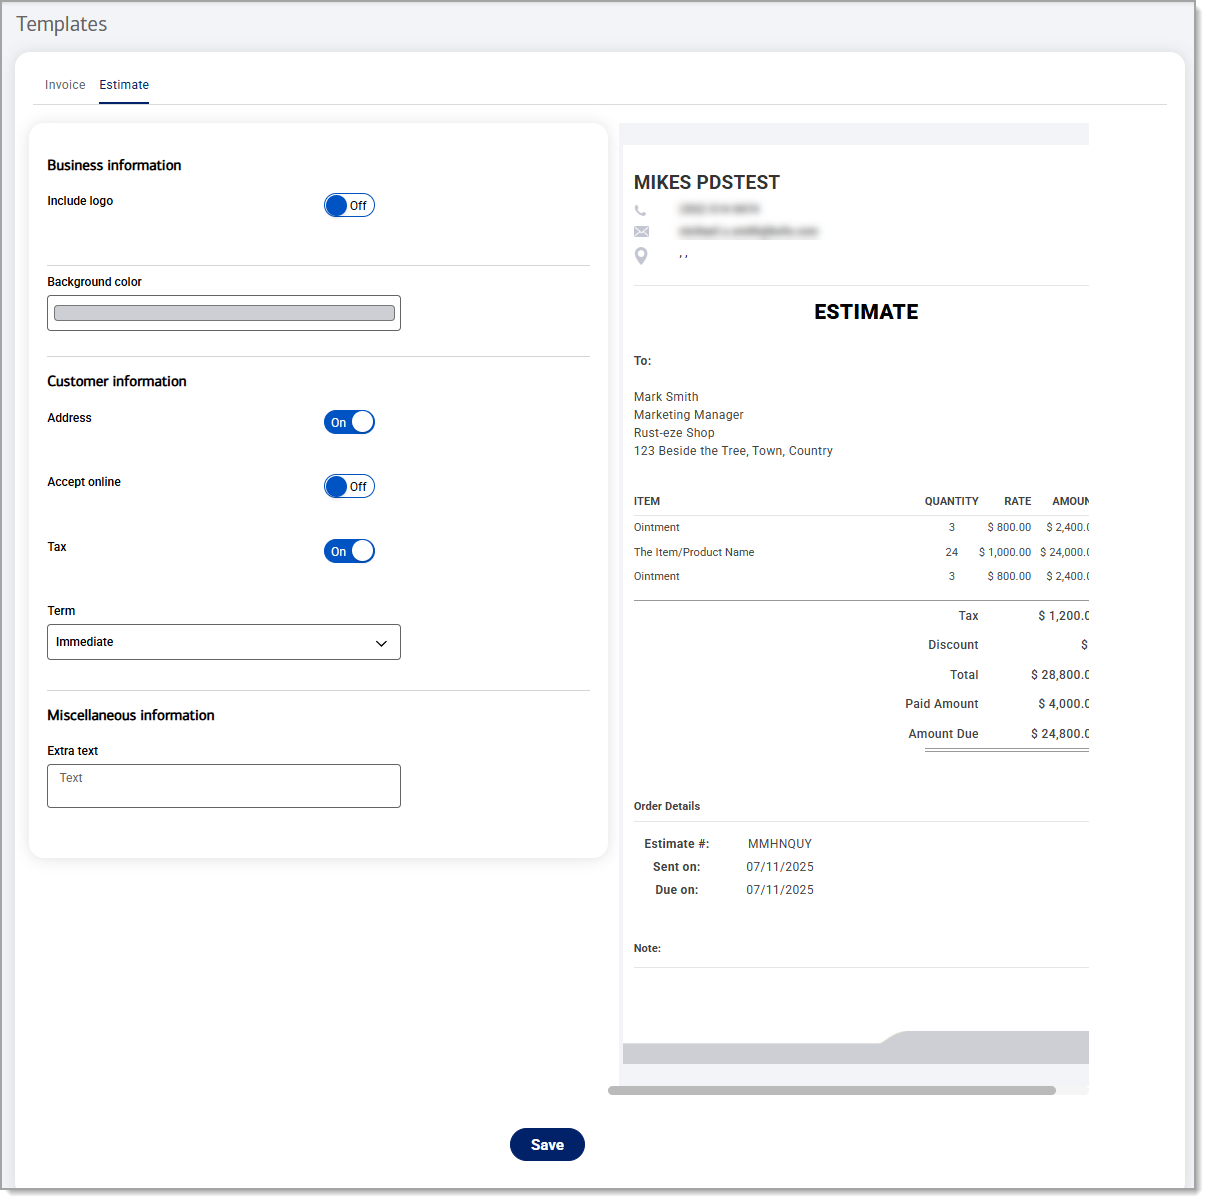
Estimate template fields and descriptions Field Description Include logo To enable a logo on your estimate. Background color To choose a background color for the estimate, if desired. To choose a specific color, use the color eyedropper tool or enter specific RGB values for the desired color. Address To show your customer's address on the estimate. Accept online To enable the customer to accept the estimate online. Tax To show the tax calculation on the estimate. Term To choose a payment term from a dropdown list. Options are immediate, Net 15, Net 30, Net 60 or Net 90. Extra text To include a note at the bottom of the estimate. Click Save.
Create and send an estimate
Create and send an estimate to your customer from the Point of Sale Solution Back Office. All the details from your estimate template will be pulled into the new estimate, you just need to add the customer name, contact information and the items to the estimate. You must have the appropriate access to create an estimate.
Watch the video:
- In this video, you will learn how to create an estimate from the Point-of-Sale Solution Back Office.
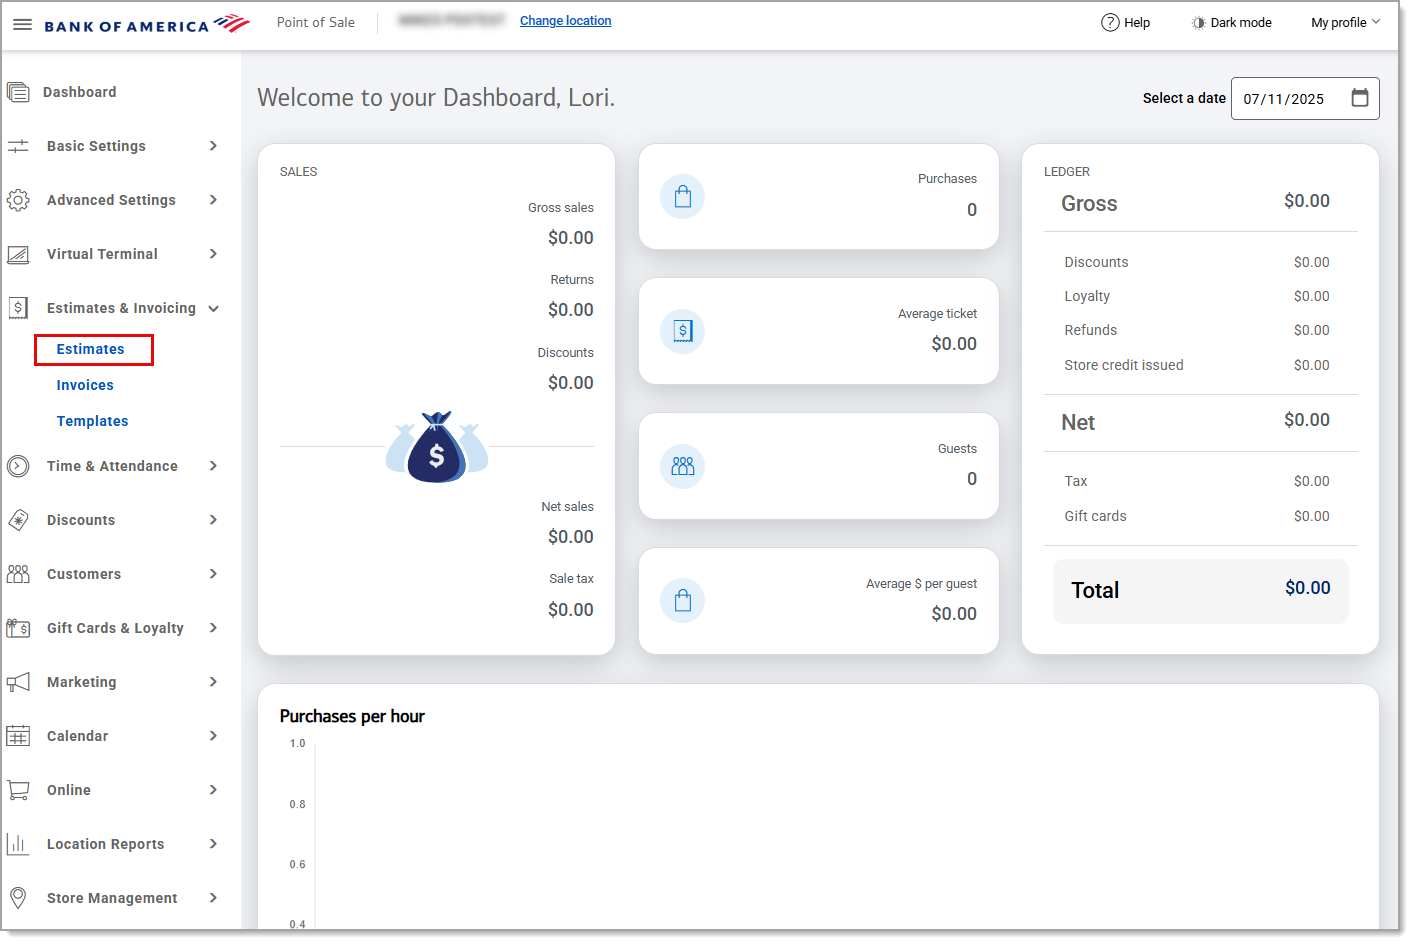
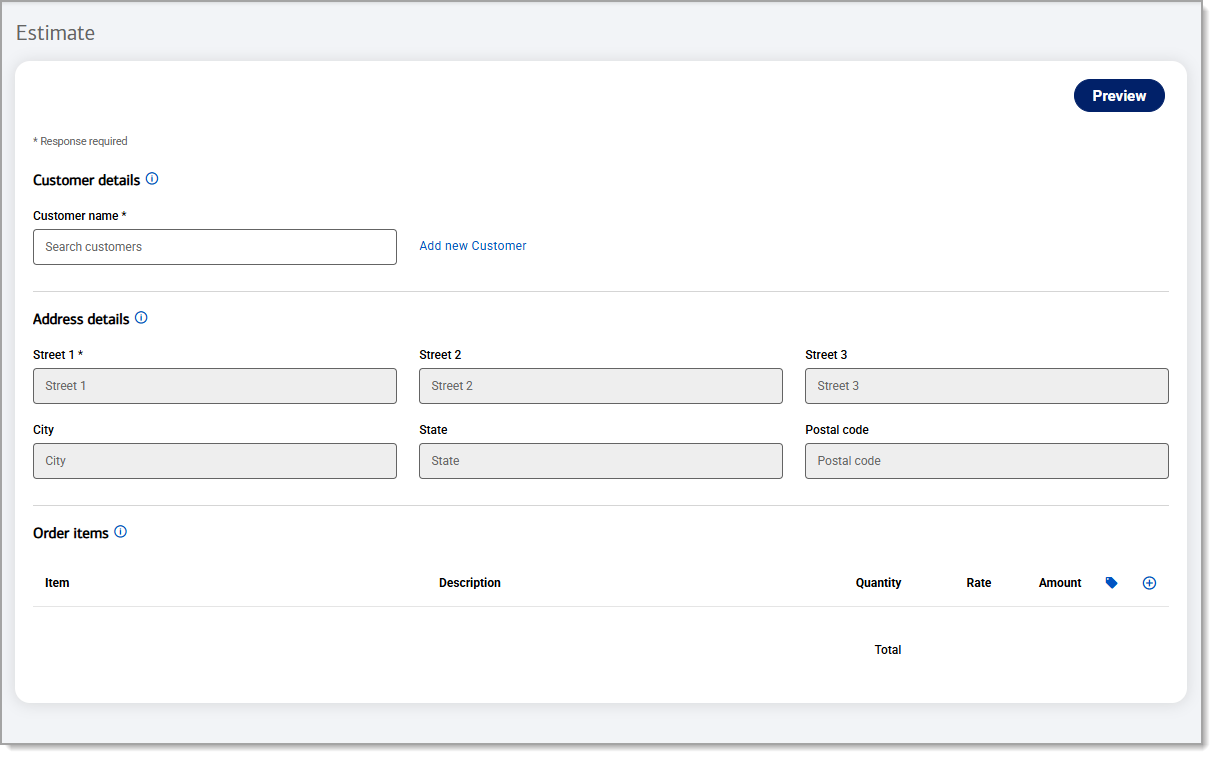
- In Point of Sale Back Office , select Estimates & Invoices > Estimates > New Estimates.
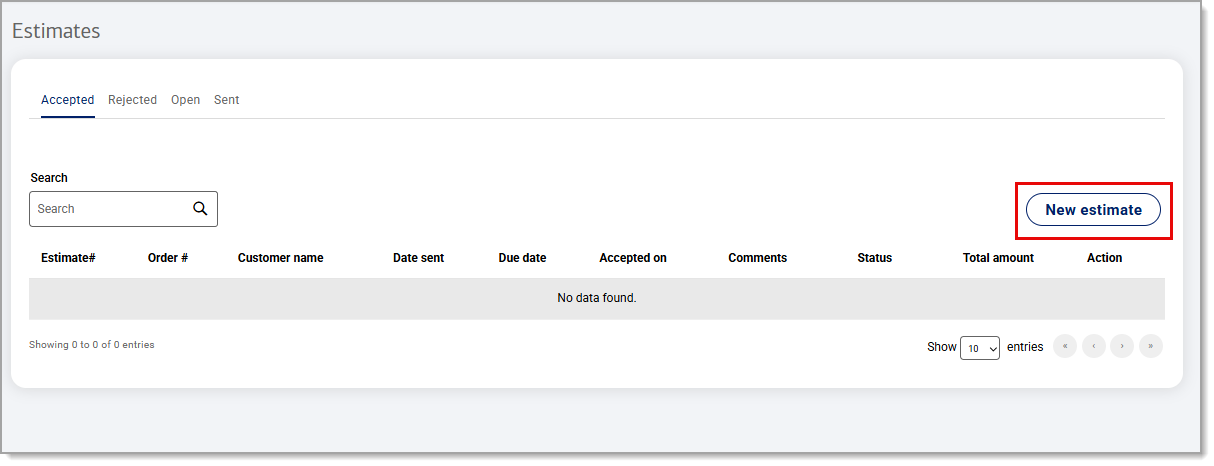
- Click New Estimate
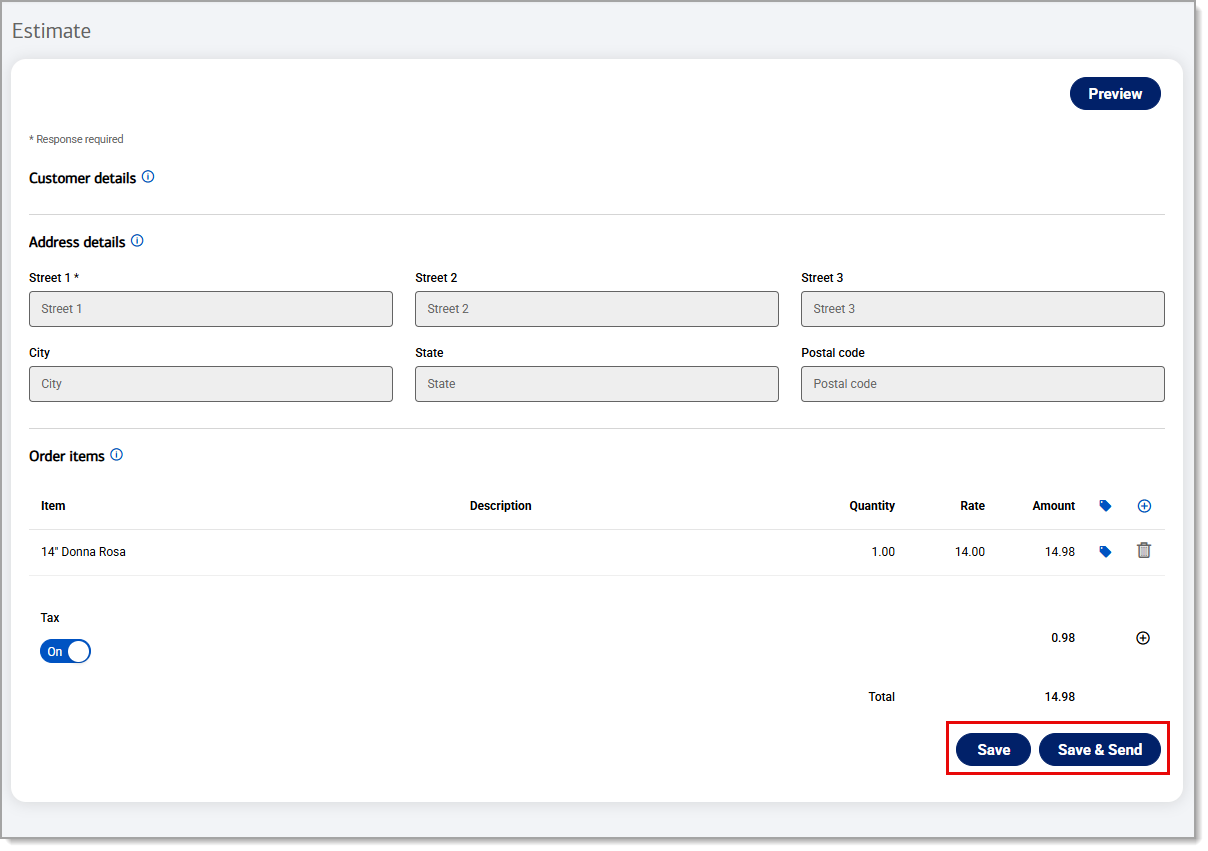
- Enter the customer's name, email, and phone number and customer's address.
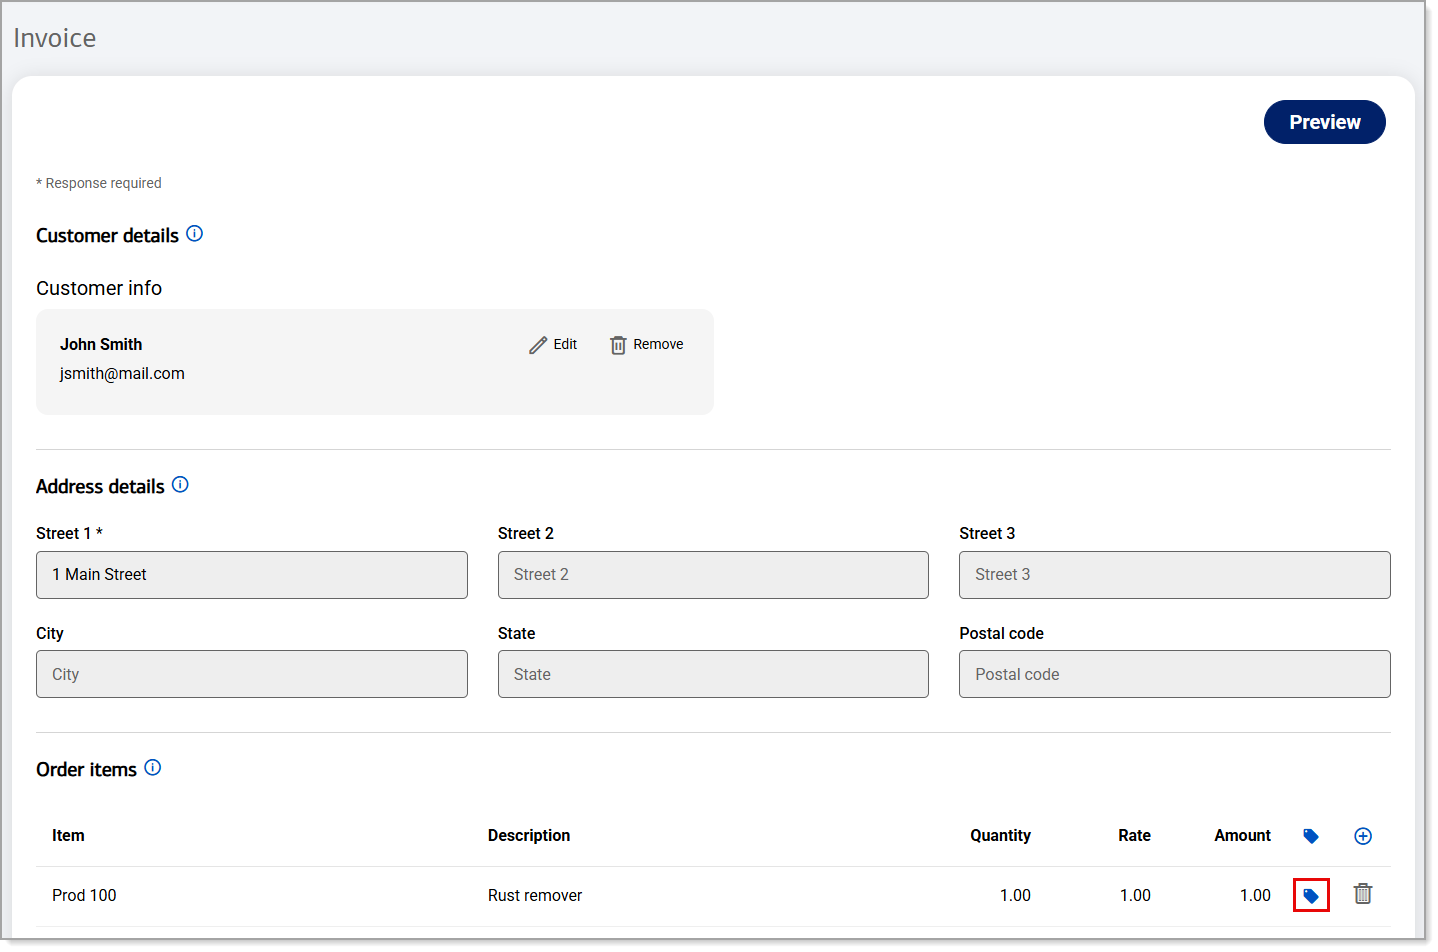
- Under Order items, add products by clicking the "+" icon to add a product from your inventory.
- Click the Tag icon to add a discount, if desired.
- To add or edit the tax, click the "+"icon. You can also turn off the Tax option to omit a tax on your estimate.
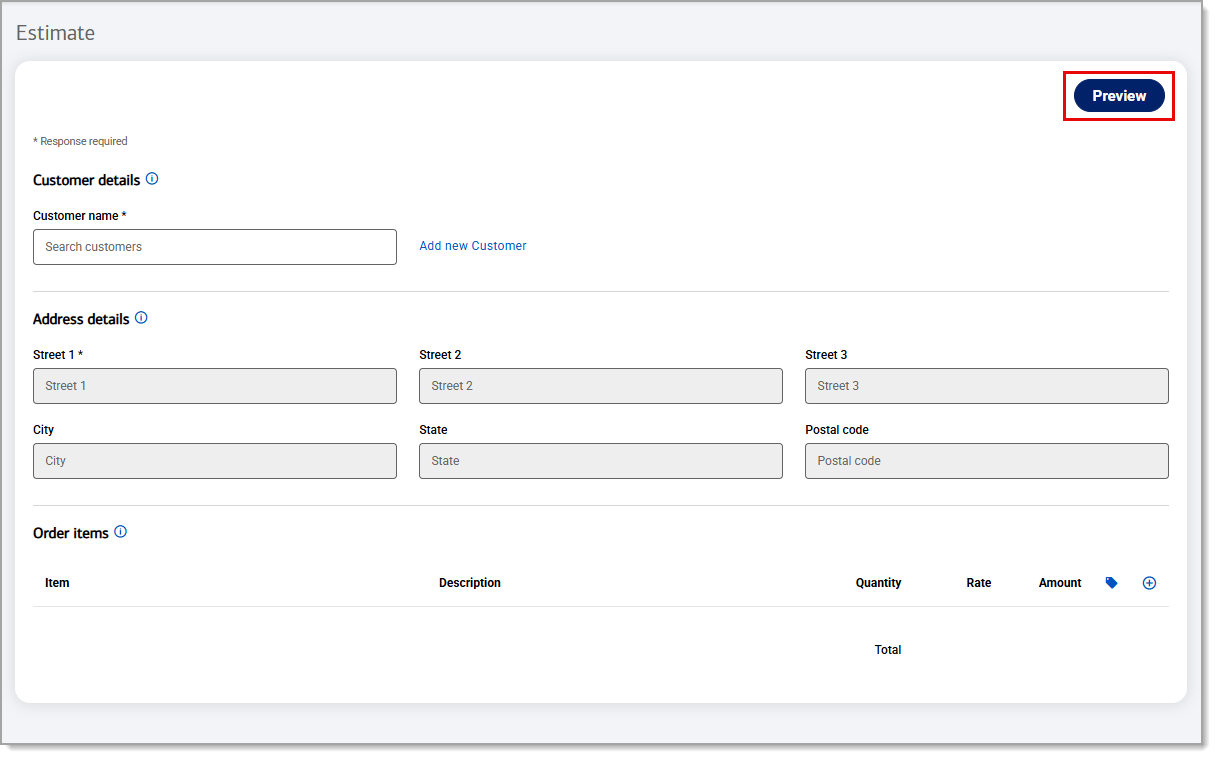
- Click Preview in the top right corner to review your estimate.
- Click Save to save the estimate for later or click Save & Send to save the estimate and email it to your customer.
- In the Point of Sale Solution Back Office, select Estimates & Invoices > Estimates.
- Click New estimate.
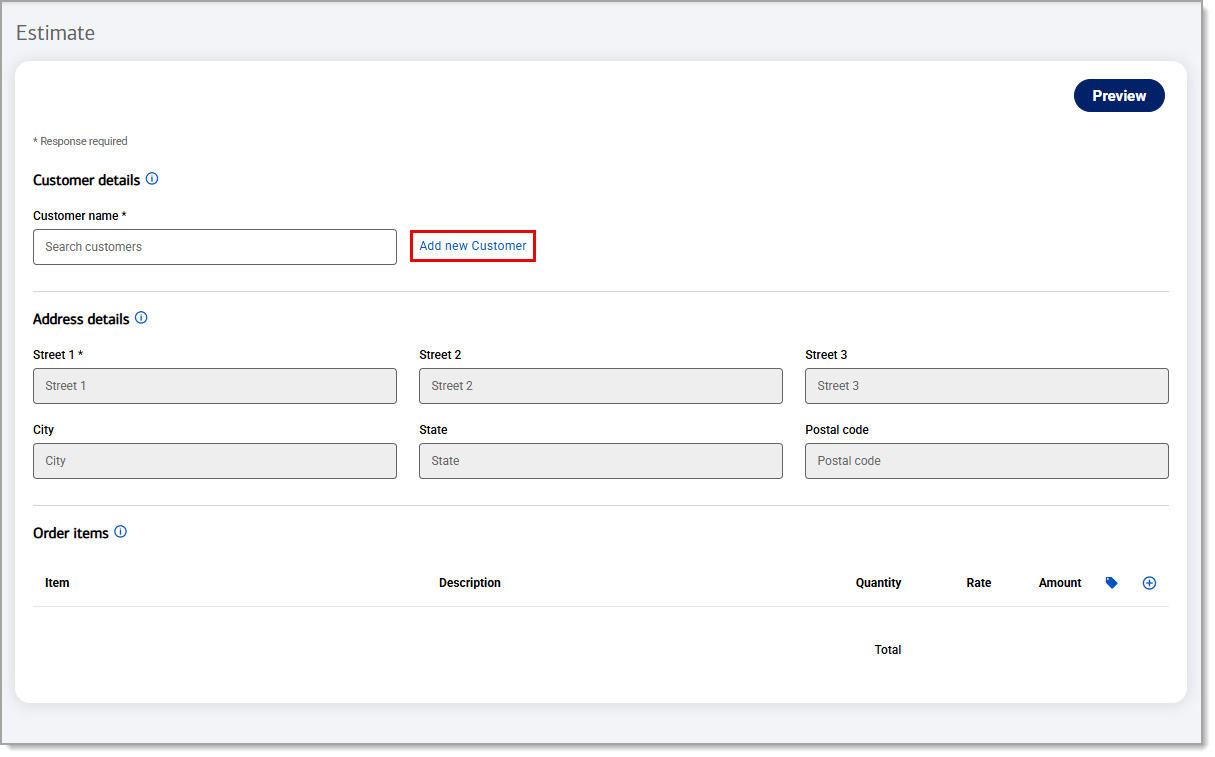
- Enter a Customer name and select from the populated dropdown list of existing customers in your database. If the customer is new, add them.
To add a new customer
- Click Add new Customer.
- Complete the Email and Mobile number fields.
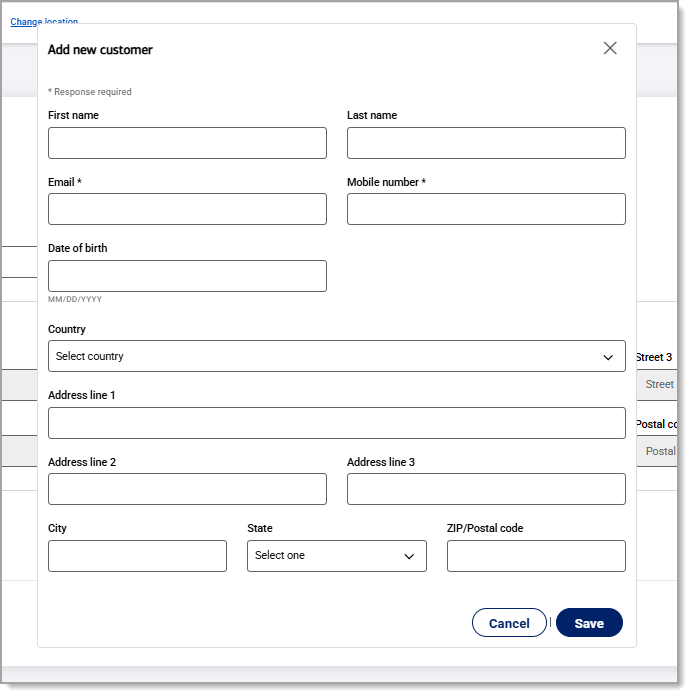
- (Optional) Complete First name, Last name, Date of birth, and address information.
- Click Save.
- Click Add new Customer.
- Click on the plus sign icon to select an item from your inventory.
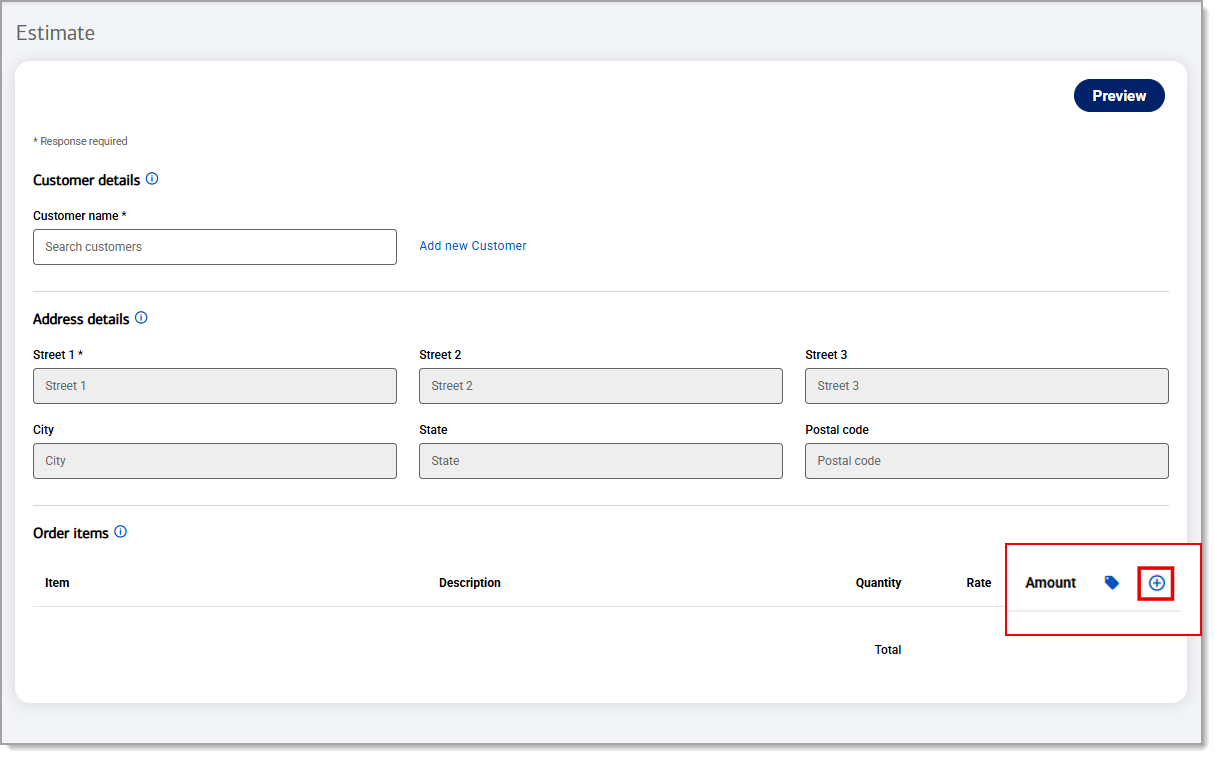
- Begin typing and select the product from your items list.
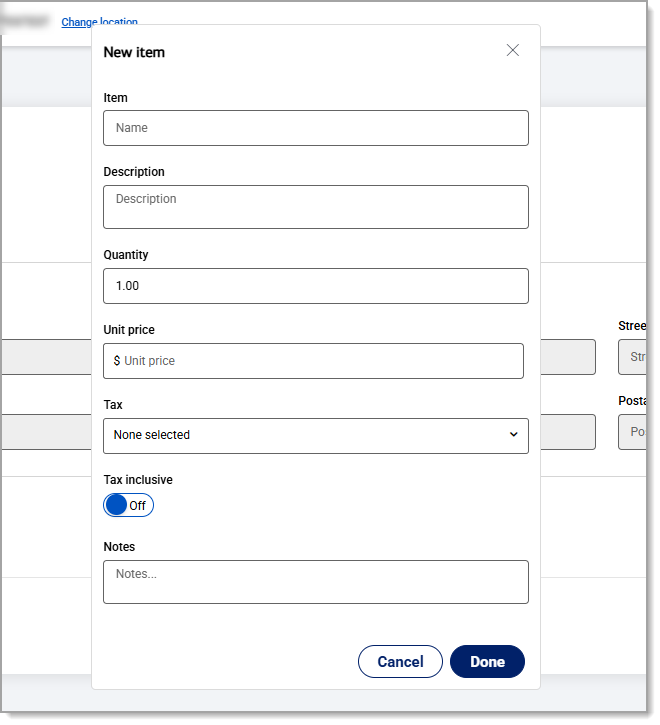
- (Optional) Complete the additional item information fields to provide a Description, Quantity, Unit price, Tax category, and Notes. Enable Tax inclusive if the price includes tax.
- Click Done to enter the item on the estimate.
- Click the tag icon to add a discount, if desired.
- (Optional) Click on the Discount icon to apply a discount:
 To apply more than one discount, Multiple discounts must be enabled in the Back Office Basic Settings > Global Settings.
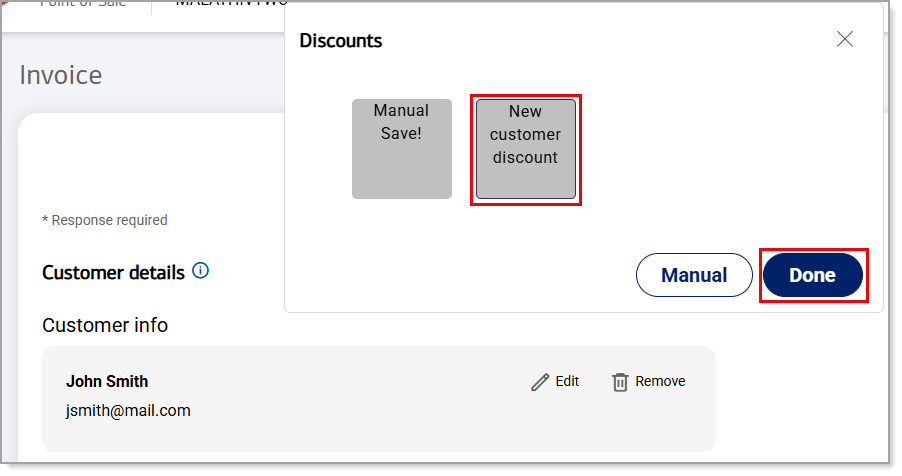
Apply a preset discount
Click the button of a Manual Discount you have previously set up, for example a new customer discount. When it is enabled, a border will appear around the button. Click Done.
Apply a custom discount
- Click Manual to create a new custom discount.
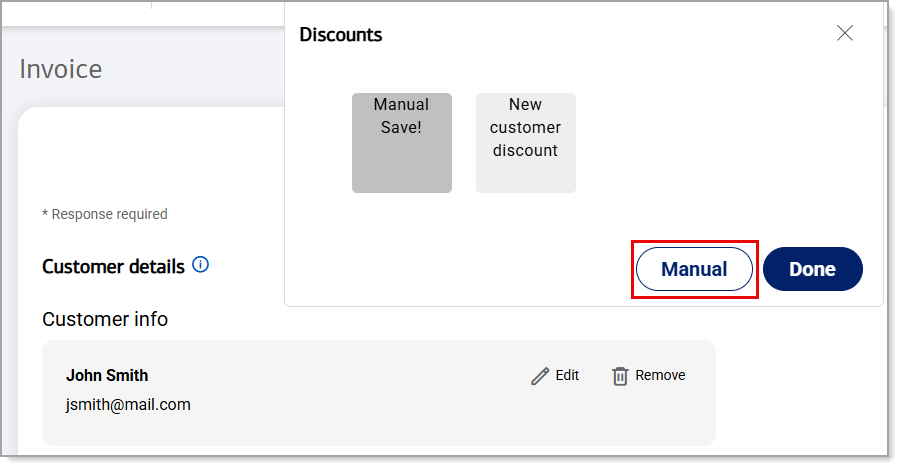
- Enable a dollar or percentage discount:
• To enable a dollar discount, enter a dollar amount. If the left-hand dollar discount button is not enabled, click on it. Click Done.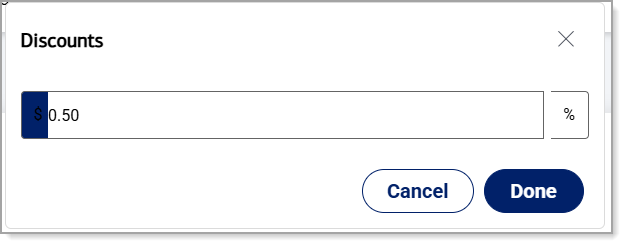 • To enable a percentage discount, enter a percentage amount and click on the percentage discount button to enable it. Click Done.
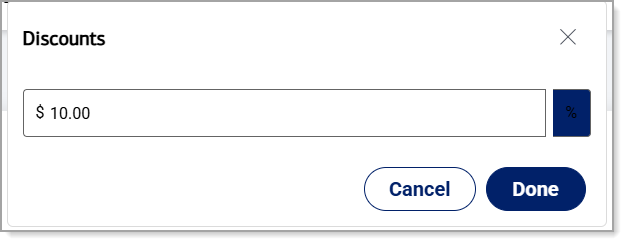
To delete a discount you have applied to an item, click on the Discount icon in the Estimate preview and delete the discount:
• Preset discounts: Click the button of the enabled preset discount to disable it. Click Done.
• Custom discounts: Click Manual. Clear the discount and click Done.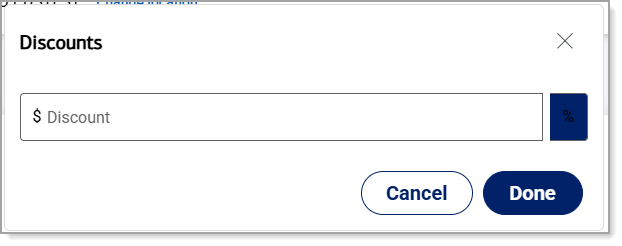
- Click Manual to create a new custom discount.
- To make any edits to the order items, click on the Item name, edit the item details and click Done.
- Click Preview in the top right corner to review your estimate.
- Click Save to save the estimate for later or click Save & Send to save the estimate and email it to your customer.
Manage estimates
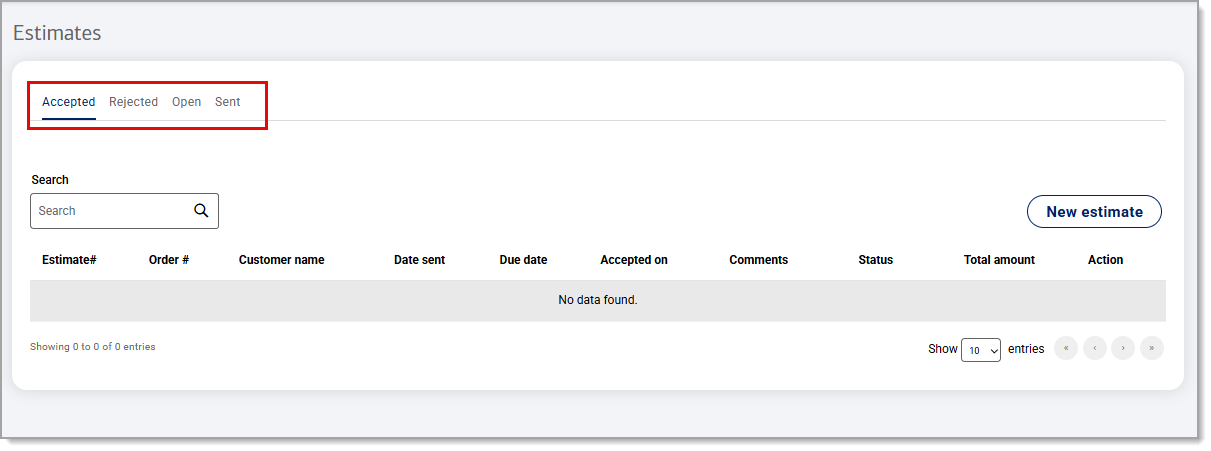
Once an estimate is created and saved, it will appear in Open estimates. All open estimates display, including estimates that originate from the Point of Sale App and those that are created in Back Office. You can edit it to change customer information or add additional items to the order, view the detail view or preview the print version, take a payment on the estimate or send the estimate to a client.
| Tab | Description |
|---|---|
| Accepted | View estimates that have been accepted by your customer. You can resend or view an estimate. |
| Rejected | View estimates that have been rejected by your customer. |
| Open | View estimates that have not been sent to the customer. |
| Sent | View estimates that have been sent to the customer but not accepted or rejected. |