Point of Sale Solution Back Office Invoicing
Description
What's in this article?
Invoices provide an itemized list of goods and services rendered, which includes the cost, quantity, and taxes – and a convenient way to pay them online. Customize your business invoice and choose the payment terms in the Invoice template. When you create an invoice, you can select an existing customer and product or create new ones. Your invoices are saved online for simplified recordkeeping. Subscriptions automatically generate invoices for each billing cycle. Learn more about the invoice lifecycle for subscriptions.
Create an invoice template
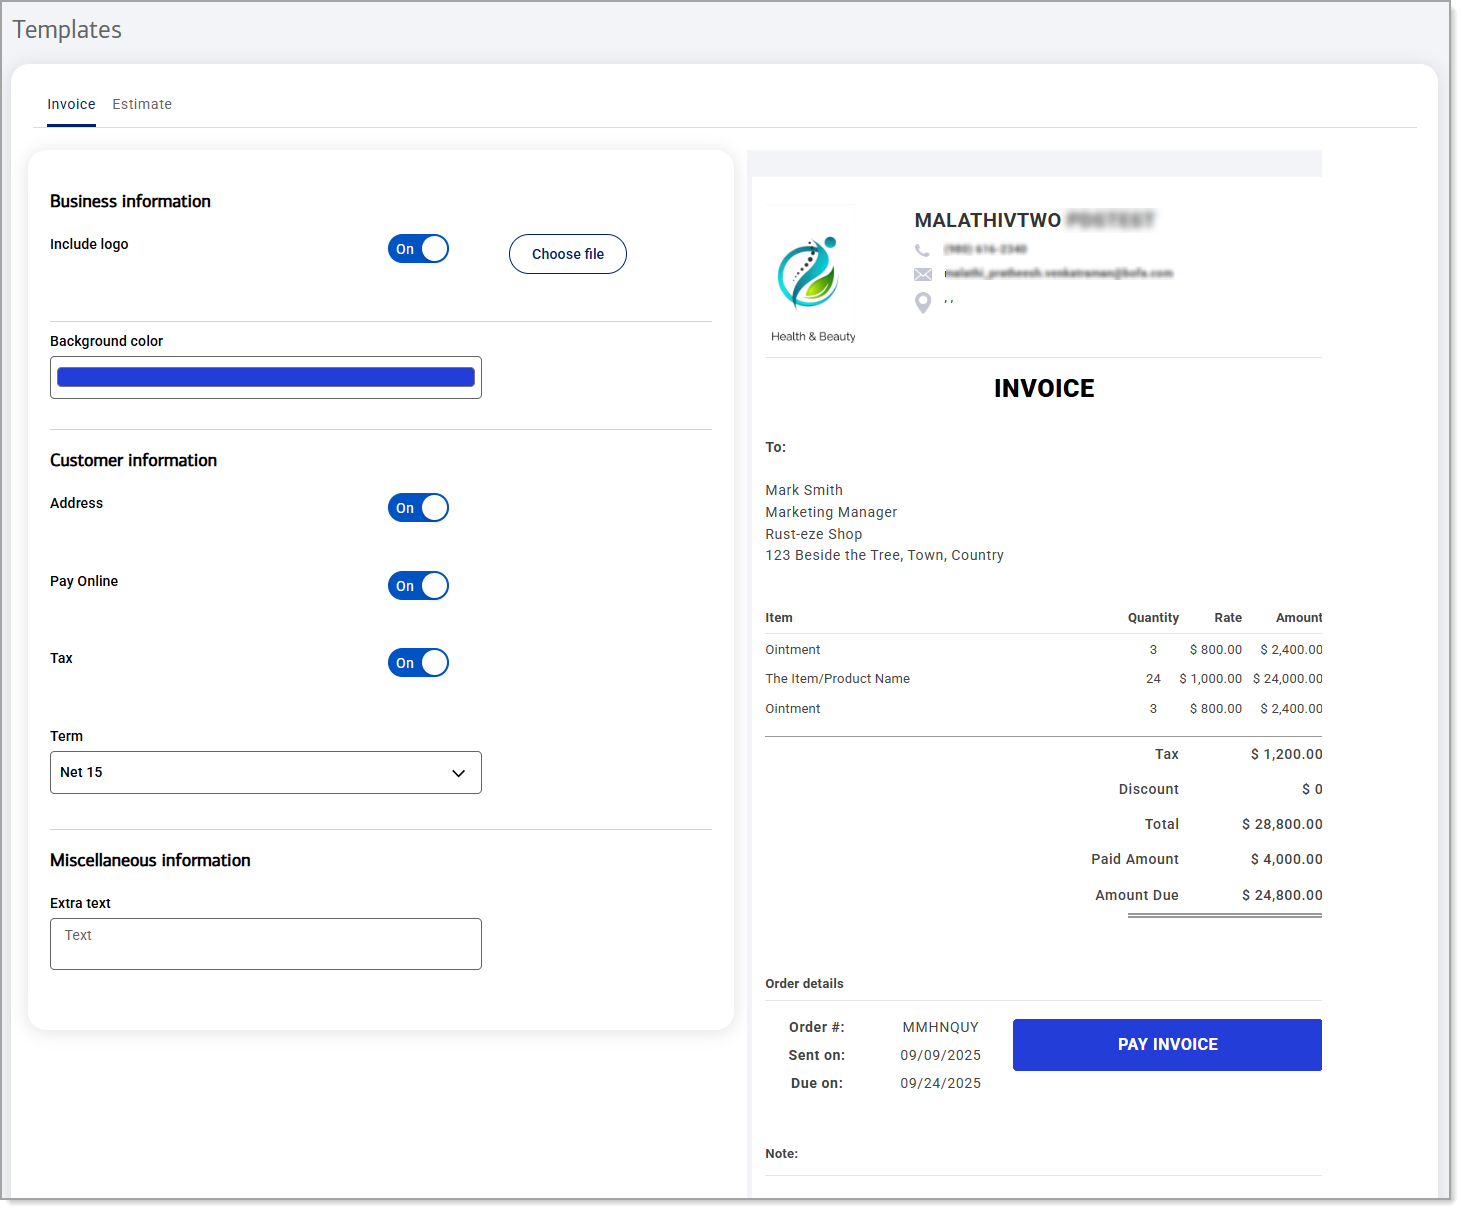
An invoice template makes creating custom invoices faster and easier. Your business contact information associated with you Merchant Services account will automatically populate on the invoice; if you'd like to change your contact information on your account, contact us. As you customize your template in the Back Office, a preview will update so you can see what it will look like for your customers.
Watch the video:
- This video will walk you through how to create an invoice template from the Point of Sale Solution Back Office.
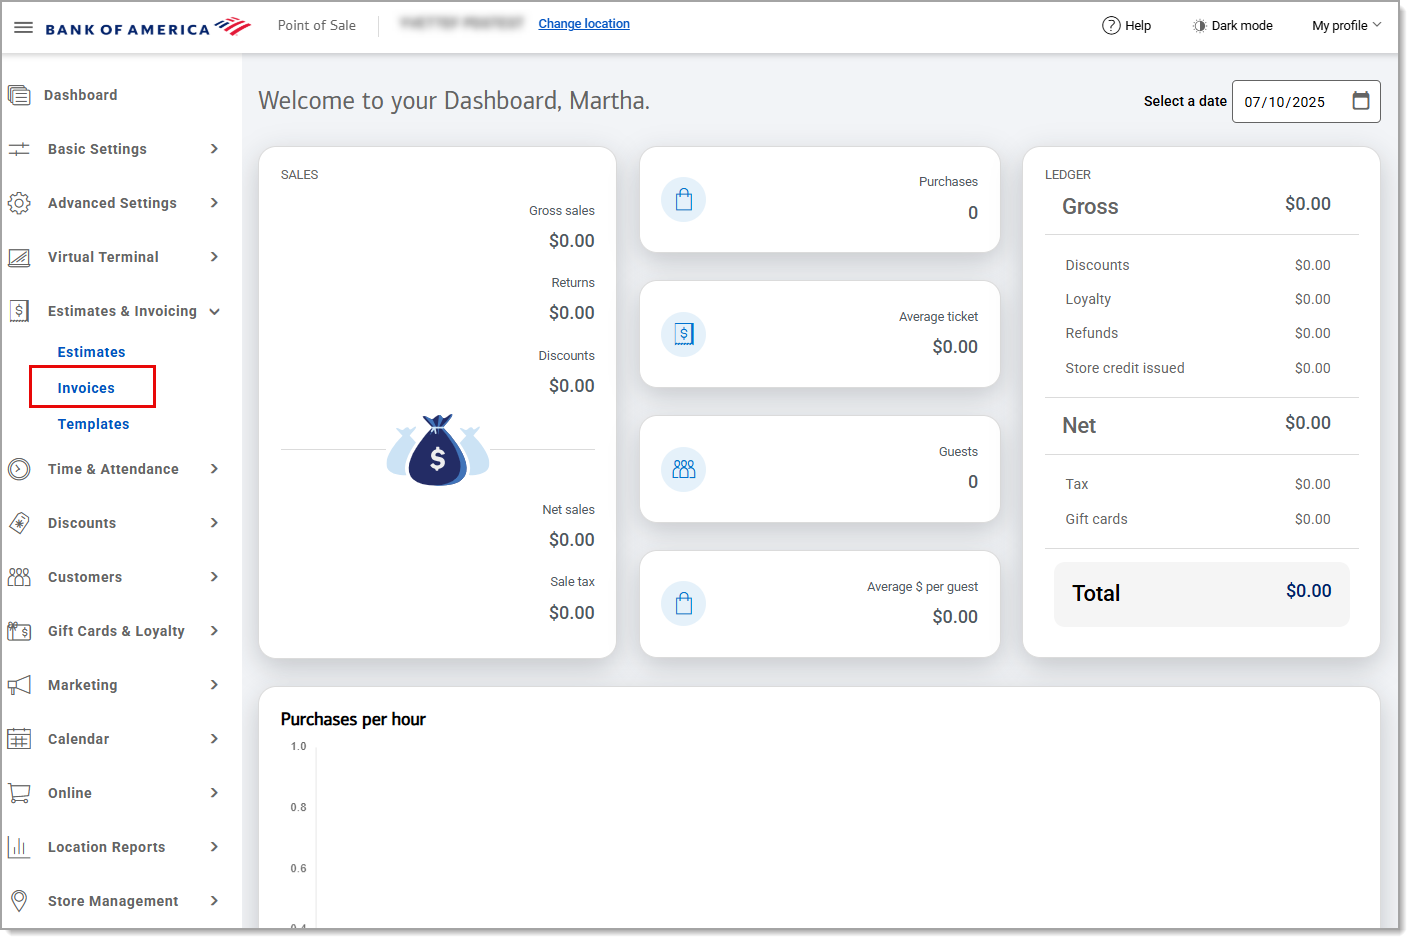
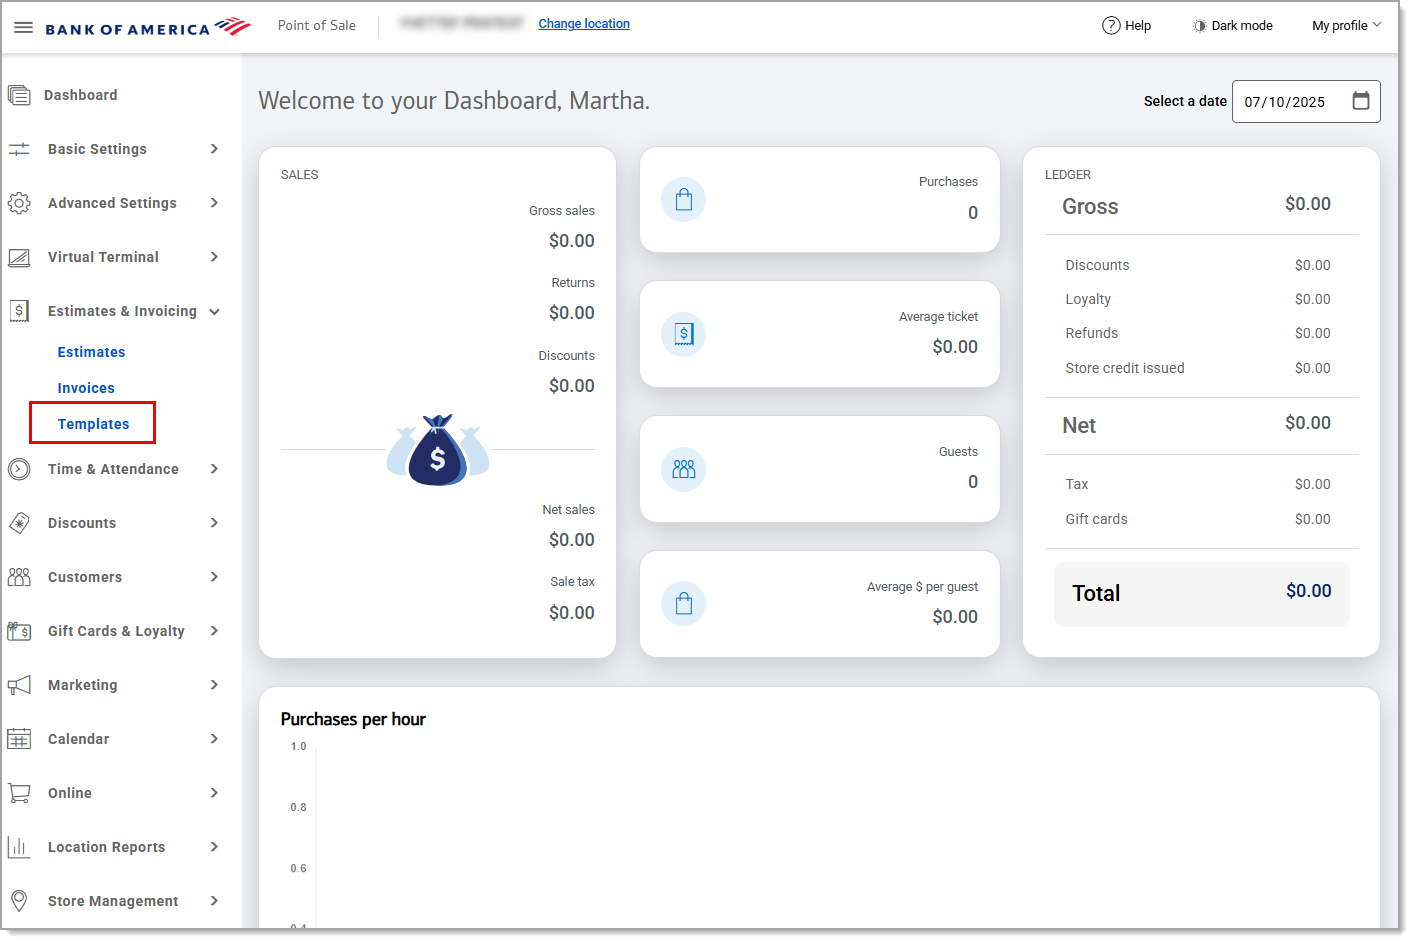
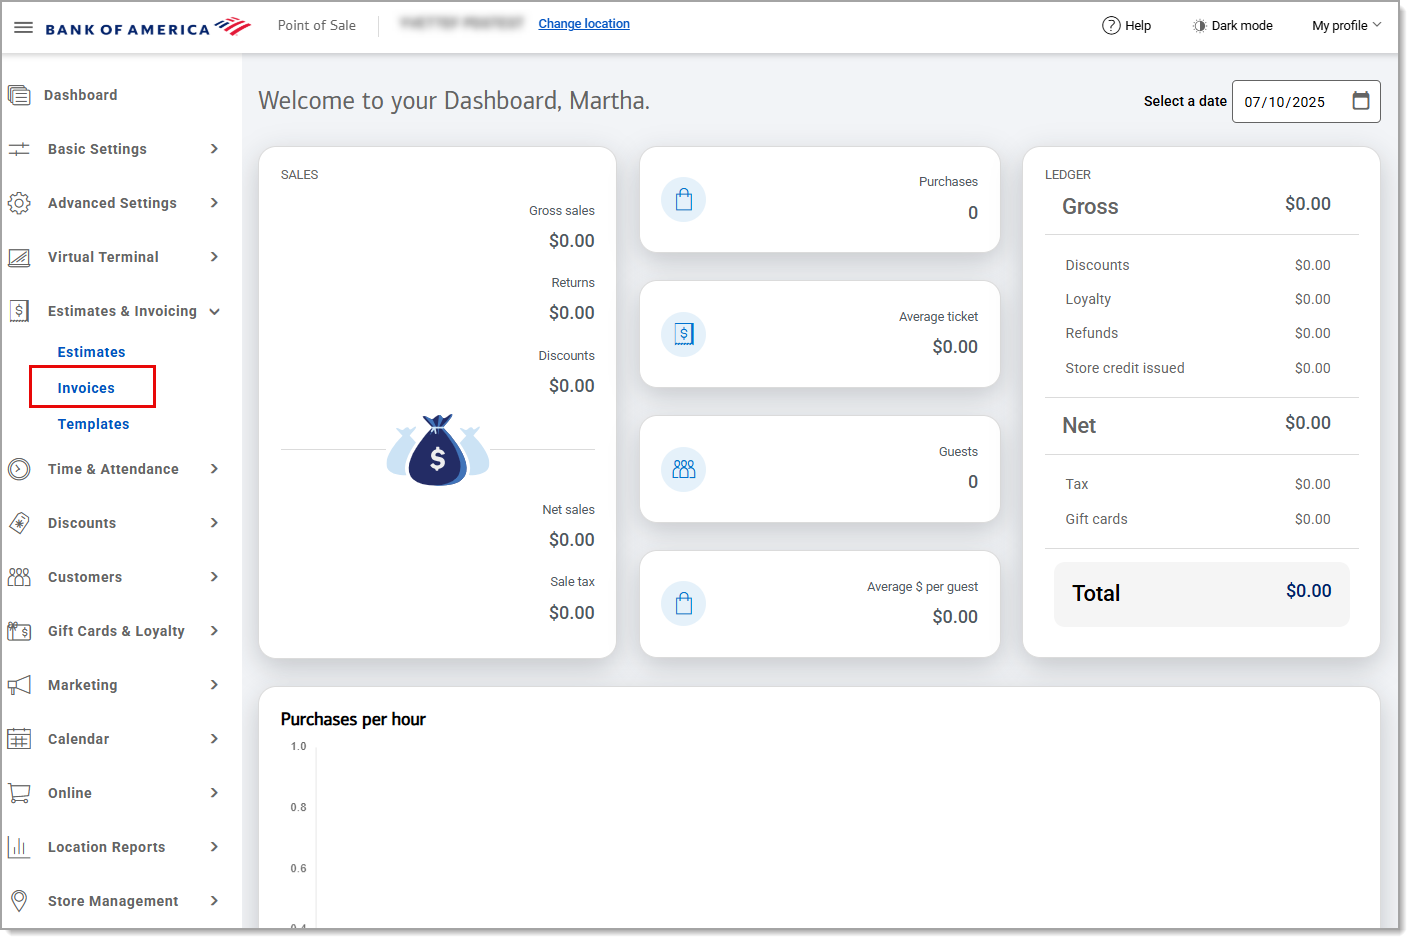
- In Point of Sale Back Office , select Estimates & Invoices > Templates. Then at the top click the Invoice tab.
- Once you are in the Invoice tab, you can customize your invoice template by selecting from options including: your logo, a background color, address, to pay online, taxes, your terms, and even extra text.
- When you are done, click Save
Create and send an invoice
Create and send an invoice from the Back Office to your customer. All the details from your invoice template will be pulled into the new invoice. You just need to add the customer name, contact information and the items to the invoice. You must have the appropriate access to create an invoice.
Watch the video:
- *music*
- This video will walk you through how to create and send an invoice from the Point of Sale Back Office
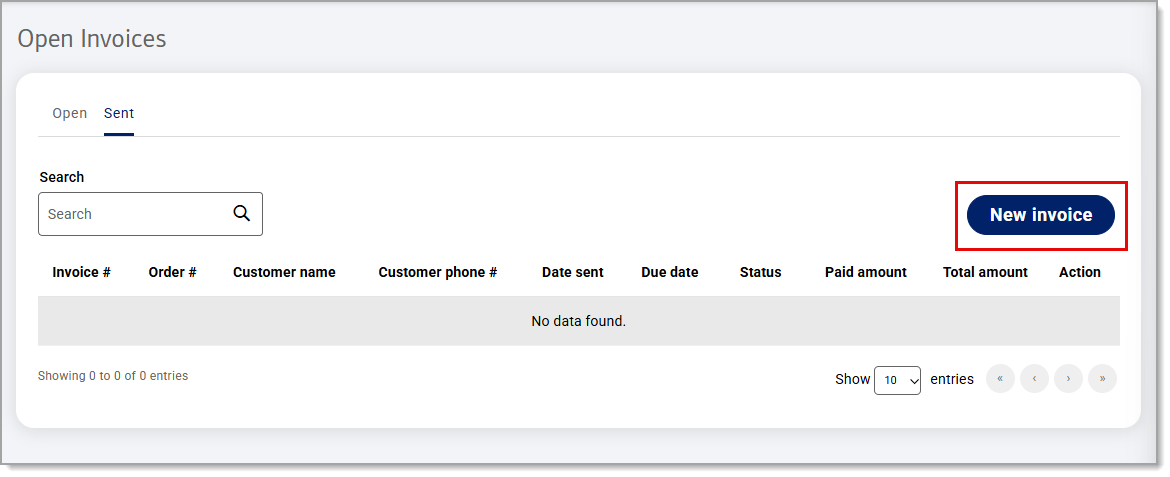
- In the Point of Sale Back Office, select Estimates & Invoices > Invoices > Sent
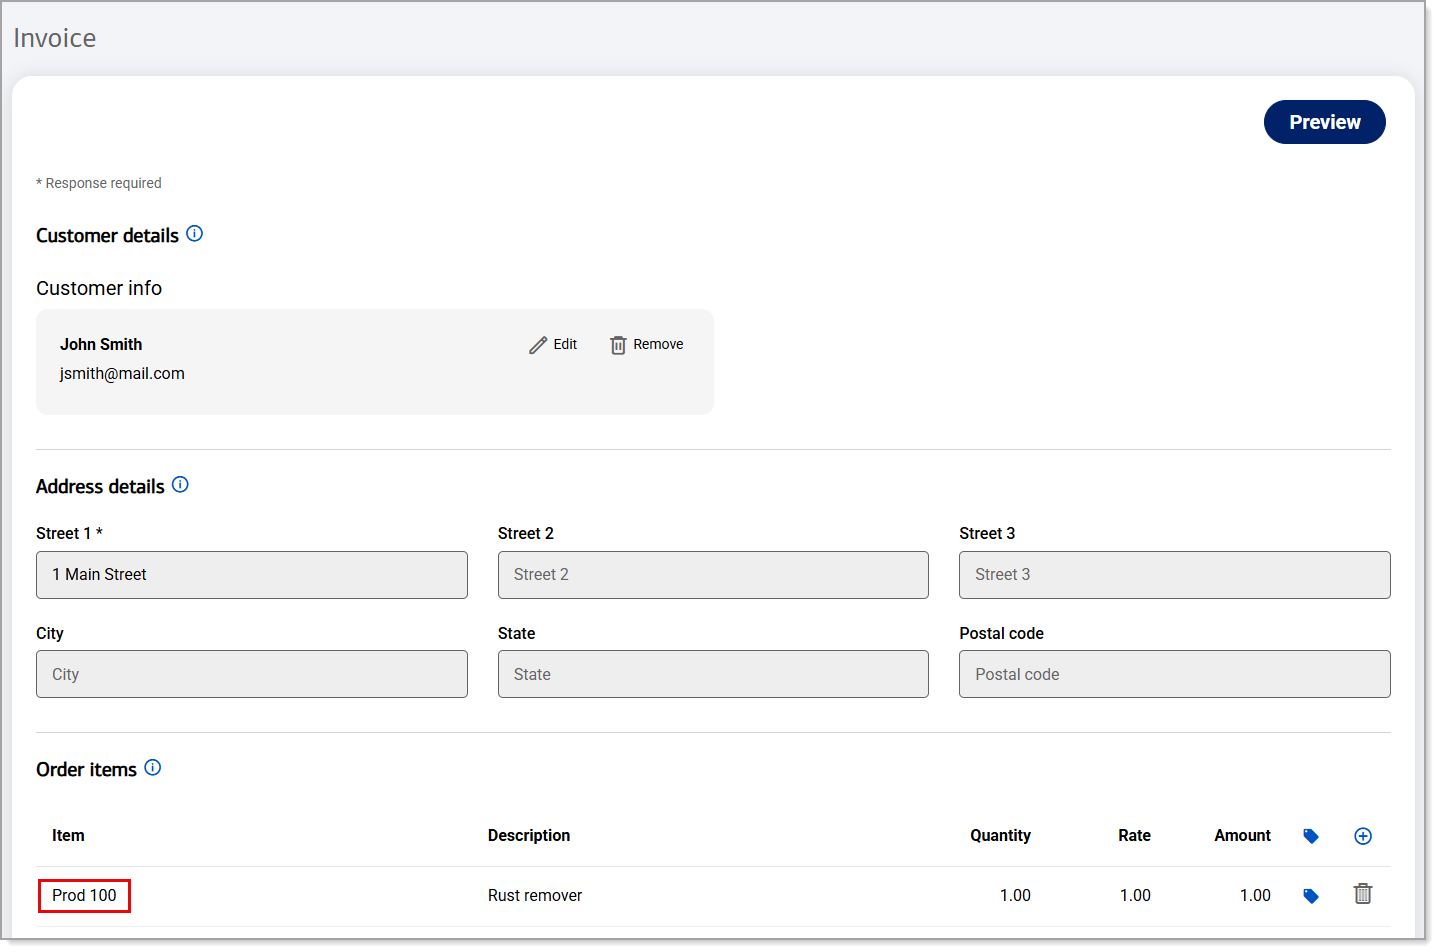
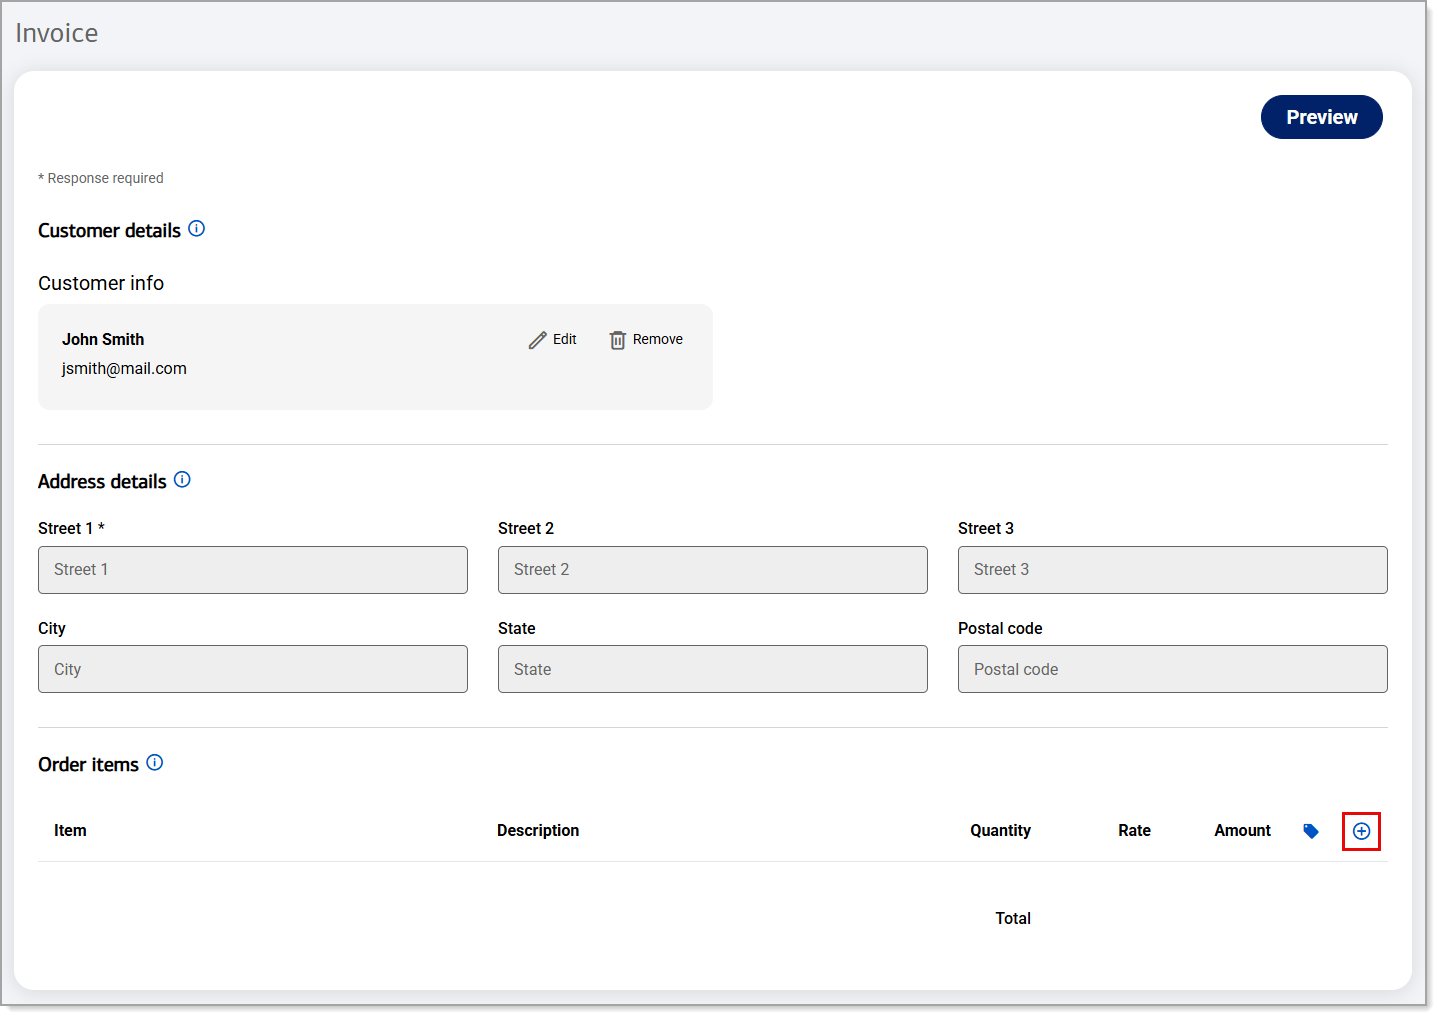
- Click new invoice.
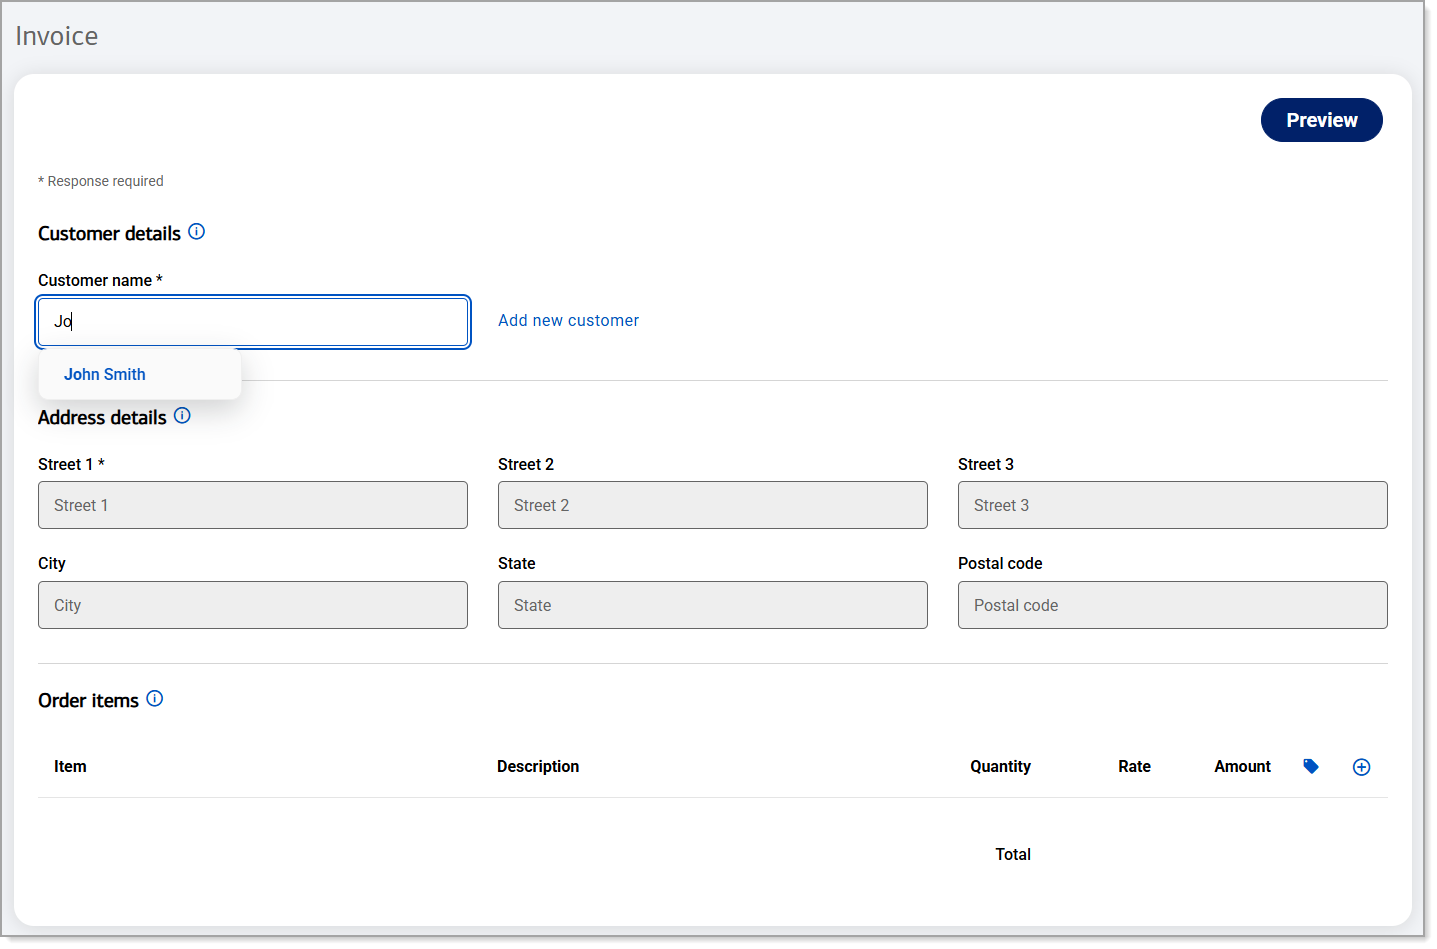
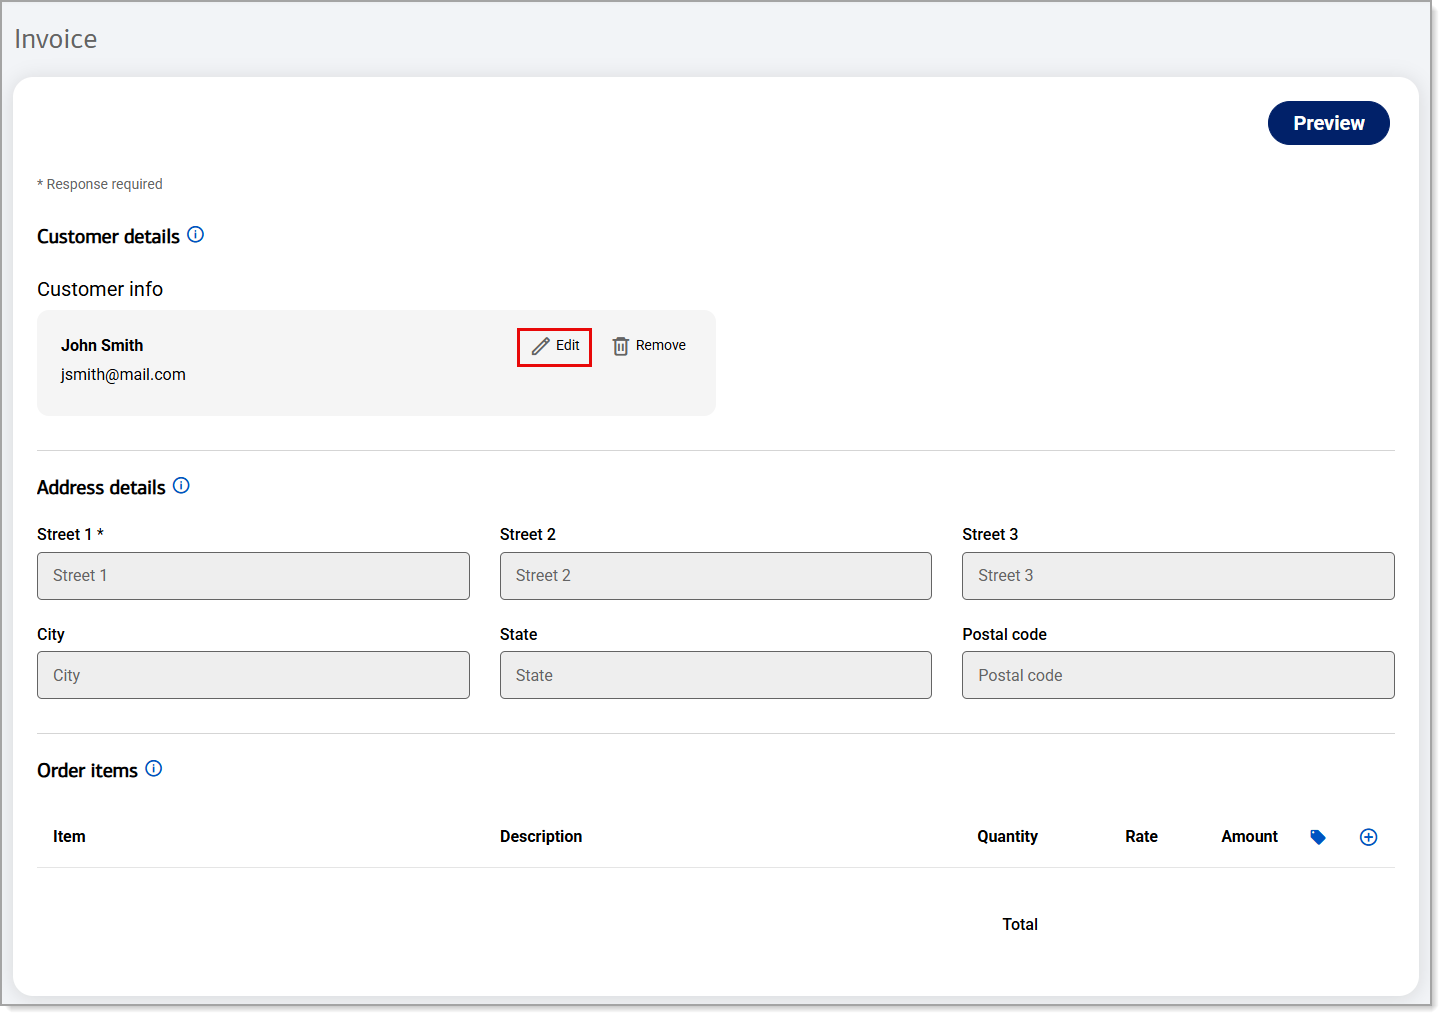
- Enter the customer's name
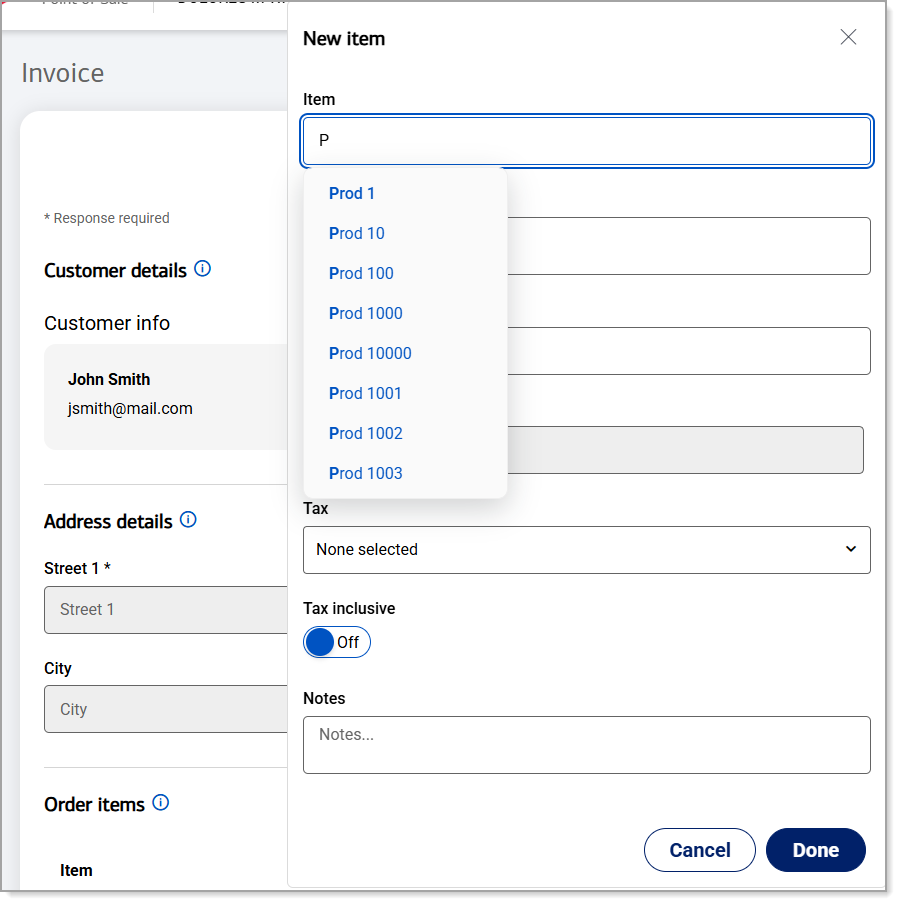
- Under order items, add items by clicking the plus icon
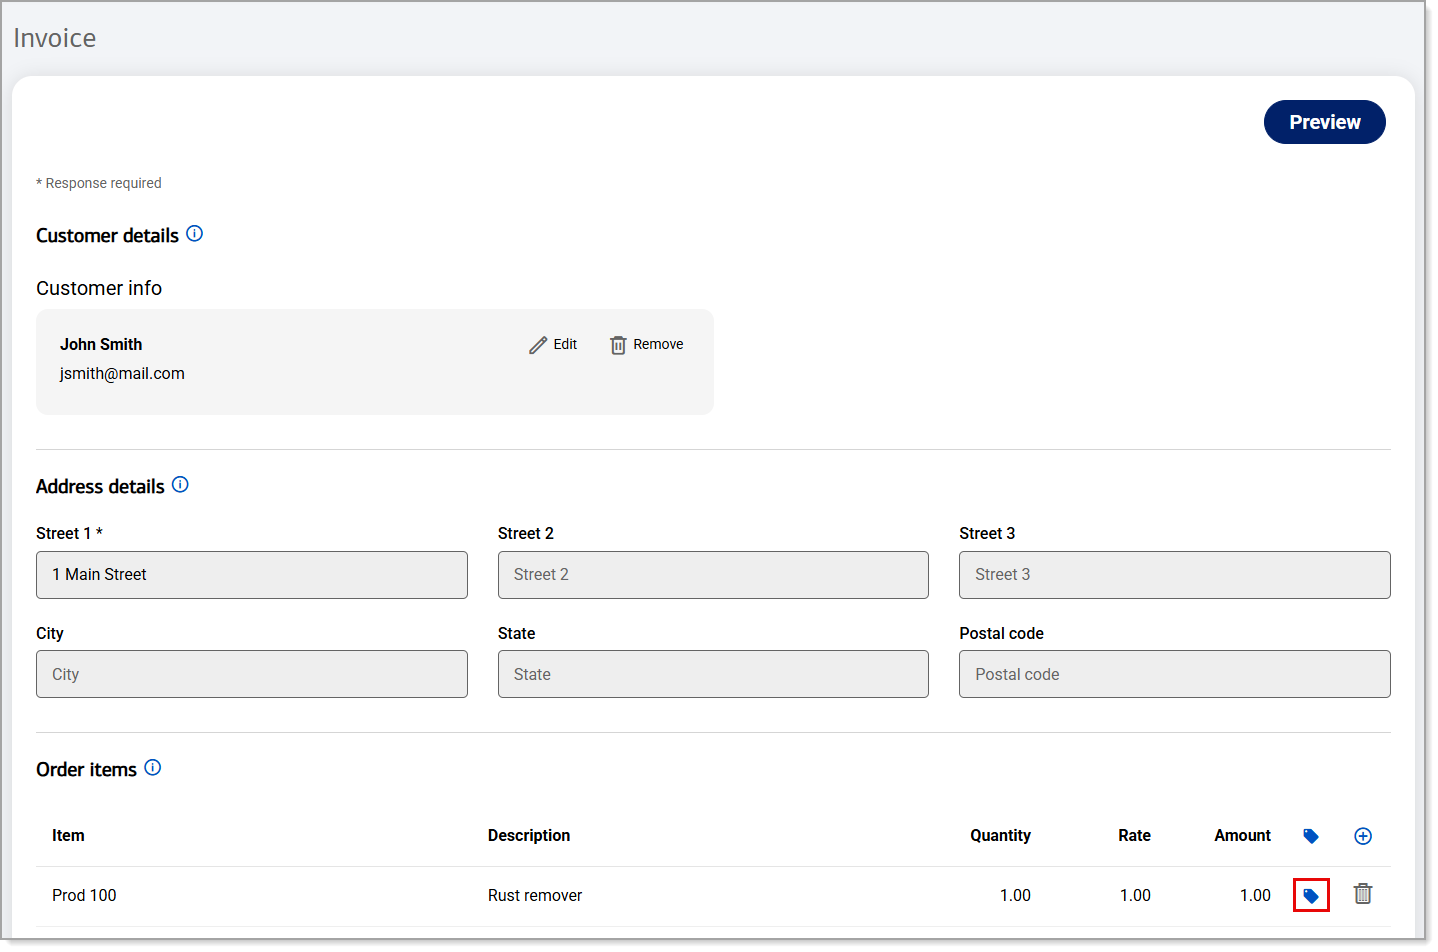
- Add a product from your inventory
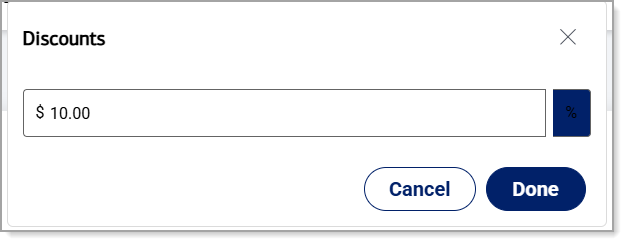
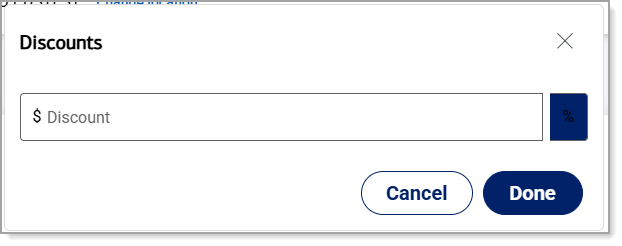
- Tag icon to add a discount if desired
- To add or edit the tax, click the plus icon.
- You can also turn off the tax option to omit a tax on our invoice
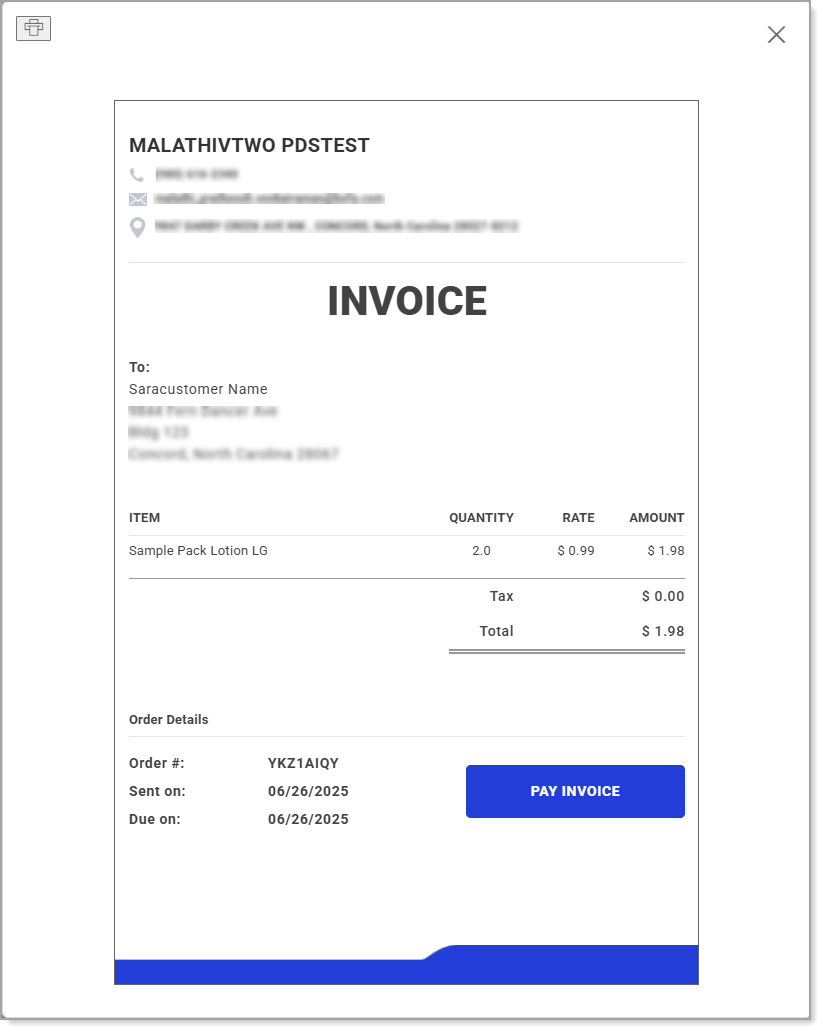
- Click Preview in the top right corner to review your invoice
- Save to save the invoice later or click Save and send to save the invoice and email it to your customer
- *music*
Manage open invoices
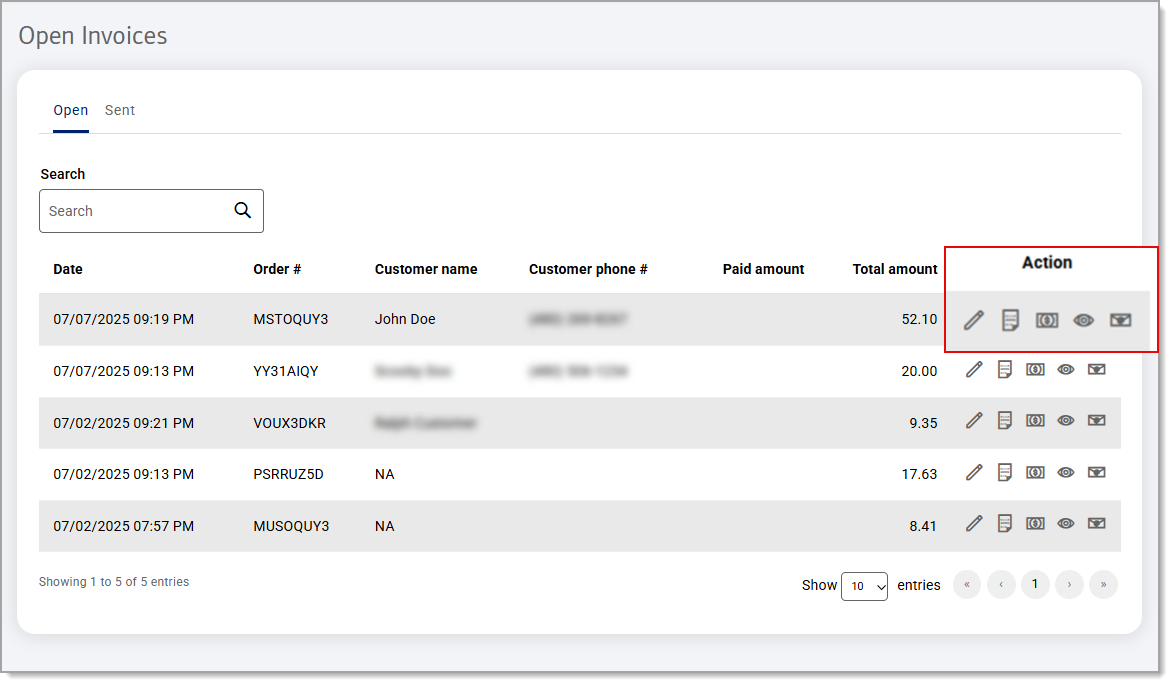
Once invoices are created and saved, they appear in the Back Office as Open Invoices. All open invoices display, including invoices that originate from the Point of Sale App and those that are created in Back Office. You can edit them to change customer information or add additional items to the order, view the detail or preview the print version, take a payment on the invoice or send the invoice to a customer.
NOTE:
The Point of Sale App treats open tickets as an "invoice" and those tickets will also display in this view.
Manage sent invoices
The Sent tab shows invoices that have been sent to your customer. These invoices also appear in the Open tab. Once an invoice is sent to the customer, you can track the status of the invoice, see the amount paid toward it and the total amount due, preview the invoice and resend it to the customer if needed. The due date for the invoice is set in the invoice template. If you need to edit a sent invoice or take a payment for the invoice, search for the invoice in the Open tab view.
The statuses of the invoices that appear on the Sent tab will include Unpaid and Overdue invoices. Invoices that have received full payment will appear in your Orders report for your location.
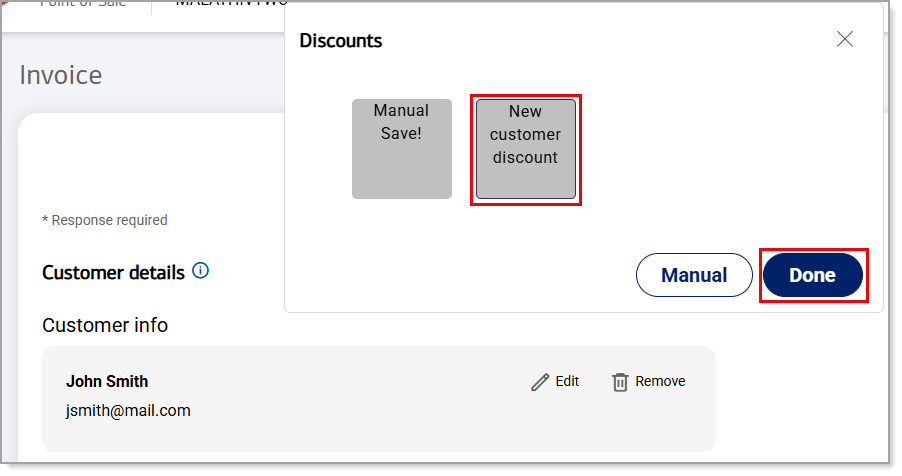
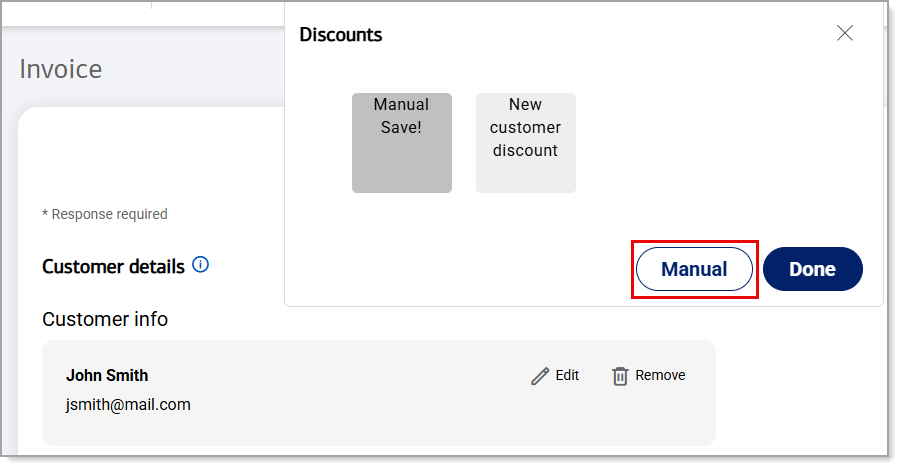
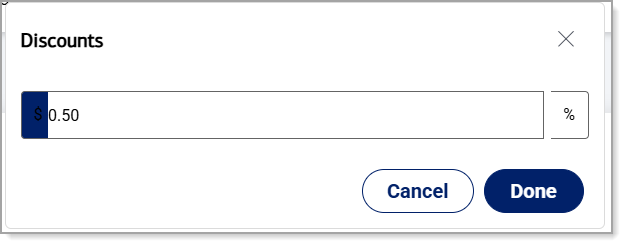 • To enable a percentage discount, enter a percentage amount and click on the percentage discount button to enable it. Click Done.