Point of Sale Solution Back Office Supplier Management
Description
What's in this article?
A supplier name can be linked to a product for inventory management purposes. Supplier names are included in the Inventory Reorder report to help identify what supplier you need to reorder product from.
When you add or edit products in the Back Office and set the Track Inventory indicator to On, those products will automatically appear on your Inventory Reorder report when inventory goes below the reorder quantity you have specified. The supplier name will be included in the product information that appears on the report.
You can also include supplier information when bulk importing your inventory.
NOTE:
Use of supplier information is optional. Products that do not have a supplier assigned to them will show as blank in the Suppliers column/field of any reports.
- *music*
- This video covers how to add suppliers, manage supplier information, and associate suppliers with products in the Point of Sale Solution Back Office.
- To bulk upload supplier information, download the Inventory spreadsheet from the Back Office.
- In the spreadsheet, click on the Suppliers tab and complete the required fields.
- In the Products tab, complete the Supplier field for each product using the supplier name exactly as it appears in the Suppliers tab, including spelling, spacing, and capitalization.
- Save your changes and return to the Back Office.
- To import the updated file, click Choose file, select your spreadsheet, and then click Upload.
- Review the uploaded changes for accuracy. Click Publish. To manually add or manage a supplier, click Advance Settings in the menu, then click Suppliers.
- Click Add supplier. Complete the required fields. Supplier name, phone number, email, and contact name. The remaining fields are optional. Click Save.
- You can manage your suppliers by updating their status, editing their information, or deleting them from your list.
- To associate a supplier with a product, click Basic Settings in the menu, then click Items.
- In the Products tab, click the Edit icon for the desired product. Click the Supplier field, begin typing the supplier name, and then select it from the list.
- Click Save.
- *music*
Import supplier information
You can import/update your supplier information through a bulk upload.
To bulk upload supplier information
- Download the inventory spreadsheet.
- Complete/edit the Suppliers tab, as well as the Supplier column (column Q) on the Products tab within the inventory spreadsheet.
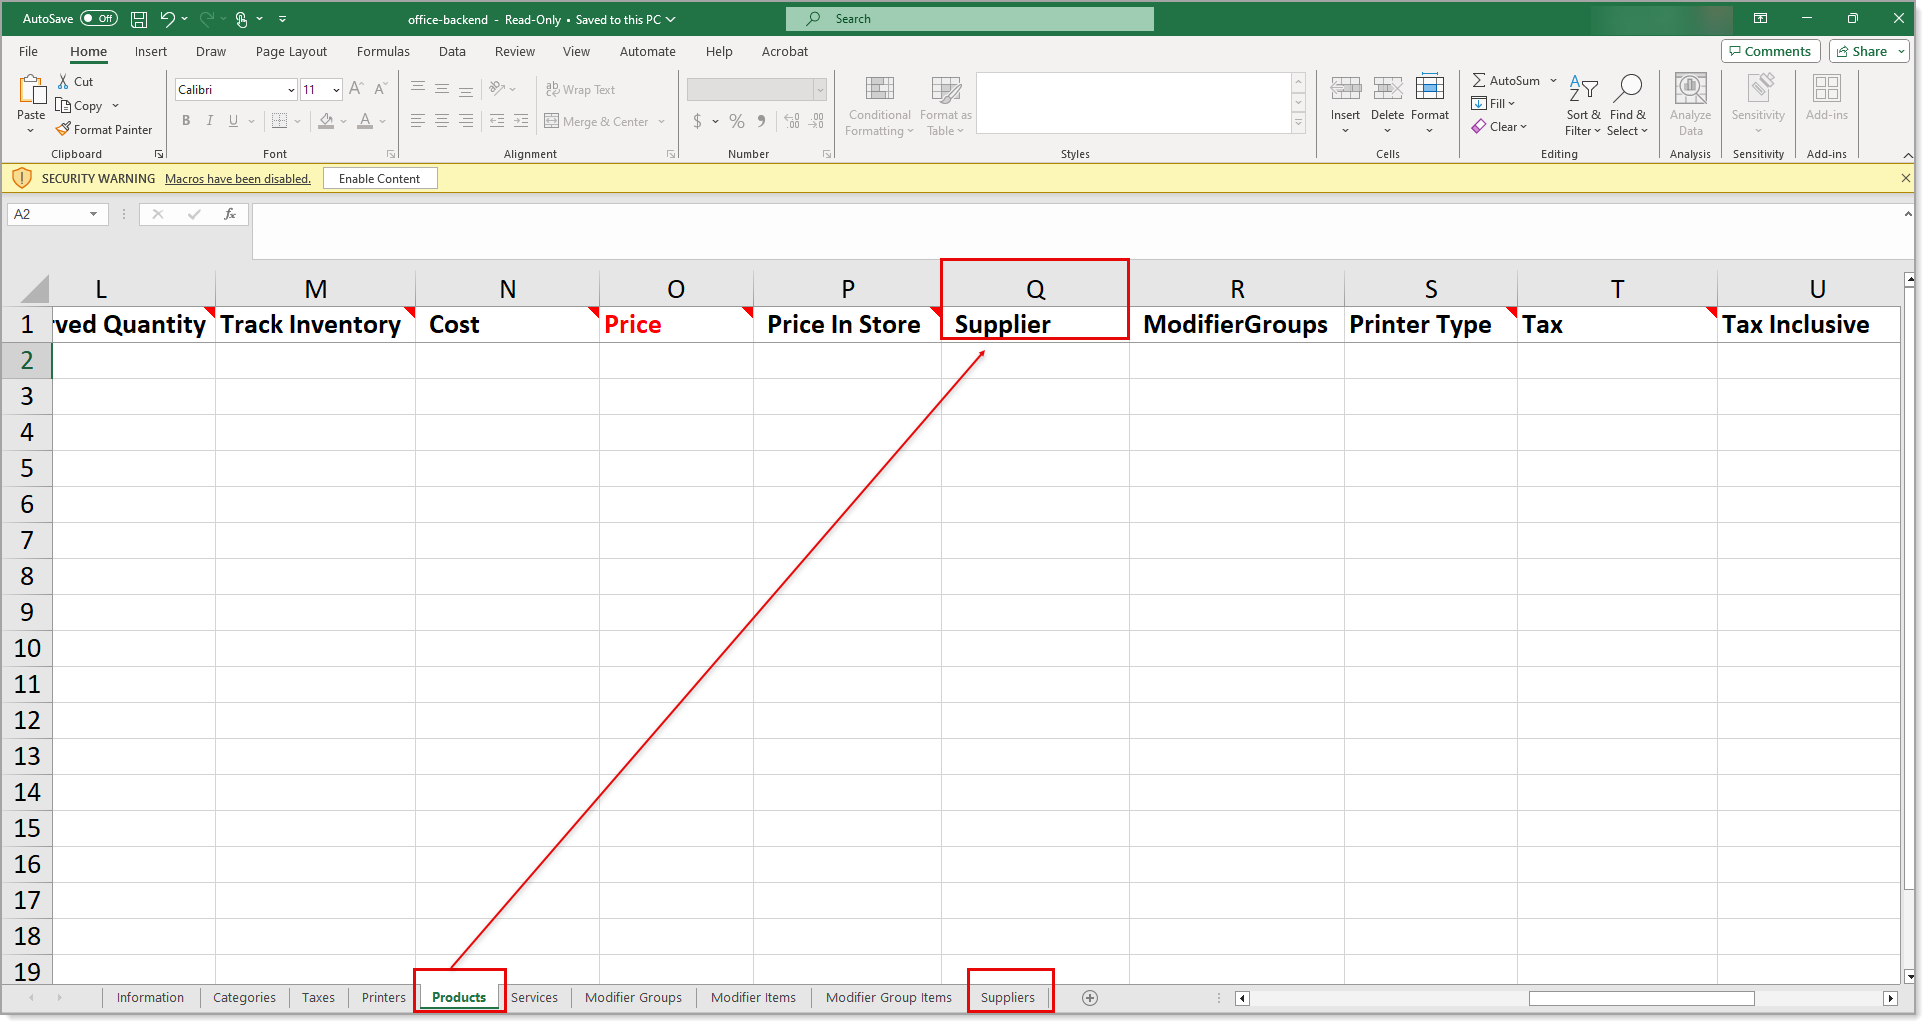
IMPORTANT! When completing the Products tab, be sure to complete the Supplier field for each product (column Q) using the exact spelling, spacing and capitalization that was used for the supplier name on the Supplier tab. Any variation will create another entry/variation of the supplier.
- Save your changes.
- To import the updated file, click Choose file to select and open the updated spreadsheet.
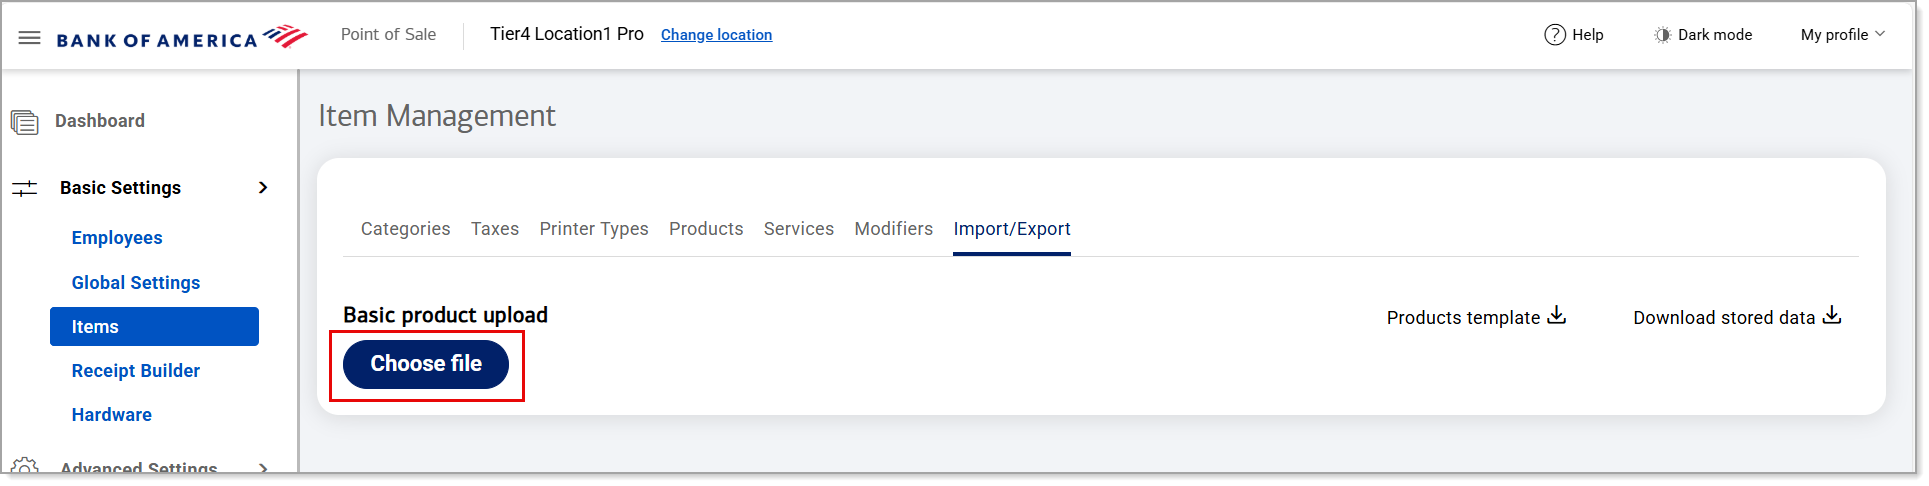
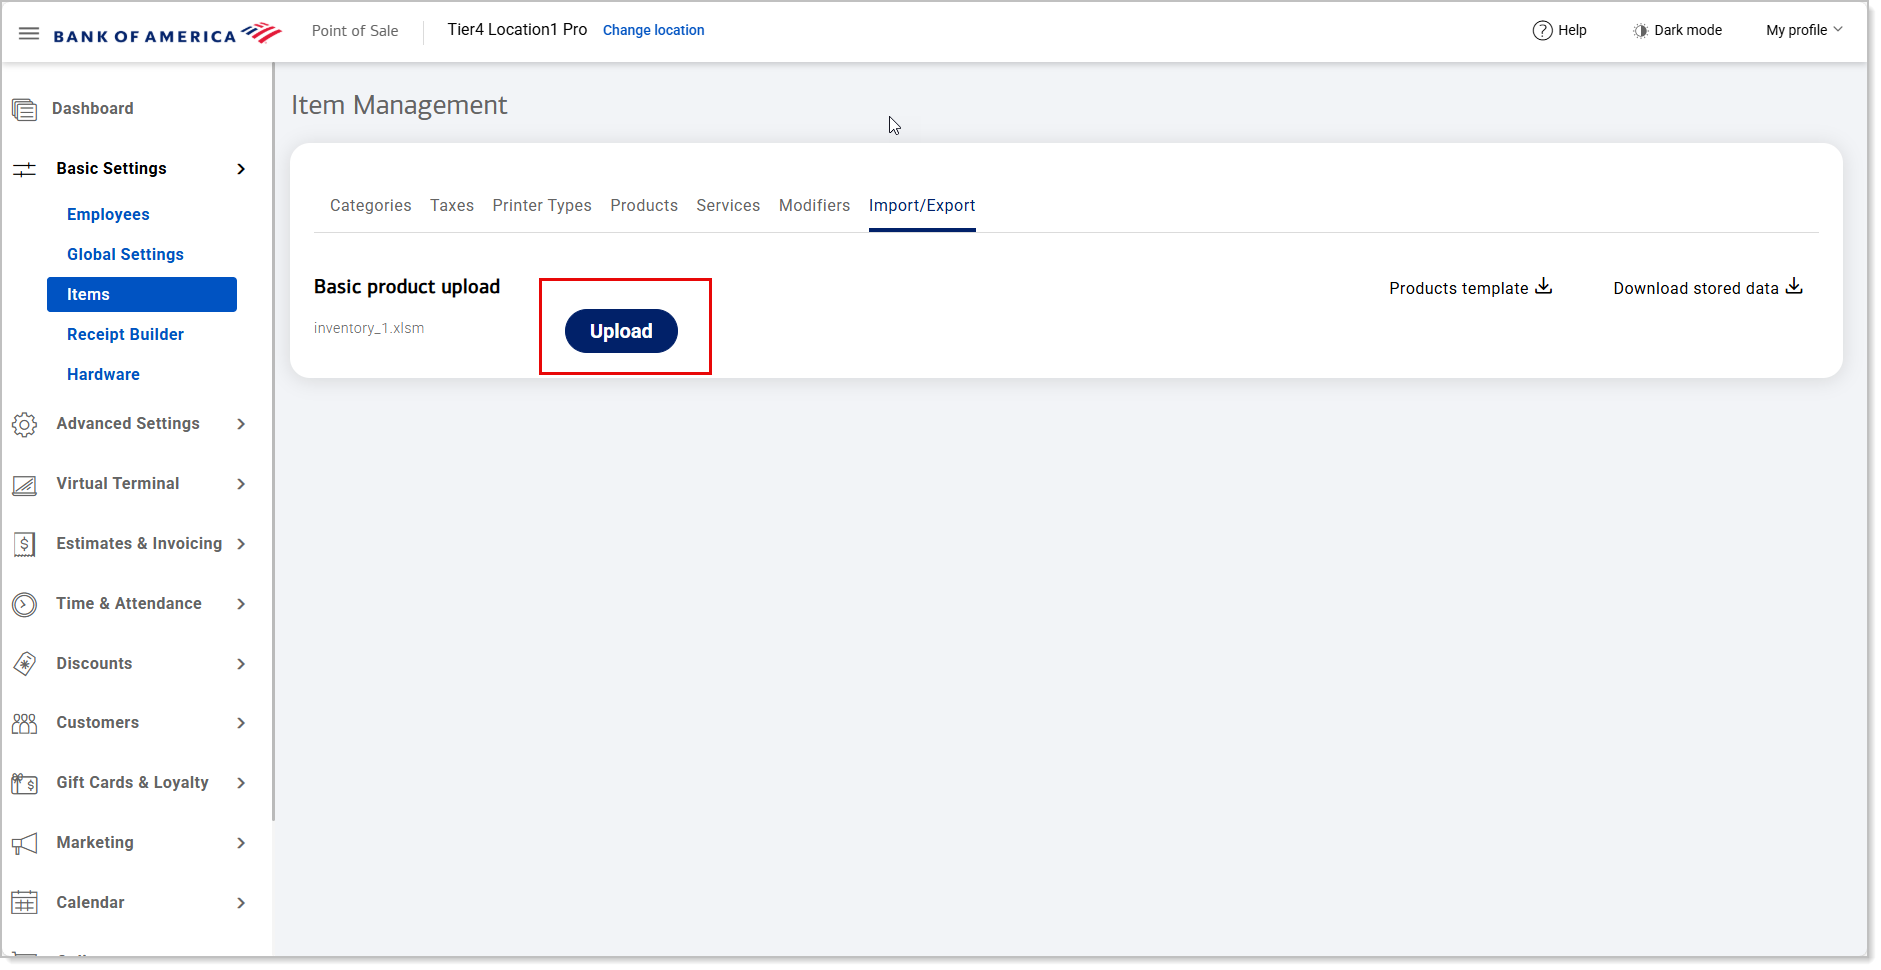
- Click Upload.
- Review the uploaded changes for accuracy, and then click the Publish button.
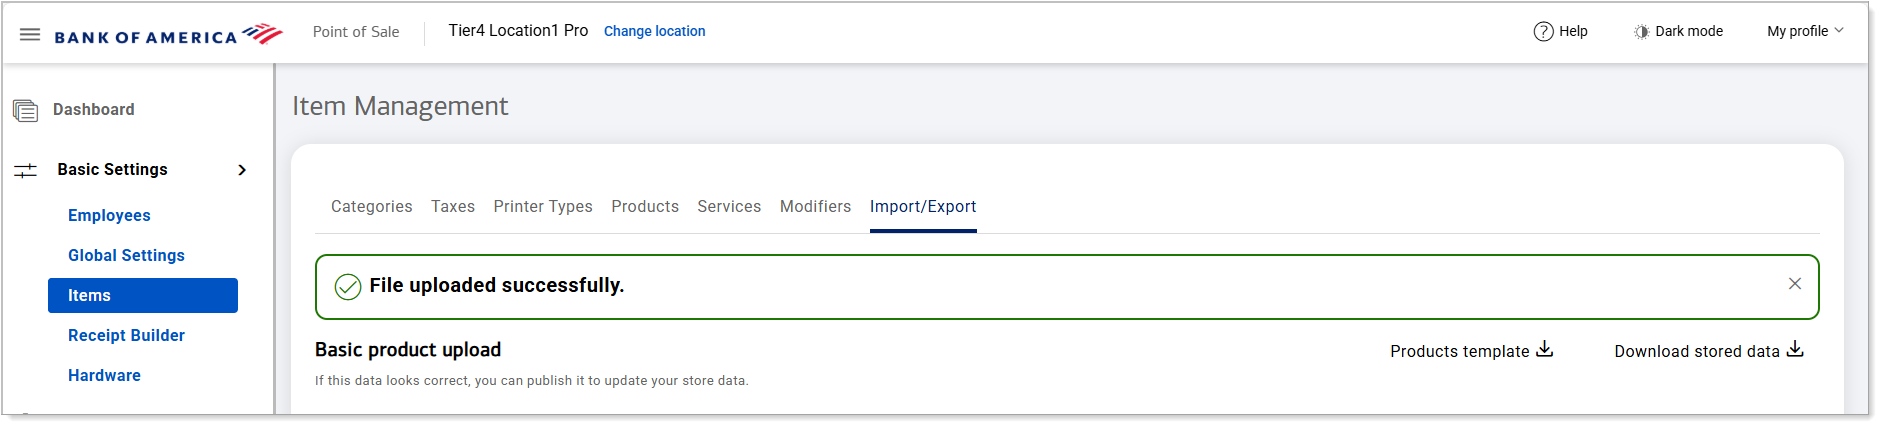
NOTE: If there are any errors listed, the file will not publish. The Line # column on the Item Management screen will guide you to the exact line number on the sheet that is causing the error. If you need to edit the file, click Clear, then click Clear again. Update and save the spreadsheet, then choose the file and upload it again.
Manually add suppliers
If a supplier has not already been added to the Back Office as part of your inventory upload, you can add the supplier to the Back Office manually.
To manually add a supplier
- In the Point of Sale Solution Back Office, select Advanced Settings > Suppliers.
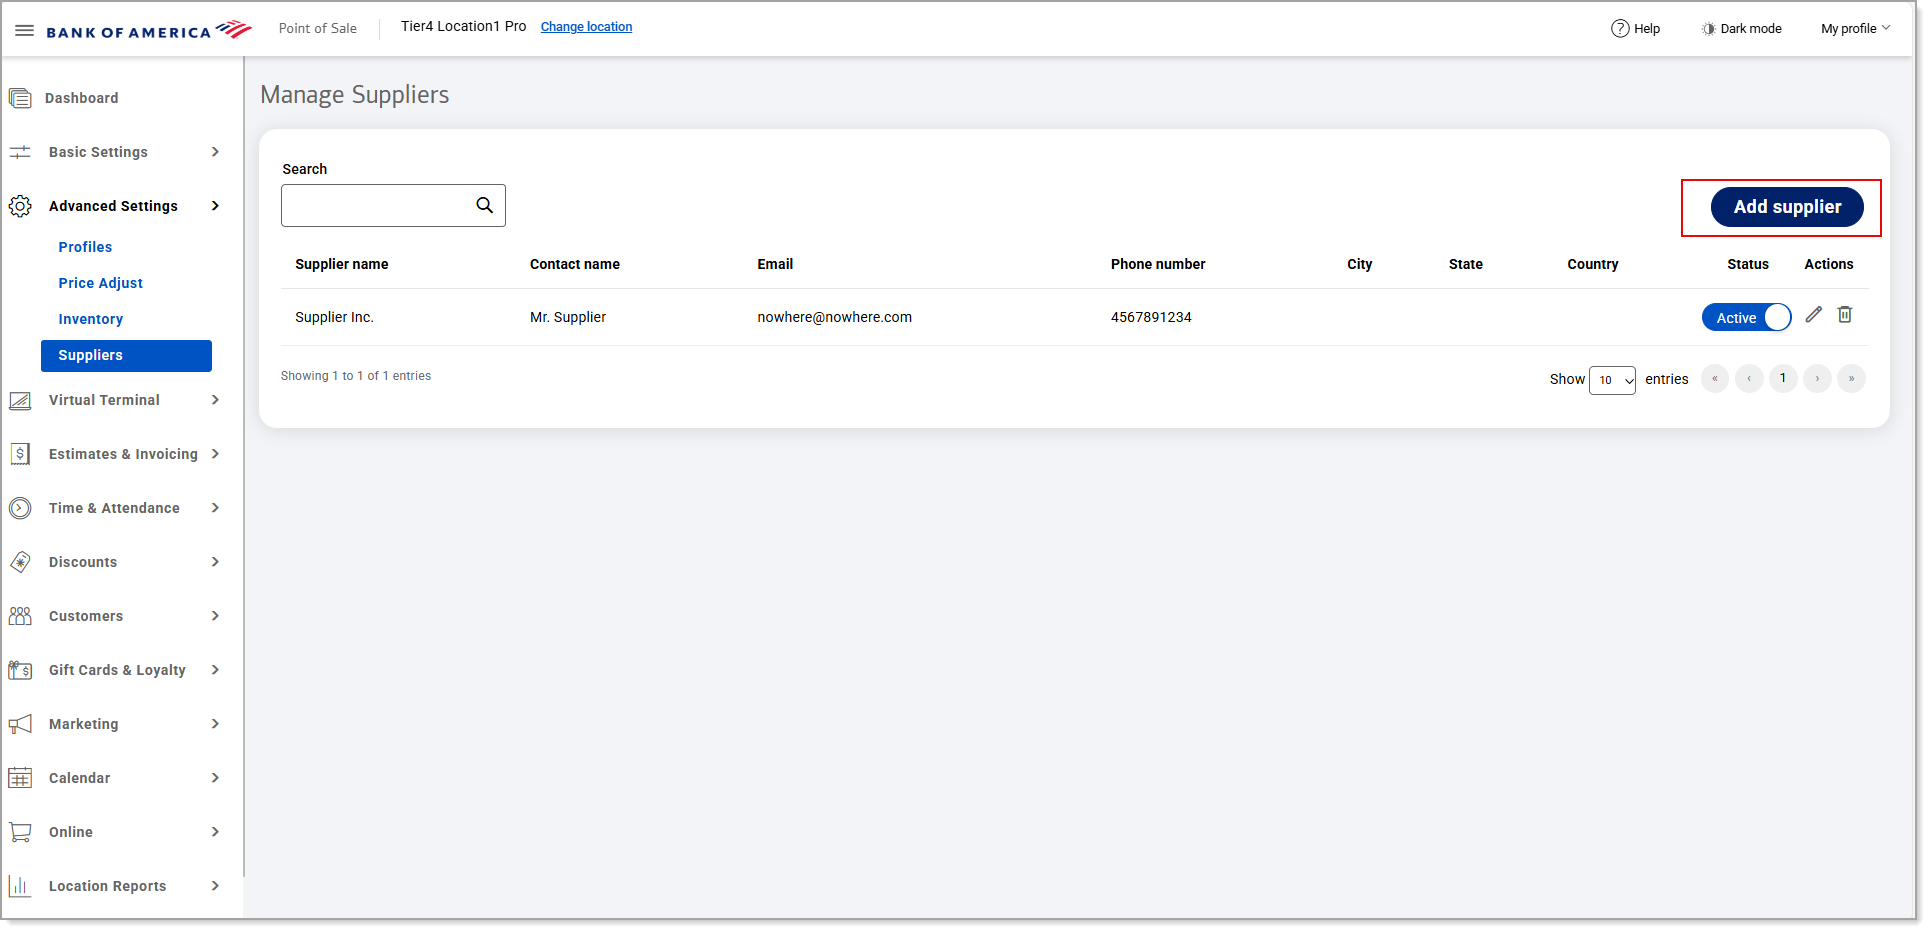
- If you have previously entered a supplier name, click Add supplier. If not, proceed to the next step.
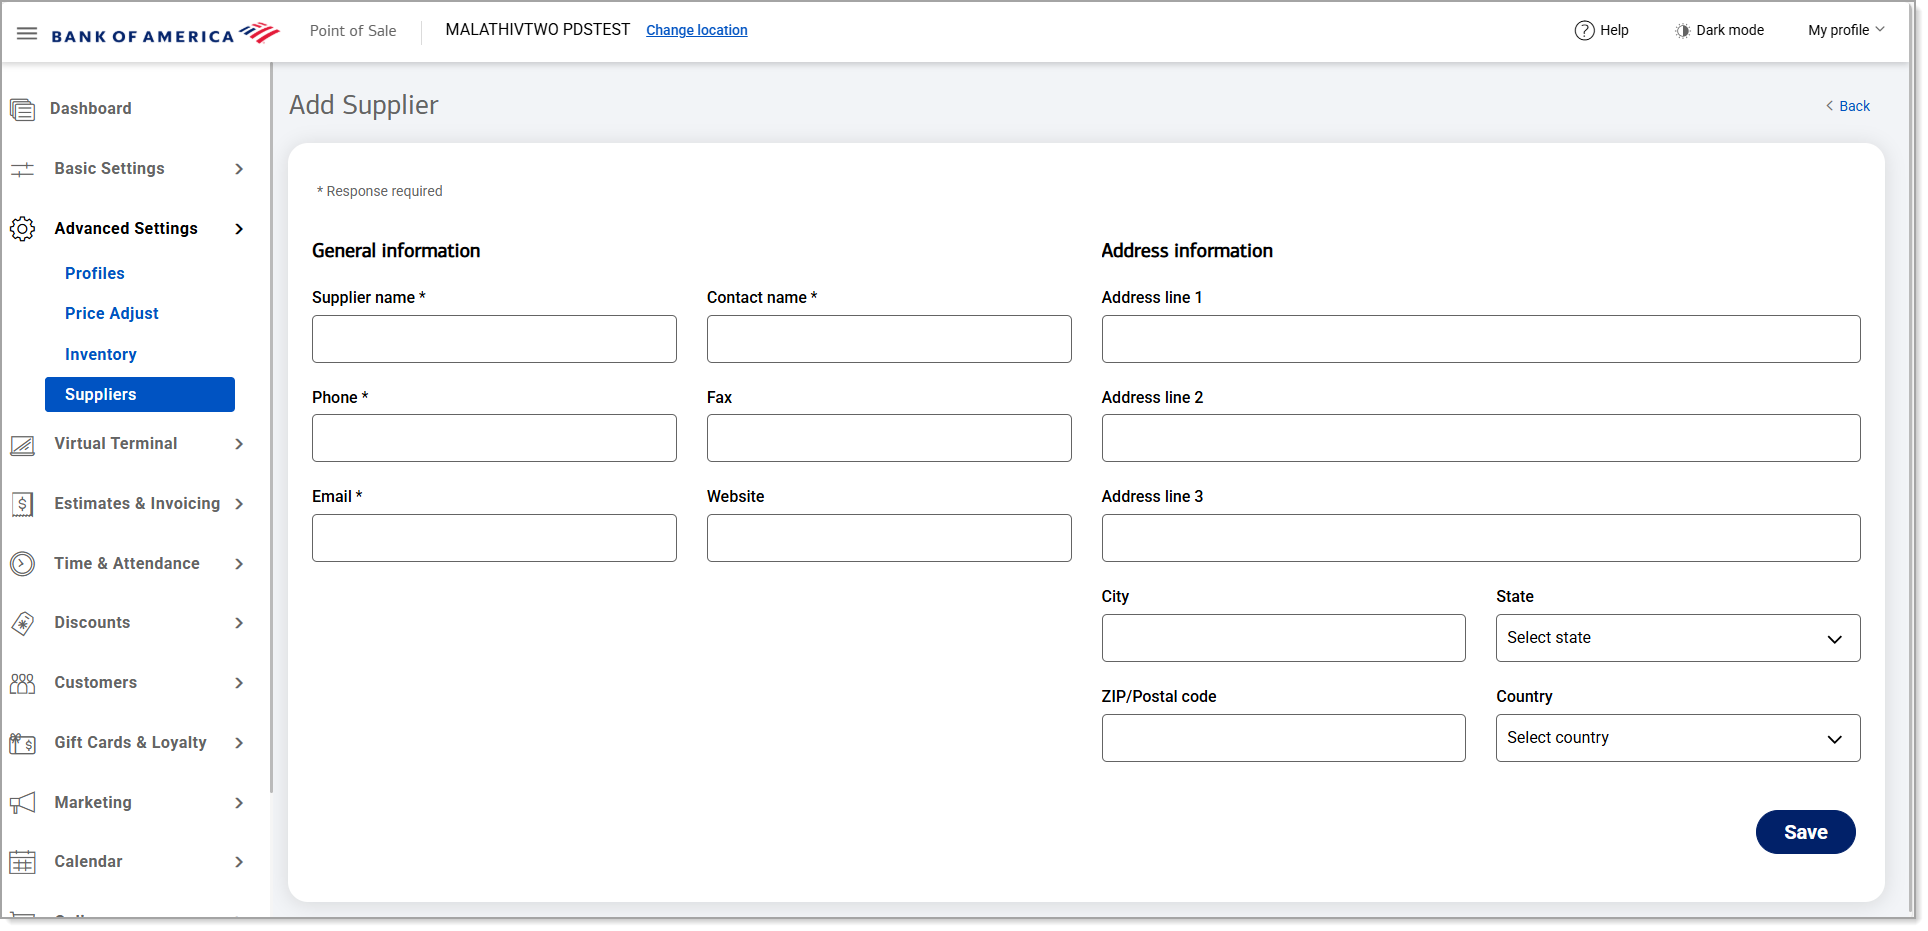
- Enter the supplier details in the corresponding fields. Fields flagged with an asterisk are required fields.
- Click Save.
Associate a supplier with a product
Before associating a supplier with a product, the supplier information must exist in the Back Office.
IMPORTANT!
Any edits or deletions to supplier information will impact all associated inventory items. If changing suppliers for a product, consider downloading and saving reports containing the current information first, should you need it in the future, before making your changes.
To associate a supplier with a product
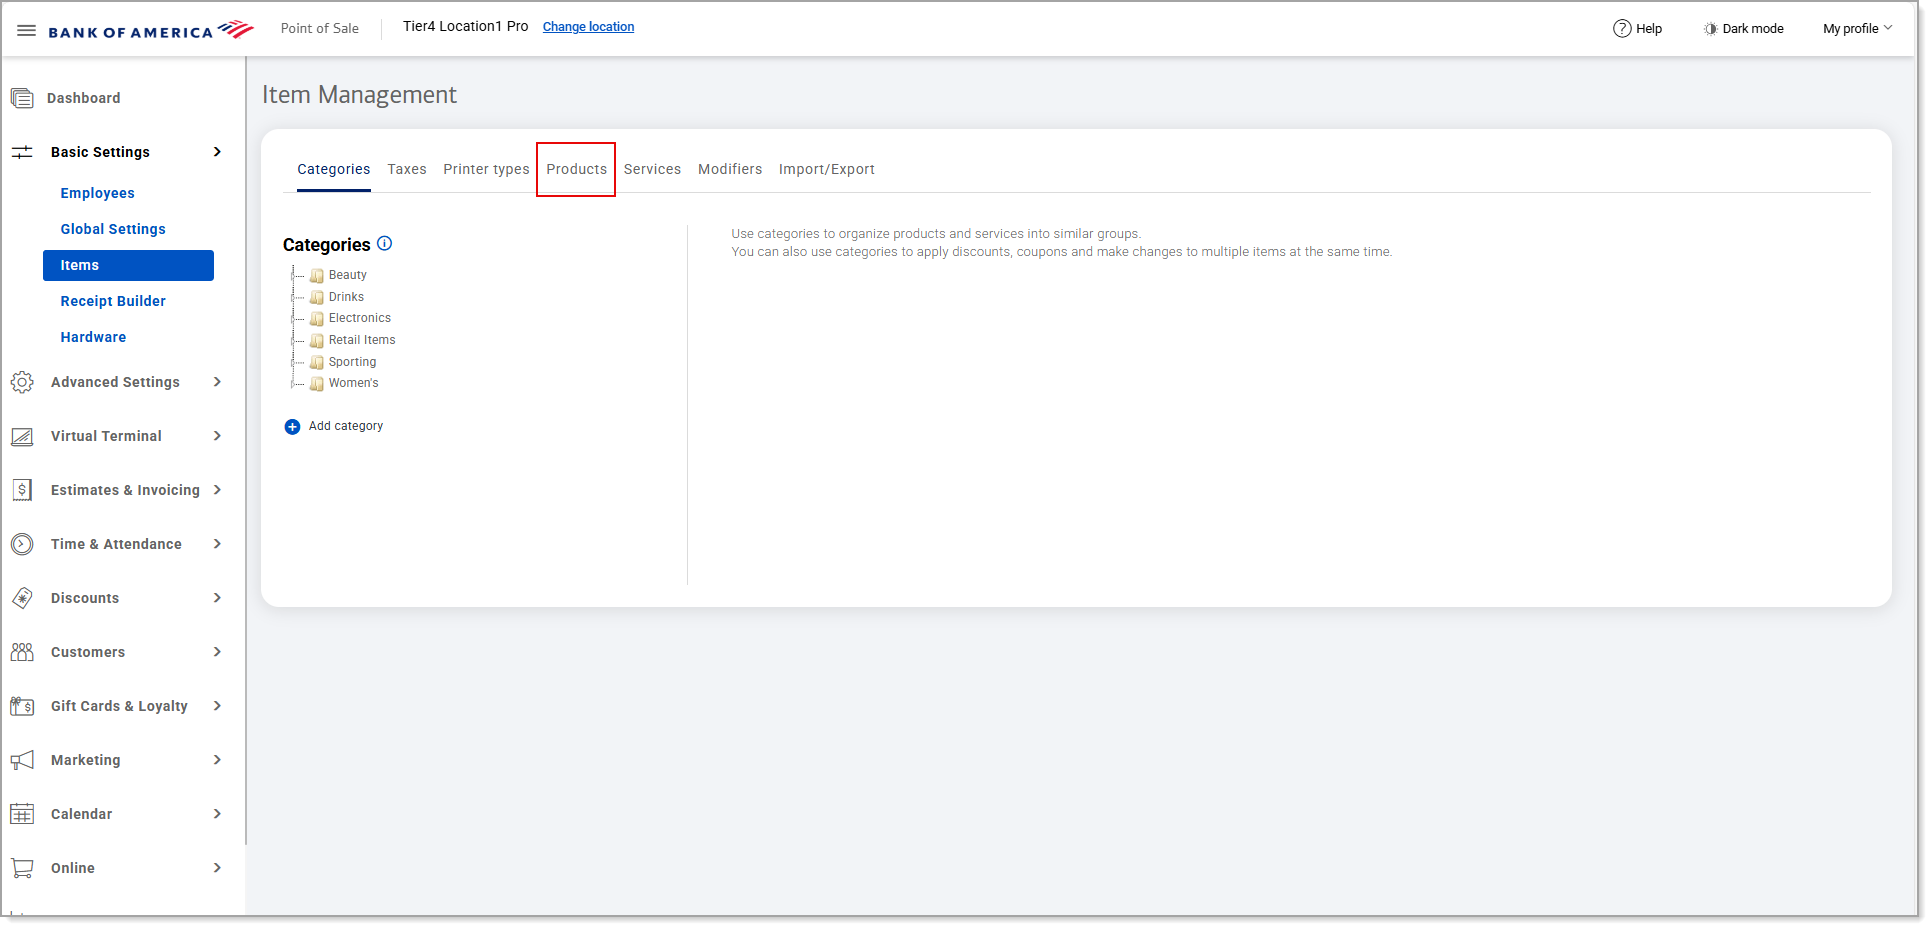
- In the Point of Sale Solution Back Office, select Basic Settings > Items.
- Click the Products tab.
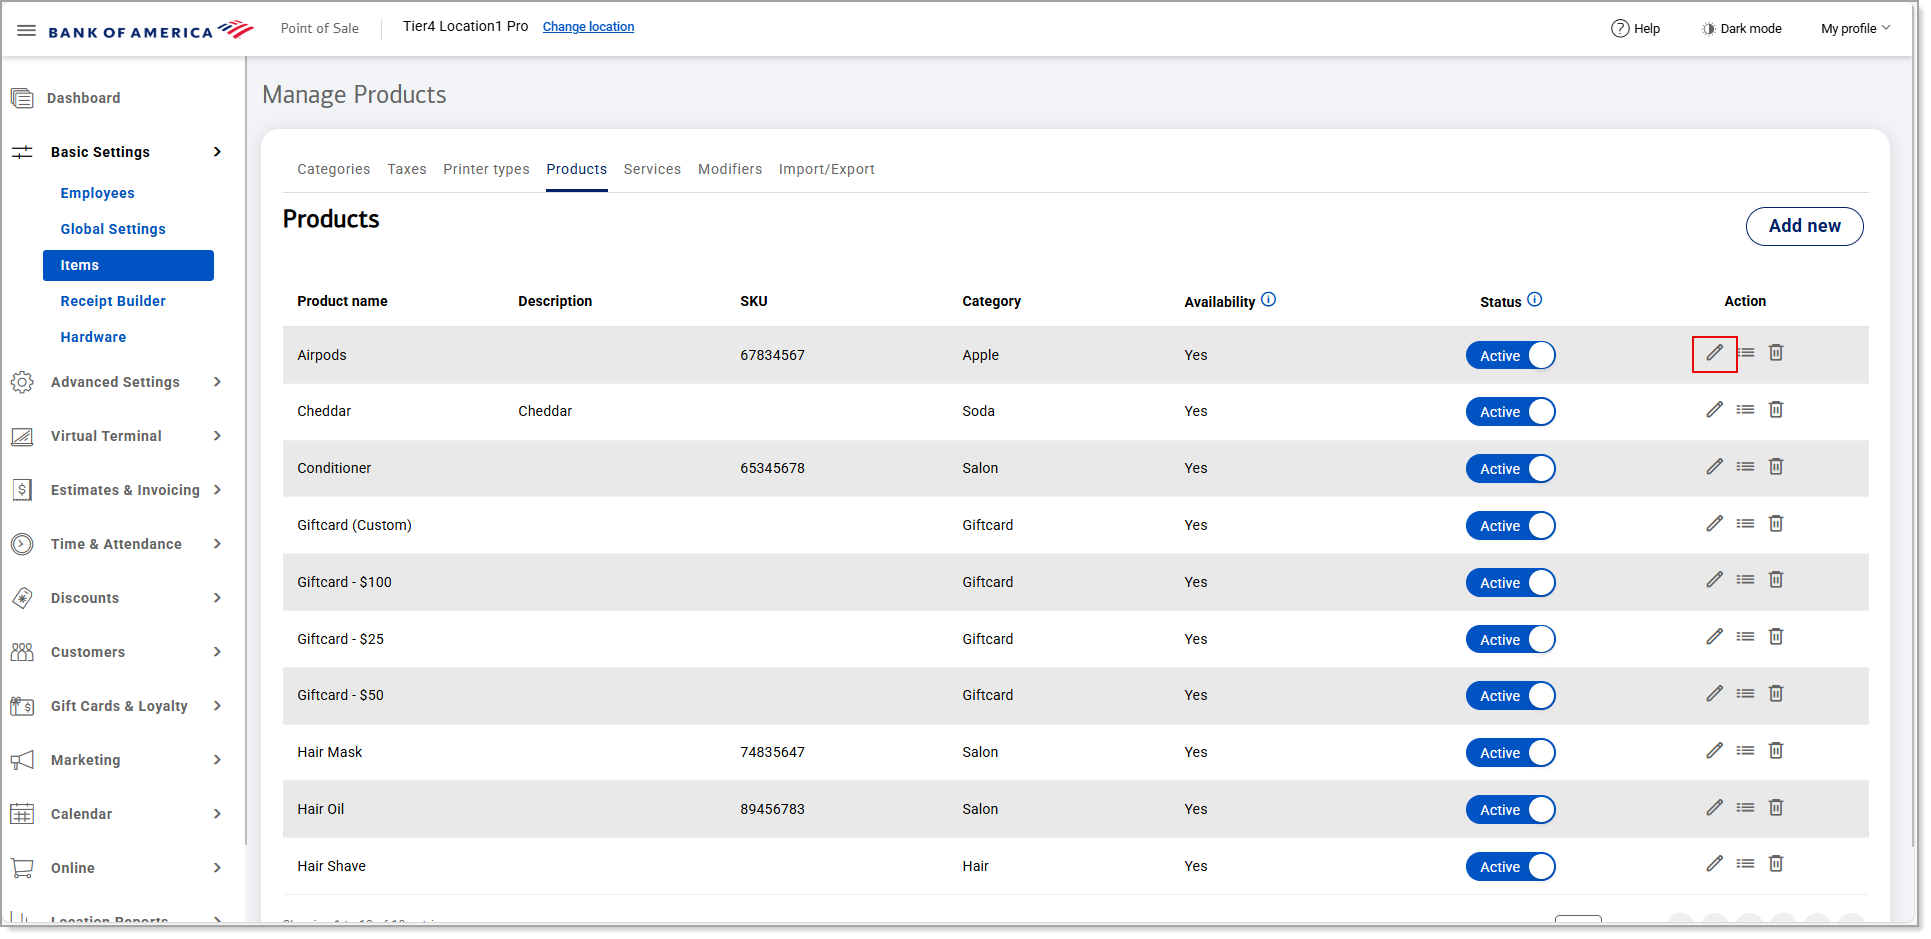
- On the Manage Products screen, click the Edit product icon next to the product name.
- On the Edit Product screen, scroll down to the Supplier field in the lower right area of the Inventory and price information section, and begin to type the supplier name in the field to select the supplier from the list.
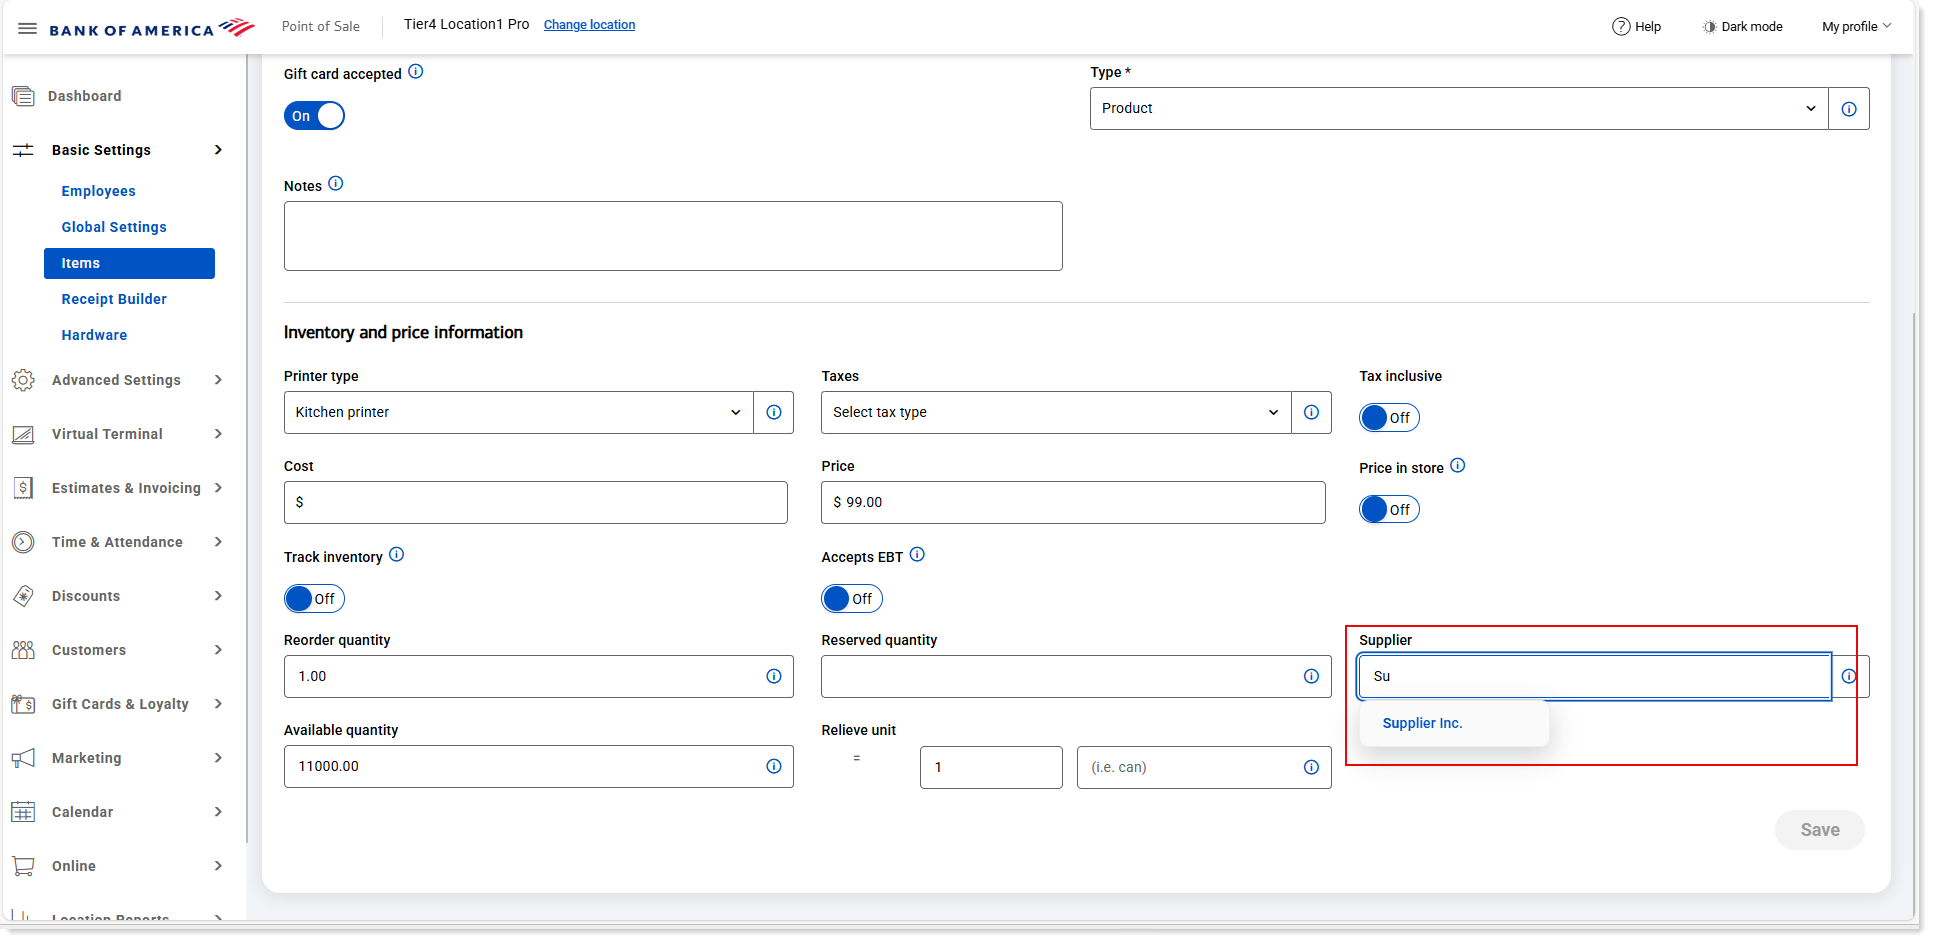
- Click Save.
Manage suppliers
You can search for a specific supplier in the Back Office to edit their details, set their status, or delete them.
IMPORTANT!
Any edits or deletions to supplier information will impact all associated inventory items. If changing suppliers for a product, consider downloading and saving reports containing the current information first, should you need it in the future, before you make changes.
To manage suppliers
- In the Point of Sale Solution Back Office, select Advanced Settings > Suppliers.
- Choose a management option for the desired supplier, from the Status and Actions tools.
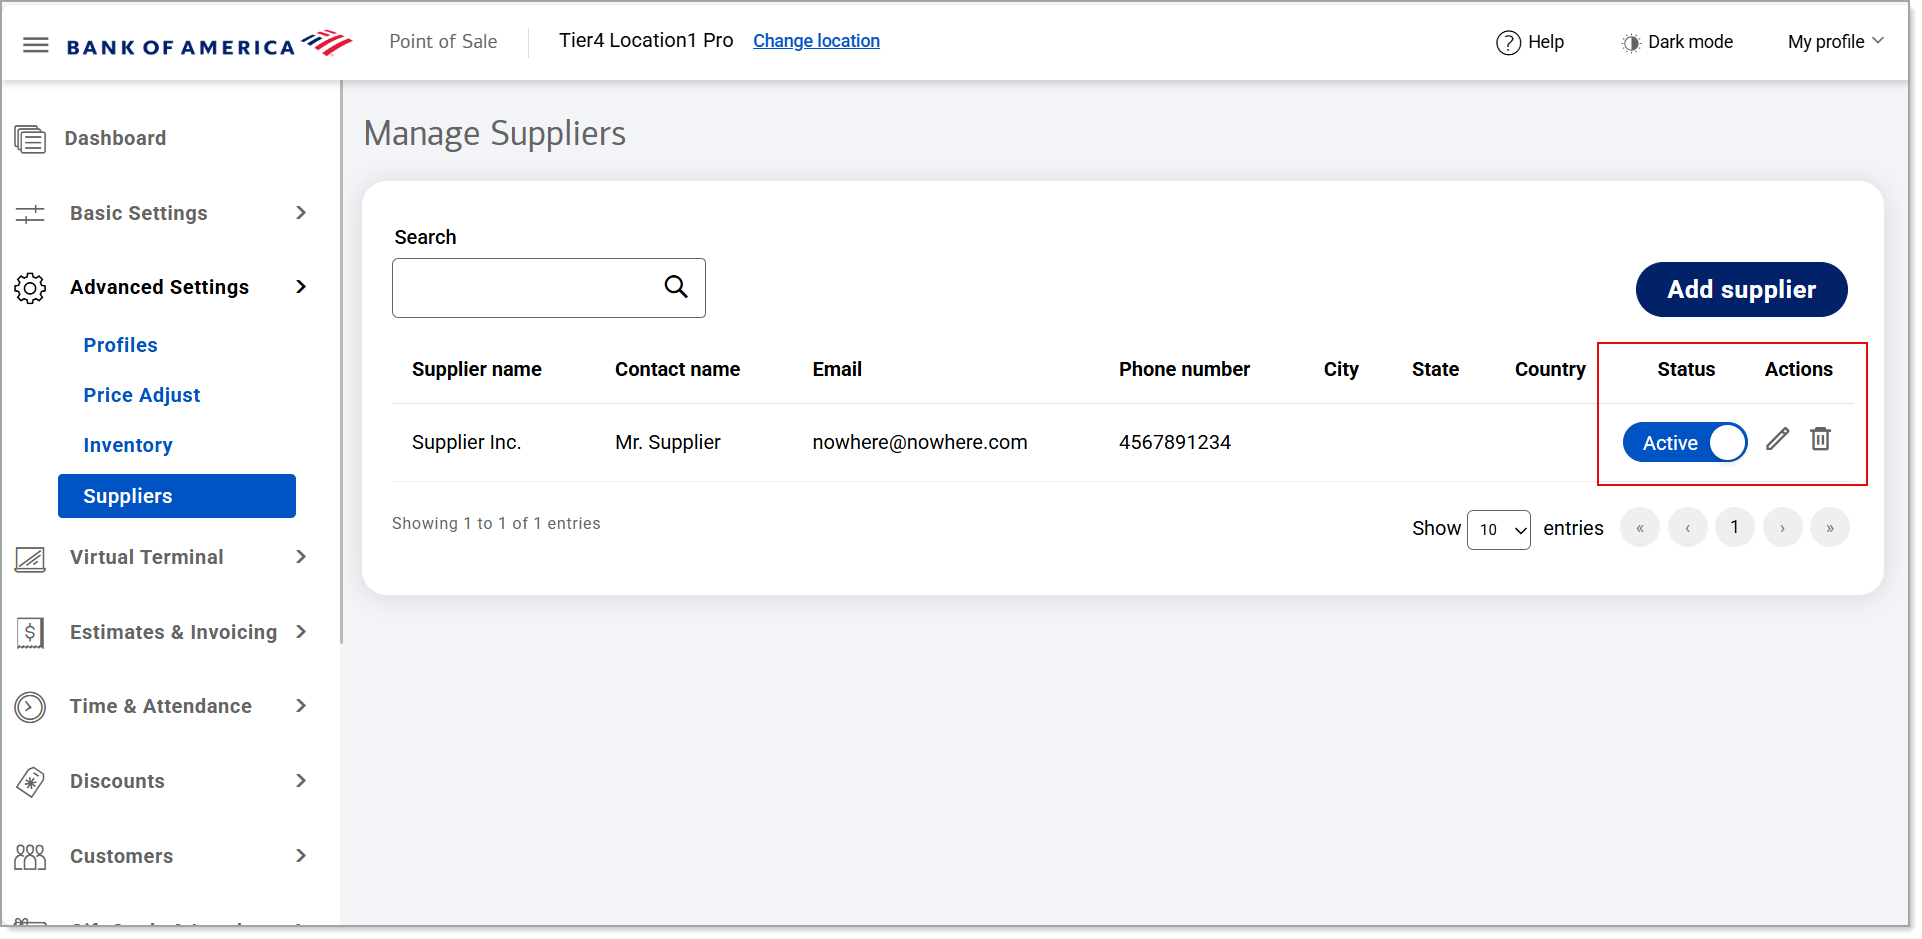
Management Option and Description Management option Description Status Switch the supplier status from Active to Inactive and vice versa. Edit icon Edit the supplier details by clicking the Edit icon. Delete Permanently remove the supplier record. Confirm the deletion by clicking Delete in the Delete supplier pop-up.