Point of Sale Solution Back Office Items Import/Export
Description
What's in this article?
When you have a lot of items to edit or add at one time for your in-store inventory, consider the import/export option. Export an Excel spreadsheet of your existing inventory in the Back Office to edit, then import the updates back into the Back Office to upload your changes. To create your inventory in bulk for the first time, you can use a template to add your items to a spreadsheet and upload that to create your inventory.
If you have only a few products, or prefer to add them one by one in the Back Office, you can add products individually instead.
1. Download your inventory – or a template to create your inventory
You can download your current inventory spreadsheet to make adding or editing in bulk simpler. If you do not have any items in your inventory yet, you can download a template to work from first.
- In the Point of Sale Solution Back Office, select Basic Settings > Items.
- From the Import/Export tab, click Download stored data to download a copy of your current inventory. The first tab has definitions of the fields in the worksheets. The remaining tabs have your item details for any products, services, categories, modifiers, taxes, printers and suppliers you have.
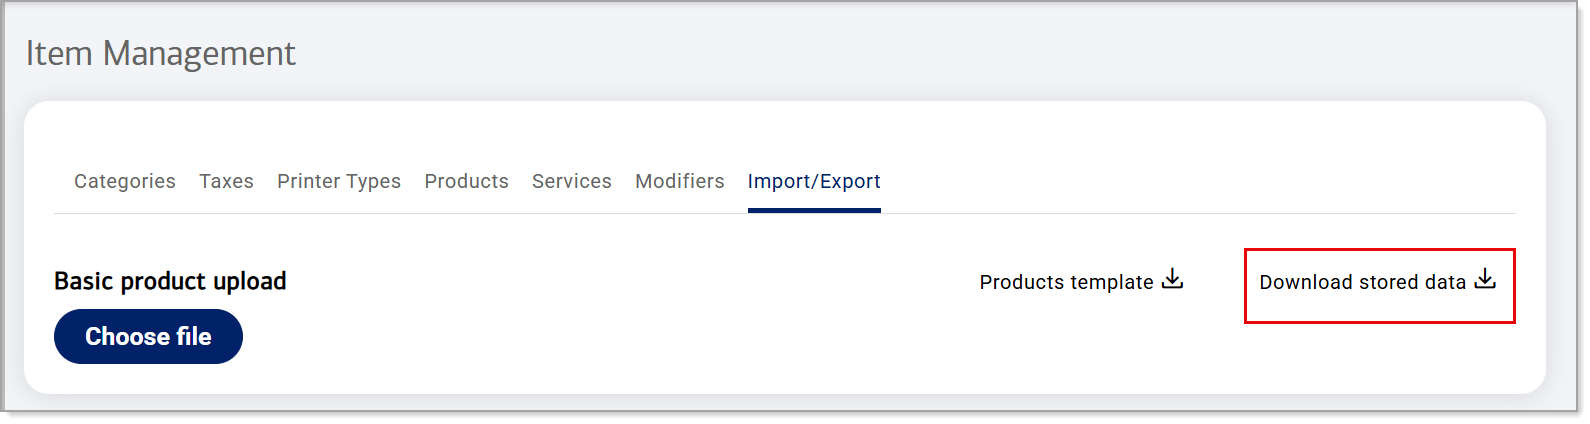
- From your browser download options, choose Save to save a copy of the download.
TIP! By saving a copy of the inventory prior to making your edits, you will have a backup version in case you need to restore the original inventory.
- Open the file and then choose Save As to save an editable version.
- In the Point of Sale Solution Back Office, select Basic Settings > Items.
- From the Import/Export tab, click Products template to download the template. The first tab has definitions of the fields in the worksheets. The remaining tabs have templates for the products, services, categories, modifiers, taxes, printers and suppliers detail you have.
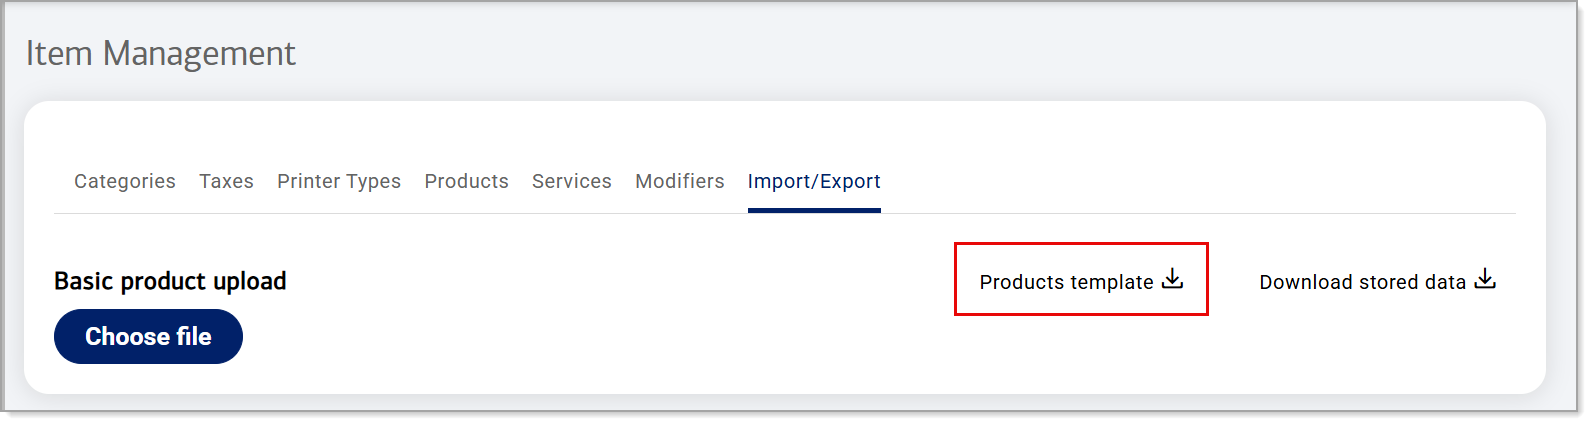
- Choose Save as to save a copy of the template for editing.
2. Edit the spreadsheet
The downloaded inventory spreadsheet or template includes a tab for each item management option: categories, taxes, printers, products, services, modifiers, and suppliers. The first tab has definitions of the fields in the worksheets. When you open a downloaded spreadsheet, you will need to save it to your computer to enable editing. Once saved, you are ready to add or update your inventory.
3. Import the spreadsheet
Once you've updated and saved your inventory spreadsheet, you are ready to import it to the Back Office.
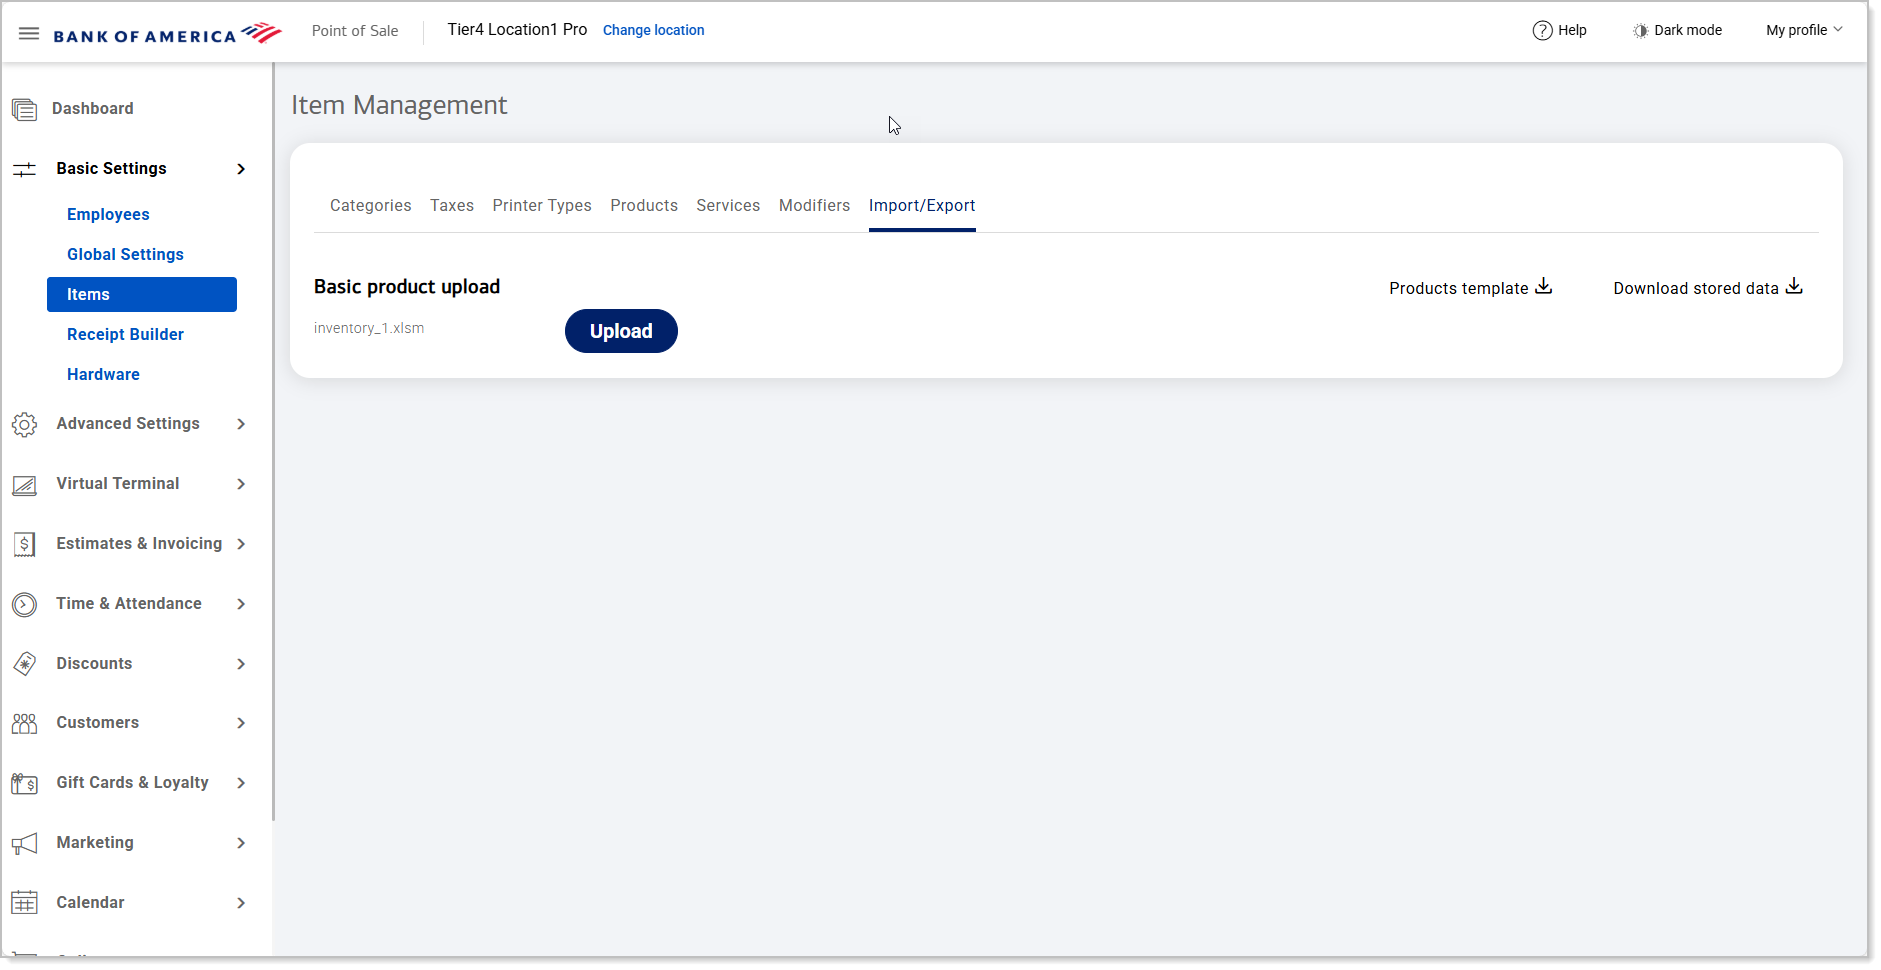
- Click Choose file.
- Select the edited file to import.
- Click Upload.
- Click on each of the Basic product upload tabs to review the uploaded changes. If needed, correct the data.
NOTE: If there are any errors listed, the file will not publish. The Line # column in the Basic product upload display will guide you to the exact line number on the worksheet that is causing the error.

- If your data looks correct, click Publish to update your store data.