Point of Sale Solution App Table Layout
Description
What's in this article?
Table mapping helps staff quickly check table availability, optimize seating arrangements and improve overall service efficiency. Using Table Layout, you can create and customize floor plans that visually represent each table in your establishment. Table layout is accessed through Hardware Settings in the left navigation menu of the Point of Sale Solution App. The intuitive interface allows users to drag and drop tables, adjust table configurations, and define specific areas to support different service styles.
In addition to daily service, table mapping makes it easier to accommodate large parties and manage reservations. By viewing visualize all tables at once, managers can make informed seating decisions that maximize occupancy, reduce wait times, and support smooth customer service even during peak hours.
To create and manage floor plans, your user role must have the appropriate permissions.
- *music*
- This video covers how to create and manage the floor plan in the Point of Sale Solution application.
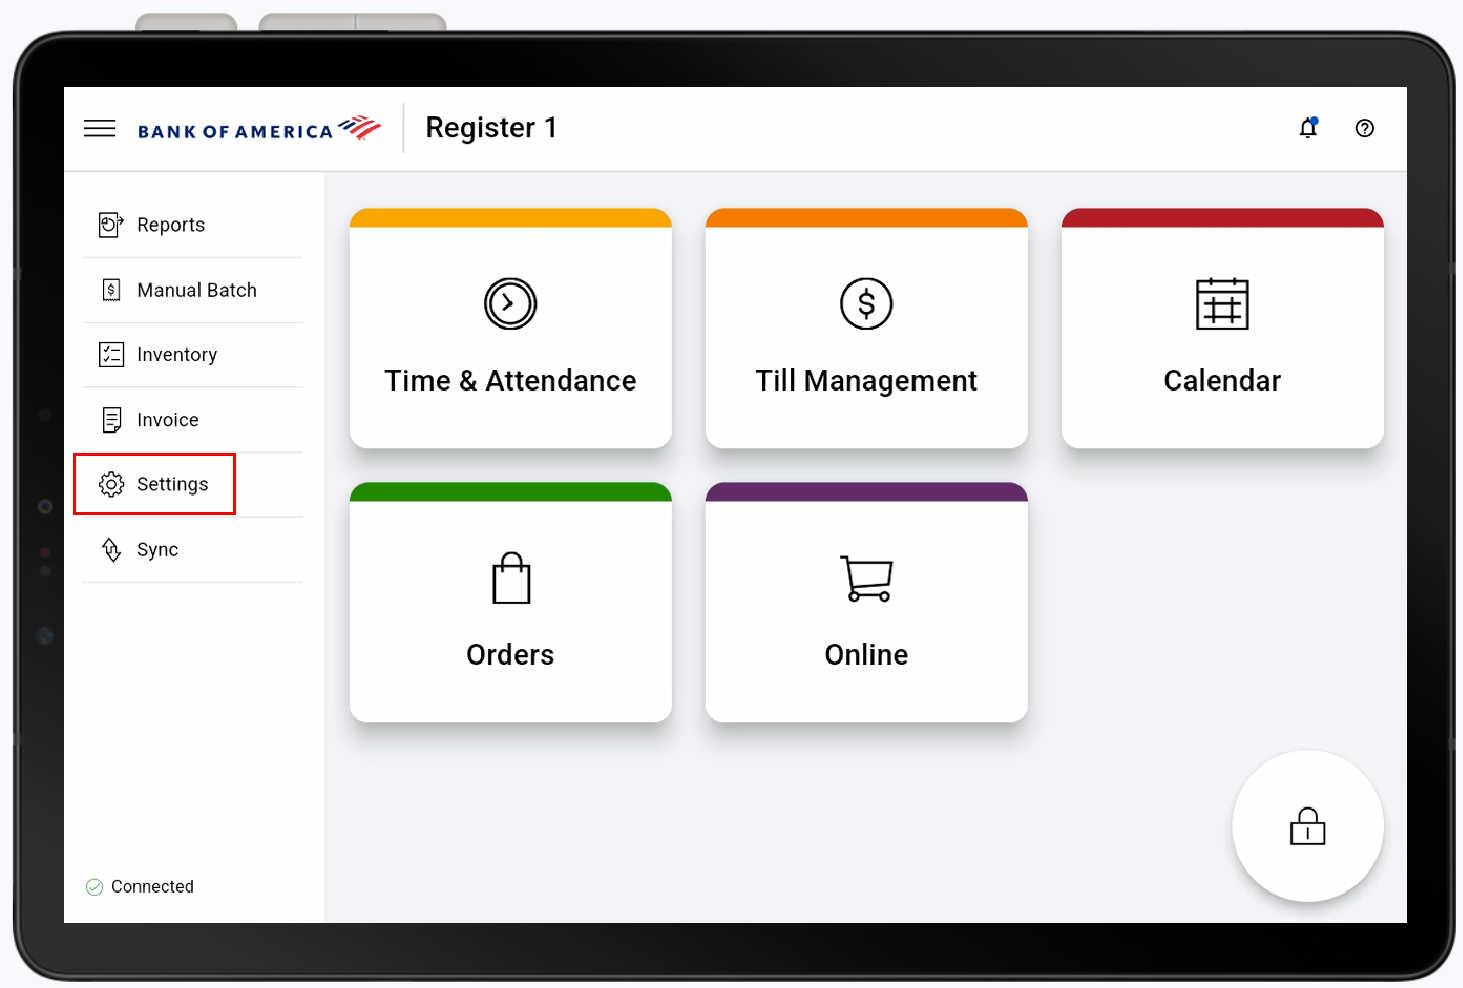
- To create a floor plan, tap the menu icon in the top left corner of the screen and select the Settings. In the settings display, tap the menu icon and select Layout.
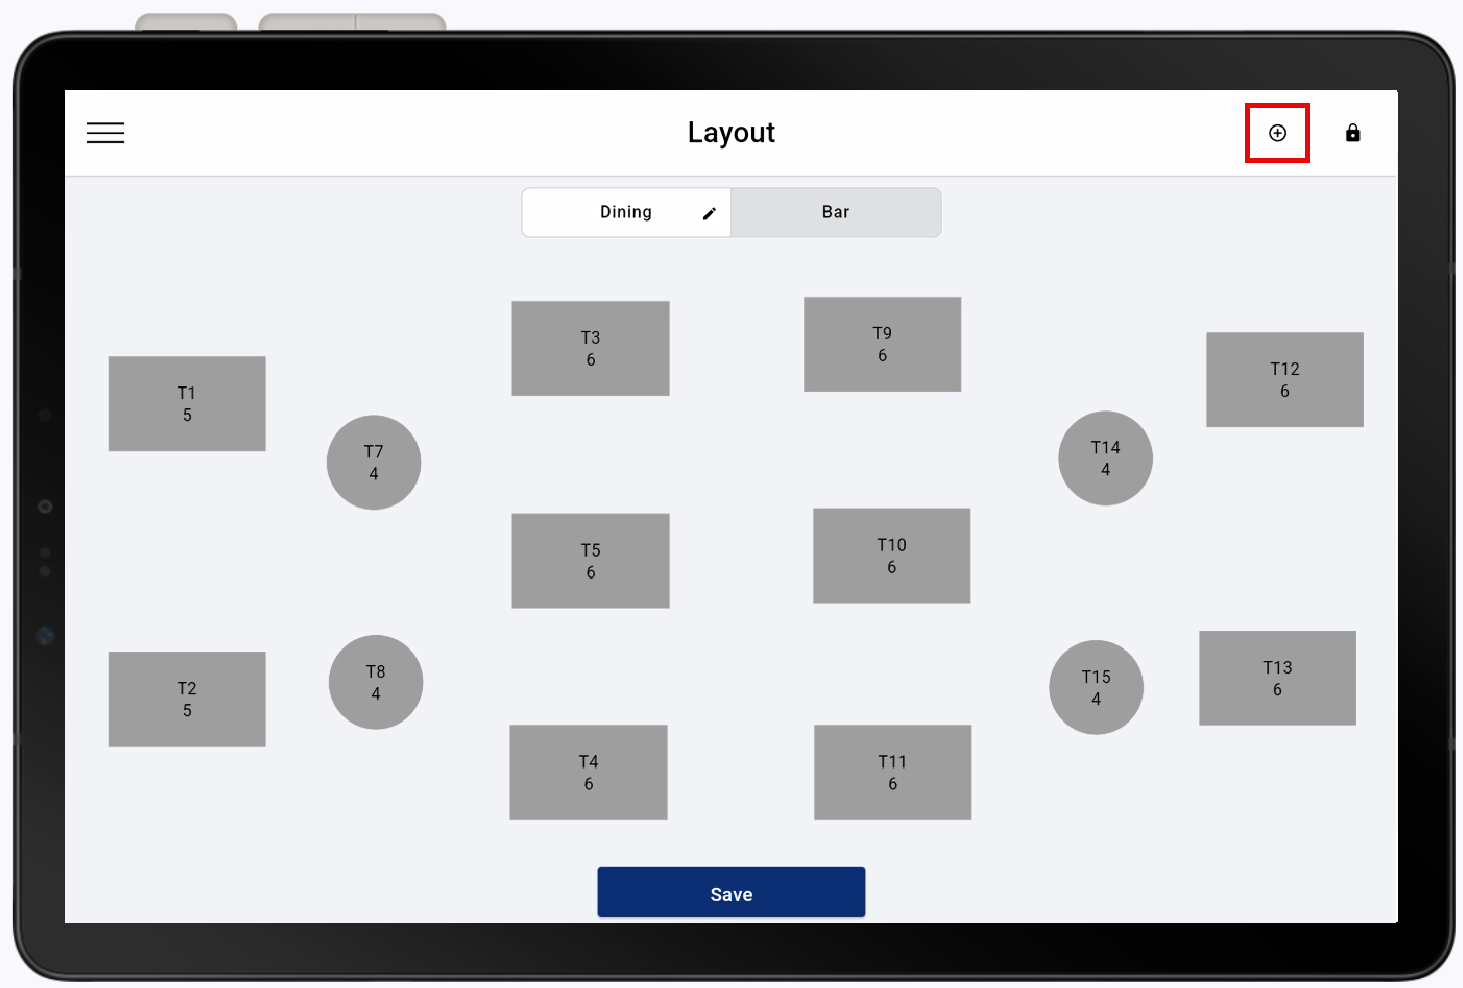
- This is where you can create the different areas of your floor plans like the dining room, bar, and patio.
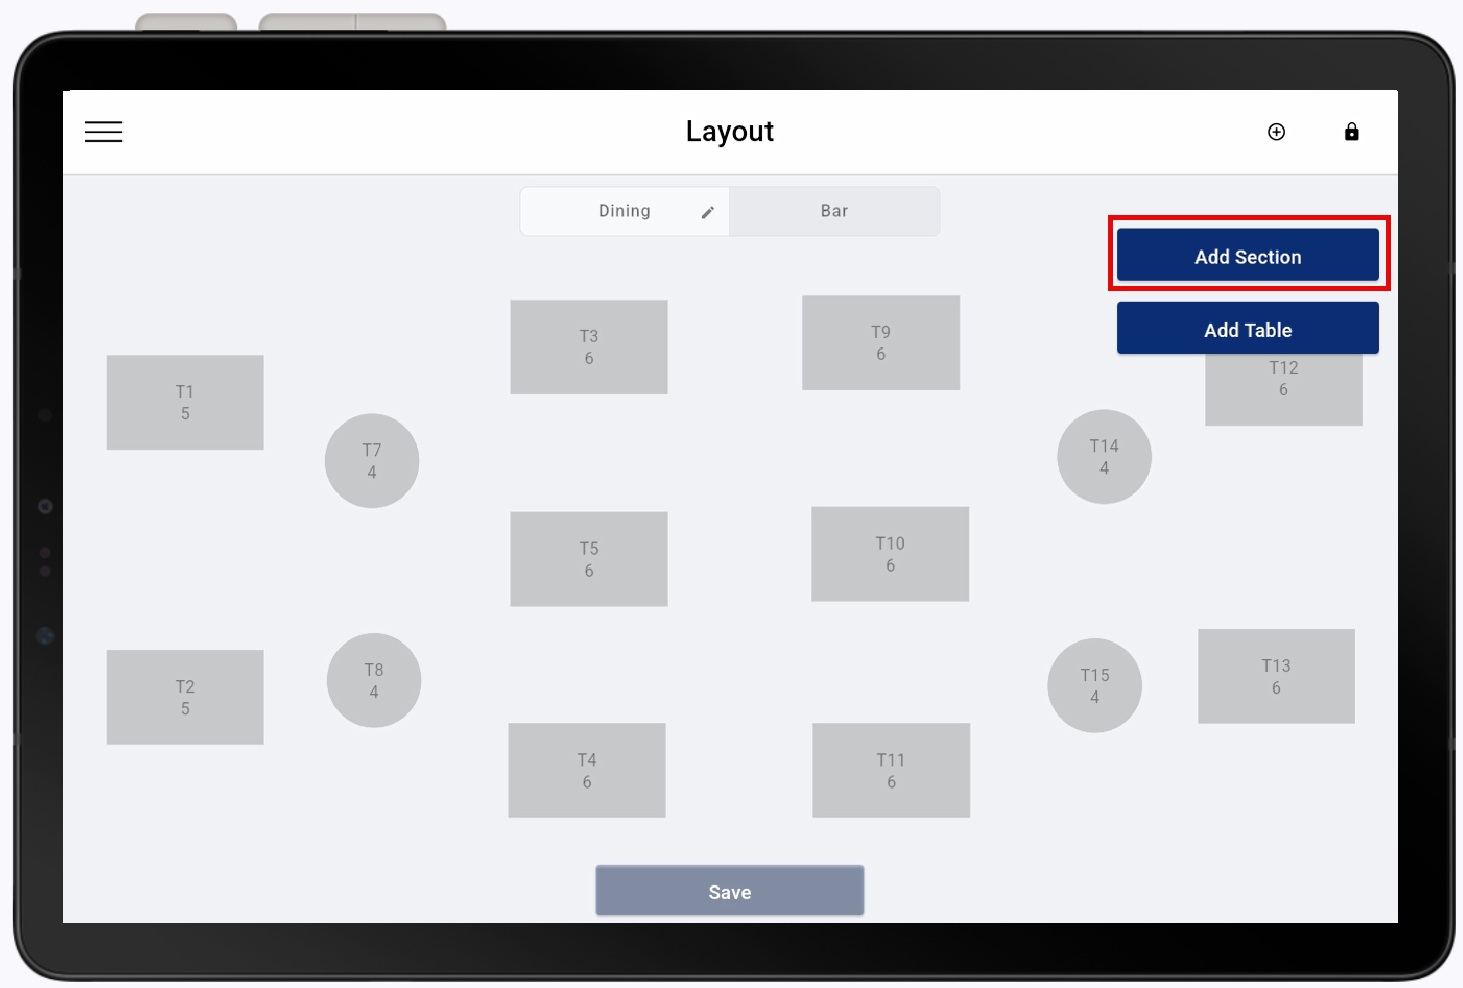
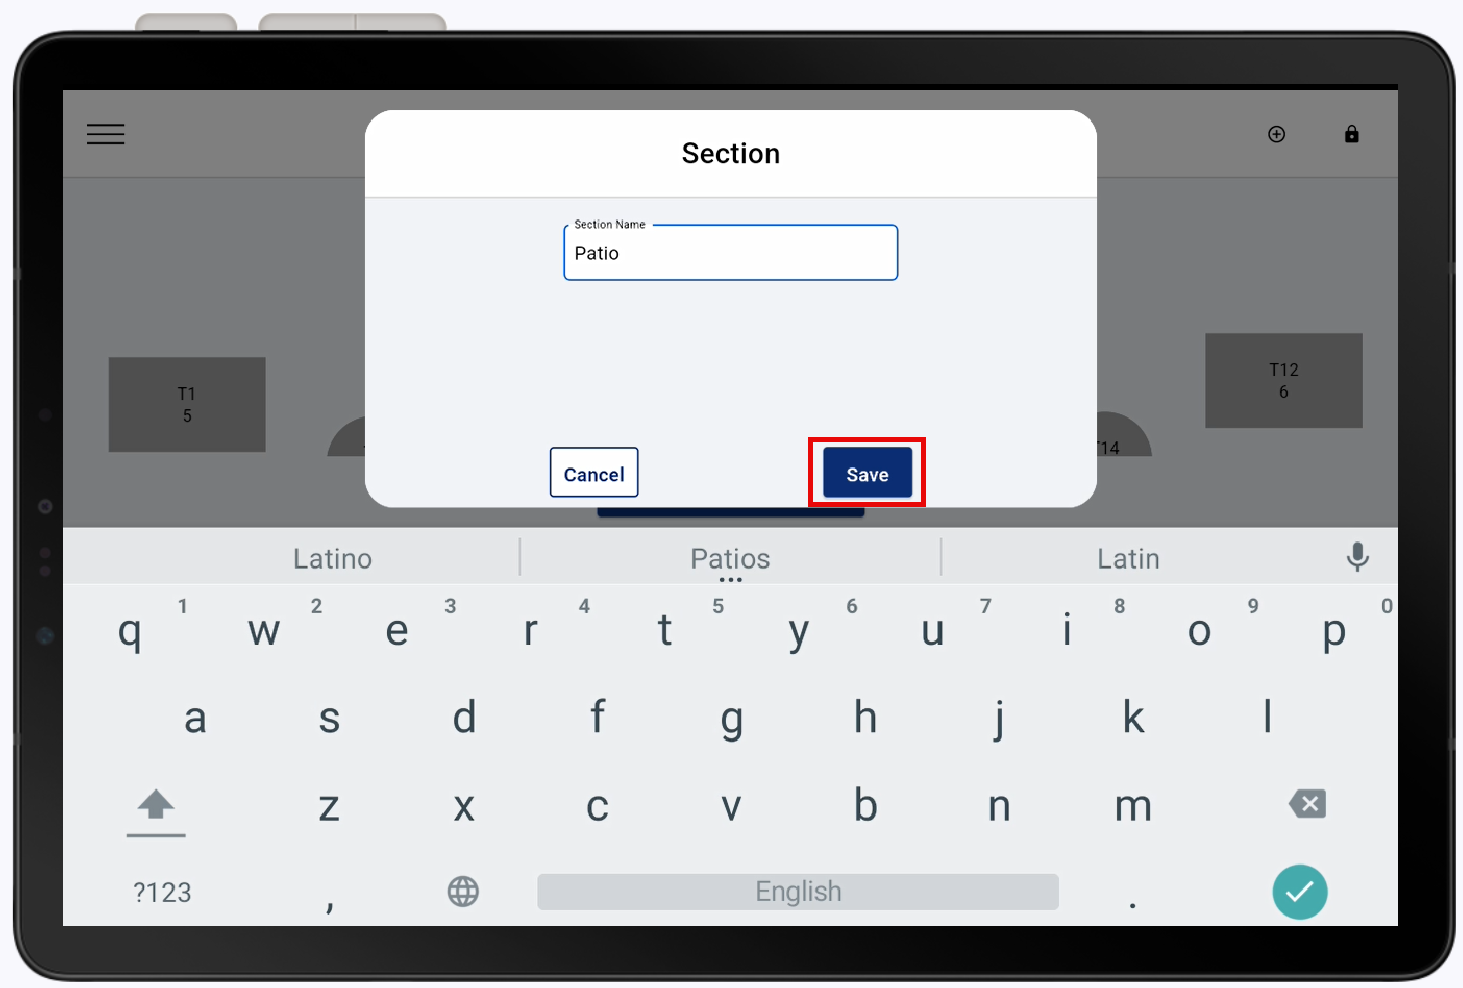
- Tap the plus icon in the top right corner and start a new floor plan by tapping Add section. Enter a name for your new section and tap Save.
- You can edit the section name or delete it by tapping the edit icon of the selected section. Here you can update the section name and save, delete it from your floor plans, or cancel to close out of the edit window.
- Tap the plus icon again and select Add Table. Enter a name, type, and number of seats for the table. Then tap Save.
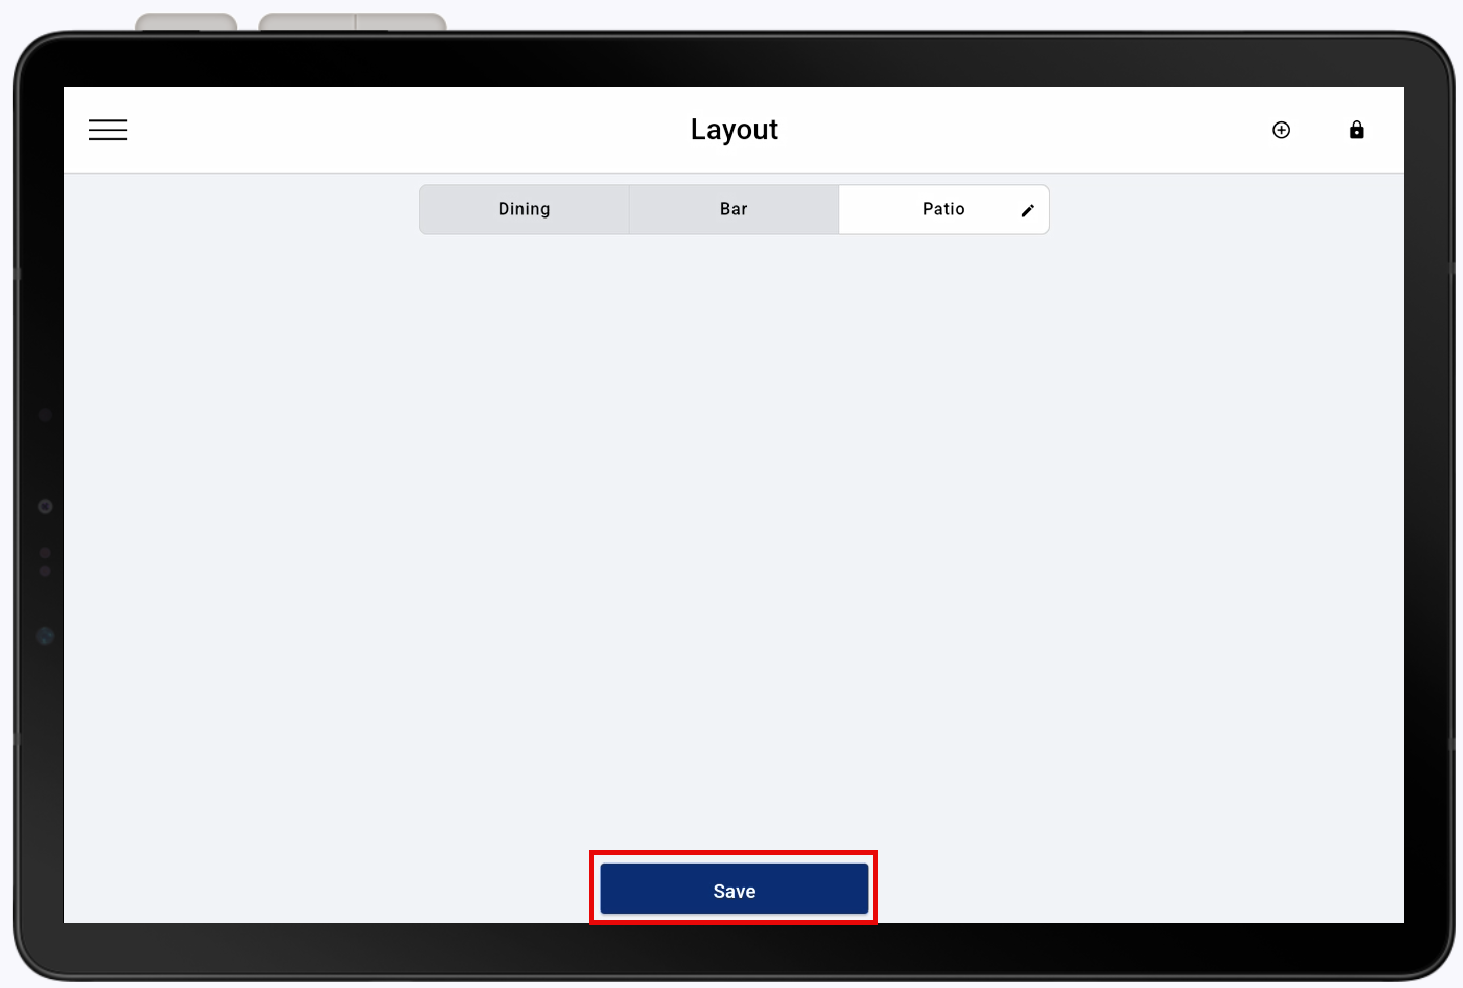
- Make sure you tap the Save button at the bottom of the layout display anytime you make a change or addition.
- Move tables around the floor plan by tapping to highlight then dragging to a different area.
- You can also create copies of existing tables by tapping the desired table and selecting Copy.
- To make edits to your table, tap the desired table, select Edit, make a change to the name, type, or number of seats, then tap Save.
- Tables can also be rotated by tapping Rotate and deleted by tapping Delete.
- *music*
Create a table floor plan
A table floor plan allows you to visually organize your dining areas. You can create sections to represent different parts of your establishment, such as a dining room, bar, or patio.
IMPORTANT!
After creating or editing sections or tables, be sure to tap Save at the bottom of the Layout screen. Changes are not applied until saved.
To create a table layout
- From the Point of Sale Solution App home screen left navigation, tap Settings.
- Tap Hardware > Layout.

- Tap the Plus icon to add a table or section.
- Tap Add Section to create a new dining area for your floor plan.
- Enter the name of the section and then tap Save.
- Tap Save.
Manage table floor plans
Once you have created a table layout, you can manage the tables and sections for the layout.
| Option | Description |
|---|---|
| Add a table | Tap Add Table and enter the table information. |
| Move a table on the layout | Drag and drop to move the table on the layout. |
| Change the number of seats | Edit the table to change the number of seats. |
| Change the table shape | Edit the table to change the shape. |
| Rename a section | Tap to select, enter new name, tap Save. |
| Delete a section | Tap to select a table, then tap Delete. |