Point of Sale Solution Back Office Receipt Builder
Description
How to build a receipt in the Point of Sale Solution Back Office
What's in this article?
Software Plan: Basics | Starter | Growth | Pro
The Receipt Builder allows you to fully customize the information displayed on your printed receipts, e-receipts, or kitchen preparation tickets (kitchen chits).
Watch the video:
- *music*
- This video will show you how to fully customize the information that is displayed on your printed receipt, e-receipt, or kitchen preparation tickets from your Point-of-Sale Solution Back Office.
- In the Point of Sale Back Office, select Basic Settings > Receipt Builder.
- On the Receipt tab, customize your Store Information Header options
- Customize Store Information options for the receipt
- Customize Order & Payment Information options for the receipt
- Customize More Information options for the receipt
- Customize Order Ticket options for the receipt
- Customize Receipt Settings options for the receipt
- Then click Save.
- E-Receipt
- For E-Receipt option, in Point of Sale Back Office , select Basic Settings > Receipt Builder.
- On the e-Receipt tab, customize your Store Information Header options.
- Customize Order Information & Subtotal options for the receipt.
- Customize More Information options for the receipt:
- then Click Save.
- Ticket
- In Point of Sale Back Office , select Basic Settings > Receipt Builder.
- On the Ticket tab, customize your Ticket Information and choose if you want those items to print in black or red.
- Then click Save.
- *music*
Customize printed receipts
When customizing printed receipts, the preview updates in real time as you enable or disable fields.
TIP!
You can enable or disable individual options or apply changes to all fields at once.
To customize printed receipts
- In the Point of Sale Solution Back Office, select Basic Settings > Receipt Builder.
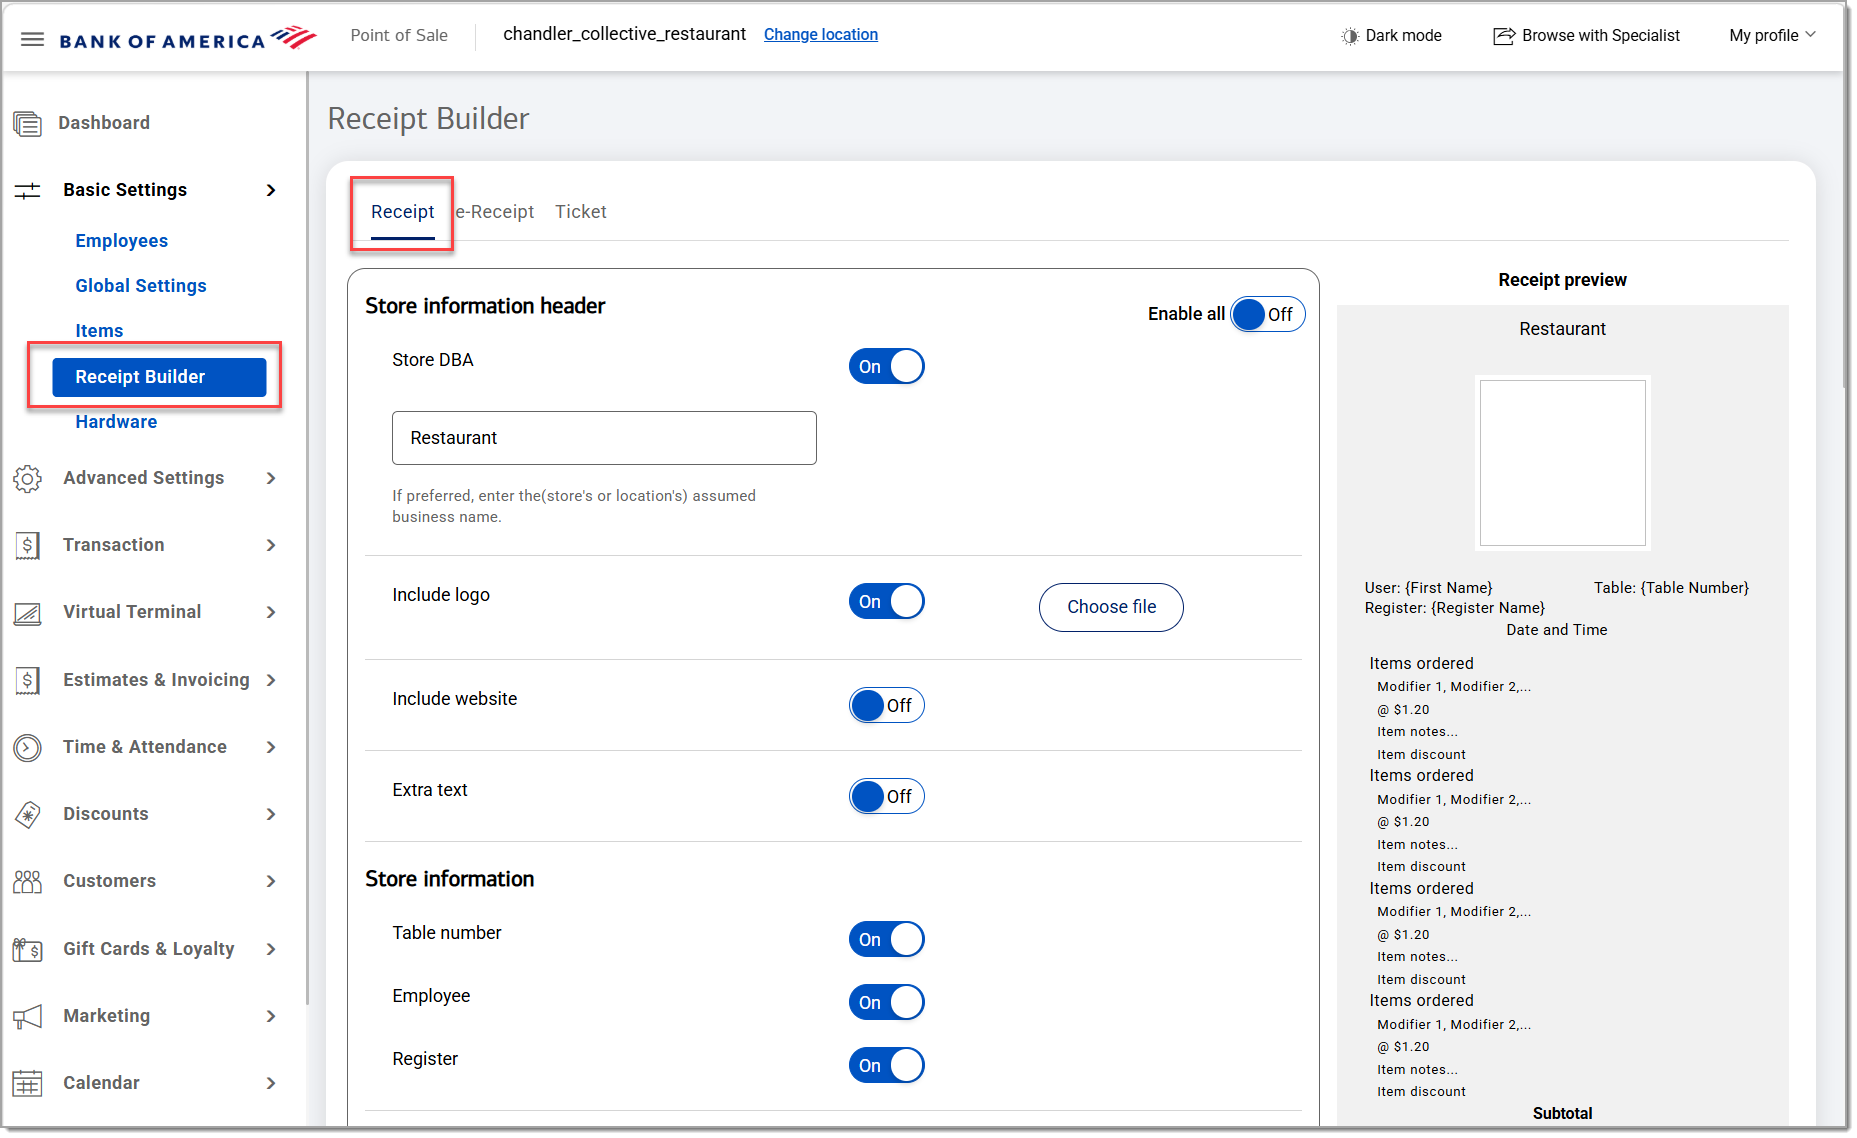
- On the Receipt tab, customize your Store information header options:
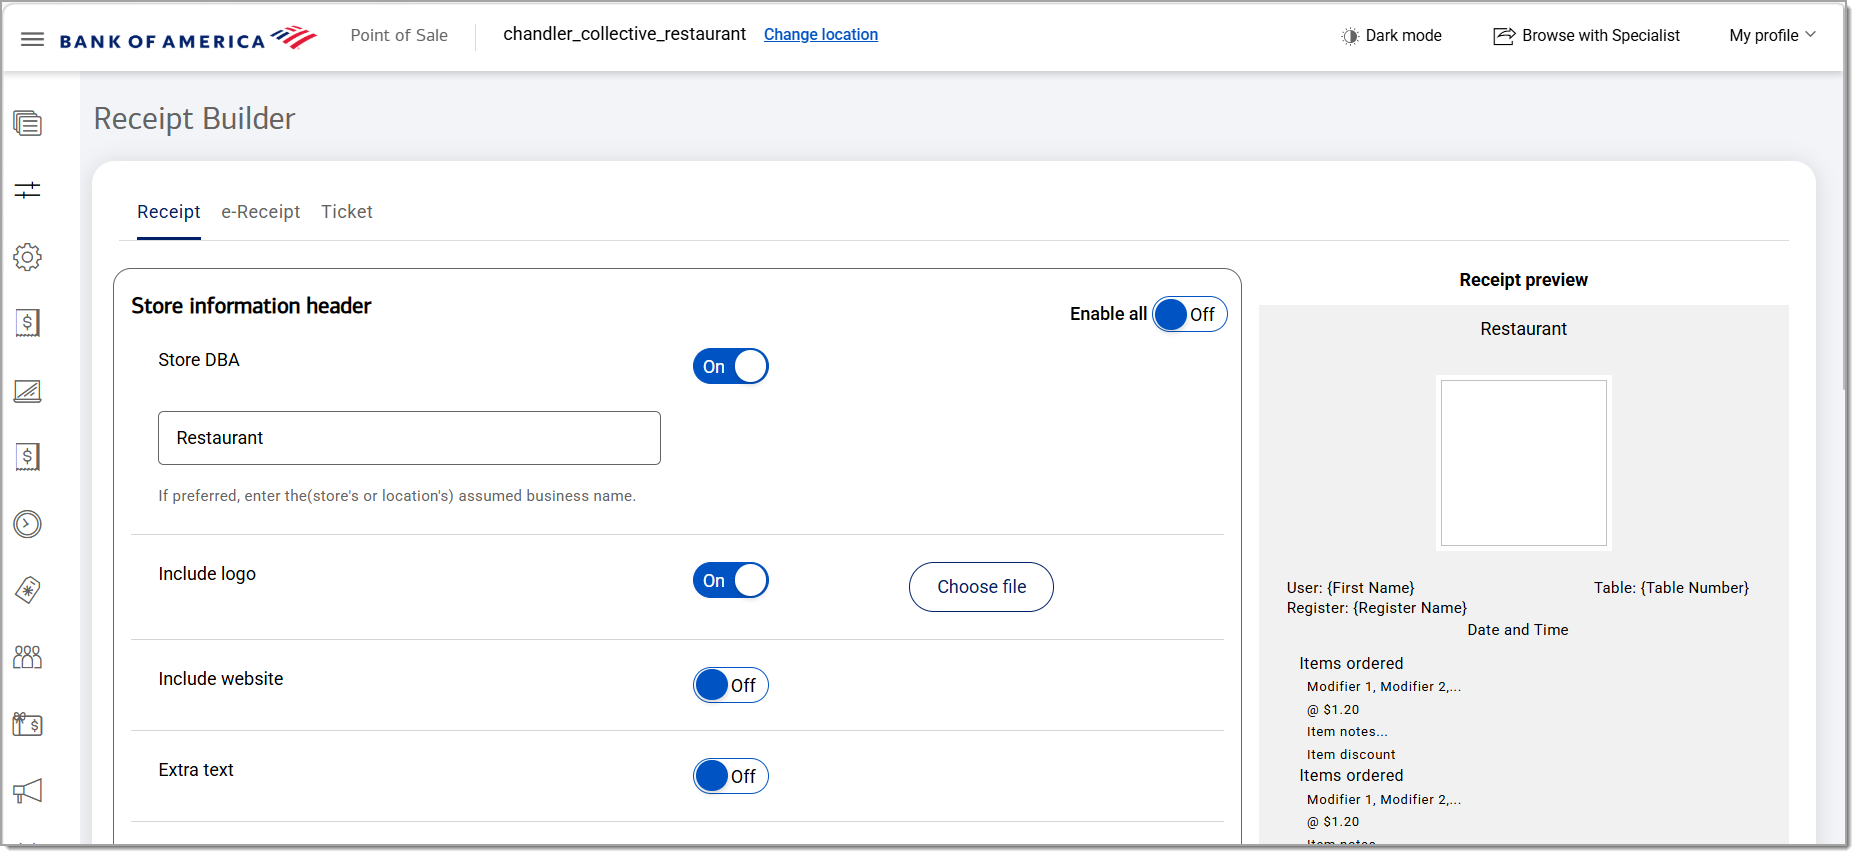
- Customize store information for the receipt.

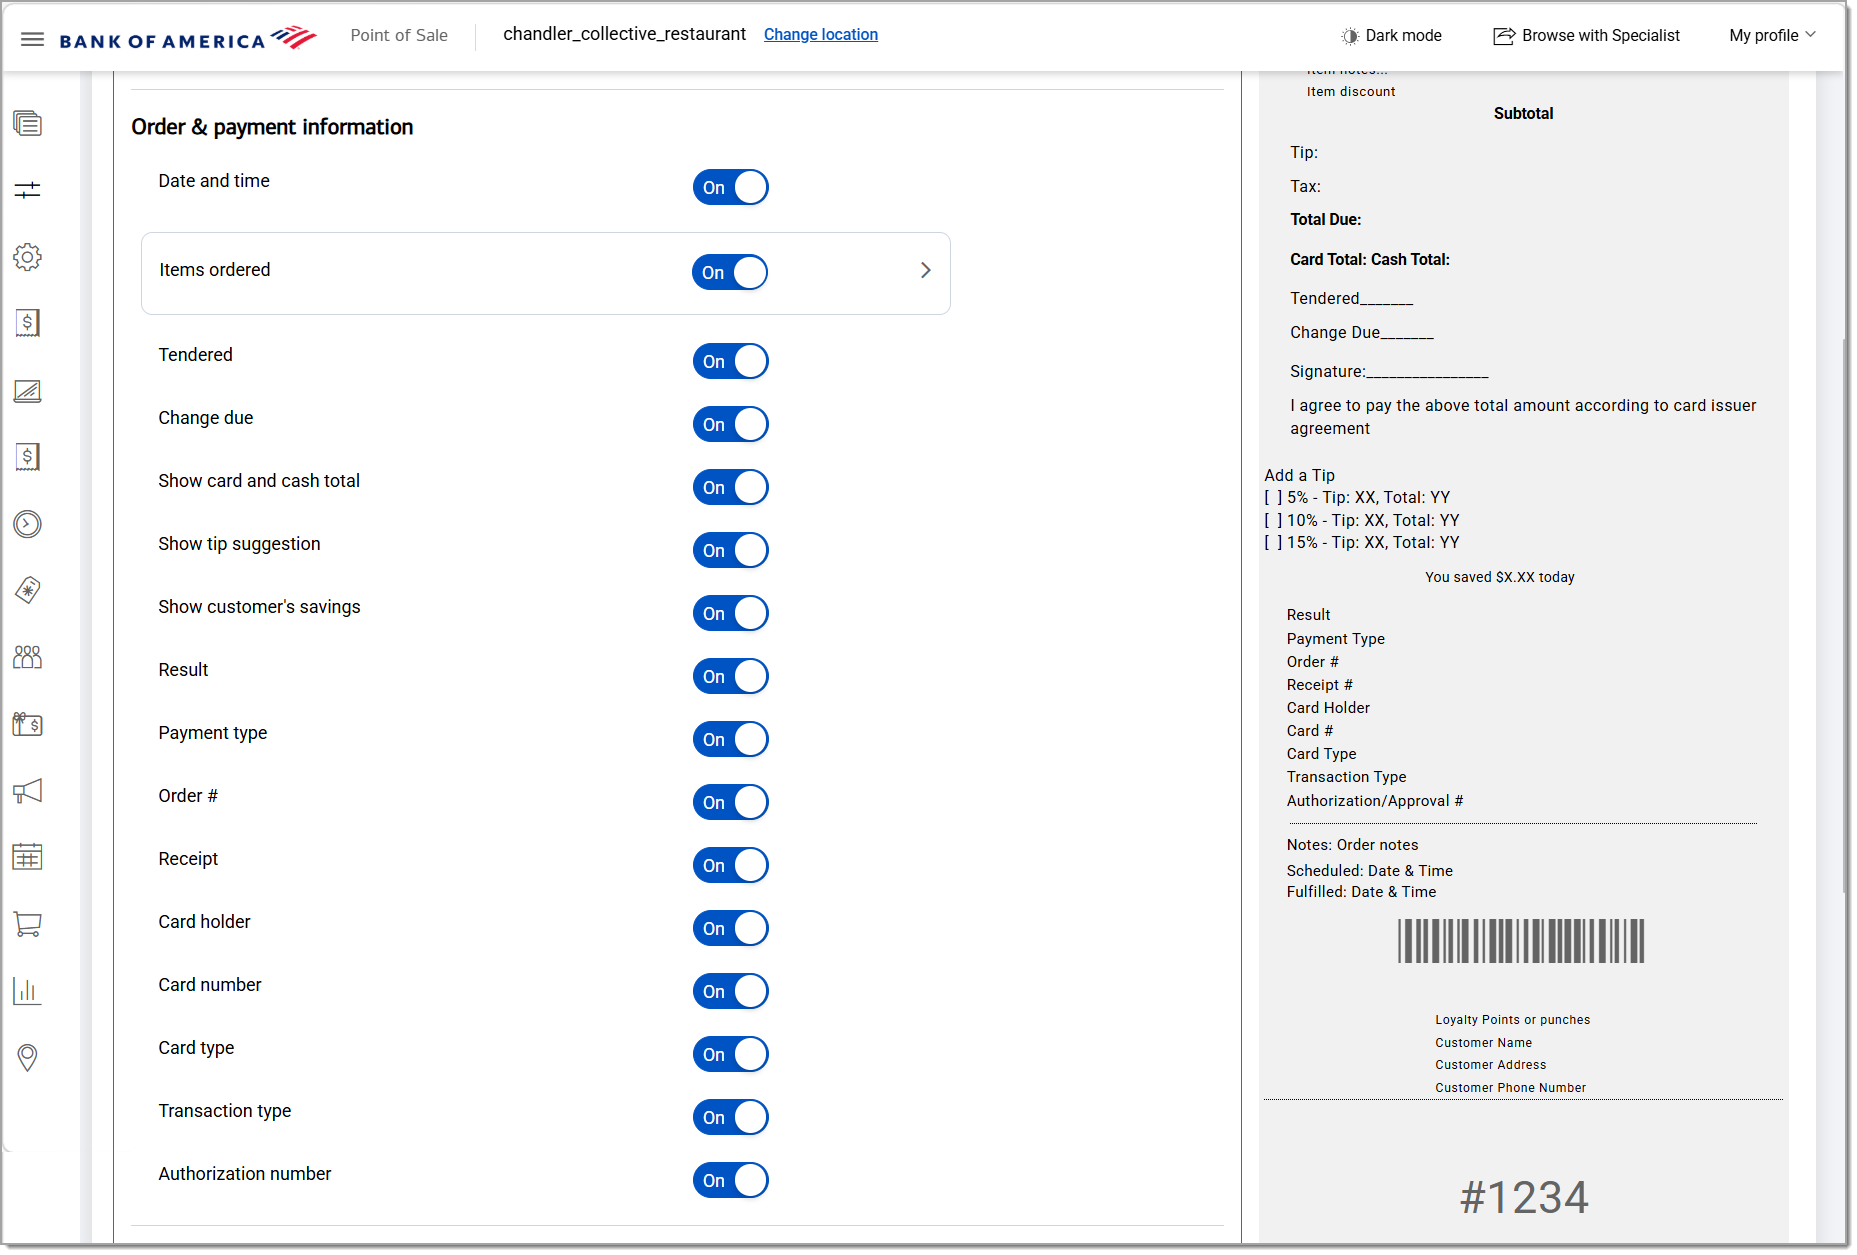
- Customize Order & payment information for the receipt.
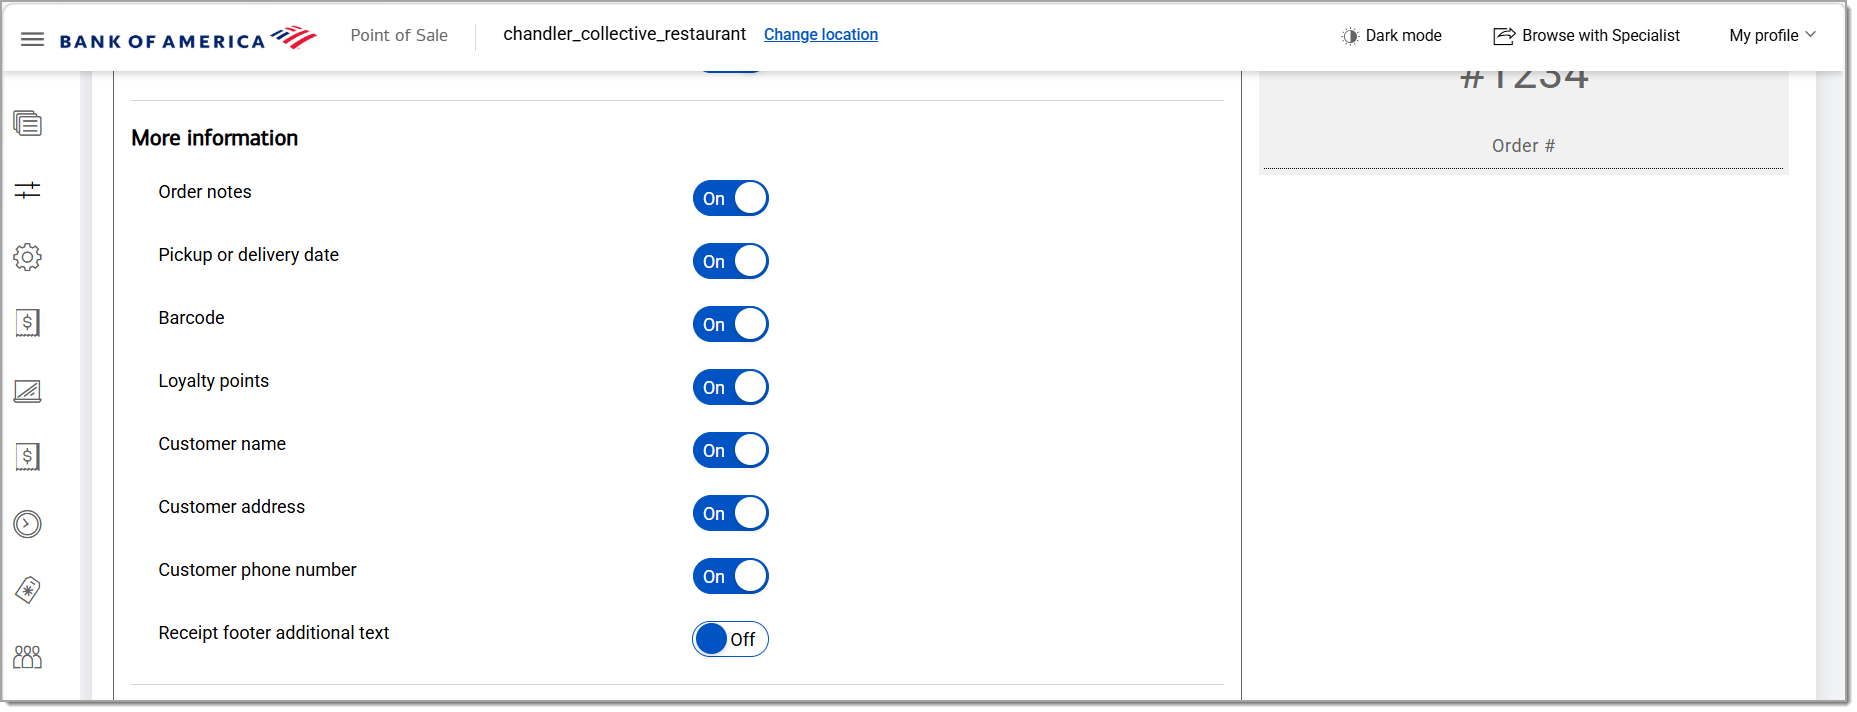
- Customize More Information options.
- Enable Print order ticket to include the order number on the receipt.
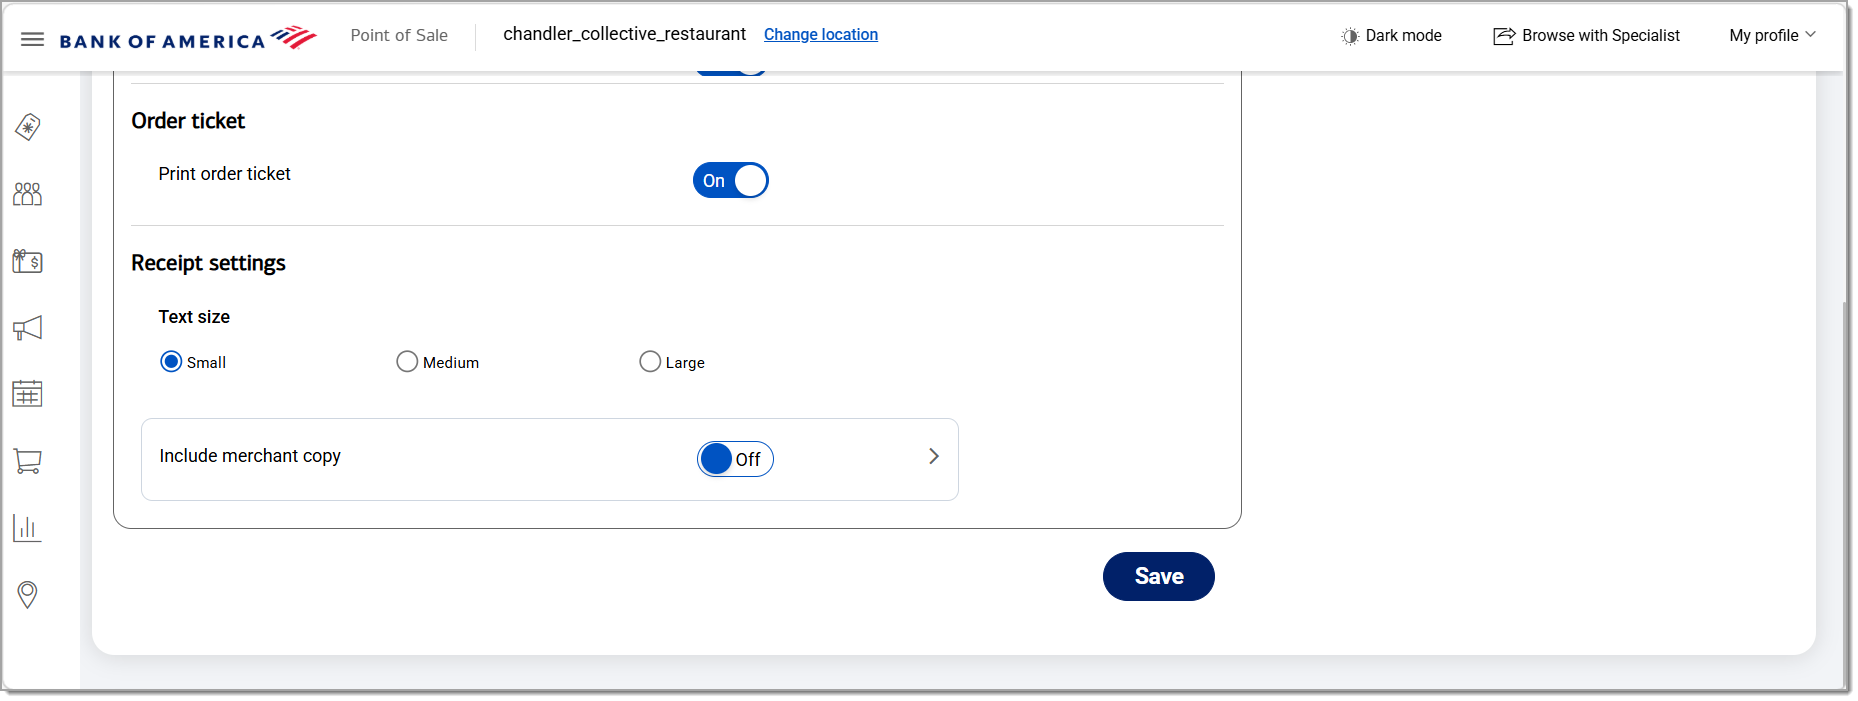
- Choose the Text size for the receipt: small, medium, or large.
- Enable Include merchant copy to print a merchant copy.
- Choose whether this applies for all payment types or credit cards only
- If you enable Print order ticket but disable Merchant copy, when a customer selected the No receipt option at checkout a brief order ticket will print with the time/date, ticket number, and order number.
- Click Save. To update your receipt on the register, synchronize the register.
E-Receipts
E-Receipts are the receipts sent to customers via email.
To customize e-receipts
- In the Point of Sale Solution Back Office, select Basic Settings > Receipt Builder.
- On the e-Receipt tab, customize your store information header.

- Customize order information for the receipt.
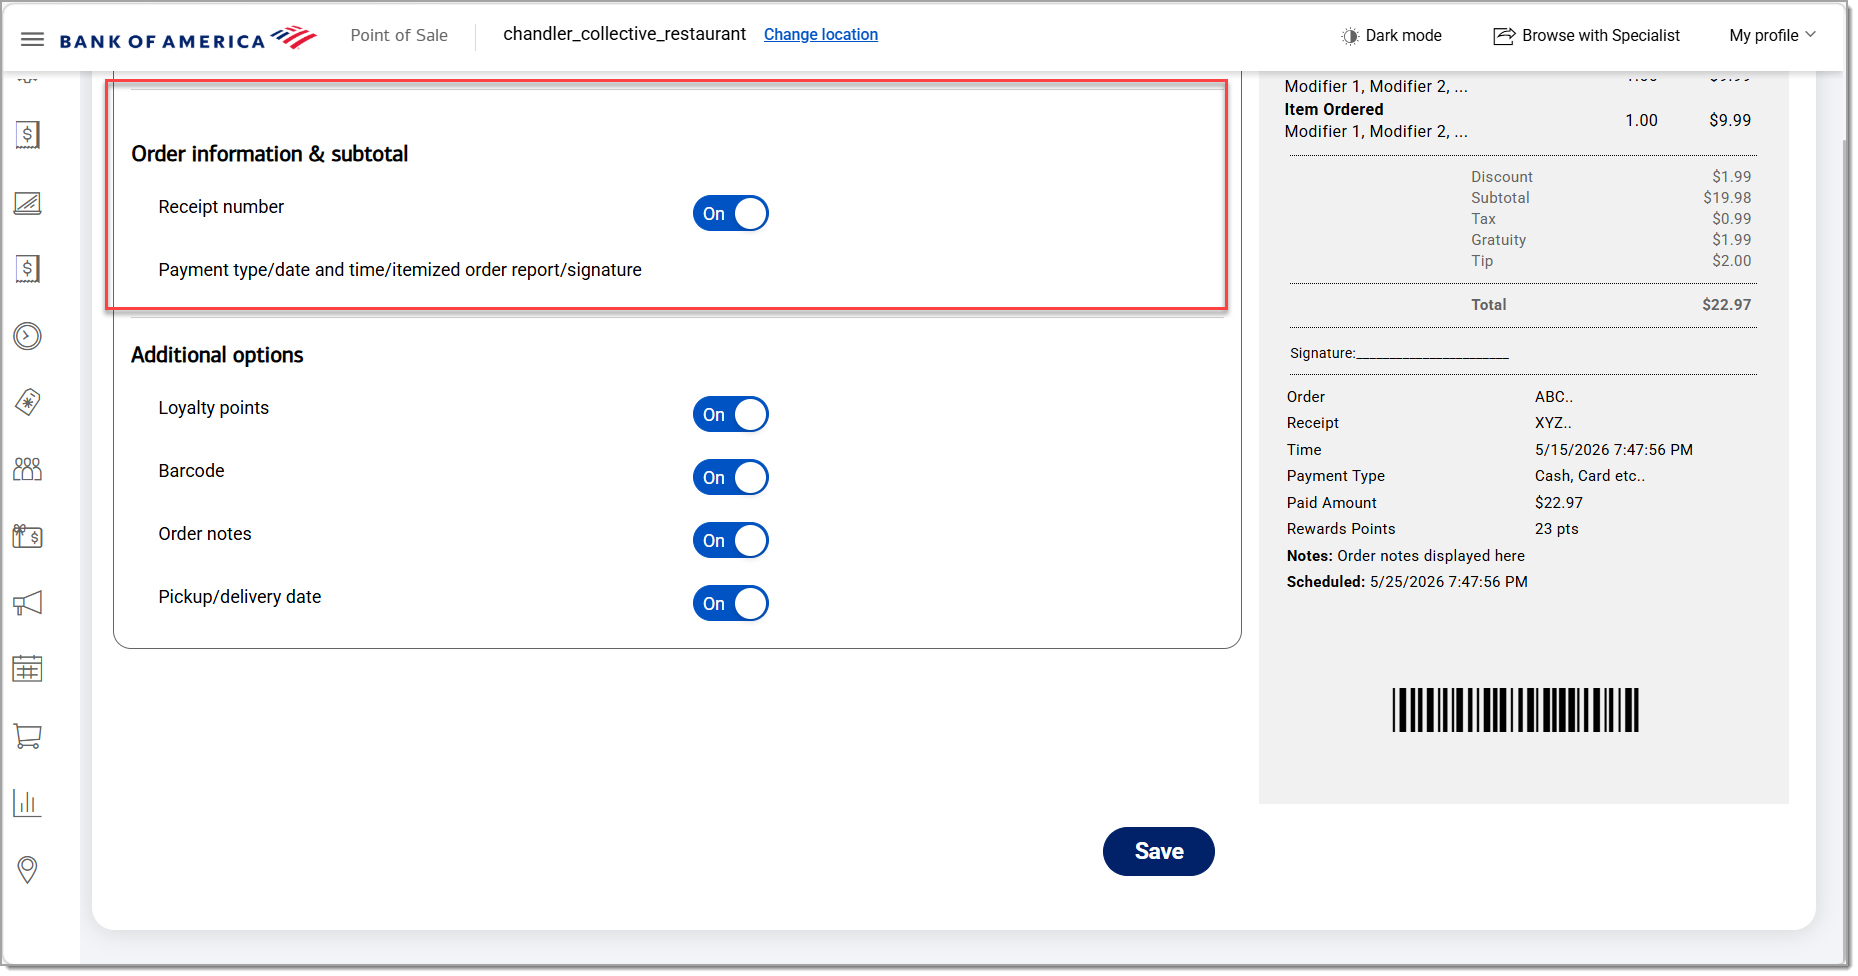
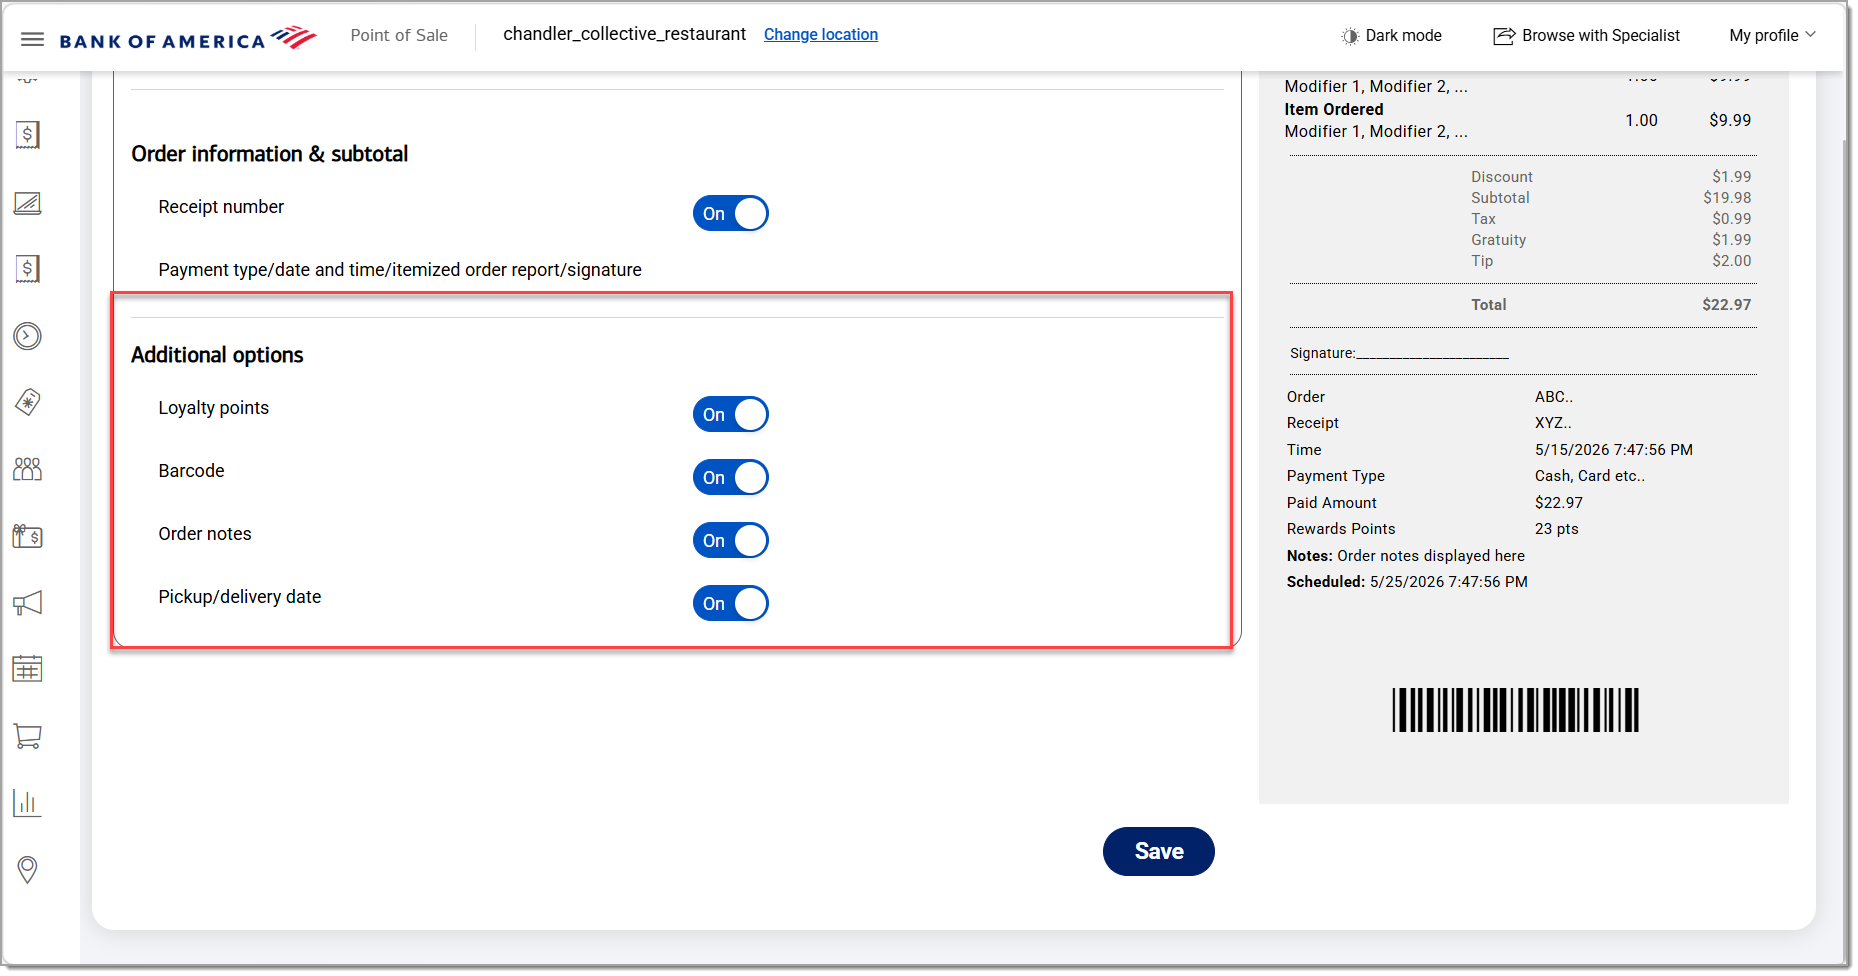
- Customize additional options for the receipt.
- Click Save.
Tickets
The Ticket receipt is your kitchen chit/kitchen ticket.
To customize kitchen chit/ticket
- In the Point of Sale Solution Back Office, select Basic Settings > Receipt Builder.
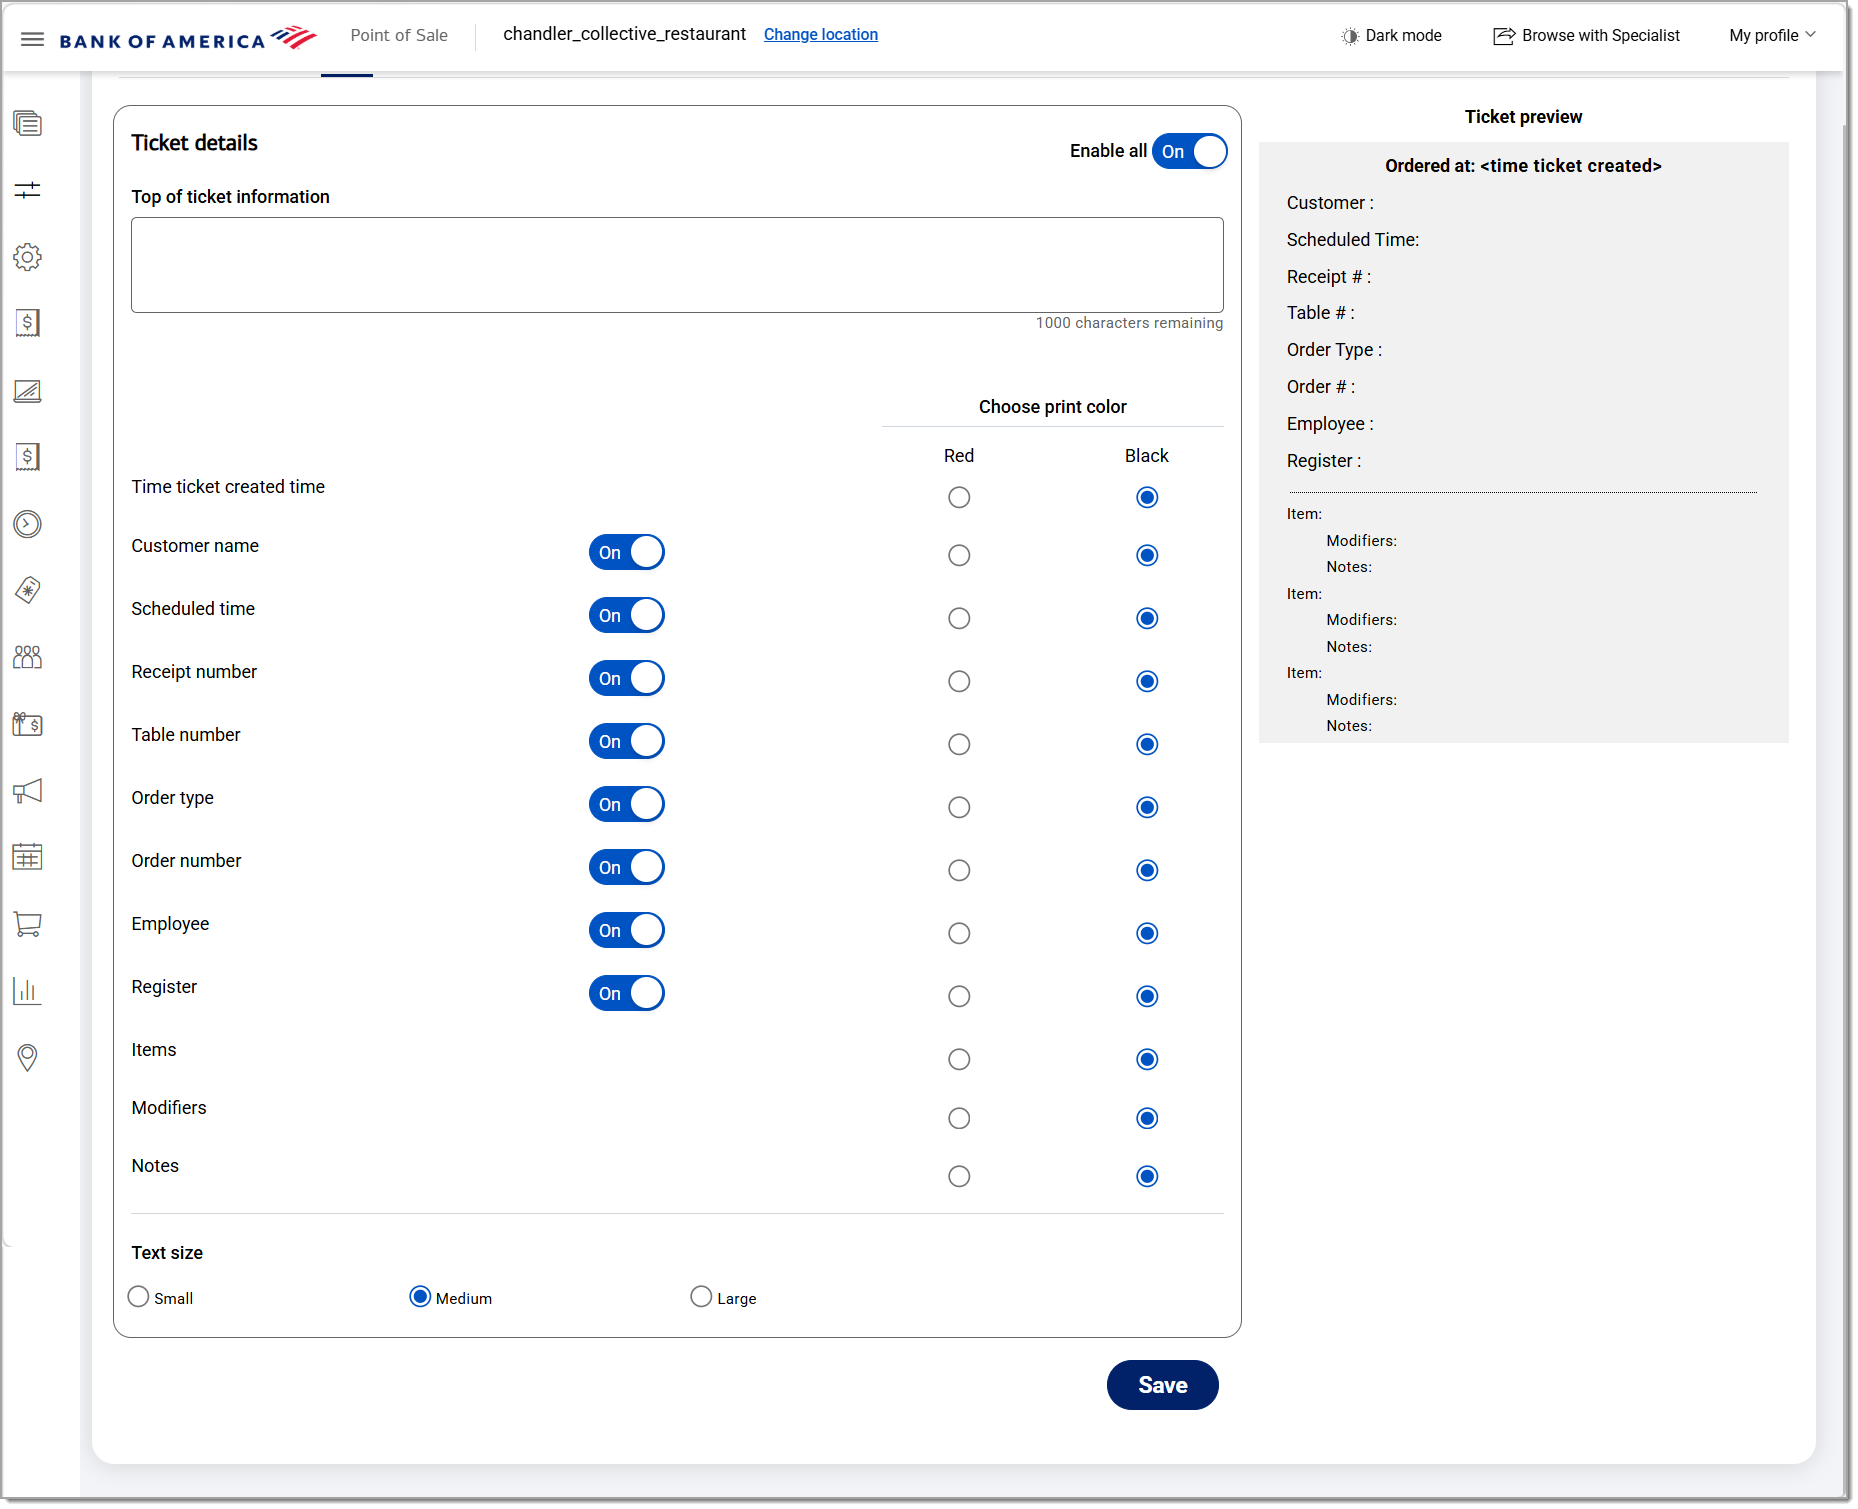
- On the Ticket tab, customize the ticket information.
- Ticket details options
Ticket details options Option Description Ticket holder space Enter returns in this field to add additional spacing at the top of the kitchen ticket. Time ticket created Show/hide the time the ticket was created in red or black print. Customer Show/hide the customer name in red or black. Scheduled time Show/hide the scheduled order time. Receipt number Show/hide the receipt number for the order. Table Show/hide the table number for the order in red or black. Order type Show/hide the order type in red or black. Order number Show/hide the order number in red or black. Server Show/hide the server name in red or black. Register Show/hide the register number. Menu items Show menu items in red or black. Modifiers Show modifiers in red or black. Notes Show notes in red or black. Font size Select a small, medium, or large font size.
- Ticket details options
- Click Save.