Point of Sale Solution Back Office Calendar Settings
Description
What's in this article?
Settings for your Customer Appointments Calendar can be configured based on whether customer appointments/bookings are scheduled with staff or resources. Whether configured for staff or resources, preferences can be set for how customers are notified and reminded about appointments, and whether clients are checked-in or not for appointments.
Configure calendar settings
The Employees configuration setting for the calendar is used by businesses that schedule customer appointments with staff members. Using this setting allows you to schedule services with an individual staff member based upon their availability. You can also schedule an appointment with an unassigned group that will allow the customer to receive services from an available staff member.
The Resources configuration setting for the calendar is used by businesses that book customers for resources such as rental or sports/entertainment spaces, or equipment. Using this setting allows you to add a resource to a service a customer books. Your calendar is configured based on the resources assigned to services. For example, a bike rental company can add an available bike as a resource for the service of a Per Hour Bike Rental a customer books and purchases.
If you choose the Resources configuration setting, you will need to create the Resources and assign them to your services before they can be booked.
To configure calendar settings for appointments by Employees
- In the Point of Sale Solution Back Office, select Calendar > Settings.
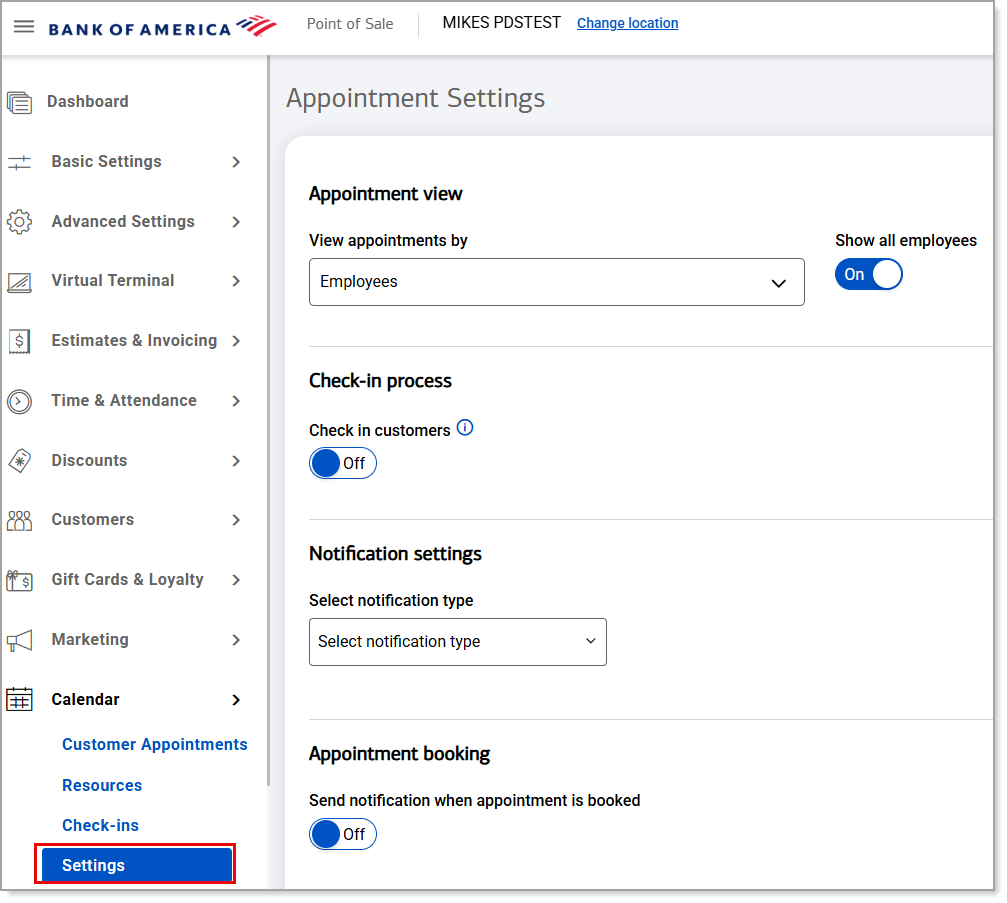
- In the View appointments by dropdown list, choose Employees.
- Turn the Show all employees toggle On if you would like all employee schedules to appear on the calendar.
- Click Save.
To configure calendar settings for appointments by Resources
- In the Point of Sale Solution Back Office, select Calendar > Settings.
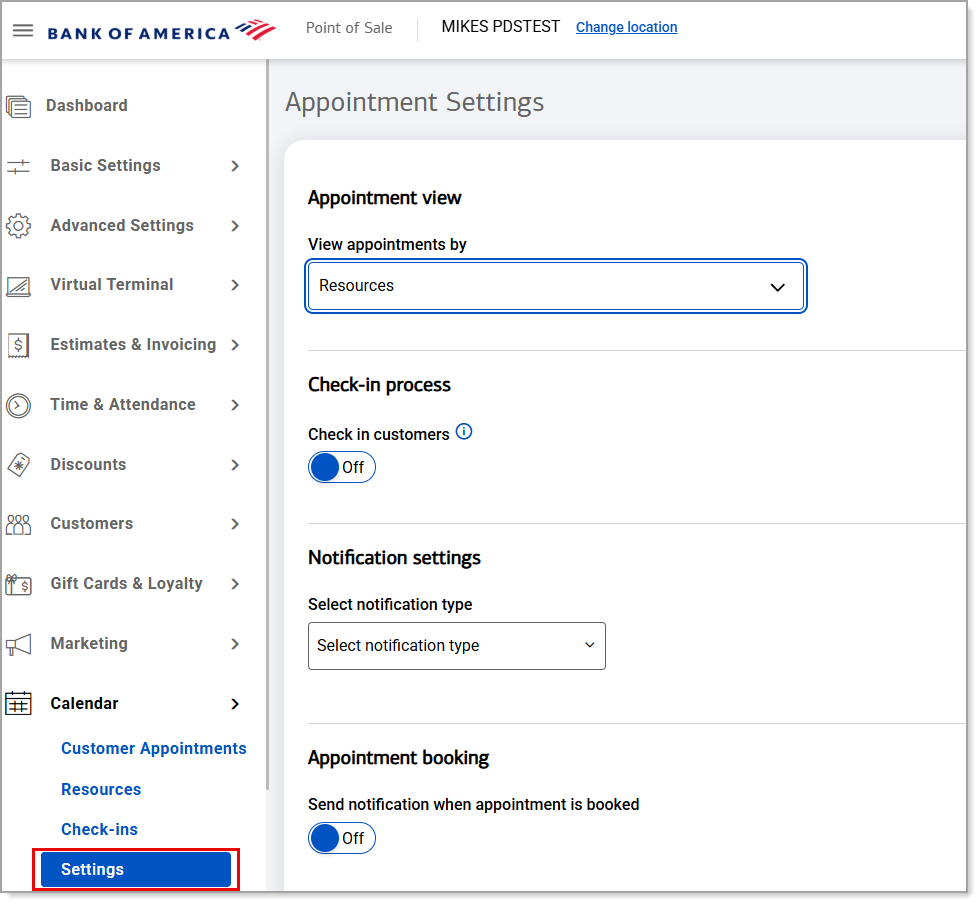
- In the View appointments by dropdown list, choose Resources.
- Click Save.
Set customer check in preferences
- In the Point of Sale Solution Back Office, select Calendar > Settings.
- Turn the Check in customers toggle On if you would like to allow employees to check in customers as they arrive.
- If check in is allowed, turn the Customer loyalty program toggle On if you would like to use customer loyalty information during the check-in process.
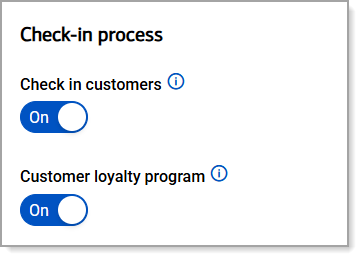
- Click Save.
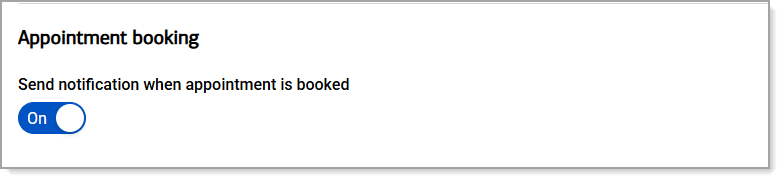
Set appointment communication preferences
- In the Point of Sale Solution Back Office, select Calendar > Settings.
- In the Select notification type dropdown list, choose Email, Text, or both, depending on how you would like to communicate to customers about their appointments.

- Turn the Send notification when appointment is booked toggle On if you would like to notify customers their appointment is booked.
- Turn the Request appointment confirmation in advance toggle On if you would like to automatically request customers to confirm their appointment.
- If you would like customers to confirm their appointment, enter the amount of time before the appointment, in hours or days, that you would like the request to be sent.

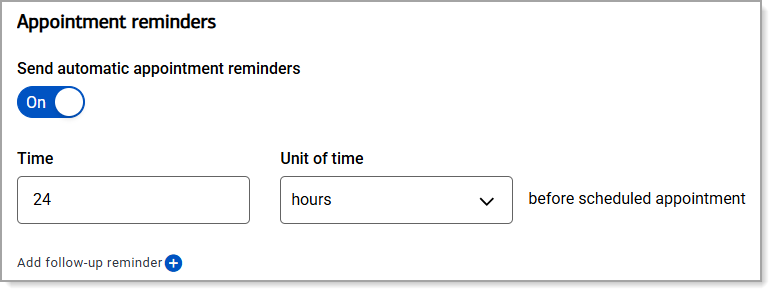
- Turn the Send automatic appointment reminders toggle On if you would like to automatically remind customers of their appointment.
- If you would like to remind customers of their appointment, enter the amount of time before the appointment, in hours or days, that you would like the reminder to be sent.
- If you would like to remind customers more than once, click the Add follow-up reminder button and enter the amount of time before the appointment that you would like it sent. Repeat as preferred.
- Click Save.