Point of Sale Solution Back Office Calendar Resources
Description
What's in this article?
Resources are people, places and things like a masseuse or technician, a rental space or sports facility, or a piece of equipment, that customers can book with the service they purchase. For example, a bike rental company can add an available bike as a resource for the service of a Per Hour Bike Rental a customer reserves and purchases.
Resources are created as resource groups with resource items. A resource group (for example, "Rental spaces") must have at least one resource item (for example, a "Grand Reception Hall") and service (for example, "Catering") assigned to it before that service and its associated resource can be booked for a customer. Learn how to configure your calendar to display appointments by resource.
Watch the video:
- *music*
- This video will show you how to create resources, assign them to services, and manage those services from the Point of Sale Solution Back Office
- To create a resource group, access the Point of Sale Back Office, select Calendar and resources.
- Click the Add Resource group
- Enter a resource group name for the resources that will relate to it
- Enter a session name or subcategory for the resource group. The session name can be the same as the resource group, if desired
- Enter a description for the collective group and click Sav
- Click Add Resource item.
- Enter the resource name, Max Occupancy and price for a resource related to the resource group.
- If the resource is available for exclusive use at another price, turn the toggle to on setting to indicate available for exclusive use
- Enter a price for exclusive use and click save.
- Repeat adding resource items until you have added all items related to the resource group.
- To assign or unassign a resource, select Basic Settings > Items > Services
- Click the pencil icon next to the service you want to add a resource to or delete a resource from
- Scroll to the bottom of the service details and choose resources from the dropdown menu
- Select the resource you want to add to the service or deselect the resource you want to remove from the service.
- click the Save.
- *music*
Create resource groups and related resource items
Resource groups are categories under which you create and align individual Resource items. If it is a single resource you want customers to be able to book, you will still create a Resource group for it.
- In the Point of Sale Solution Back Office, select Calendar > Resources.
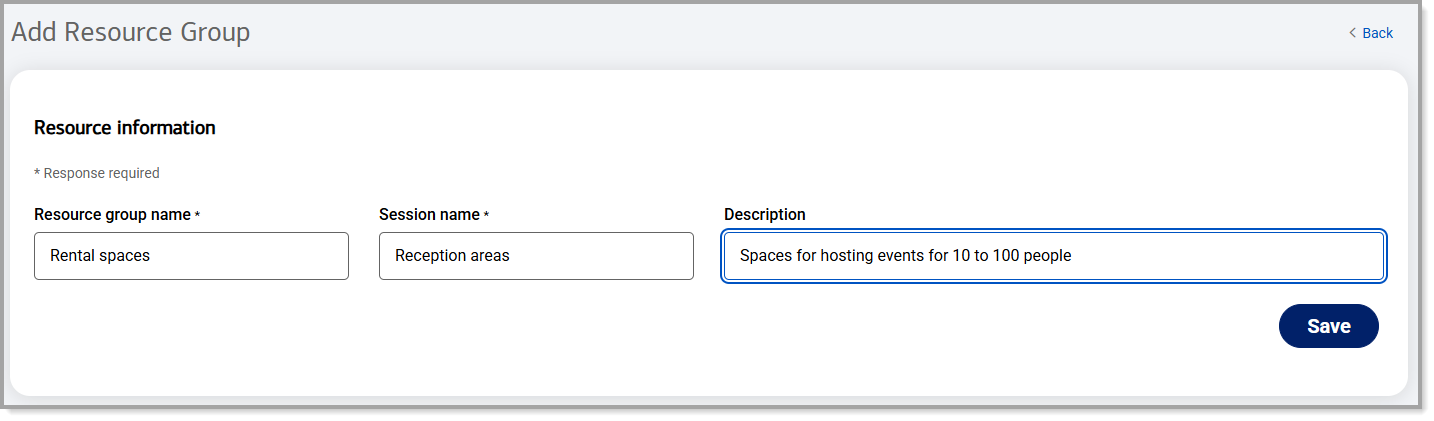
- Click Add resource group.
- Enter a Resource group name for the Resource item(s) that will relate to it. Enter a Session name, or sub-category, for the Resource group. The Session name can be the same as the Resource group name, if you wish. Enter a Description for the group and click Save.
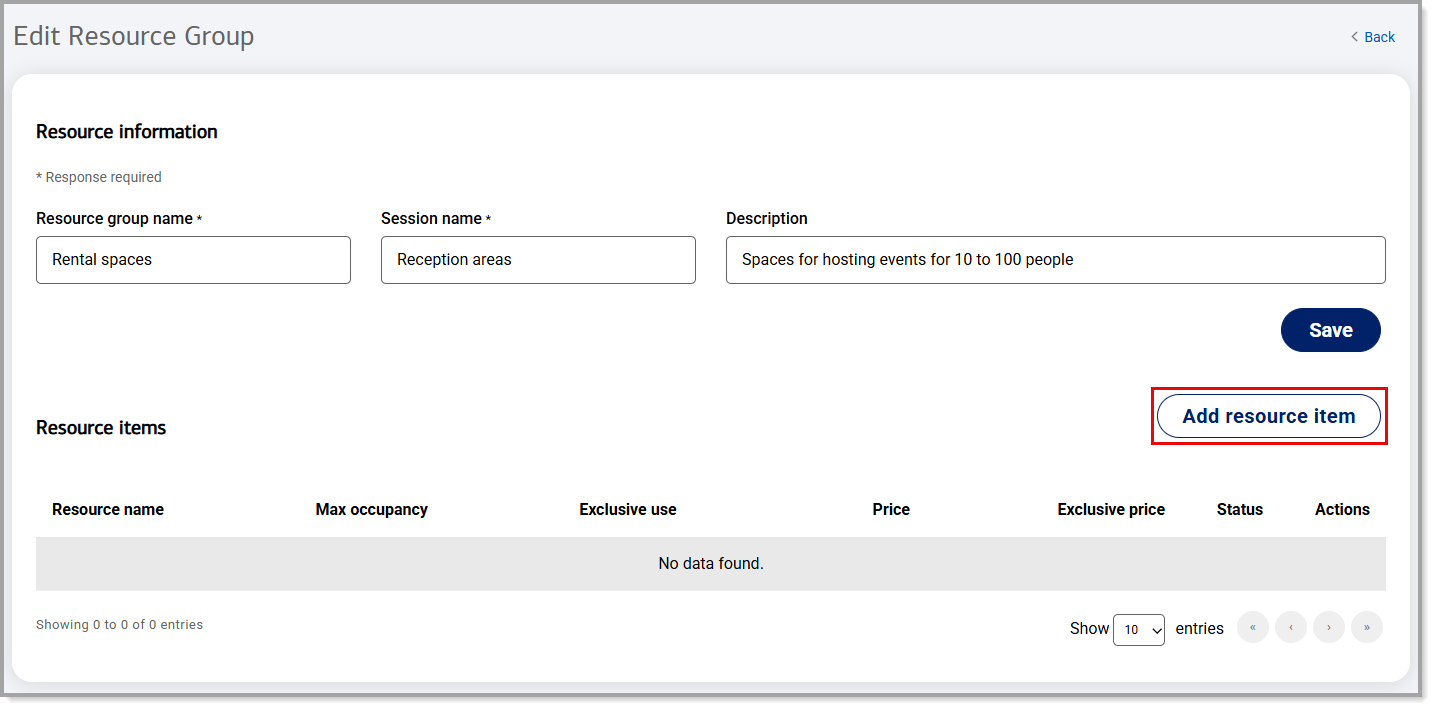
- Click Add resource item.
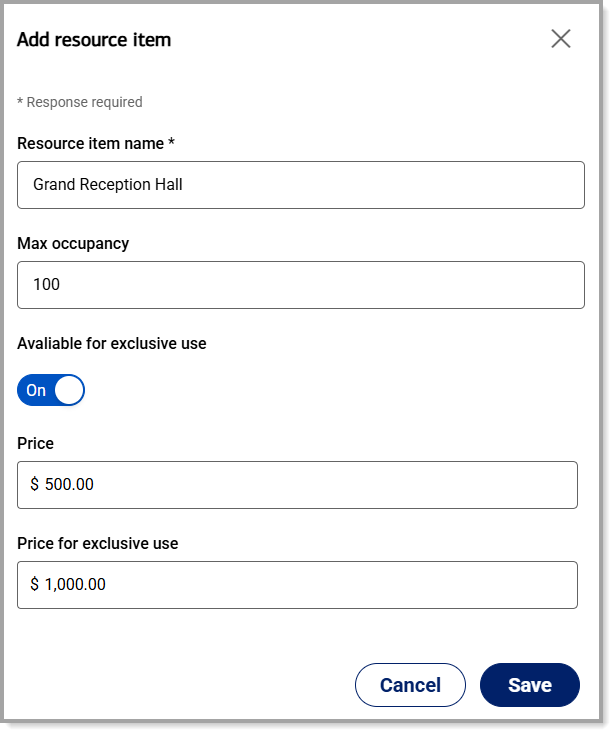
- Enter the Resource item name, Max occupancy and Price for the Resource item related to the Resource group.
- If the Resource item is available for exclusive use at another price, enable Available for exclusive use, enter a Price for exclusive use, and click Save.
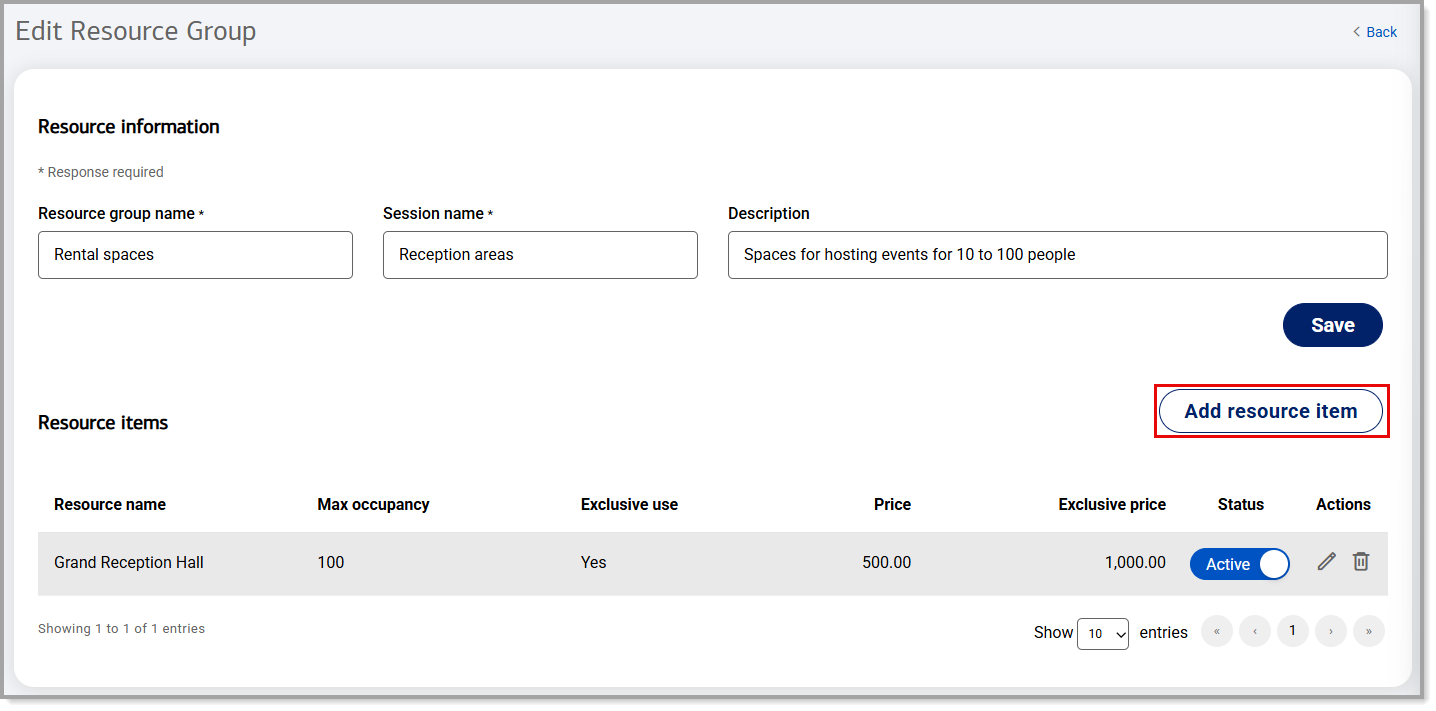
- Repeat adding Resource items until you have added all items related to the Resource group.
Assign or unassign a resource group to a service
A Resources group must be assigned to a service before the resource (and its associated service) can be booked by customers. Learn how to create a service so you can assign a resource group to it.
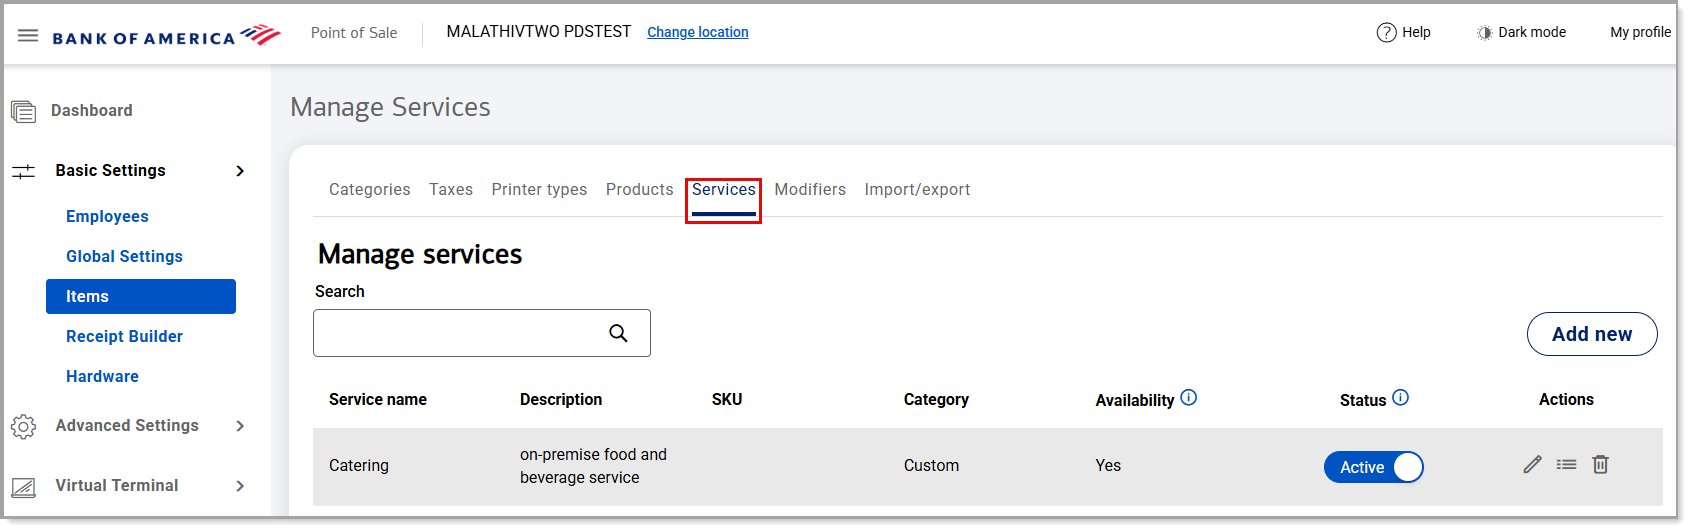
- In the Point of Sale Solution Back Office, select Basic Settings > Items.
- Select the Services tab.
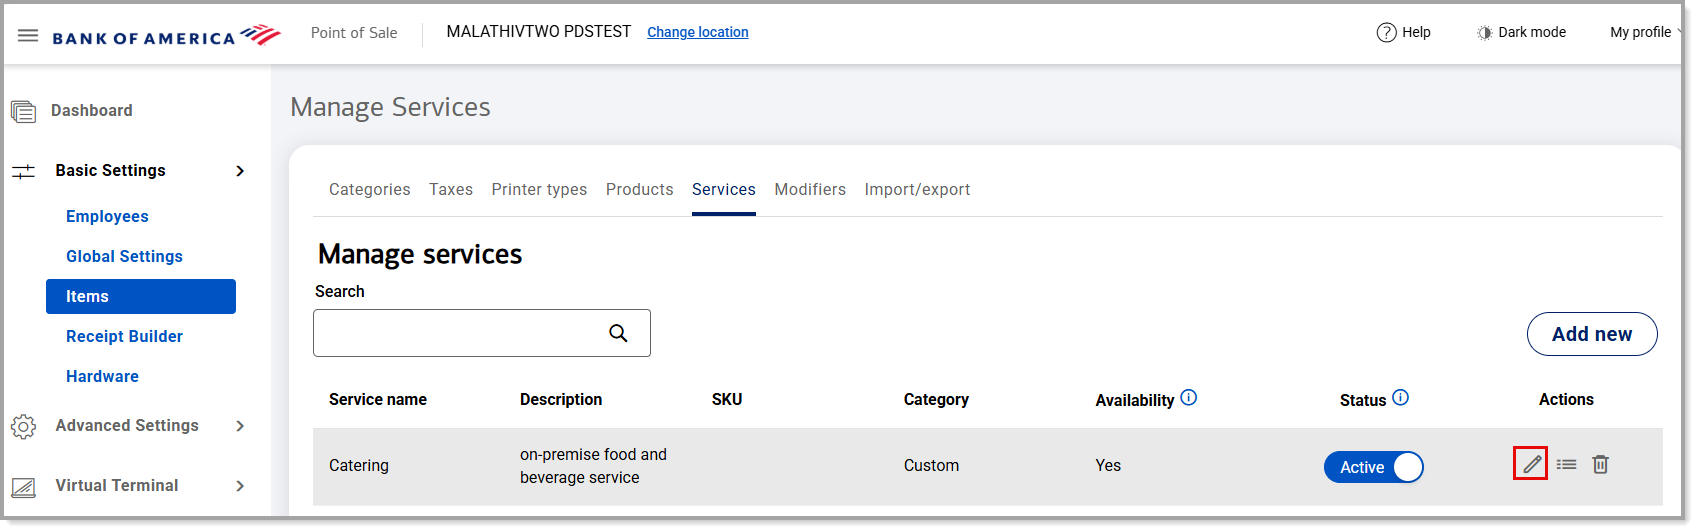
- Click the Edit icon next to the service you want to add a resource group to or delete a resource group from.
- Scroll down to the Resources section and from the Choose resources dropdown list either choose the Resource group you want to add to the service, or deselect the Resource group you want to delete from the service.
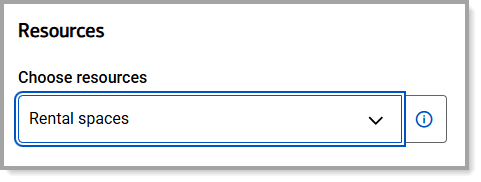
- Click Save.
Edit a resource group or item
- In the Point of Sale Solution Back Office, select Calendar > Resources.
- Click the edit icon next to the Resource group you want to edit – or the Resource group that has the Resource item you want to edit.

- Edit the Resource information details or individual Resource item details, or add or delete a Resource item.
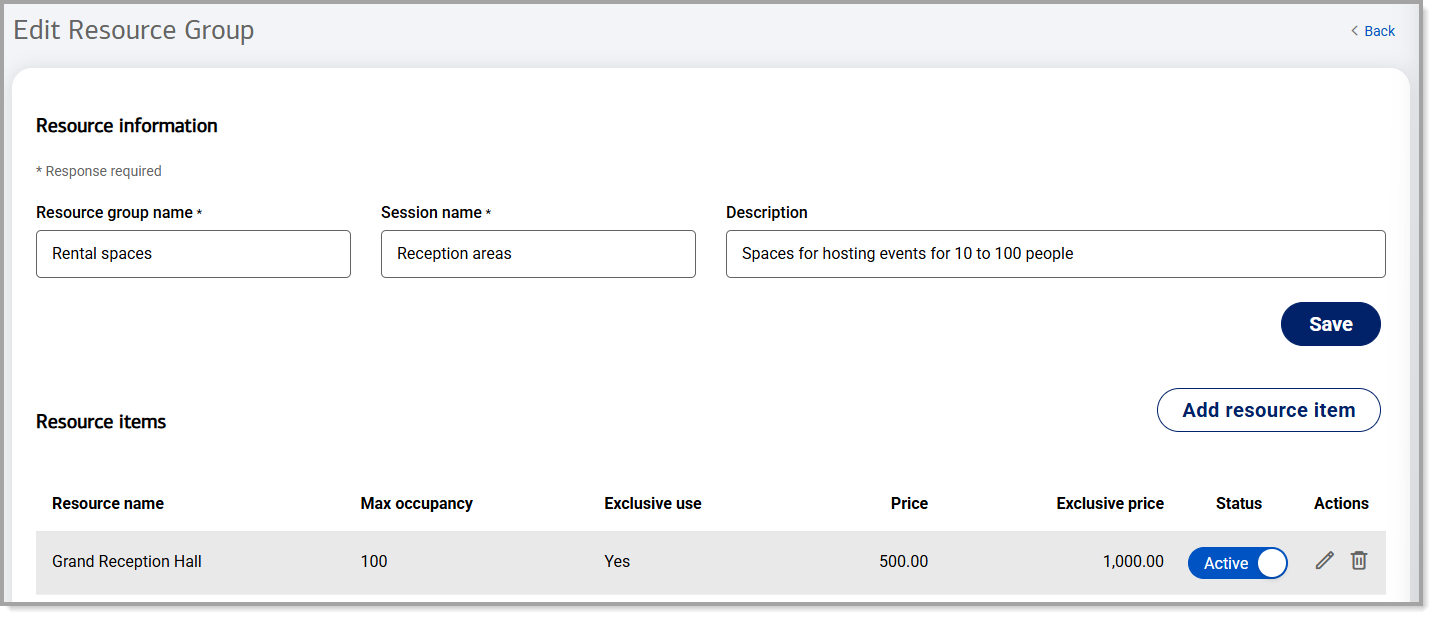
- Click Save.
Deactivate or delete a resource group
- To deactivate a resource group so it is no longer available, but not deleted, click to change the Status to inactive.

- To delete a resource group, click on the trash can icon.
