Back Office Customer Category
Description
How to create or update a customer category in the Back Office
What's in this article?
Solution: Essentials Light | Essentials | Retail | Restaurant
Customer categories can help you target your email marketing. You can assign customers to specific categories, allowing you to group customers for tracking and reporting in the Customers list report.
- To create a customer category when adding a customer
- In Back Office, select the Customers tab.
- Select Customers subtab.
- Select a customer from the list. The Edit customer screen will display.
- Select Customer Category > Add New.
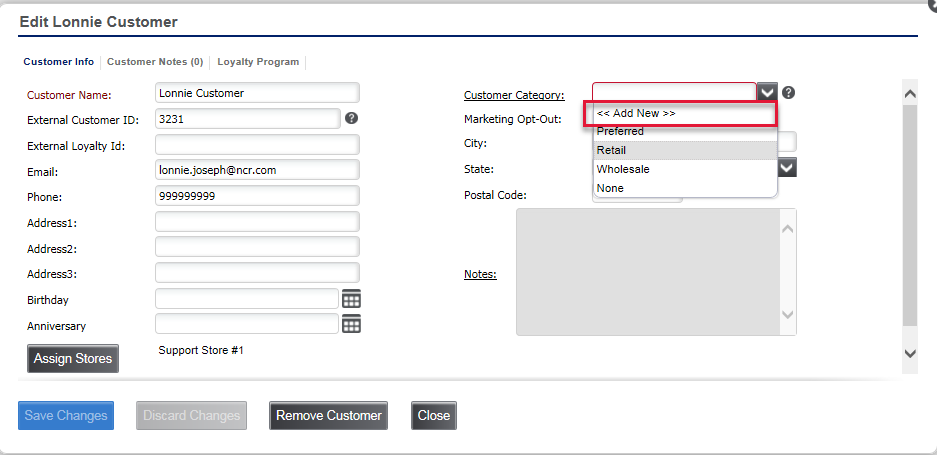
- Type in your new customer category name and description.
- Click Save Changes,
- Once back on the Edit customer screen, click Save Changes.
- Edit a customer category
- In Back Office, select the Customers tab.
- Select Customers sub tab.
- Select a customer then click the Customer Category hyperlink. The Customer Category Setup screen will appear.
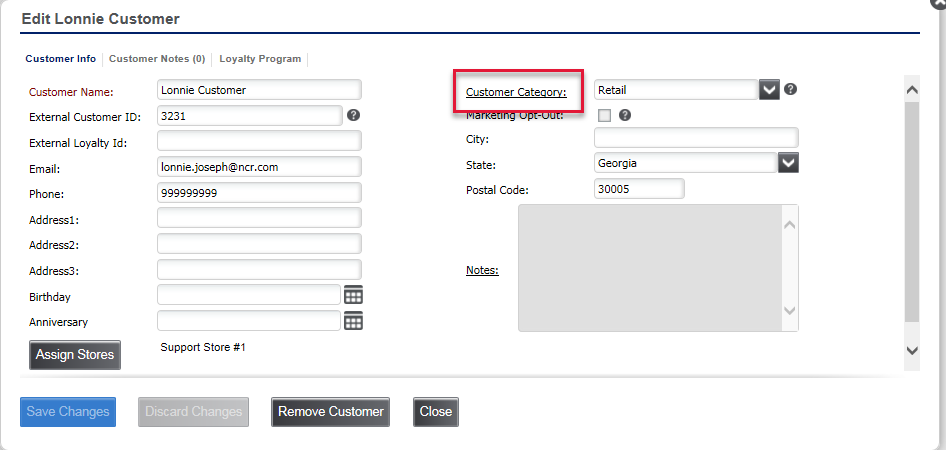
- Select the customer category from the list.
- Click the Category Name and/or Description field to update this information.
- Click Save Changes then click Close.
- Remove a customer category
- In Back Office, select the Customers tab.
- Select Customers subtab.
- Check that there are no customers still linked to that category.
NOTE If customers are still linked to the category you are removing, you will need to reassign them to another customer category. If you do not reassign them to another category, the customer will still be listed however they will not appear for a particular category.
- Select a customer then click the Customer Category hyperlink. The Customer Category Setup screen will appear.
- Click Remove Category.
- Click Close.