Cash Drawer Configuration
Description
What's in this article?
Solution: Essentials Light | Essentials | Retail | Restaurant
Operating requirements
- A solid, flat surface no less than the size of the cash drawer
- Operating temperatures: 32 degrees F – 113 degrees F / Operating humidity: 10% - 90%
IMPORTANT!
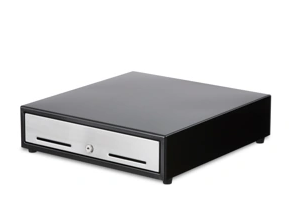
Bank of America supports the Cash Drawer 2186 Compact. We do not recommend using other cash drawer models. Bank of America has tested and can support integration to this recommended model.
Configure the cash drawer
After initial connection and configuration of the cash drawer, you can also configure drawer opening and closing behavior, configure multiple drawers, and test the drawer to make sure it will open after you have finished configuration. If you do not have access to these options on the Point of Sale app, confirm that your user role is assigned the ability to manage the cash drawer.
- To connect and configure the cash drawer
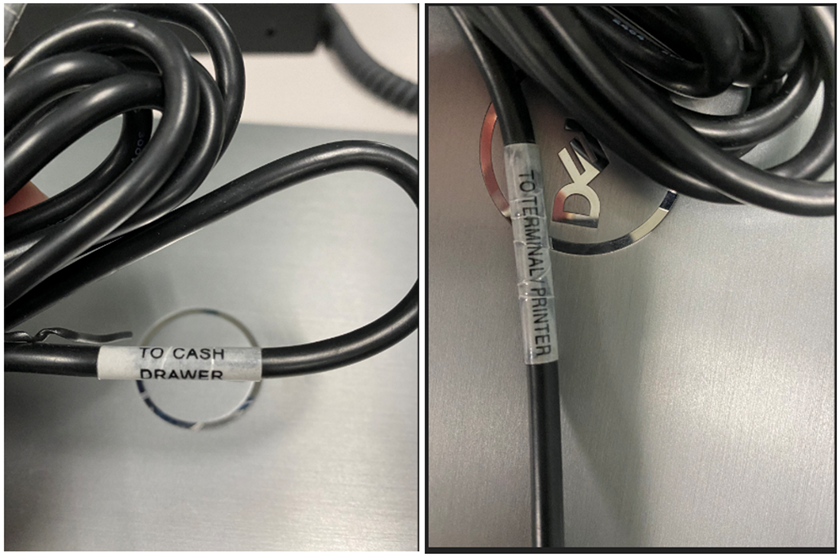
- Turn over the cash drawer and plug the DK cable included with the cash drawer into the port.
- Turn the cash drawer back over and ensure that the cable does not obstruct the cash drawer from opening.
- Connect the other end of the cable labeled "To Terminal" to the DK port on the terminal.
IMPORTANT! The cash drawer must be connected to a POS terminal station (E700 or E800) or to a Thermal printer prior to configuration.
- Insert the cash drawer key in the vertical position to ensure it is unlocked.
- From the slide-out menu ☰, select Settings.
- Tap Checkout Options.
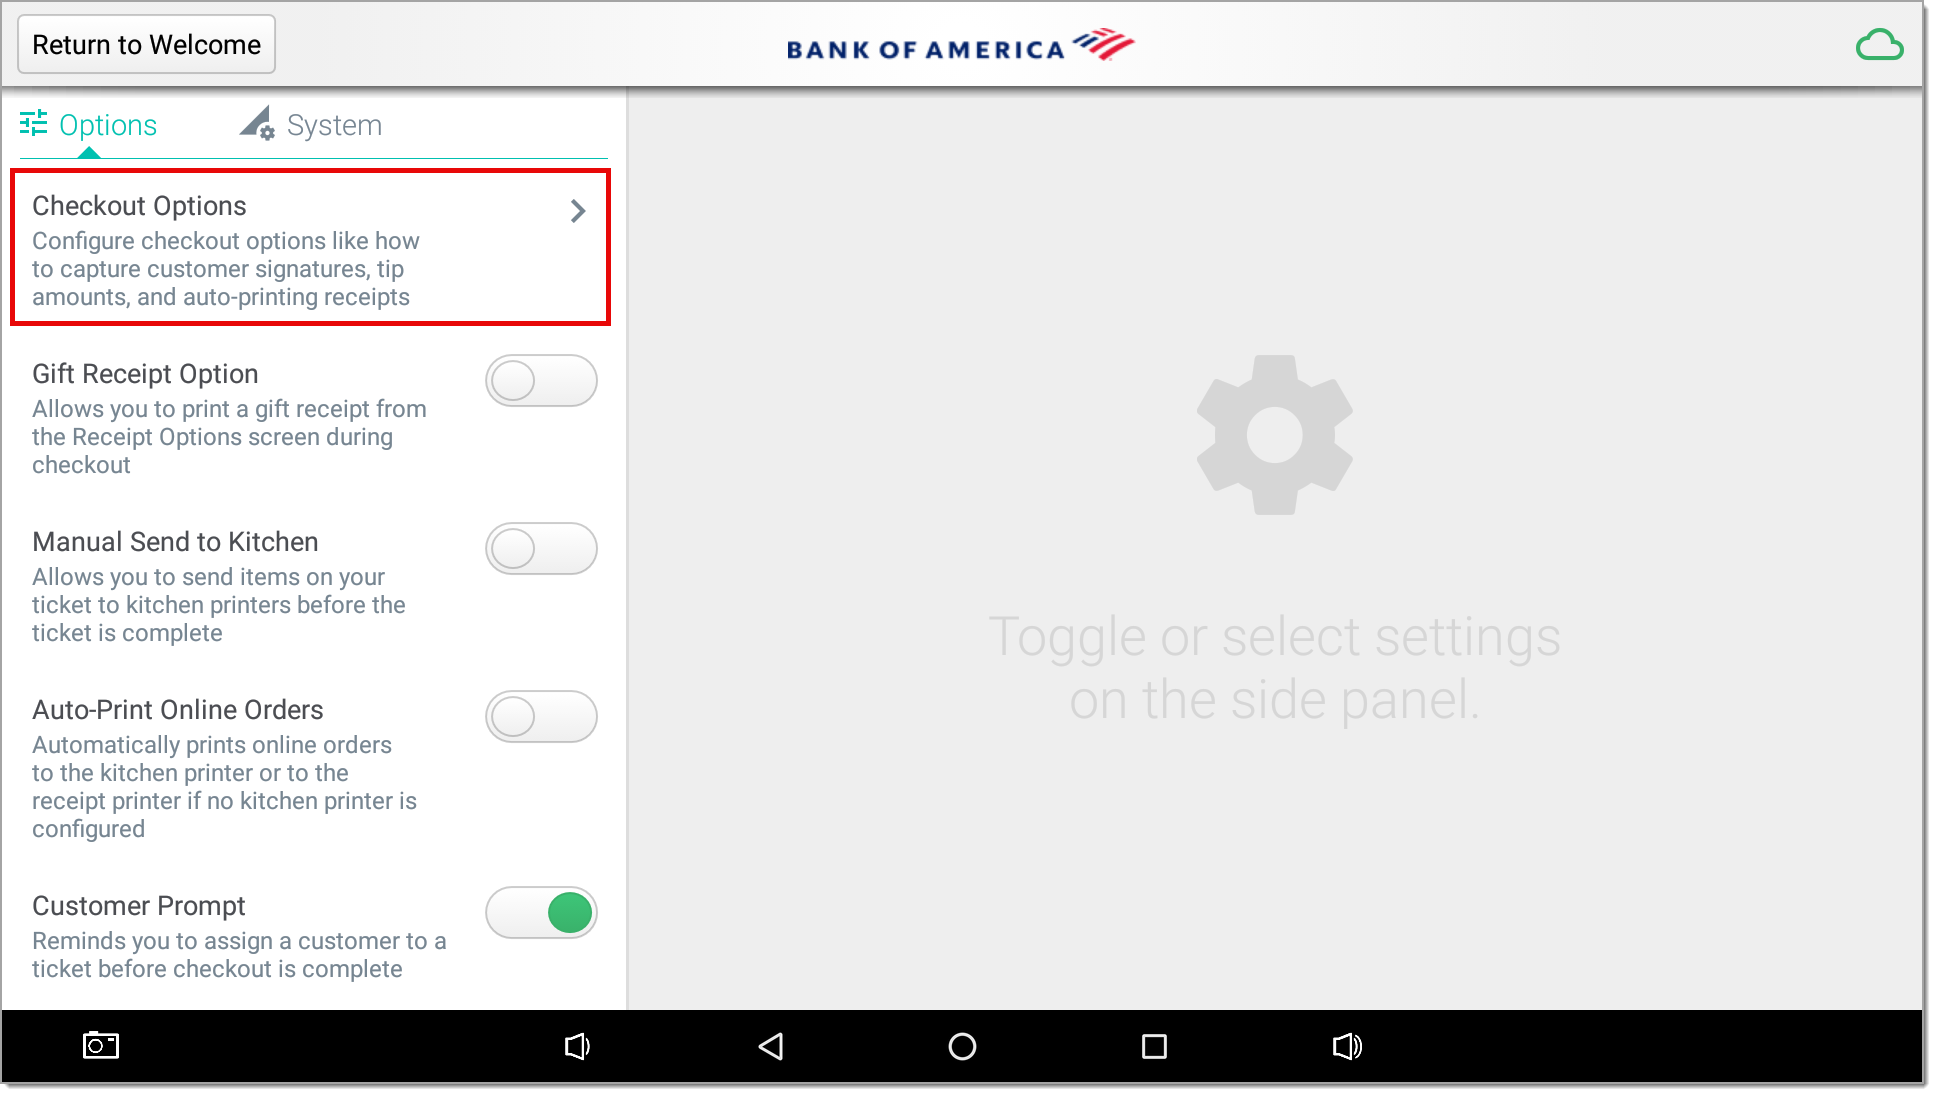
- Tap Configure Behavior.
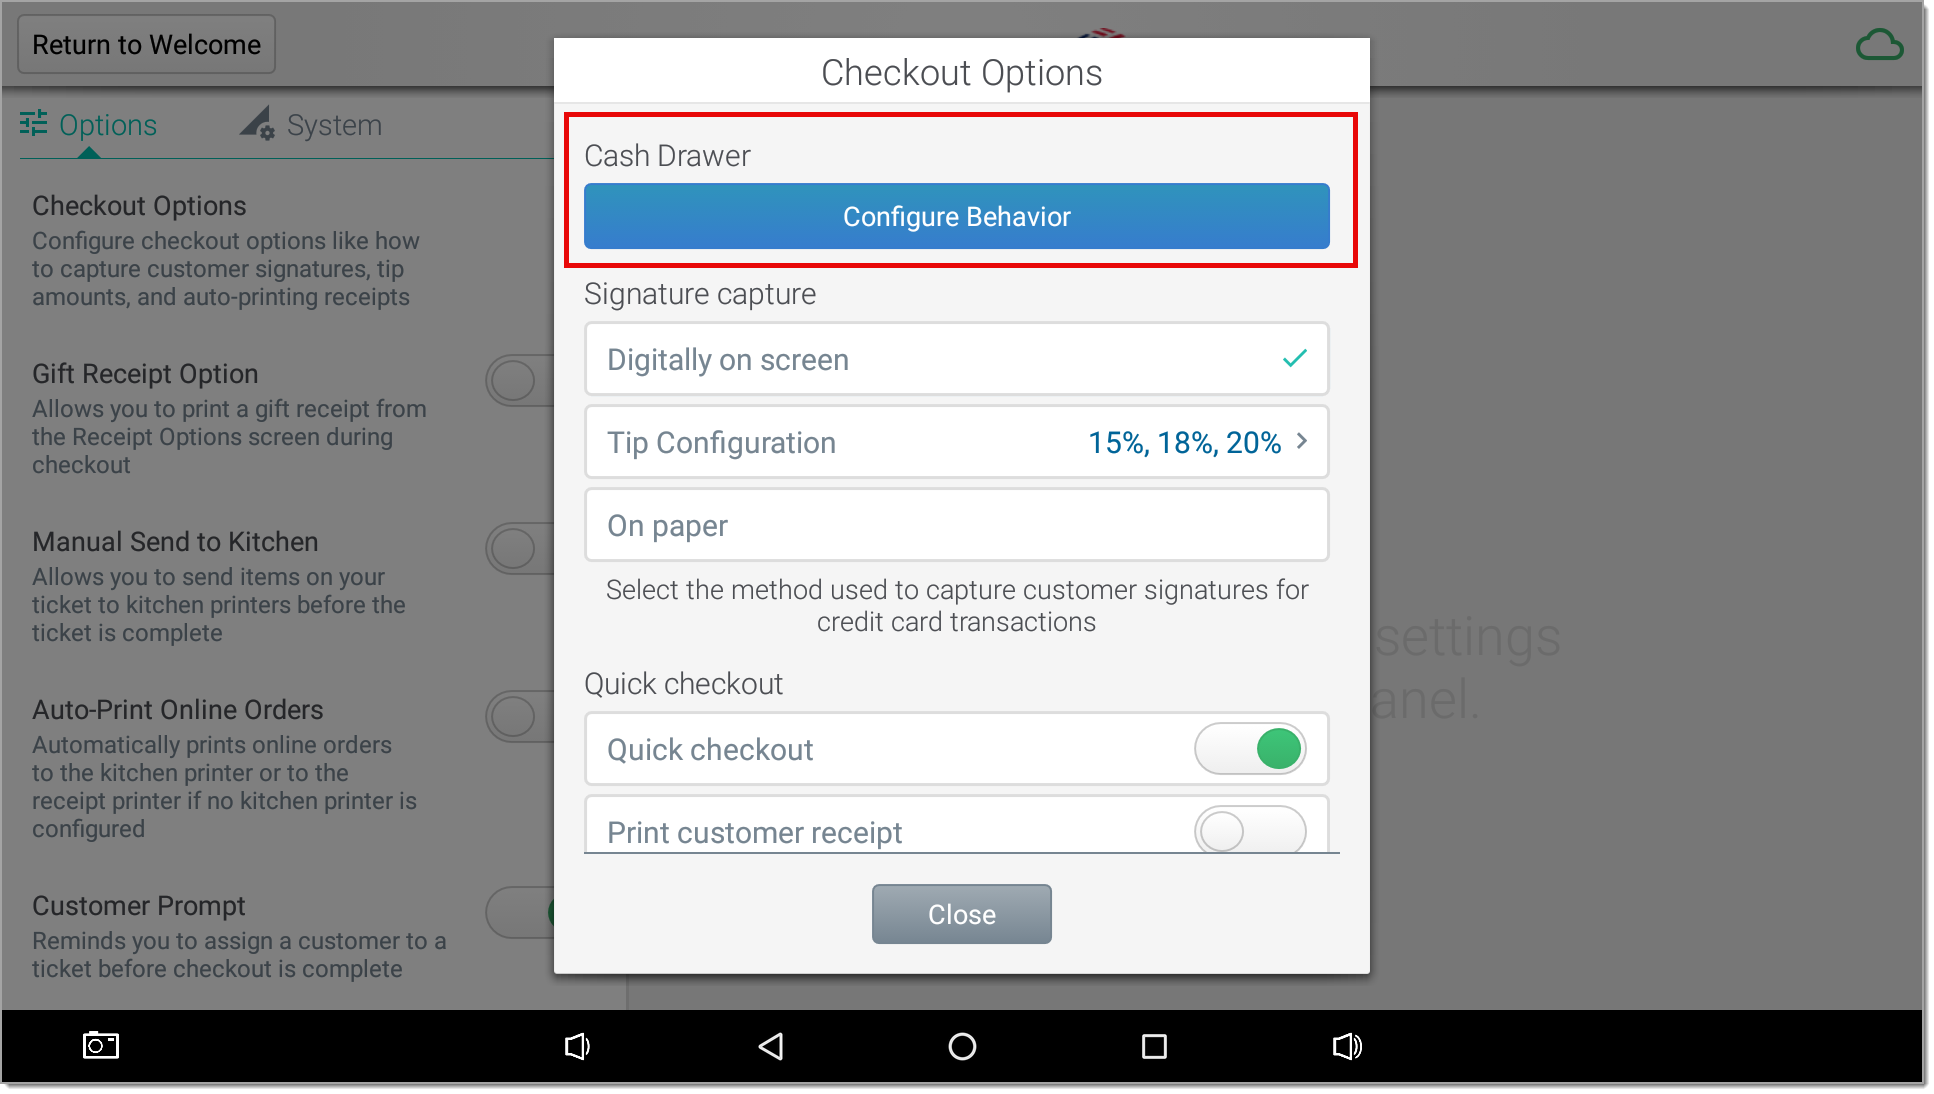
- Tap the name of the configured printer that the cash drawer is connected to.
- Choose whether the cash drawer will never open, will always open, or whether it will open for each payment type selected.
- Once configured, return to the Settings menu and select My Hardware.
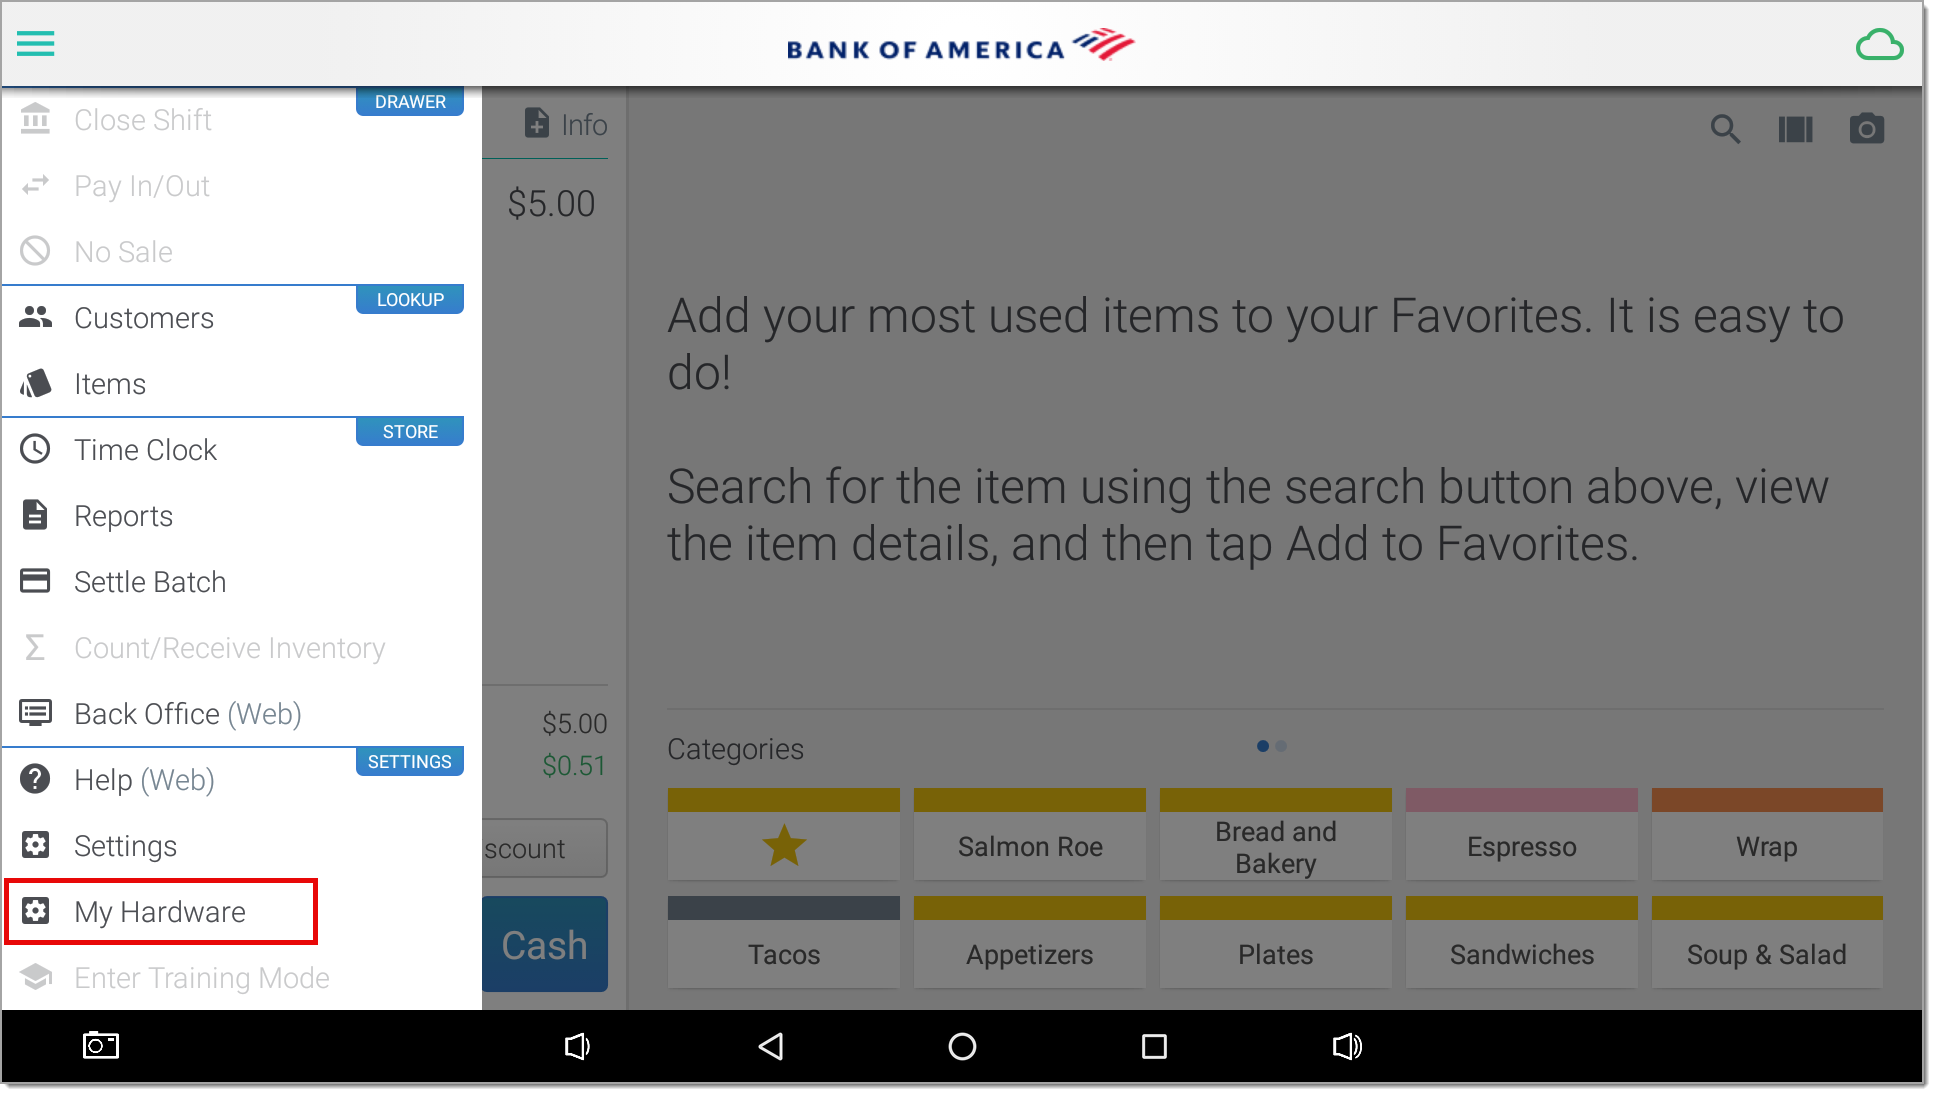
- In the Cash Drawer section, tap Test.
- If the cash drawer opened, tap OK to confirm. If it didn't open, troubleshoot using steps below.
- Troubleshoot cash drawer not opening
If it did not open, tap No and then check your DK cable that connects the terminal to the cash drawer. Switch the direction of the cable and retry the test.
- Troubleshoot cash drawer not opening
- Tap Done (green check mark) and return to the home screen.
Dual cash drawers
You have the option to attach more than one cash drawer to the POS device. This allows each employee to have their own drawer and be responsible for their own cash reconciliations.
Removing the inner drawer
You can remove the inner drawer as needed.