Cash Drawer Setup for Point of Sale Solution
Description
What's in this article?
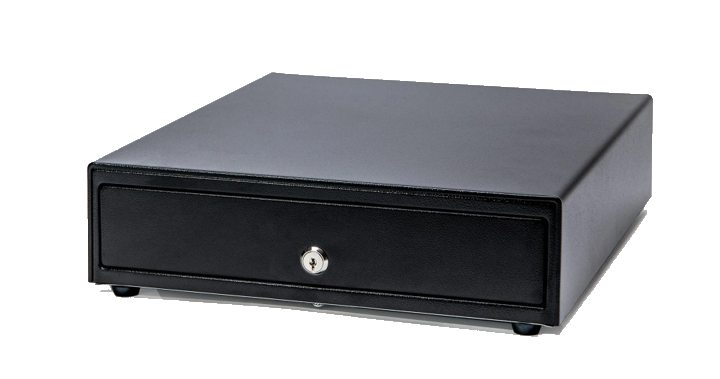
You can add a cash drawer to your Point of Sale solution. The Cash Drawer is reinforced for strength and may be locked with a single key. The interior includes slots for US bills and coin slots.
What's in the box?
The Cash Drawer arrives with a labeled cash drawer cable and a key to lock the drawer.
Opening and locking the cash drawer
The Cash Drawer can be manually opened or locked using the keys provided. If you want the Cash Drawer to open automatically when you complete a cash sale or a No Sale, complete the configuration steps below.
NOTE:
If you are automatically opening the cash drawer during a sale, make sure that the drawer is unlocked.
1 Connect to the printer
Connect the Cash Drawer to the Thermal Printer using the provided cash drawer cable. The cable is labeled at each end. Insert the larger end of the cable labeled "Cash Drawer" into the port on the bottom of the drawer. Insert the end of the cable labeled "Printer" into the DK port on the back of printer. 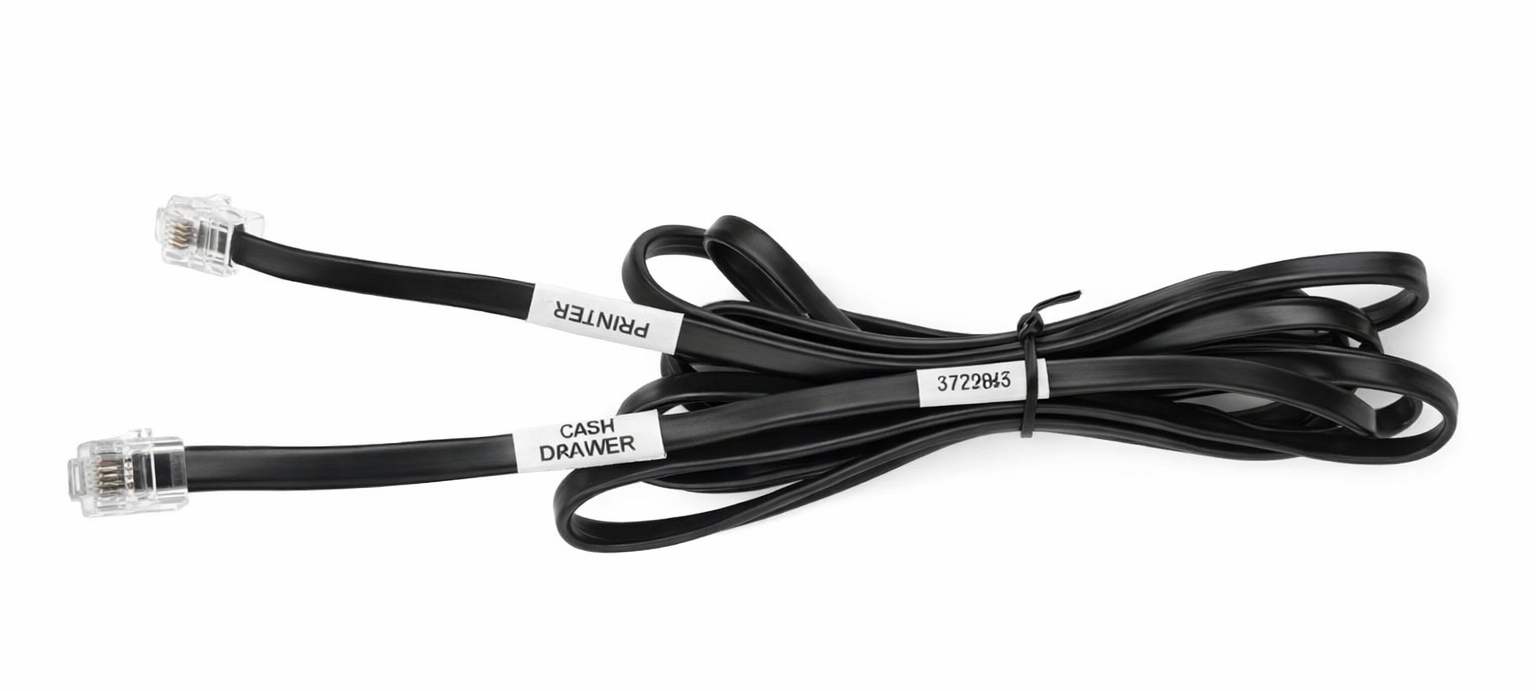
2 Set up the till in Back Office
In Back Office Hardware management, edit your register to add a till. If you do not want to assign the till to a specific person, enter 0 in # of tills.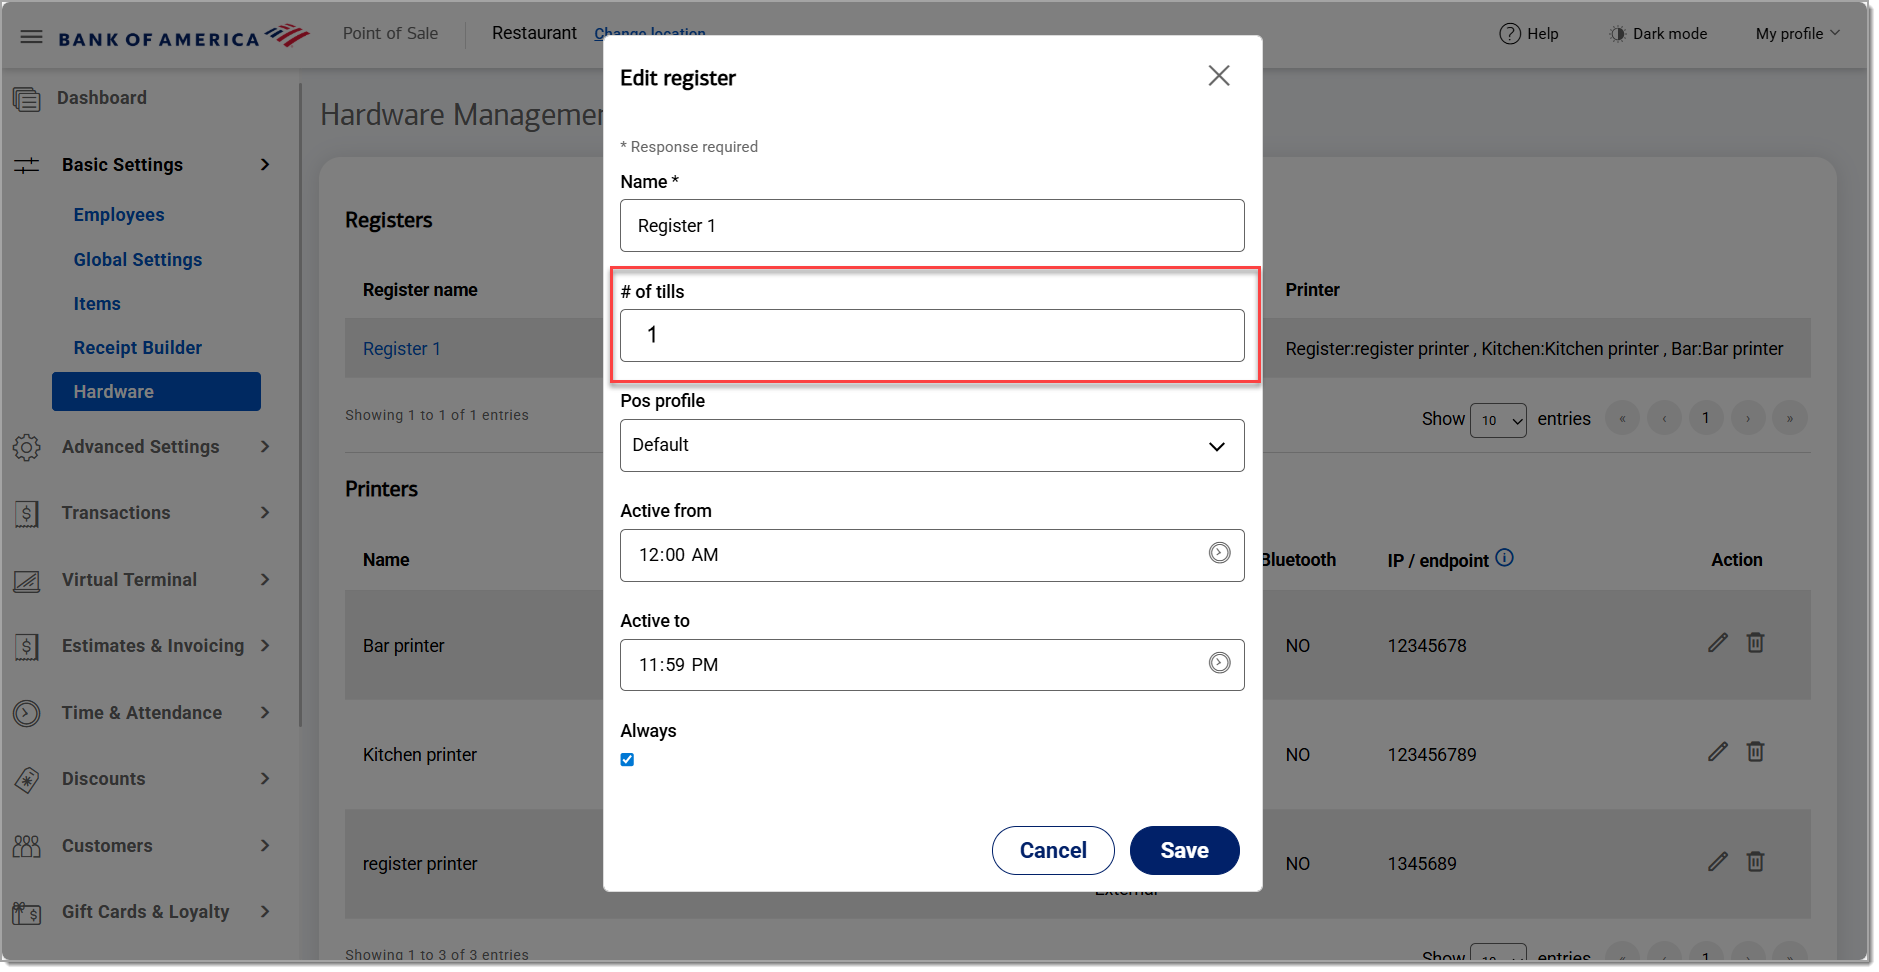
IMPORTANT!
Set the number of tills to 1, then click Save.
3 Sync the Point of Sale Solution app
On your register, select Sync from the left navigation to synchronize the register with Back Office.
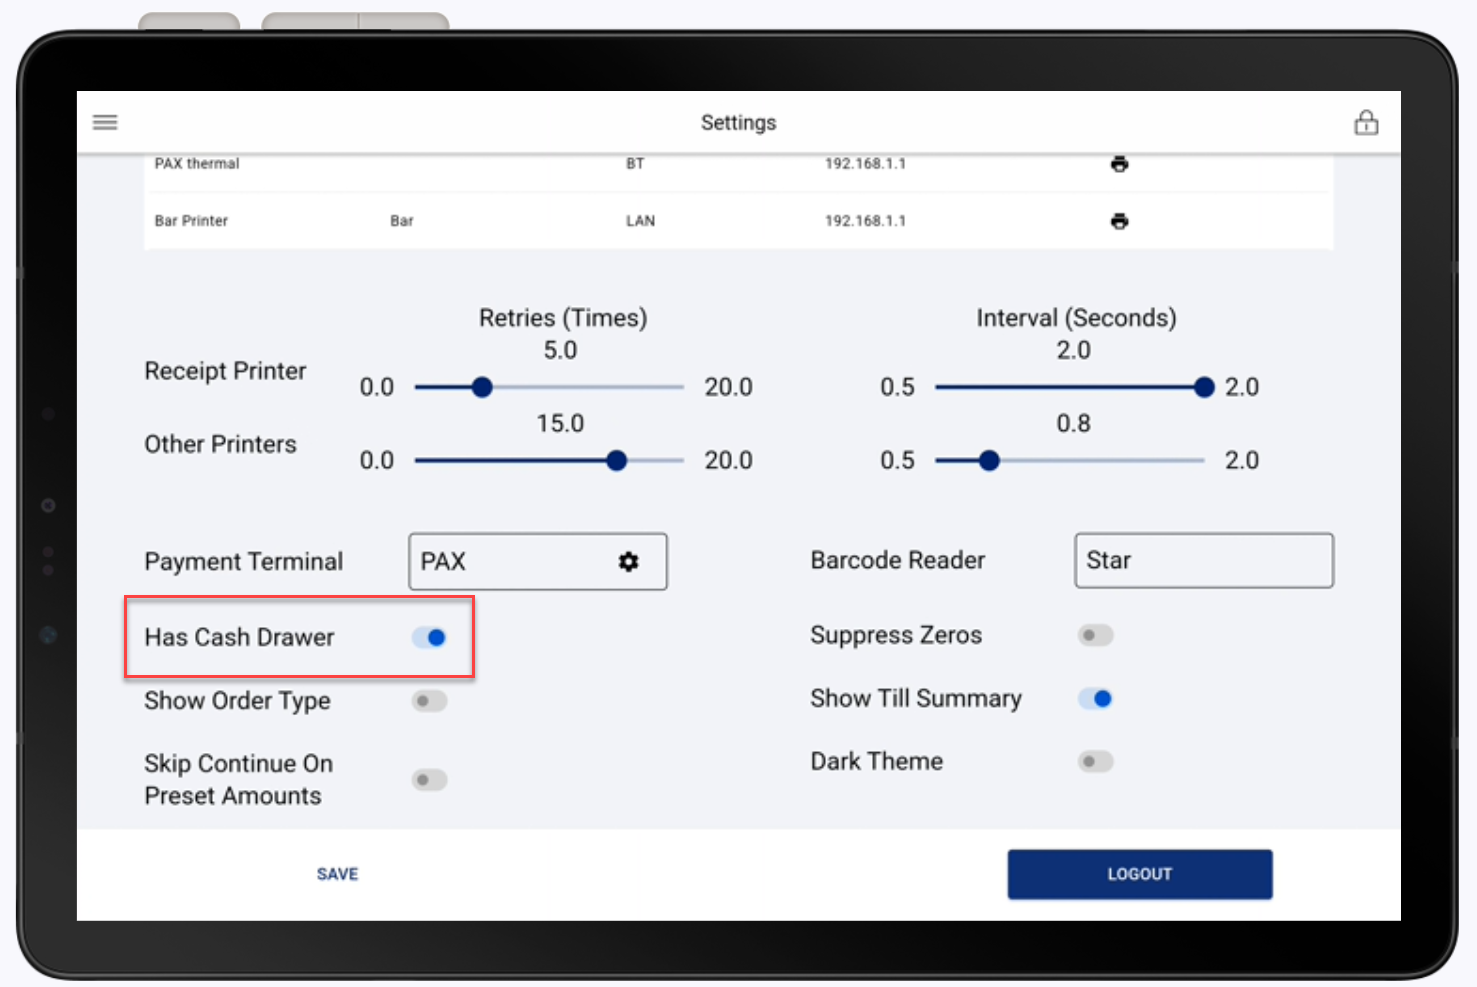
4 Configure the cash drawer
Select Settings from the left navigation menu. Enable Has a cash drawer. See Point of Sale Solution App Hardware for more information.