Kitchen Impact Printer SP700 Setup
Description
What's in this article?
The Kitchen Impact Printer SP700 is an optional external printer for the Point of Sale solution Starter, Growth and Pro Software Plans. The Kitchen Impact Printer is suited for hot or humid environments and uses an ink cartridge to print.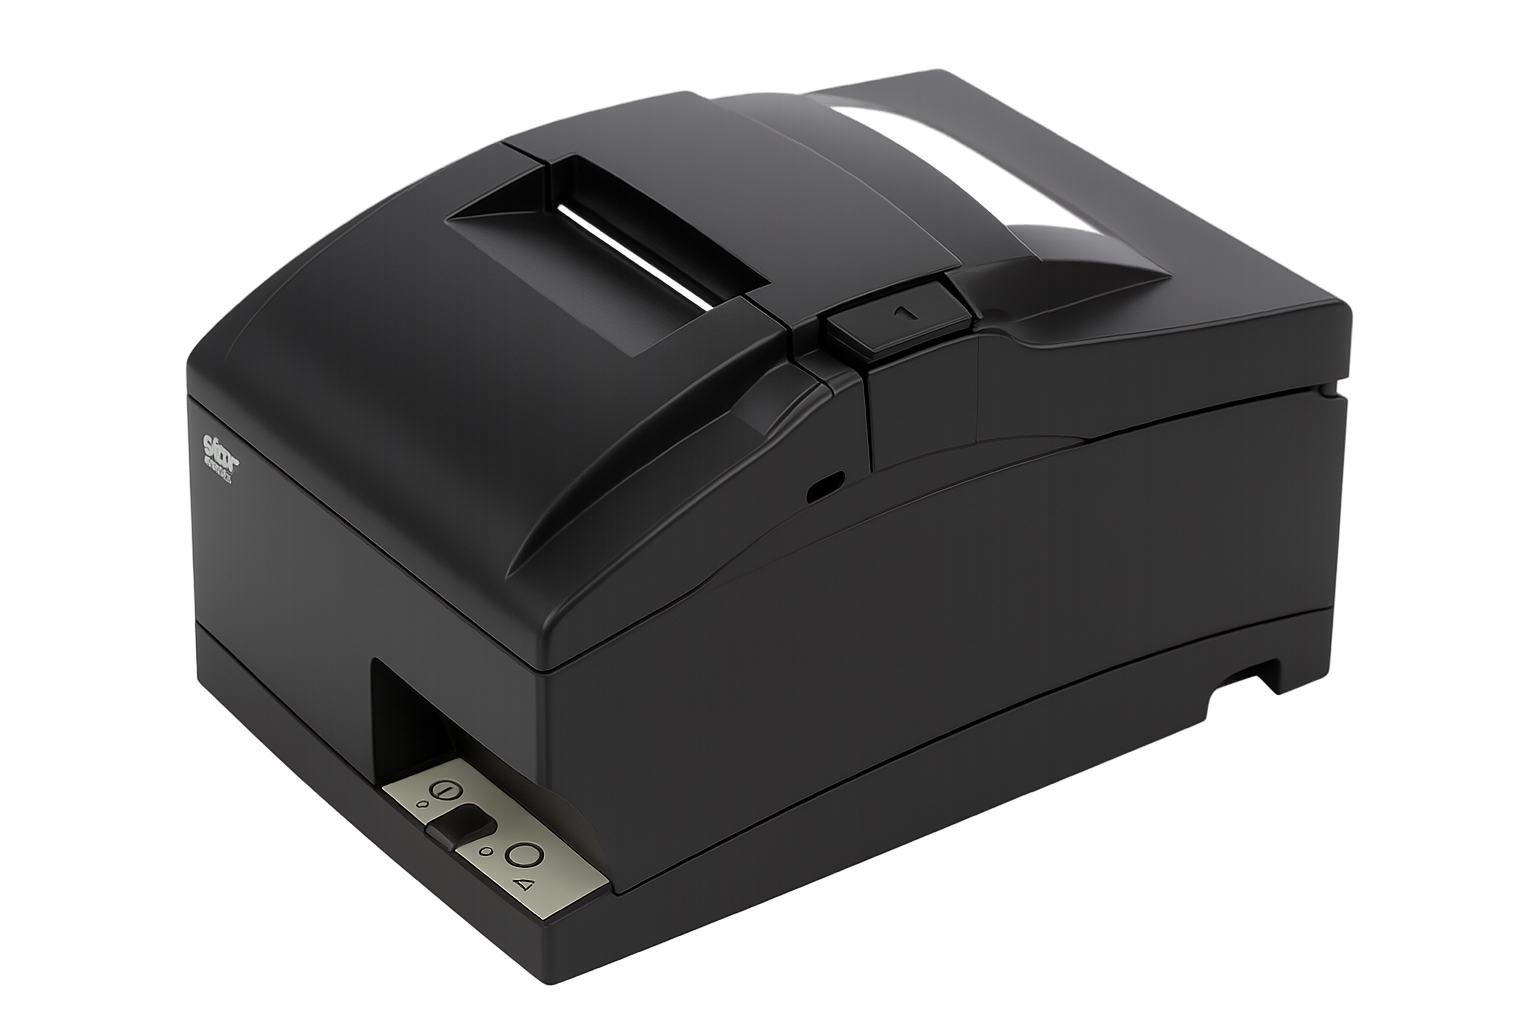
What's in the box?
Your Kitchen Impact Printer SP700 will arrive with a power adapter and 6' power cord, a two-color ink ribbon cartridge, an Ethernet cable, and extra 76mm receipt paper rolls. Additional rolls and ink cartridges may be purchased from most office supply retailers or through Bank of America.
Load printer paper and ink cartridge
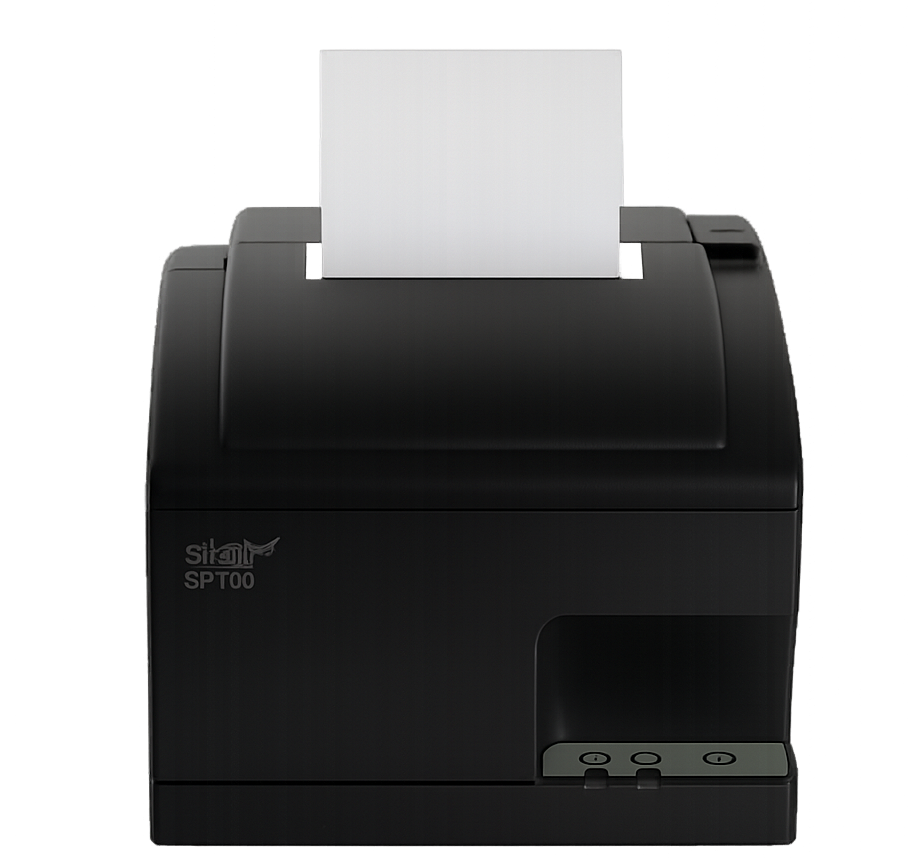
The Kitchen Impact Printer SP700 uses 76mm thermal paper. The receipt will cut approximately 11.6mm from the first line of the receipt.
Load printer paper
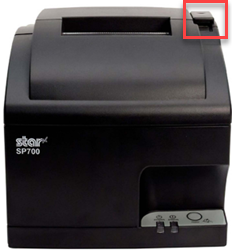
- Press the printer latch to open the printer.
- Install the paper roll in the middle with the paper feeding from the bottom.
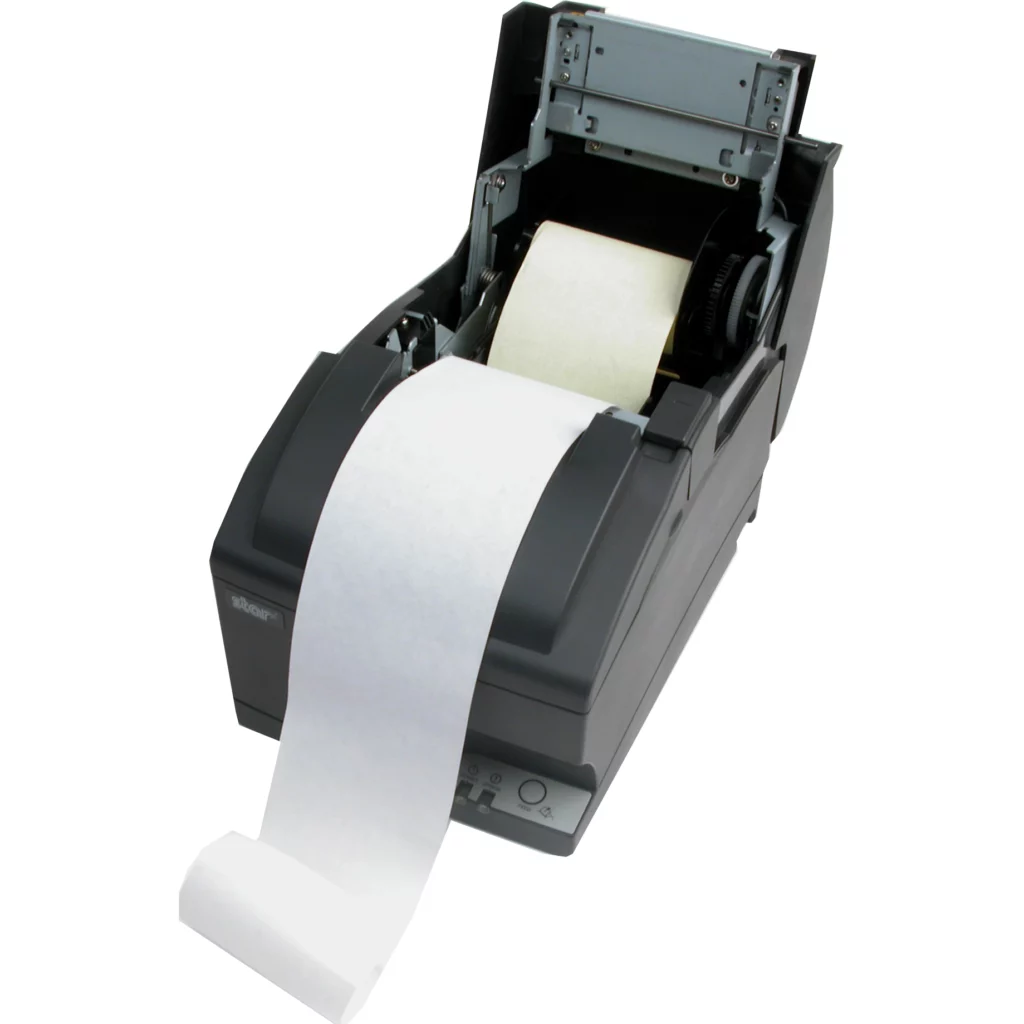
- Shut the printer cover, ensuring that it snaps completely closed and tear off excess paper.
Load the ink cartridge
- Open the front hatch on the top of the printer.
- Load the printer cartridge into the tray with the ink adjuster knob in the top right, making sure the ink ribbon goes over the front of the black plastic piston in the front.
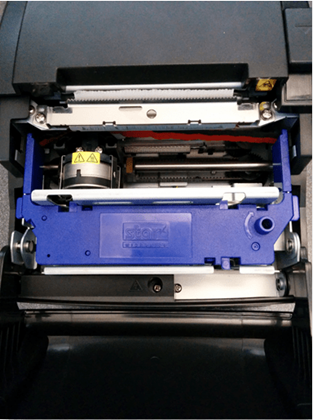
- Close the hatch.
Connect the printer
You can connect the Kitchen Impact Printer SP700 to your Point of Sale solution system using the provided Ethernet cable. Ensure that you connect the printer to the same network that the point of sale uses.
To connect the printer
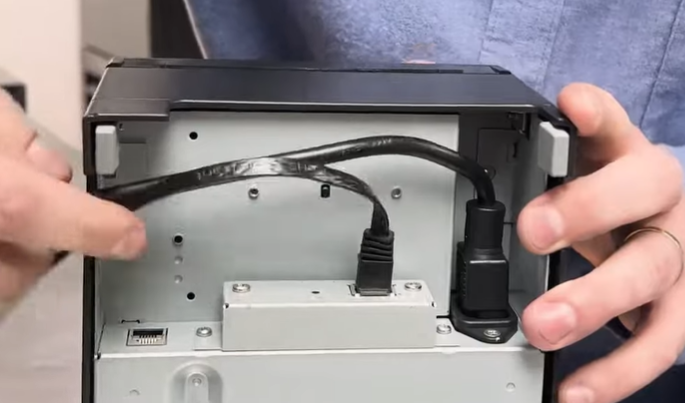
- Ensure printer is powered off.
- Plug the Ethernet cable into the Ethernet port underneath the printer.
- Connect the other end of the Ethernet cable to your router or data point.
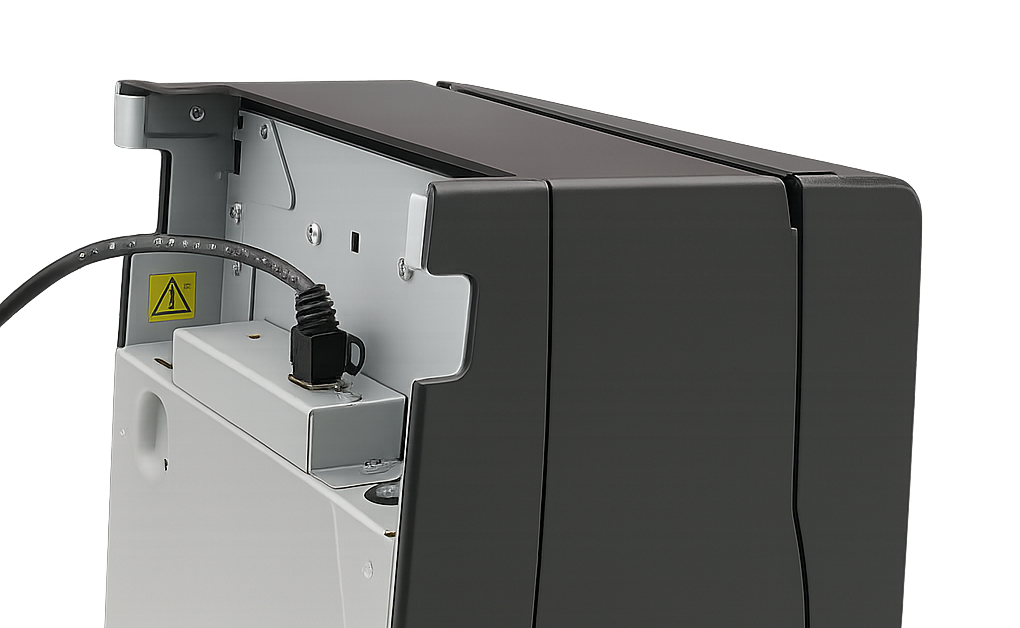
- Connect the power cord to the printer and then to power.
- Route the Ethernet cord and the power cord out the side port and lay the printer back down.
- Power on the printer.
- On your point of sale, log in to the Point of Sale Solution App.
- In Settings > Hardware, the printer should be listed with the printer icon in yellow. Write down the IP/ End Point information for the printer.
- Add the printer in Point of Sale Solution Back Office.
- On the register, synchronize. The printer should appear as a green icon. If desired, click the printer icon to test print. This confirms that the paper is loaded in the printer correctly.