Station L1400 Setup
Description
What's in this article?
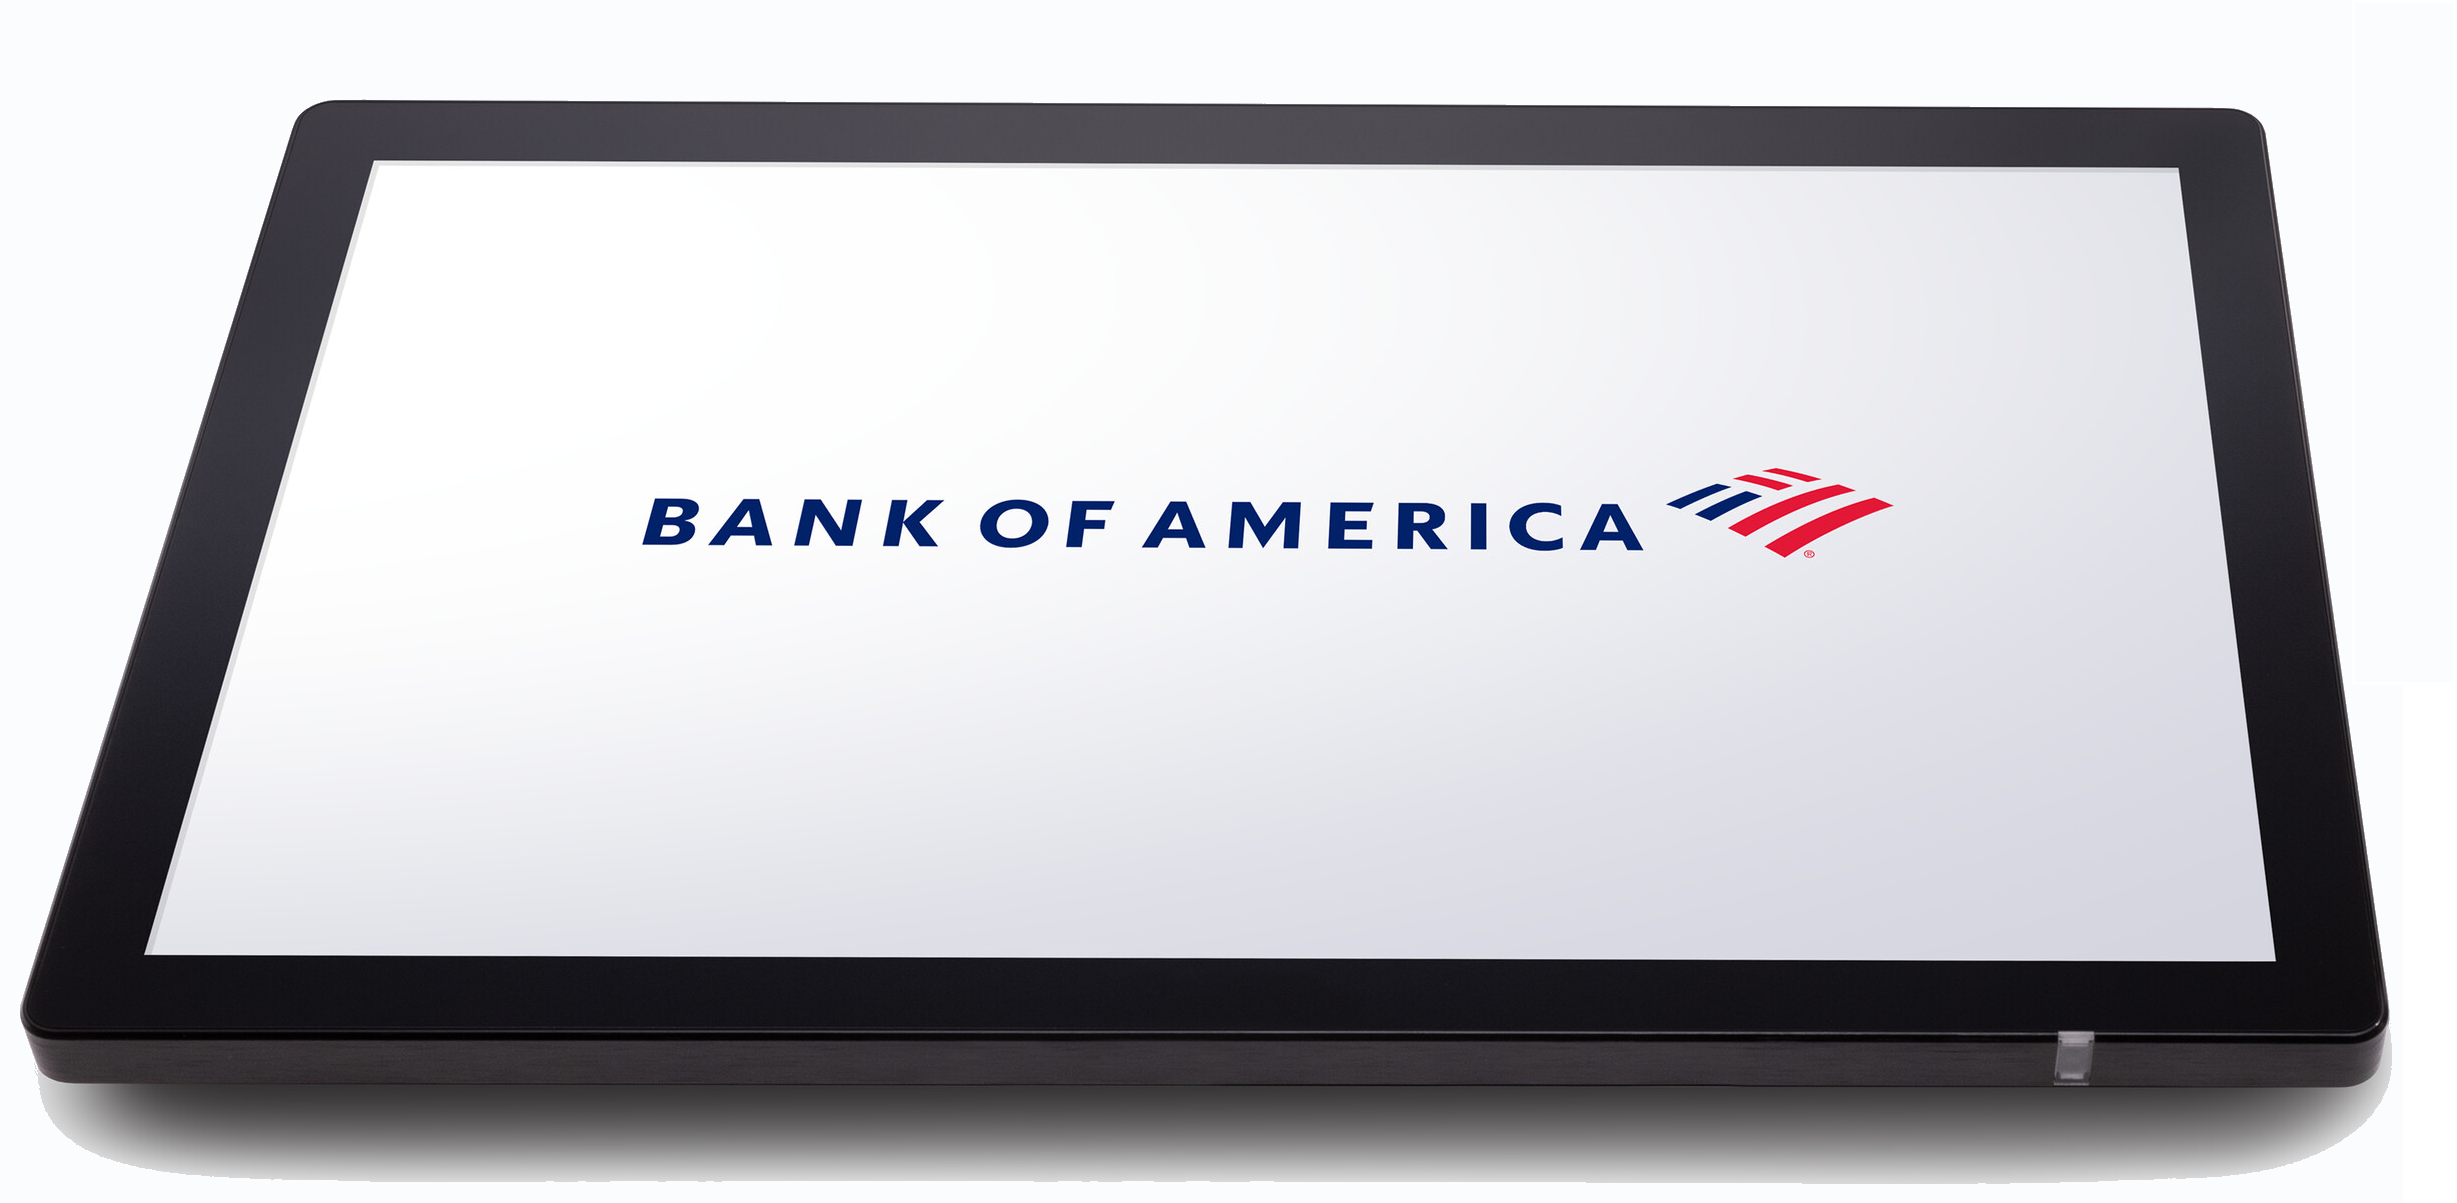
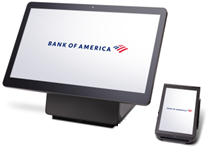
The Station L1400 is a full size point of sale device featuring a large 14" display. Using the Communication Hub L1400/A3700P, it can pair with multiple devices to accept payments easily. The Station L1400 supports a full range of peripherals.
What's in the box?
Your Station L1400 arrives with a power adapter and AC power cable, a mounting plate and hardware, USB cable, screen cleaning cloth, and the Communication Hub L1400/A3700P, which connects the Station to a payment device and peripherals.
1 Power on
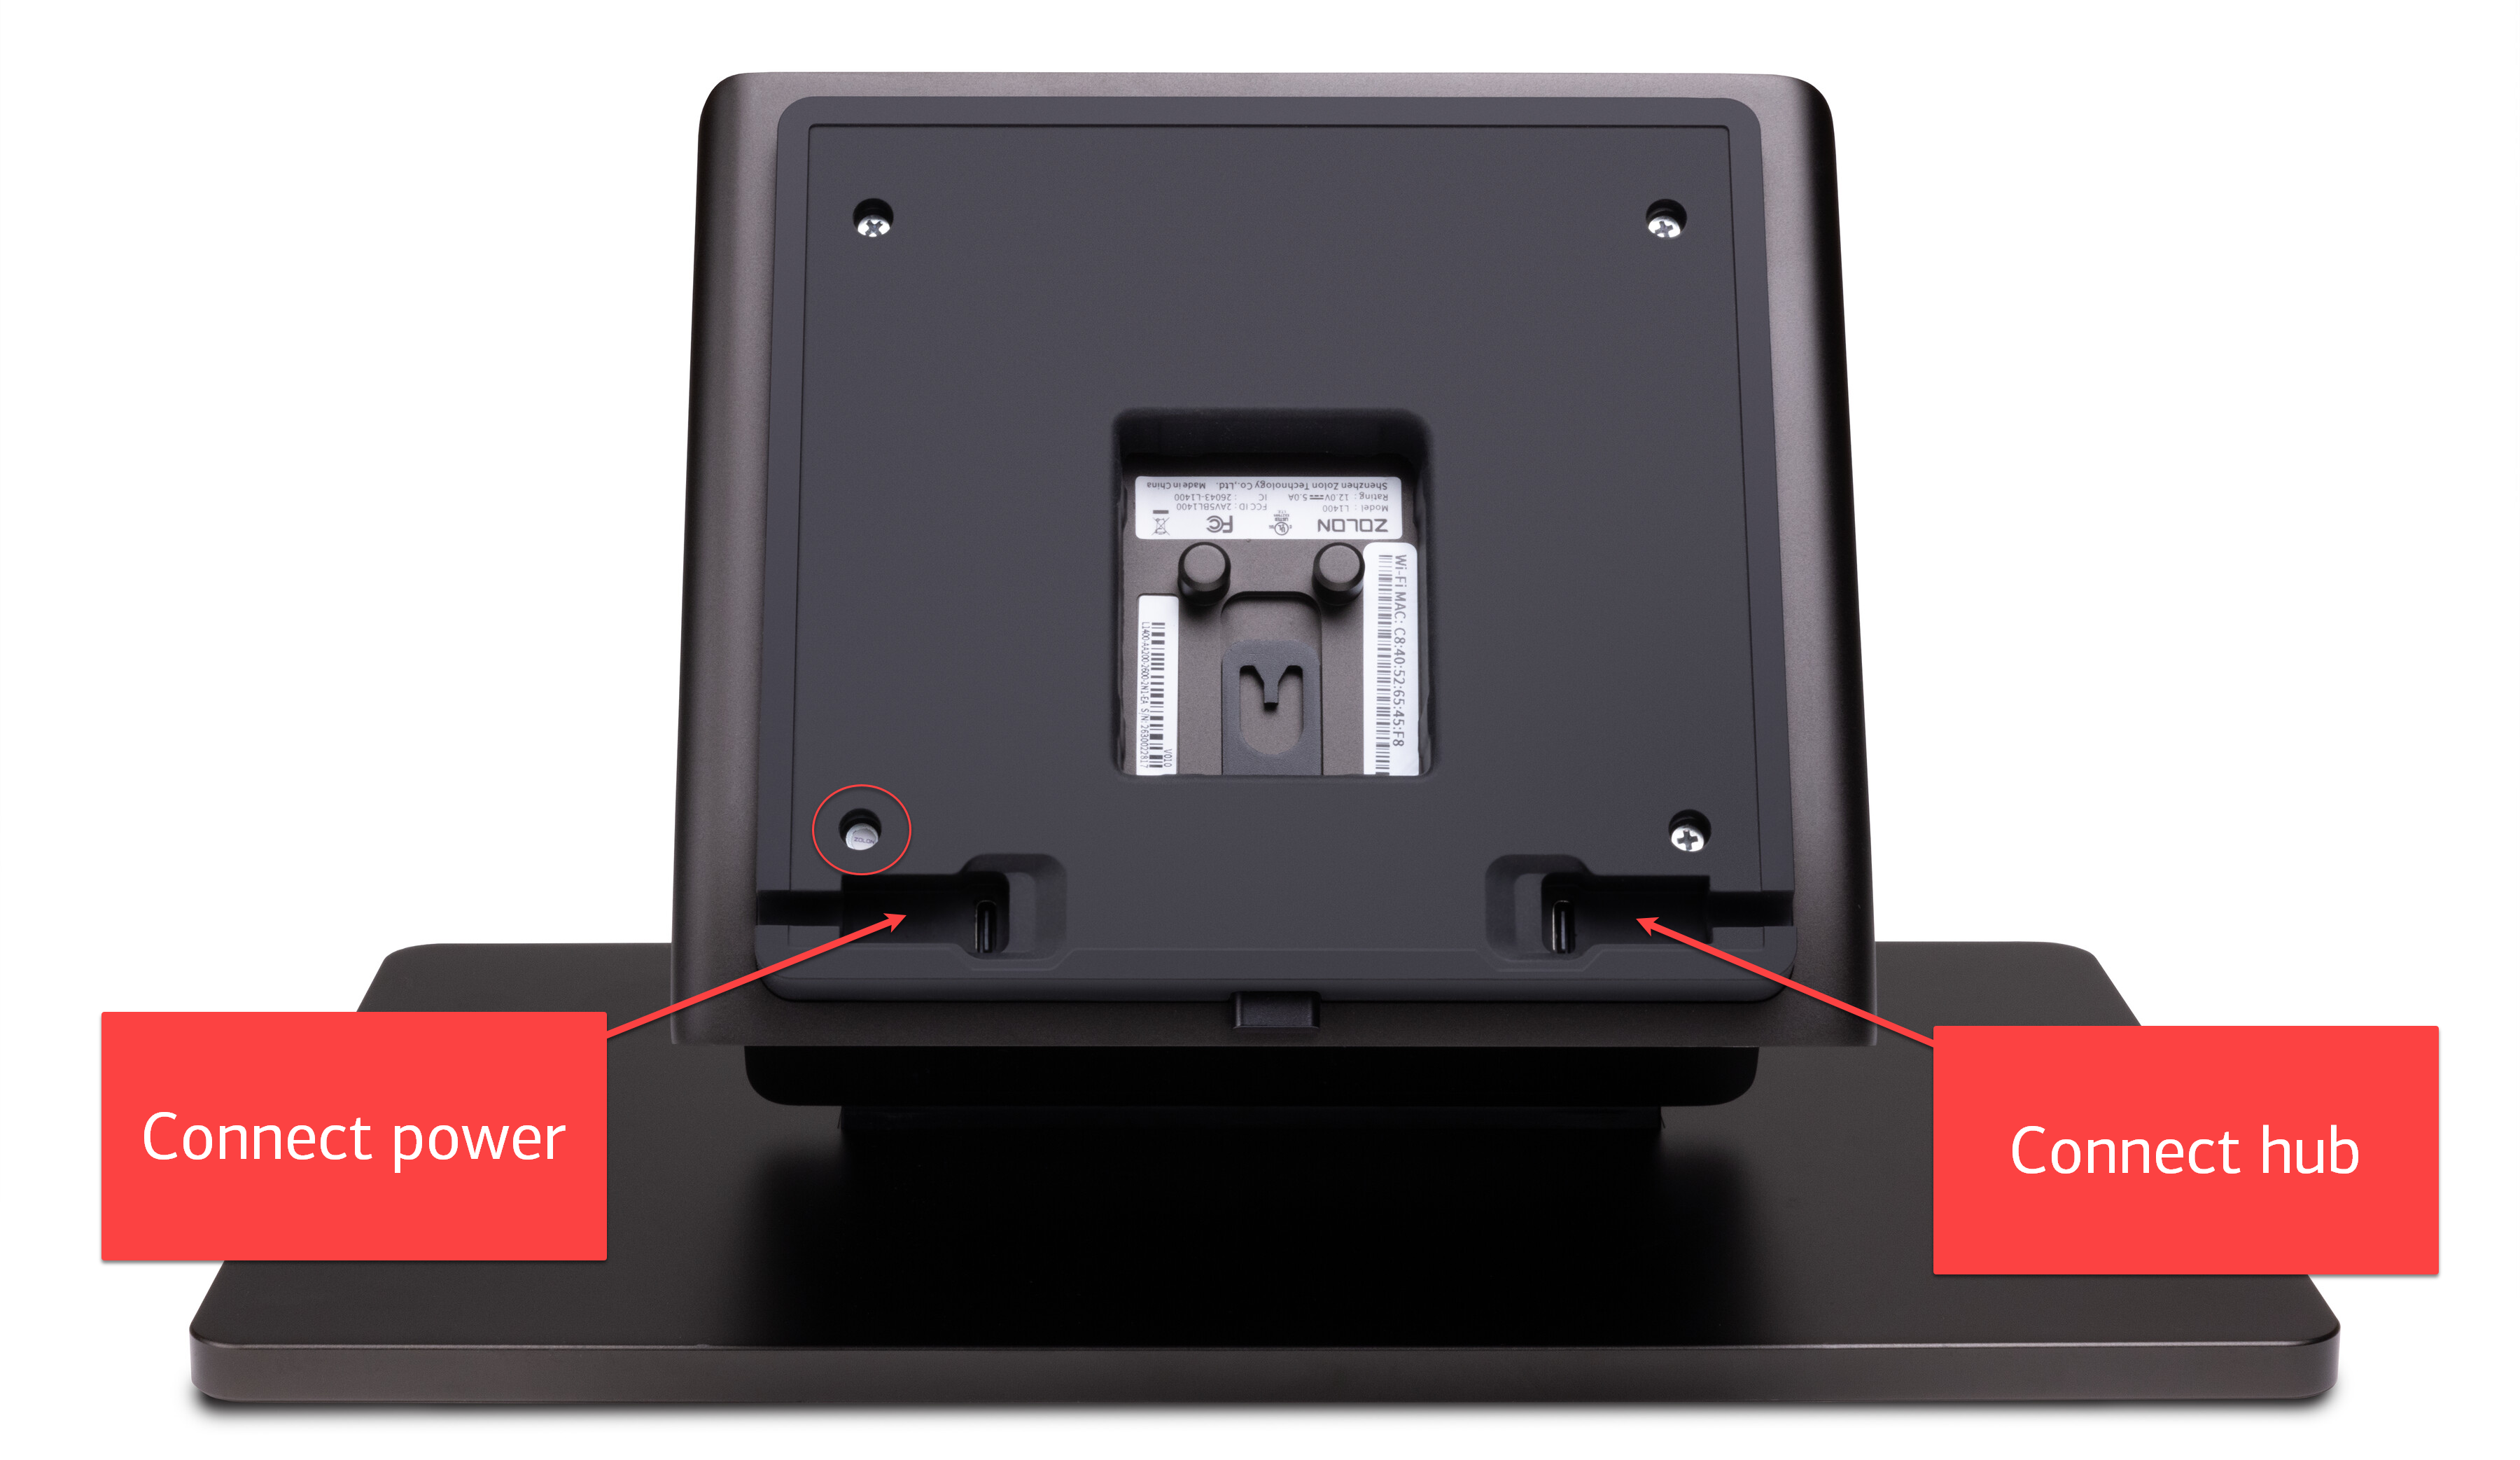
Insert the USB power cord connector into the USB port on the bottom of the terminal. A small white sticker covers the screw next to the power port. Insert the Communication Hub L1400/A3700P USB connector into the other port. Connect the power adapter to the power cord. Confirm that all connections are complete and secure, then plug the power adapter into a power outlet.
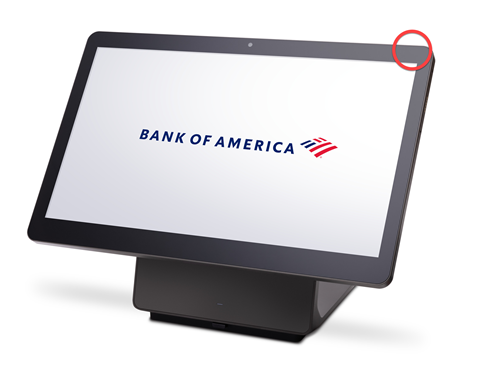
To power on the Station, press and hold the Power button for two seconds until the LCD backlight turns on. To power off, hold the Power button down for three to five seconds until the Shutdown menu appears, select Power off from the menu to shut down the Station.
2 Connect to the internet
Connect your Station to the internet using either Wi-Fi or Ethernet. To connect using Ethernet, plug the Ethernet cable from your internet router into the Communication Hub. The Station will automatically connect to the Ethernet network.
Learn more about connecting to Ethernet or Wi-Fi.
3 Connect a payment device
Your Station must be connected to a dedicated payment device, which will process card payments. Dedicated payment devices will not run the Point of Sale app or act as another register. Connection varies by device.
NOTE:
If you chose to purchase a standalone Station to take orders only, a payment device does not need to be connected.
To connect a payment device to your Station L1400
- Connect your payment device:
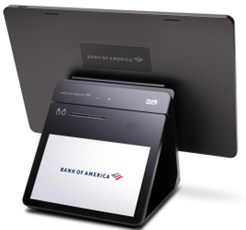
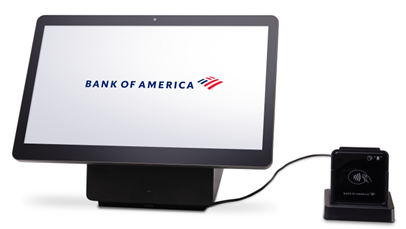
Tablet A3700 to the Station
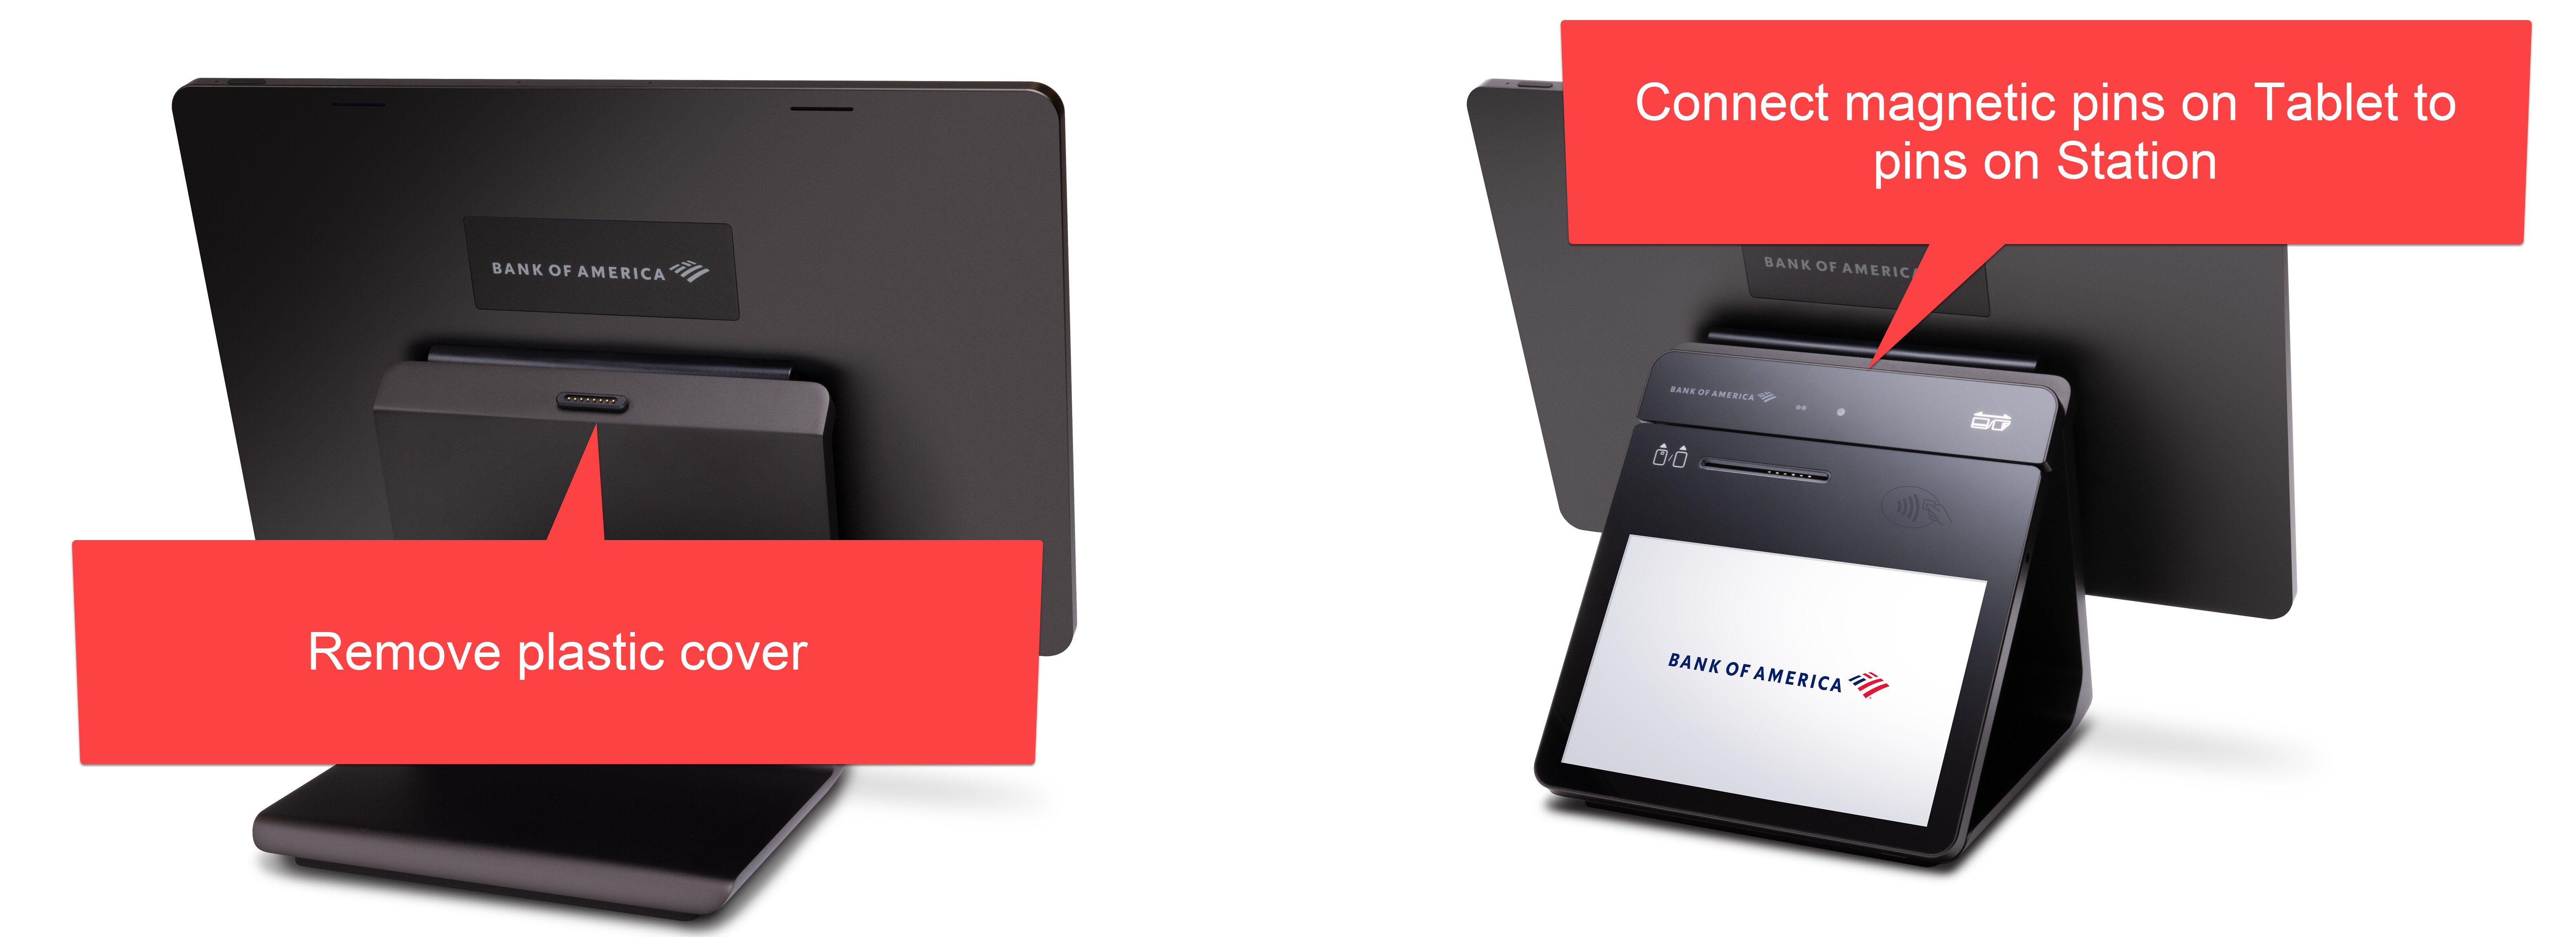
- Power on the Tablet A3700.
- Remove the plastic cover on the Station pin connectors and place the pins on the back of the Tablet A3700 against the pins on the back of the Station. The Tablet will click into place. Either of the pin connectors on the back of the tablet can be used. The Tablet does not have to be docked on the Station to be used as a payment device.
 .
.
- Obtain the IP address for the payment device:
- On the device, open Settings from the main screen.
- Enter the password: pax9876@@
- Tap the green arrow button.
- In the Settings menu, tap Wi-Fi.
- Tap the Gear icon for your connected network.
- Scroll down and select Advanced Network usage
- Scroll down to view the IP address.
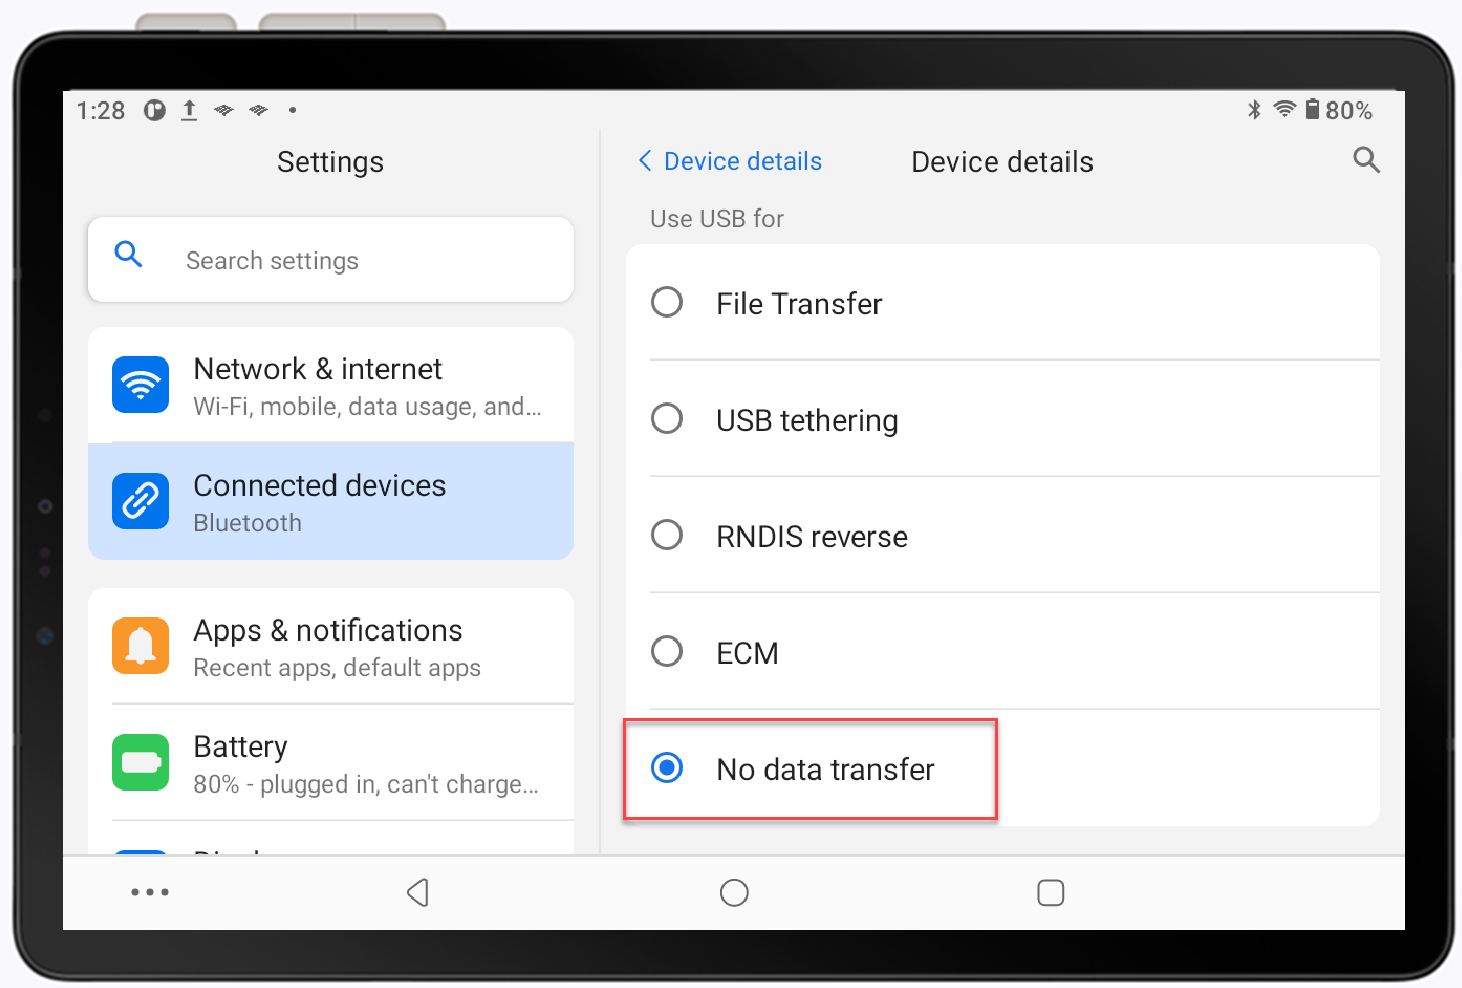
- If using the Tablet A3700, set USB connected devices to No Data Transfer:
To set Tablet to No Data Transfer
- In the Settings menu, select Connected devices.
- Select USB > No Data Transfer.
- Log in to the Point of Sale App on the Station.
- From the navigation menu, select Settings.
- Tap the Gear icon in Payment Terminal and select TCP, then type in the device IP address you obtained above. Leave Port as 10009. Tap Save.
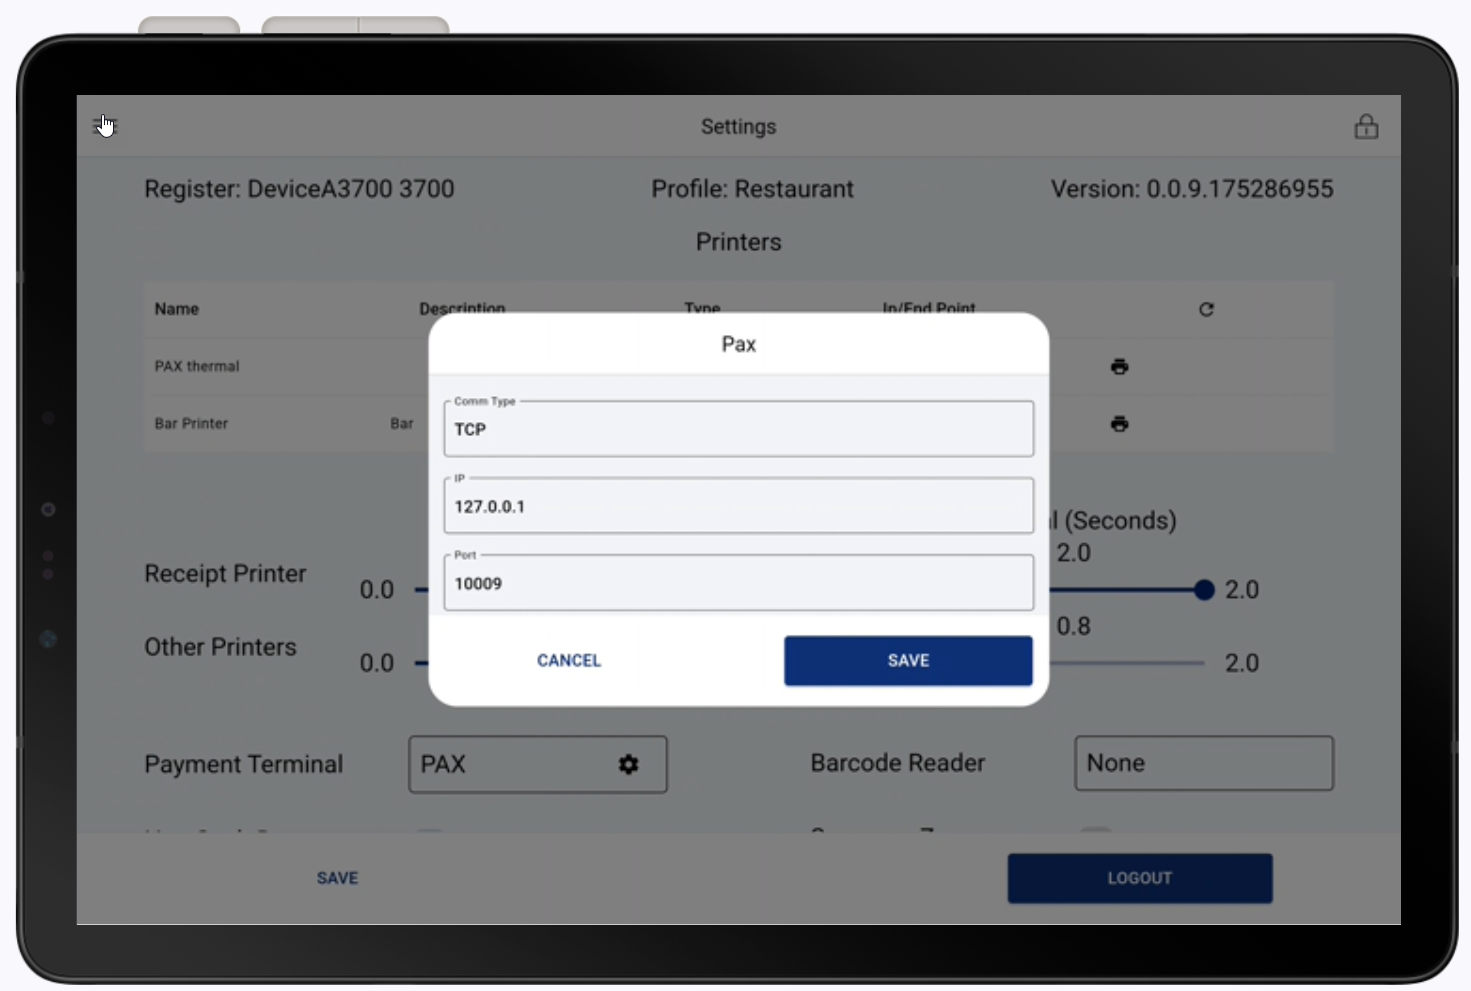
- From the Point of Sale App navigation menu, select Sync. The payment screen will appear on the payment device to indicate that it is ready.
- If using the Tablet A3700 as a payment device, launch and configure the customer facing display (CDS) solution:
4 Connect peripherals
Connect the Station to your peripherals, such as a printer, cash drawer or scanner. Peripheral connection will vary depending on the device. Peripherals that connect directly to the Station through the Communication Hub will need to be connected prior to powering on the Station.
If you will connect the peripherals to the Station through Bluetooth or Wi-Fi, you can connect the peripheral after powering on and connecting to the peripherals.
Connect the printer and cash drawer
Connect a printer or cash drawer. Cash drawers connect to the printer and then the printer connects to your Station L1400. Depending on whether you are connecting the printer through the Communication Hub L1440/A3700P or Bluetooth, obtain the printer IP or Bluetooth name, then log in to Back Office to manage printers.
Peripheral | Model | Connects with |
|---|---|---|
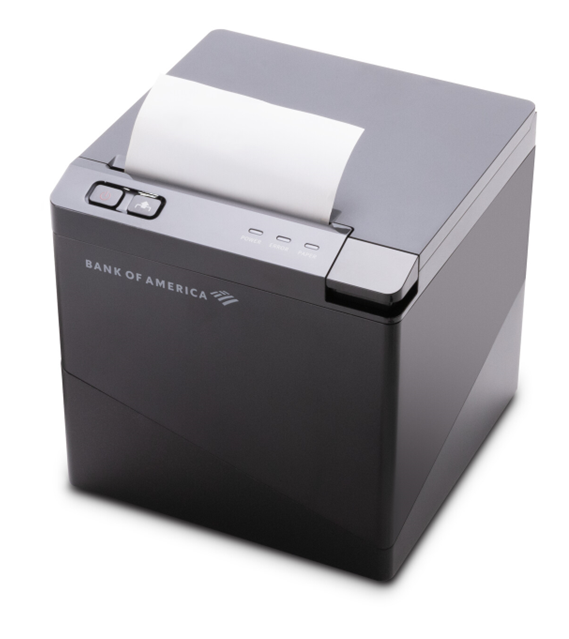 | Thermal Printer T3180 | Communication Hub L1400/A3700P or Ethernet |
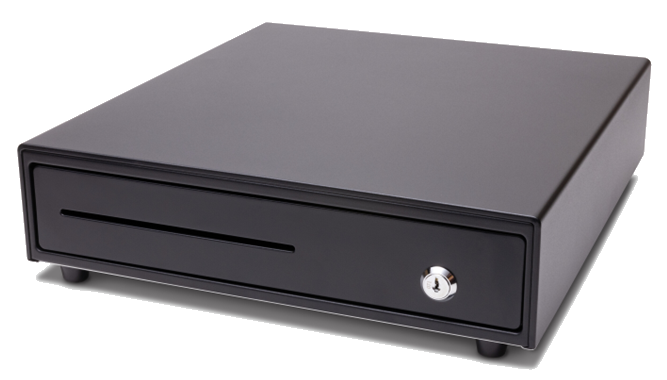 | Cash Drawer | Printer via cash drawer cable |
Connect the Kitchen Display Solution
Set up the Kitchen Display (KDS), then log in to Point of Sale Solution Back Office to add the KDS as a printer. Learn more about setting up the KDS.
Peripheral | Model | Connects with |
|---|---|---|
 | Kitchen Display 16" or 22" | Ethernet or Wi-Fi |
Connect barcode scanners
Set up in Point of Sales Solution app settings Scanner field.
Peripheral | Model | Connects with |
|---|---|---|
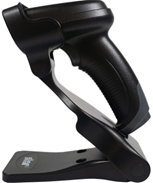
 | Barcode Scanner T3320 | USB cable |
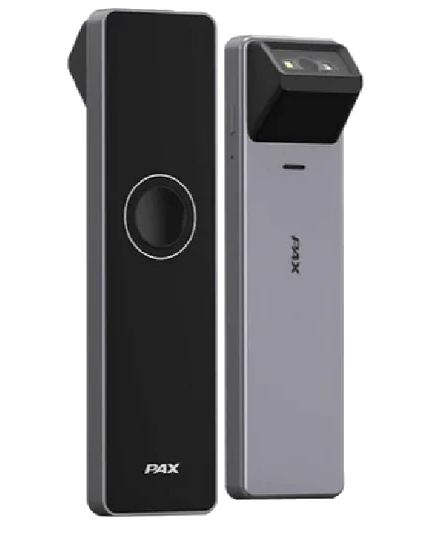
 | Countertop Barcode Scanner BSH-20B | Bluetooth |
5 Log in to Point of Sale App
The Point of Sale App comes installed on the Station. Your login credentials were supplied in the Activation email that you received and will be the same for Point of Sale Solution Back Office. Select your register for this point of sale. Learn more about how to log in to the Point of Sale App.
Take a payment
The Point of Sale Solution application is installed on the Station. When you are ready to take a payment through the Point of Sale Solution app, you will take the card payment at a payment device that is connected to the Station. You can take a card payment through one of the following payment devices:
Payment Device | Model |
|---|---|
 | Tablet A3700 |
 | Hybrid A800 |
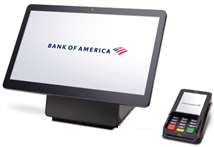 | PIN Pad A35 |
 | Card Reader D135 |
Terminal settings
You can adjust your device settings to your preference, including: terminal volume and key sounds, brightness, and timeout settings.
Terminal Care
For care guidelines, cleaning recommendations and other best practices, see Terminal Care.
Mounting plate installation
The Station is designed to be installed on a mounting plate; however, the use of the mounting plate is optional. The mounting plate may be installed using either adhesive tape or screwed directly to the surface. Choose a location for your Station away from direct sunlight, excessive dust, moisture or heat, and away from electrical devices, such as microwave ovens or blow dryers, that might introduce interference.