Point of Sale Solution Back Office Online Categories and Products
Description
What's in this article?
Expanding your business to include e-commerce sales requires you to create an online inventory of your products that is separate from your physical store. Organizing your products into categories makes it easy for customers to shop on your website and for you to manage inventory in the Back Office.
This article covers the steps for creating individual online categories and products. If you want to do this in bulk, and have your in-store inventory reflect e-commerce sales, import your online products through a template instead.
Create and manage categories
Online categories must be created before you can begin to add products to them. Categories can be created, modified, deleted, and deactivated to better manage your online inventory. For instance, editing a category name from Shoes to Footwear or deactivating your Holiday category after the holiday season has ended, are examples of when a change to a category might be made.
NOTE:
By deactivating a category, all products listed under it will no longer be visible online.
To add an online category
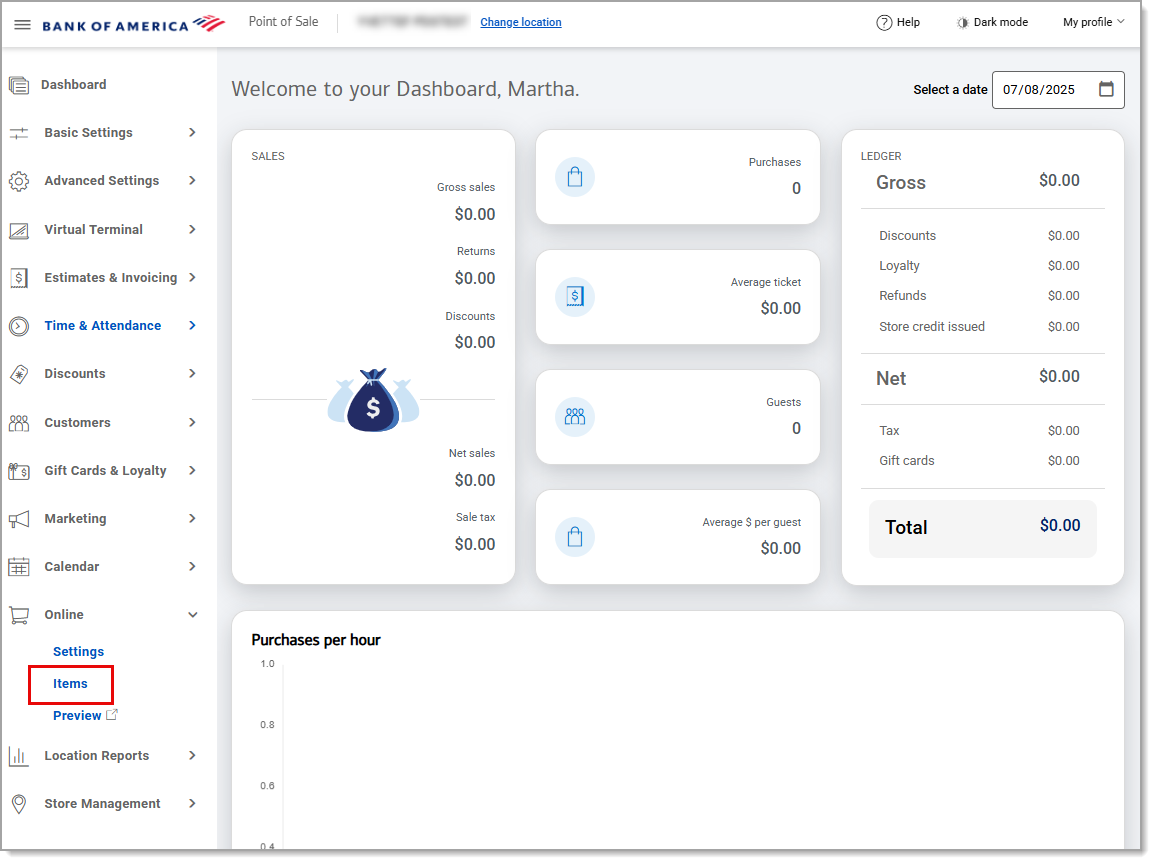
- In the Point of Sale Solution Back Office, select Online > Items.
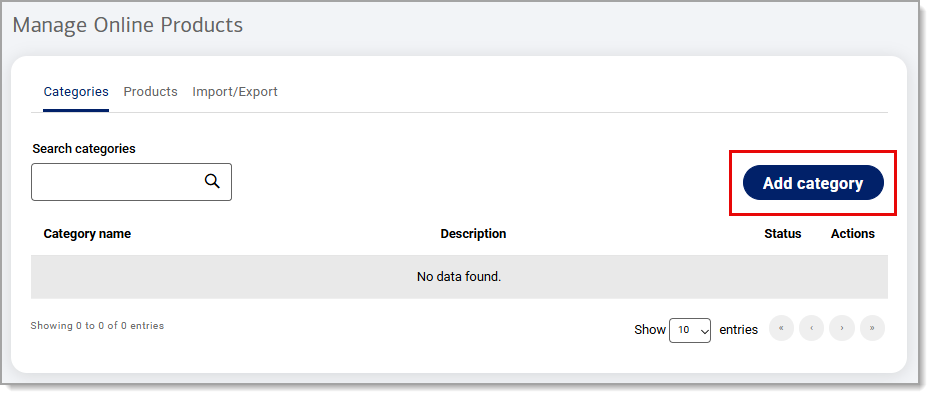
- From the Categories tab, click Add category.
- Type a category name and add a description, if desired.
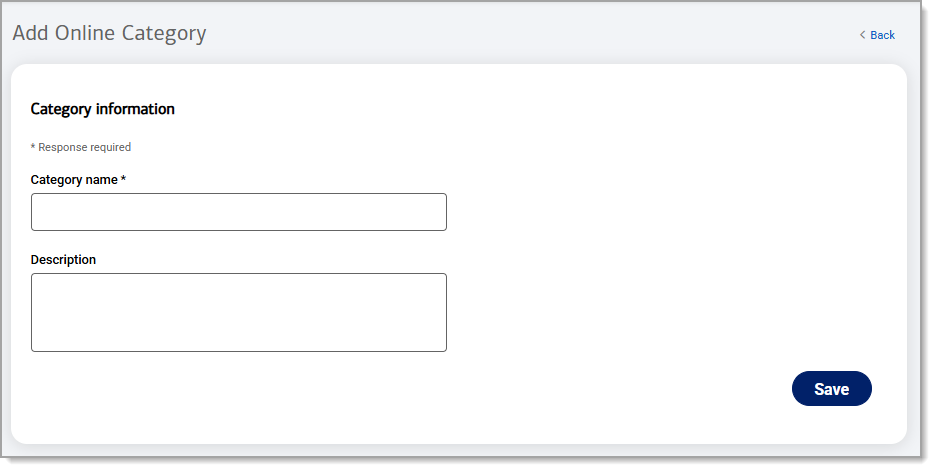
- Click Save.
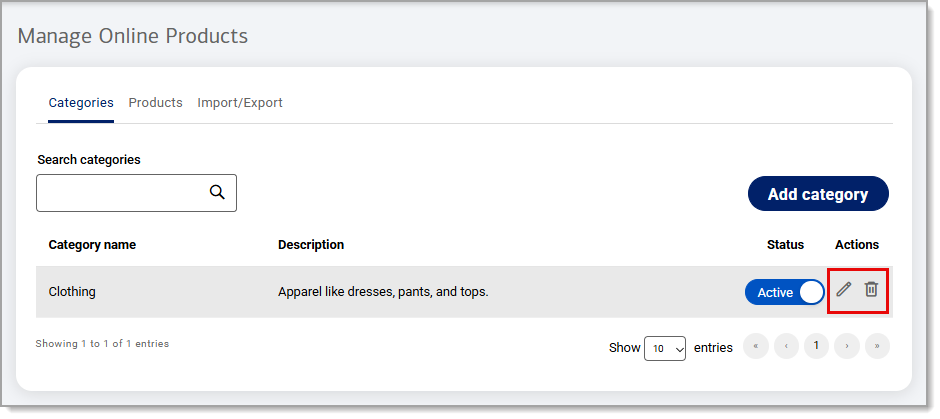
To edit or remove an online category
Identify the desired category and select the desired action:
- Edit: Click the Edit icon to update the category name and/or description. Click Save.
- Delete: Click the Delete icon and click Delete.
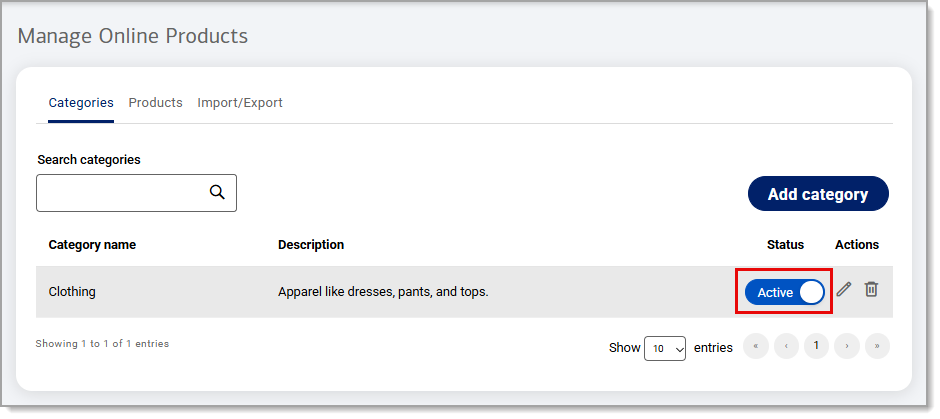
To activate an online category
To make your category active online, switch the Status toggle to Active. Any active items that have been assigned to the category will also also become visible online when the category is Active.
Create and manage products
You can create and manage your online inventory, including the price, images, and description of items for sale. Products can be activated to be displayed for sale or deactivated if you run out of stock.
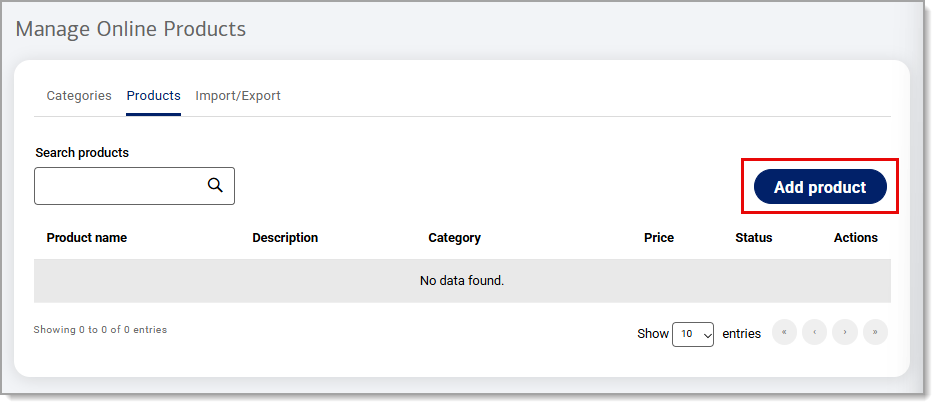
To add an online product
- In the Point of Sale Solution Back Office, select Online > Items.
- From the Products tab, click Add product.
- Complete the information:
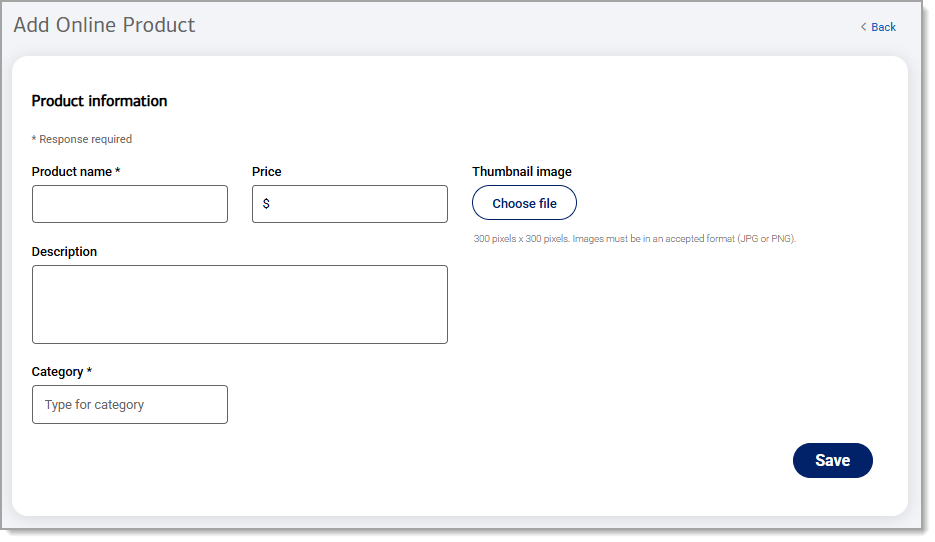
Table of Product information and instructions Product field name Instructions Product name To add a product that already exists in your Item Management inventory, begin typing the item name and then select from the dropdown list of existing items. Or, enter the name for the new product. Price Set the product price in USD. Description Enter additional product details. Category Select a category by typing one of your previously created category names and select from the options in the populated dropdown list. - (optional) Click Choose file to upload a thumbnail image of the product.
- Click Save.
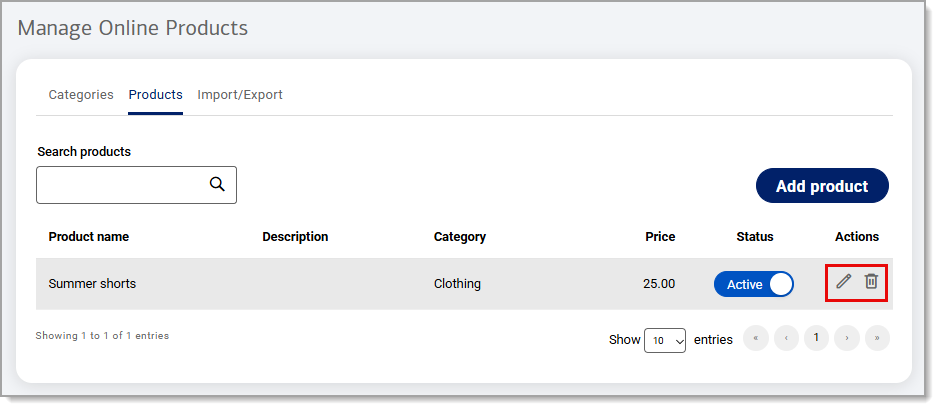
To edit or remove an online product
Identify the desired product and select the desired action:
- Edit: Click the Edit icon to update the product name, price, description, category and/or thumbnail image. Click Save.
- Delete: Click the Delete icon and click Delete.
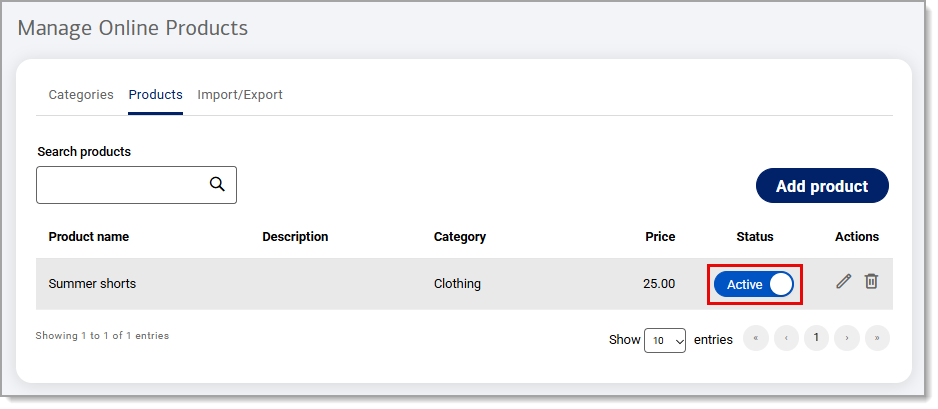
To activate an online product
To make your product active online, enable the Status to Active.