Point of Sale Solution Back Office Online Preview
Description
What's in this article?
You can preview your site's layout, navigation, and checkout experience before you go live, and after you make changes to your site. The preview will be based on your site type and online settings you preconfigure.
For Appointment sites, you can also preview the experience for booking services or resources. The preview for an Appointment site is additionally based on whether your Back Office Calendar > Settings are set to view appointments by Employees (in which case Services not assigned to a Resource will display) or Resources (in which case Services assigned to a Resource will display).
To preview your site
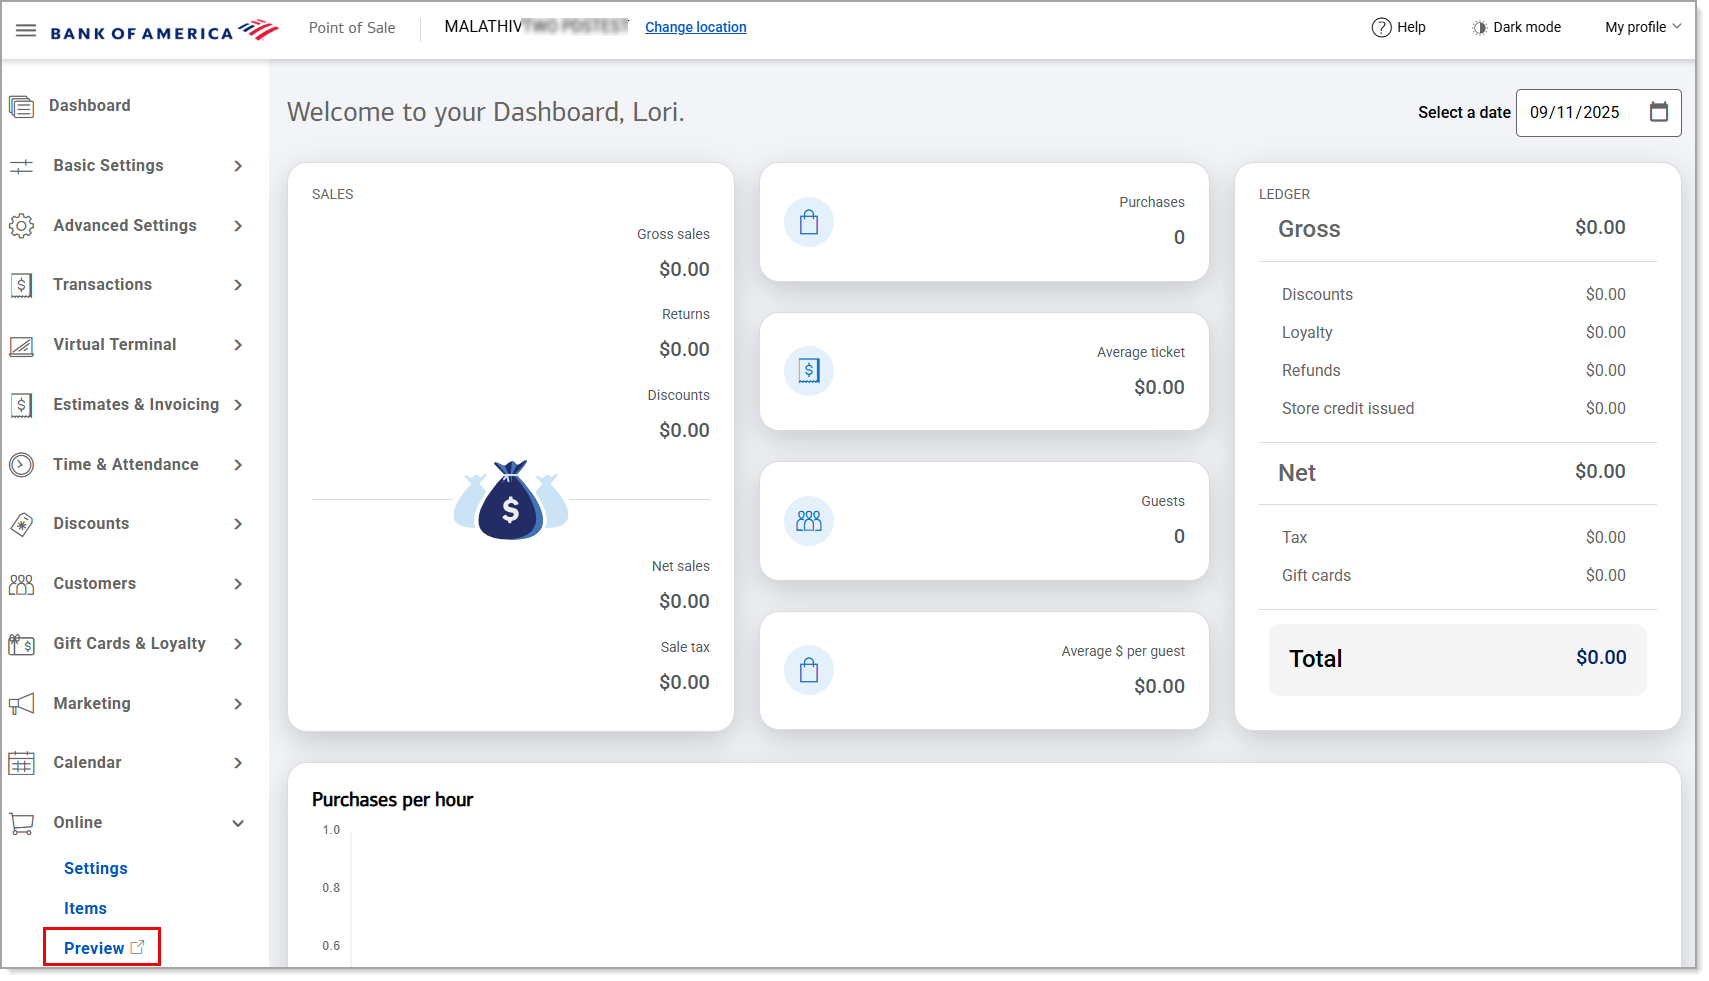
- In the Point of Sale Solution Back Office, select Online.
- Click on the Preview menu option to open a window with the preview of your site in a new tab. The URL that displays is the site address.
Example of an eCommerce or Ordering site: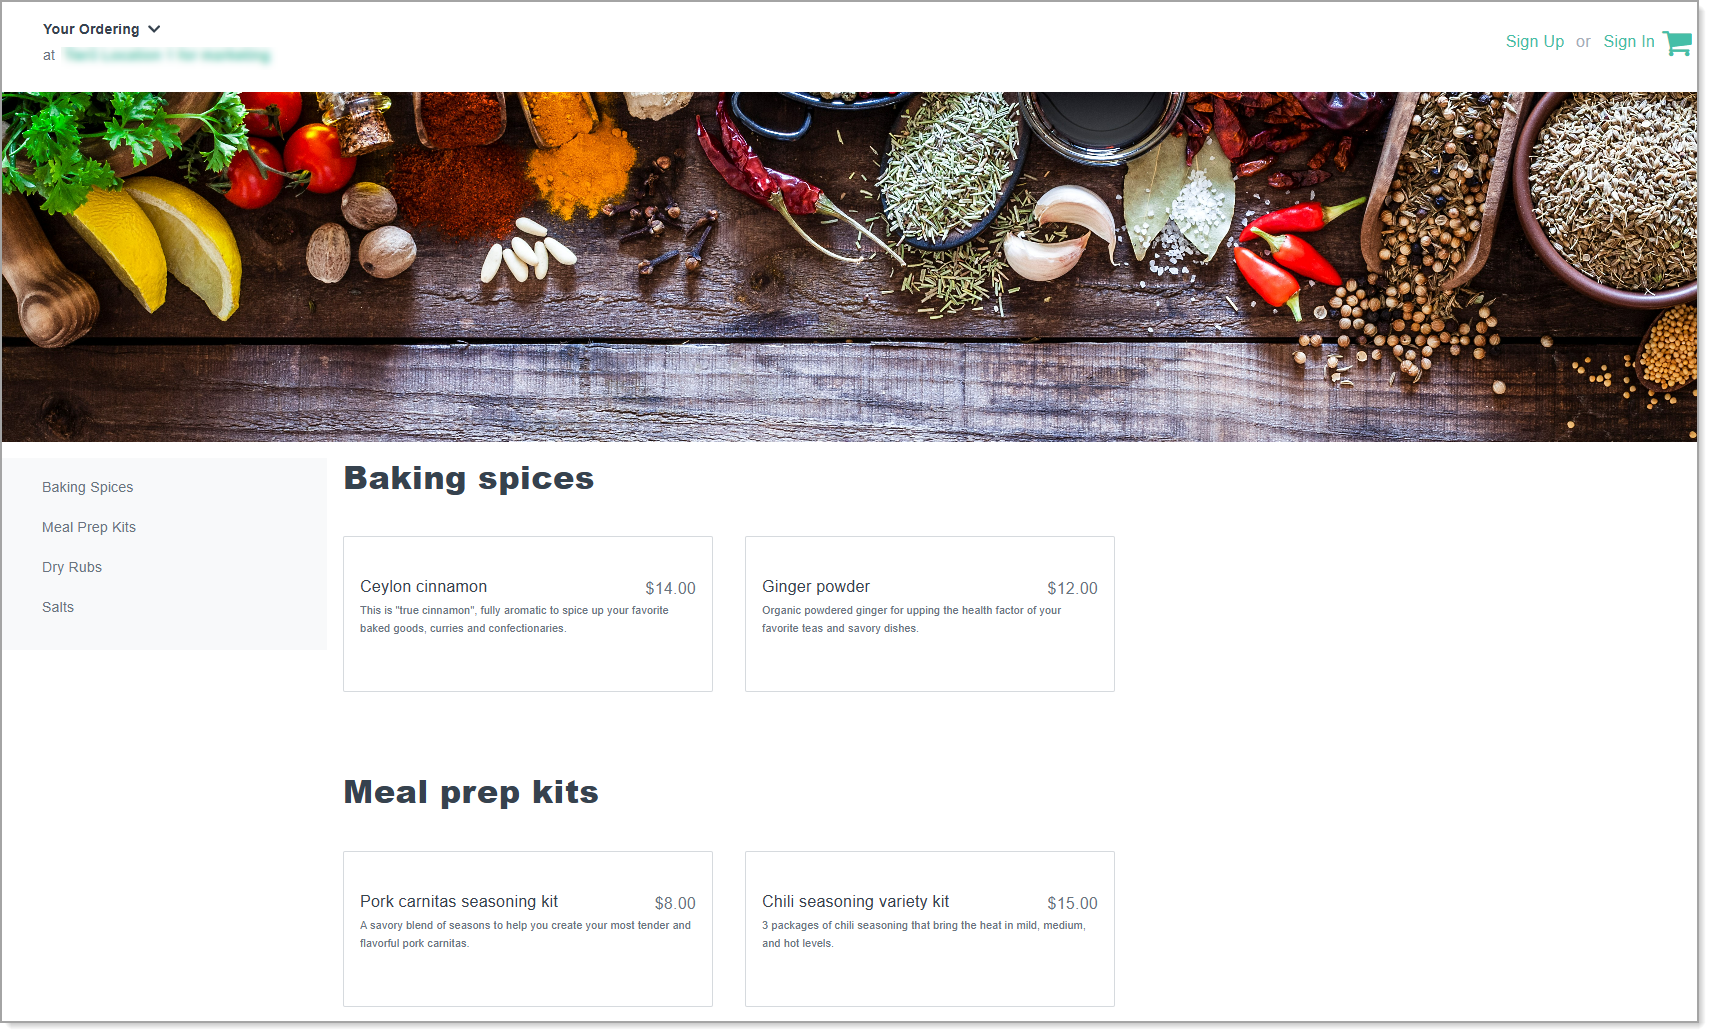
Example of an Appointment site for booking services through employees: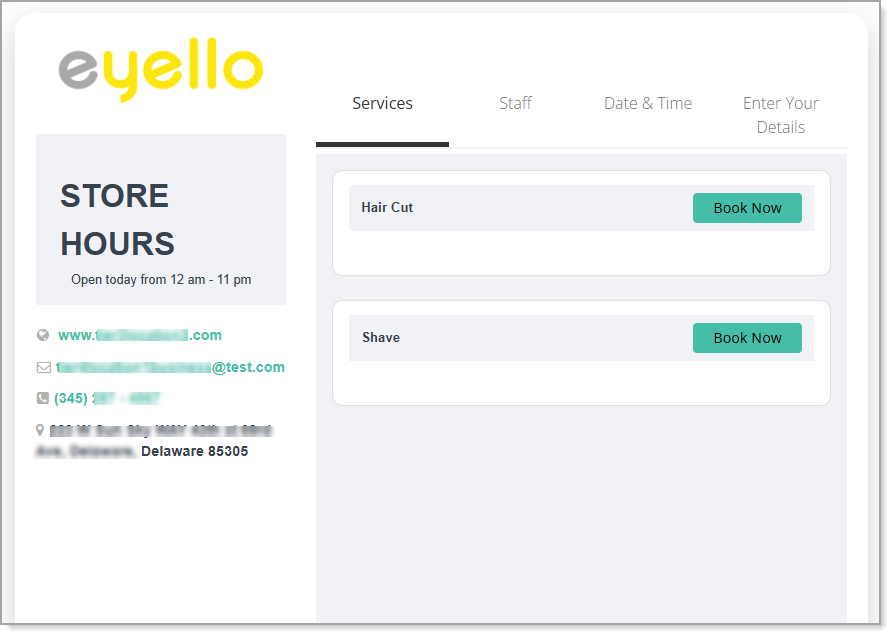
To preview the checkout experience for an eCommerce or Ordering site
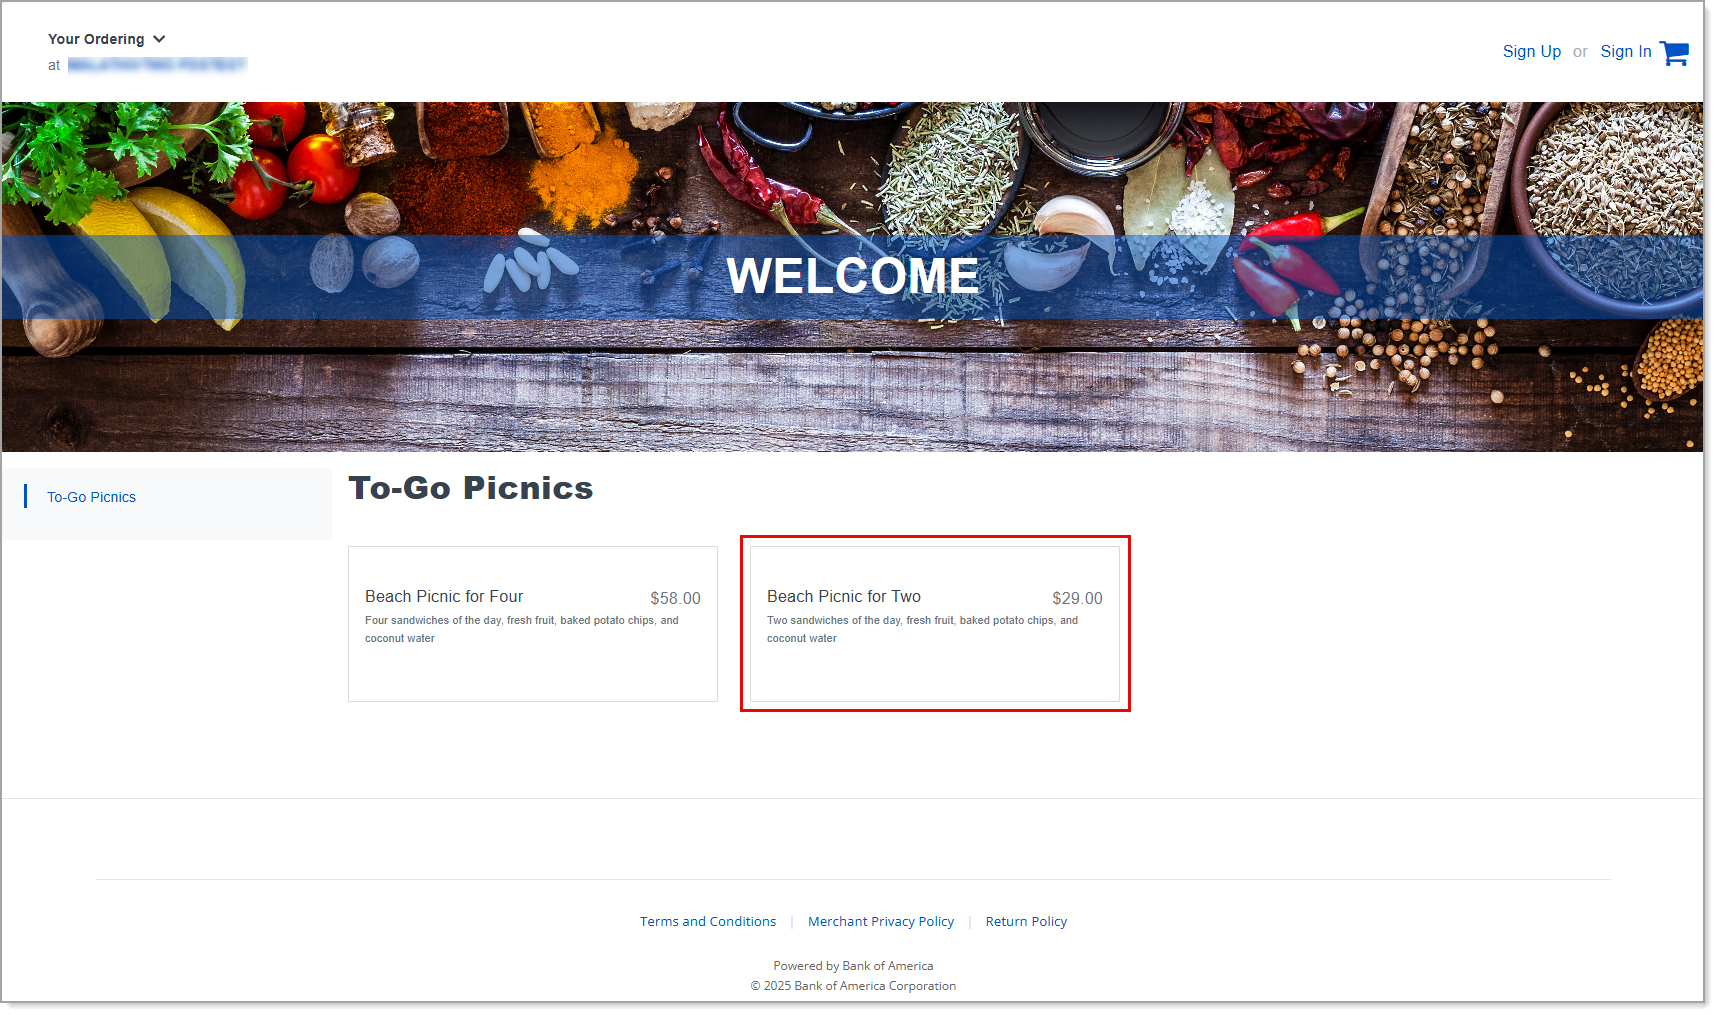
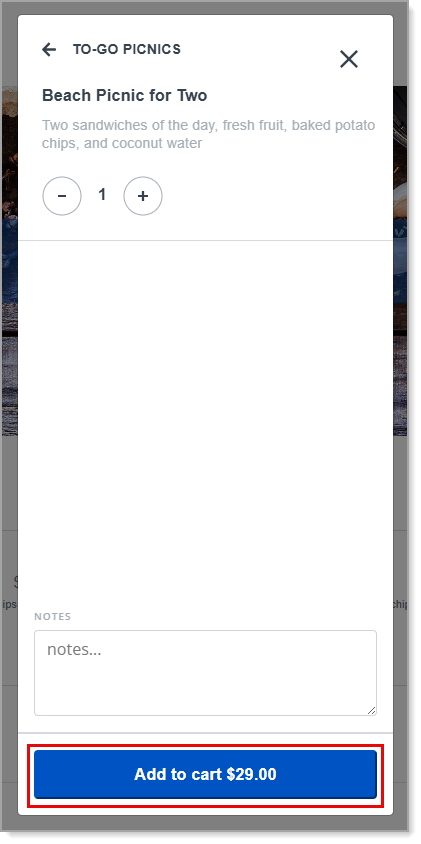
- Click on a product while in Preview.
- Add the product to the shopping cart. (Optional) Add notes.
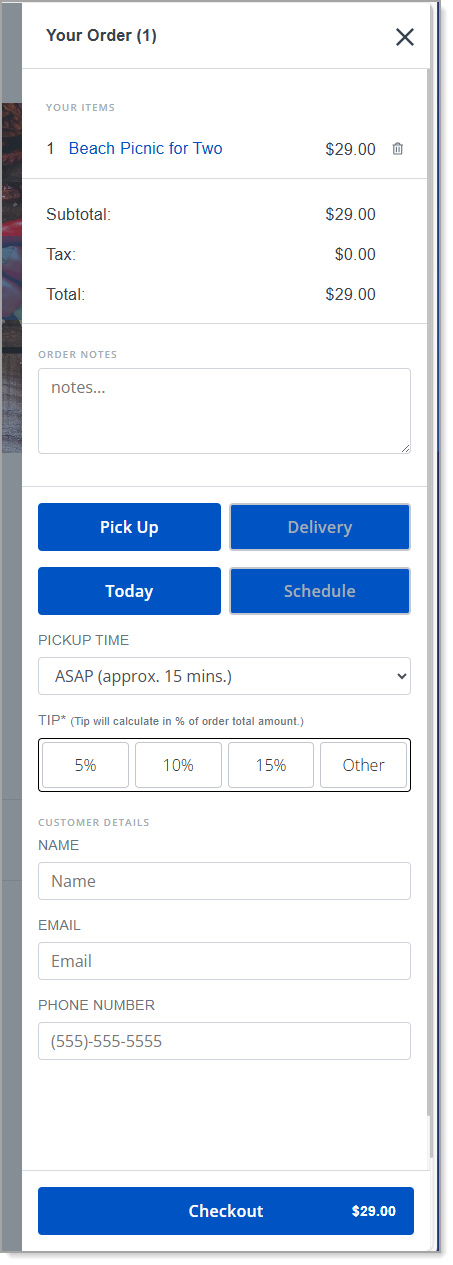
- Click on the shopping cart and preview the order page setup, including any button and dropdown list options.
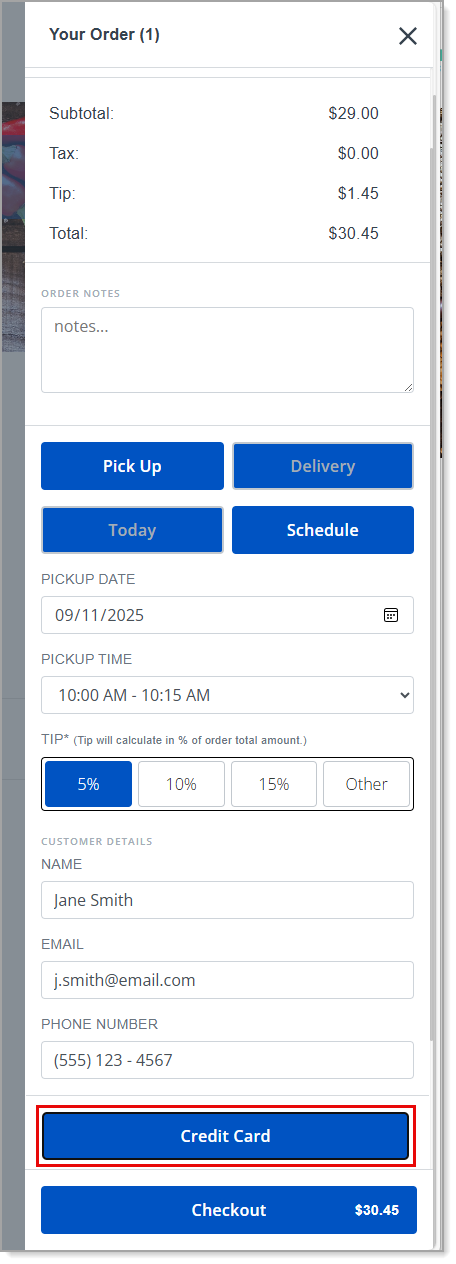
- Preview the payment form and checkout screen.
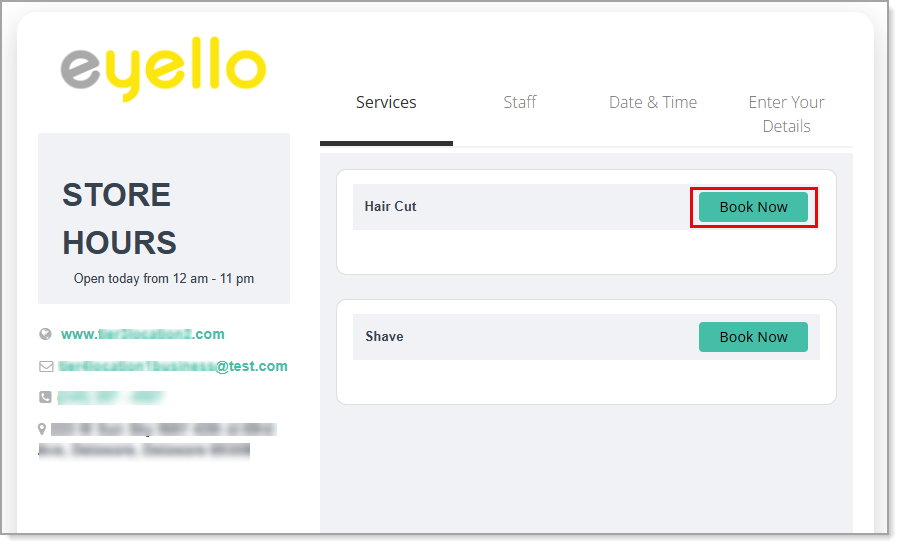
To preview the booking experience for an Appointment site
- Click Book Now next to a service or Resource group, depending on whether your Back Office Calendar > Settings are set up for Employees or Resources, respectively.
- Click Book Now next to a staff member (for the Employees Calendar Setting) or service (for the Resources Calendar Setting).
Staff availability is based on services assigned to employees and employee scheduling you set up in the Back Office.
Resource availability is based on the amount of time allocated for the service associated with the resource and Business hours set up in Online > Settings.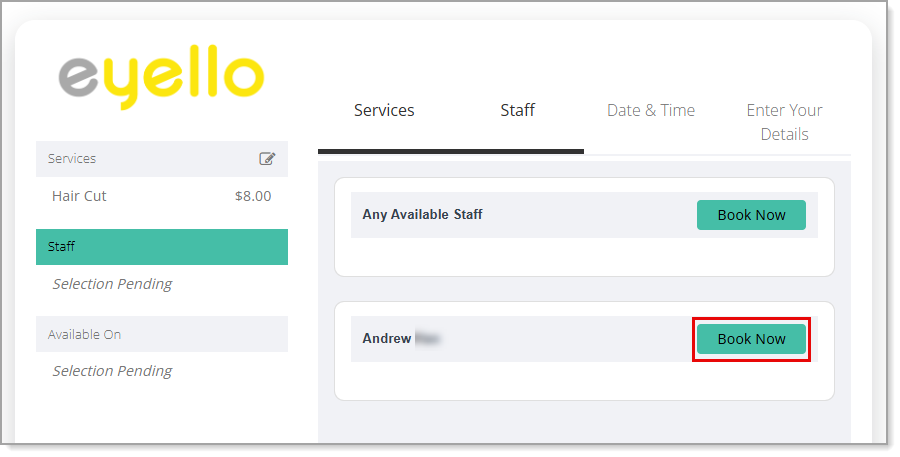
- For sites that book Resources, select the quantity and click Done.
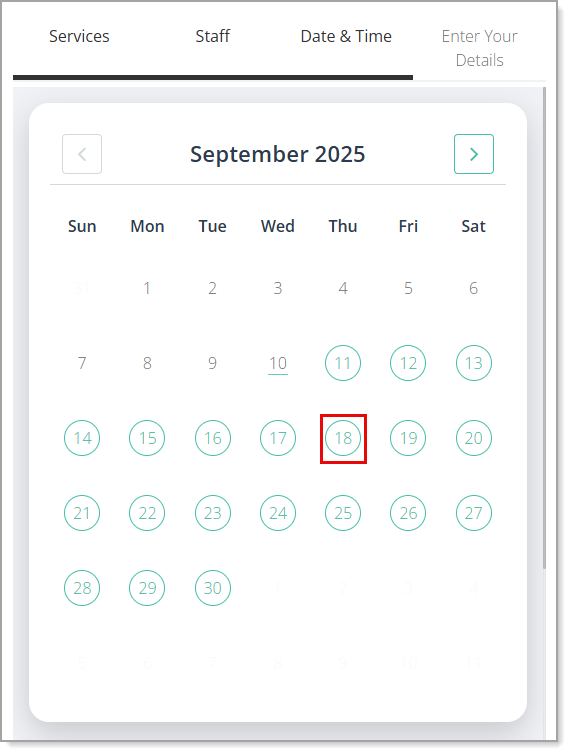
- Click on an available date for the appointment.
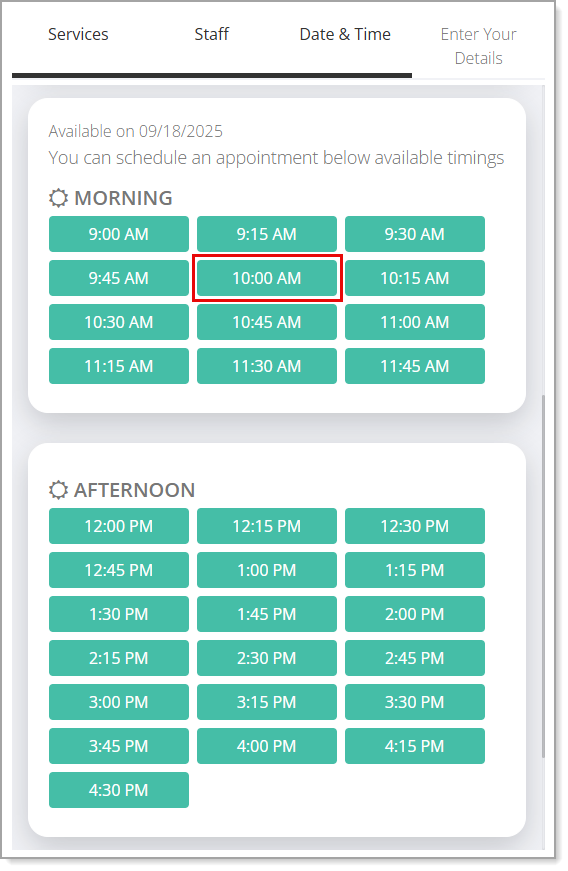
- Click on an available time for the appointment.
- Complete the customer details page. Note the appointment details on the left of the page.
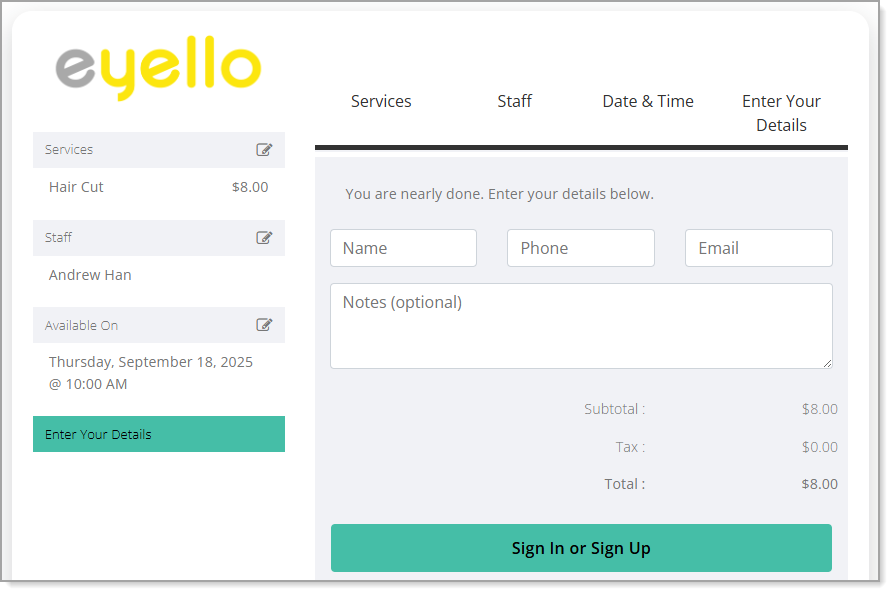
- As the customer details are entered, the Sign In or Sign Up button will become a checkout button if your Online Settings are setup to require a payment at the time of the booking.
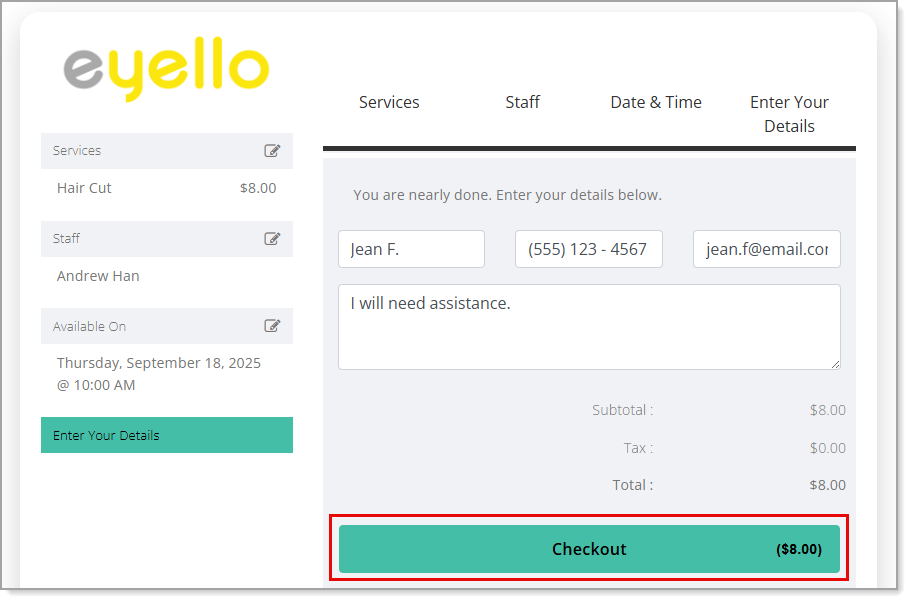
- If payment is required at the time of booking, you can preview the payment form and checkout screen.
- To return to a previous screen at any time, use the top or left hand navigation to go backwards.