Point of Sale Solution App Order Management
Description
What's in this article?
The Orders menu in the Point of Sale Solution app gives you access to essential order and transaction management tools. From this menu, you can view daily sales summaries, open the cash drawer using No Sale, reprint receipts, transfer order tickets, access order history, manage customer check‑ins, and view scheduled pickup or delivery orders.
On the Orders screen, tap Menu to access additional order management options.
- *music*
- This video covers the Order Management menu options in the Point of Sale Solution application.
- To access the order menu options, tap the Orders tile and then tap the menu icon in the Orders screen.
- The top of the menu displays your sale summary for the day. This display can be disabled in the Back Office if desired.
- Tapping No Sale opens the assigned cash register without having to complete a sale.
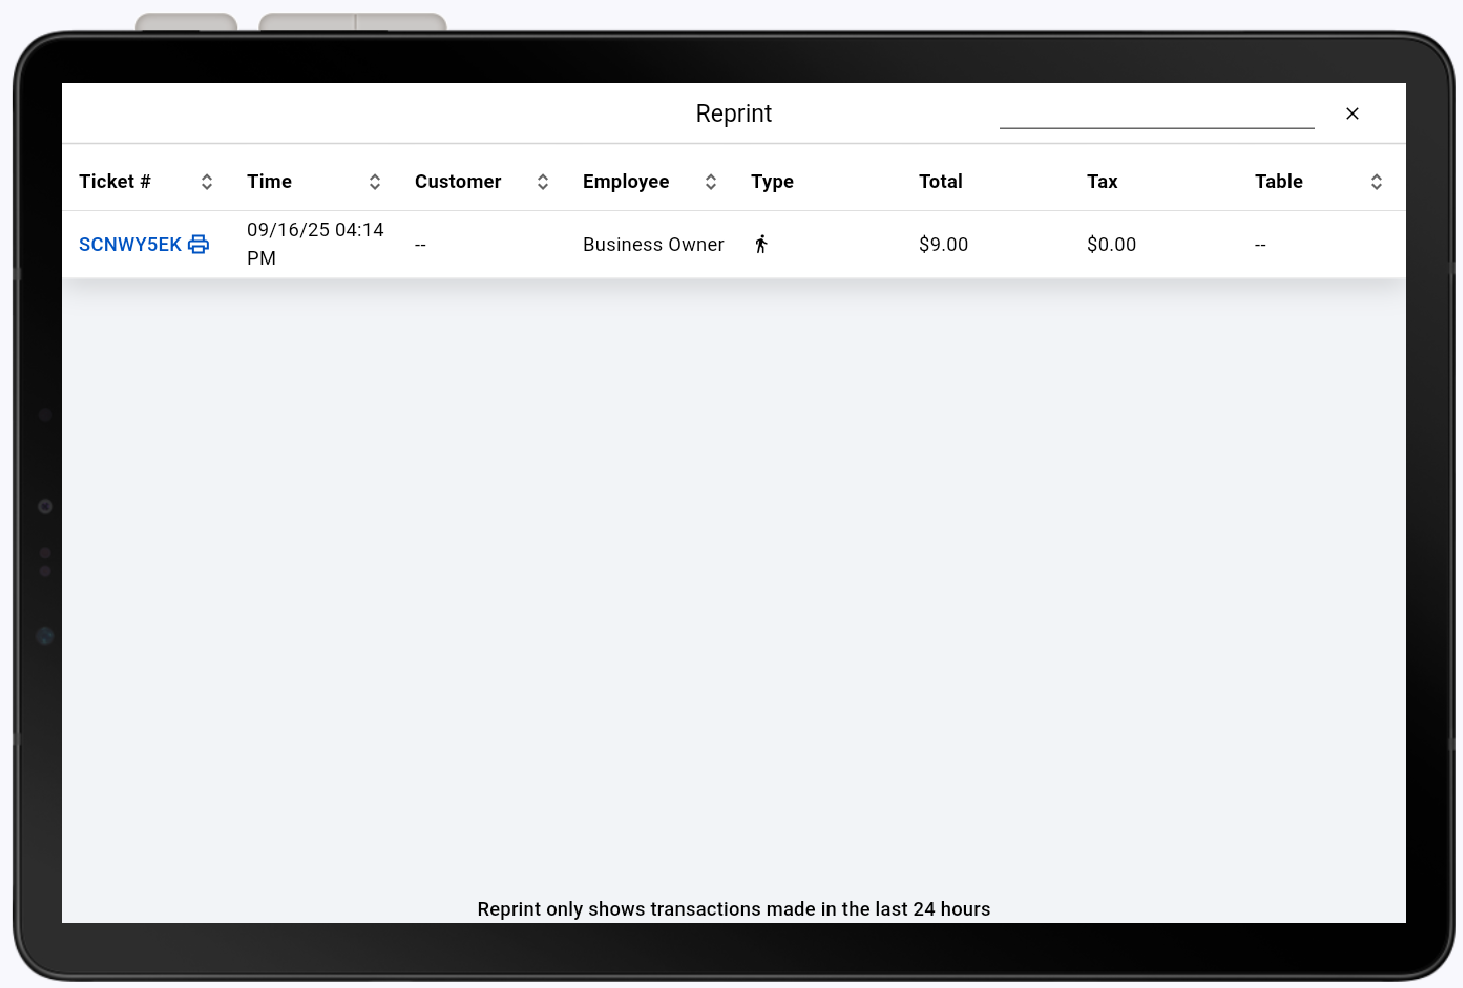
- Reprint allows you to reprint a receipt from a ticket completed in the last 24 hours. Tap the desired ticket and select an option.
- Transfer Tickets allows you to reassign a ticket to another employee when you go on break or end your shift. Select the desired ticket, select the employee you'd like to transfer it to, and then tap Transfer.
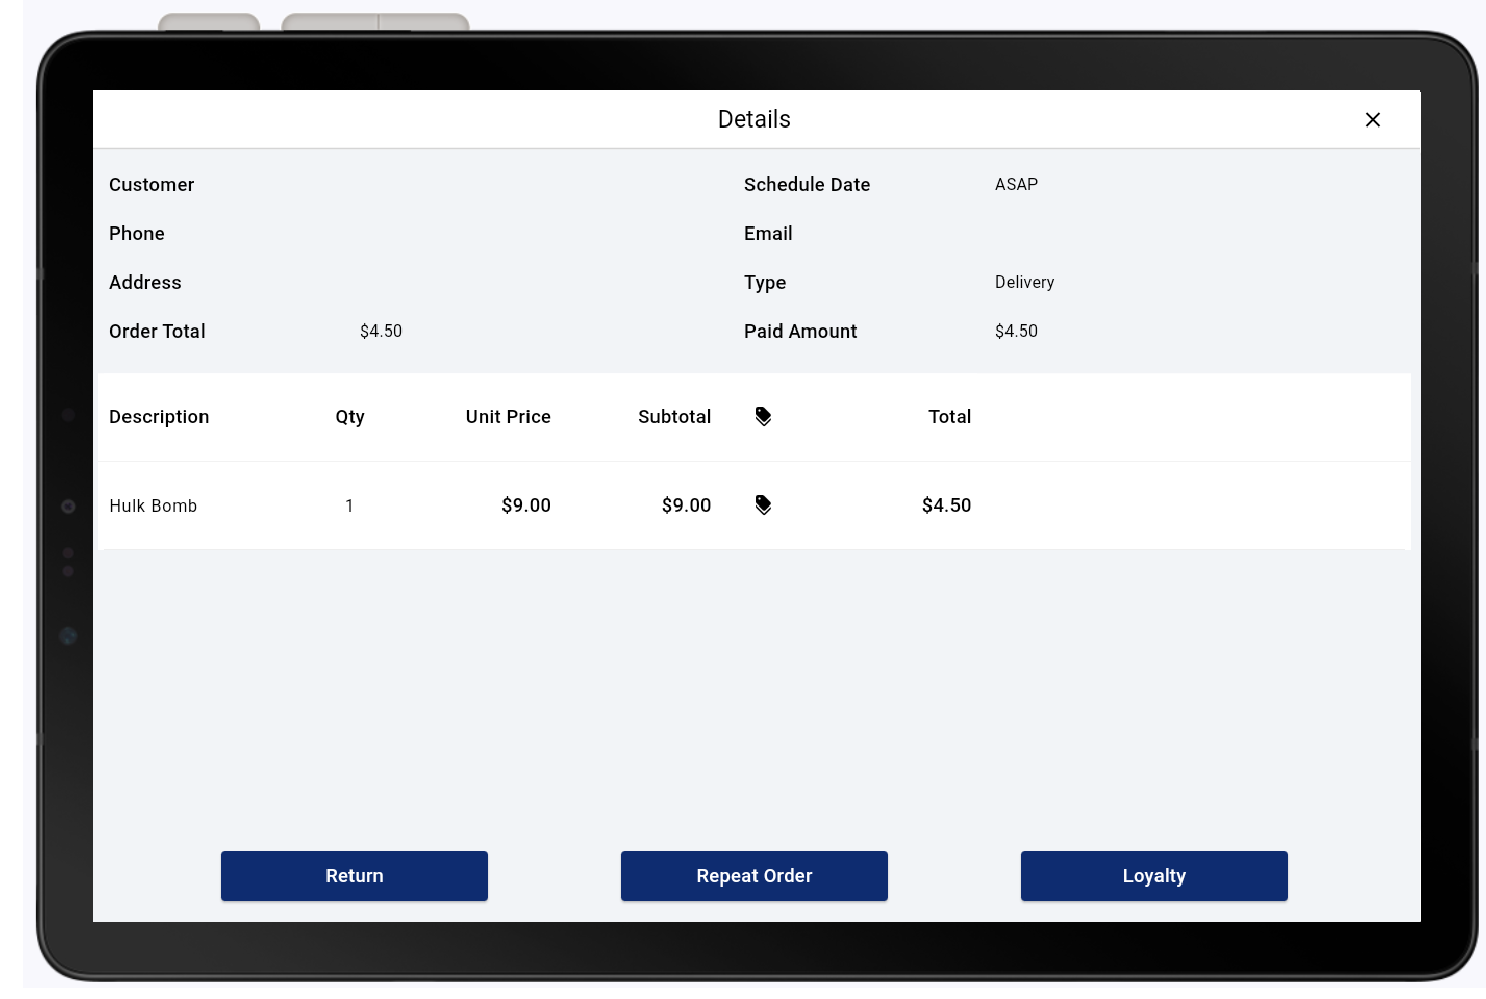
- History allows you to recall a completed ticket from the last 24 hours and manually return, repeat, or assign loyalty points to the order. Tap the desired ticket and select an option.
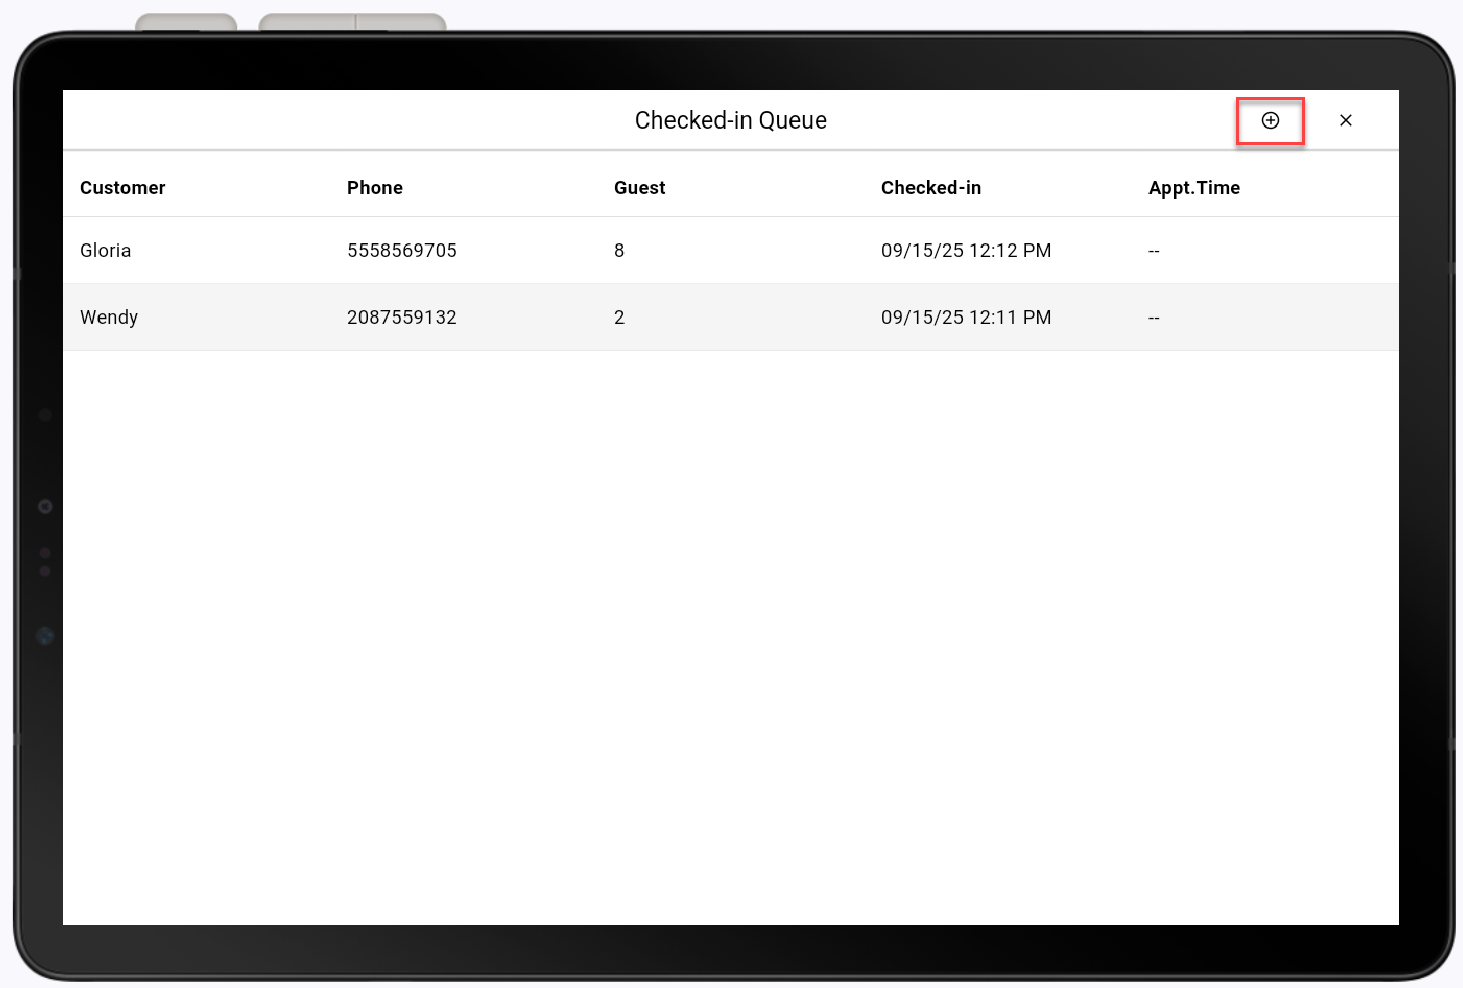
- Check-ins manages a customer waiting list. To add a customer to the queue, tap the Add icon, complete the customer fields, and tap Check-In. To check in a customer from the queue, locate the desired customer and swipe left to start the order.
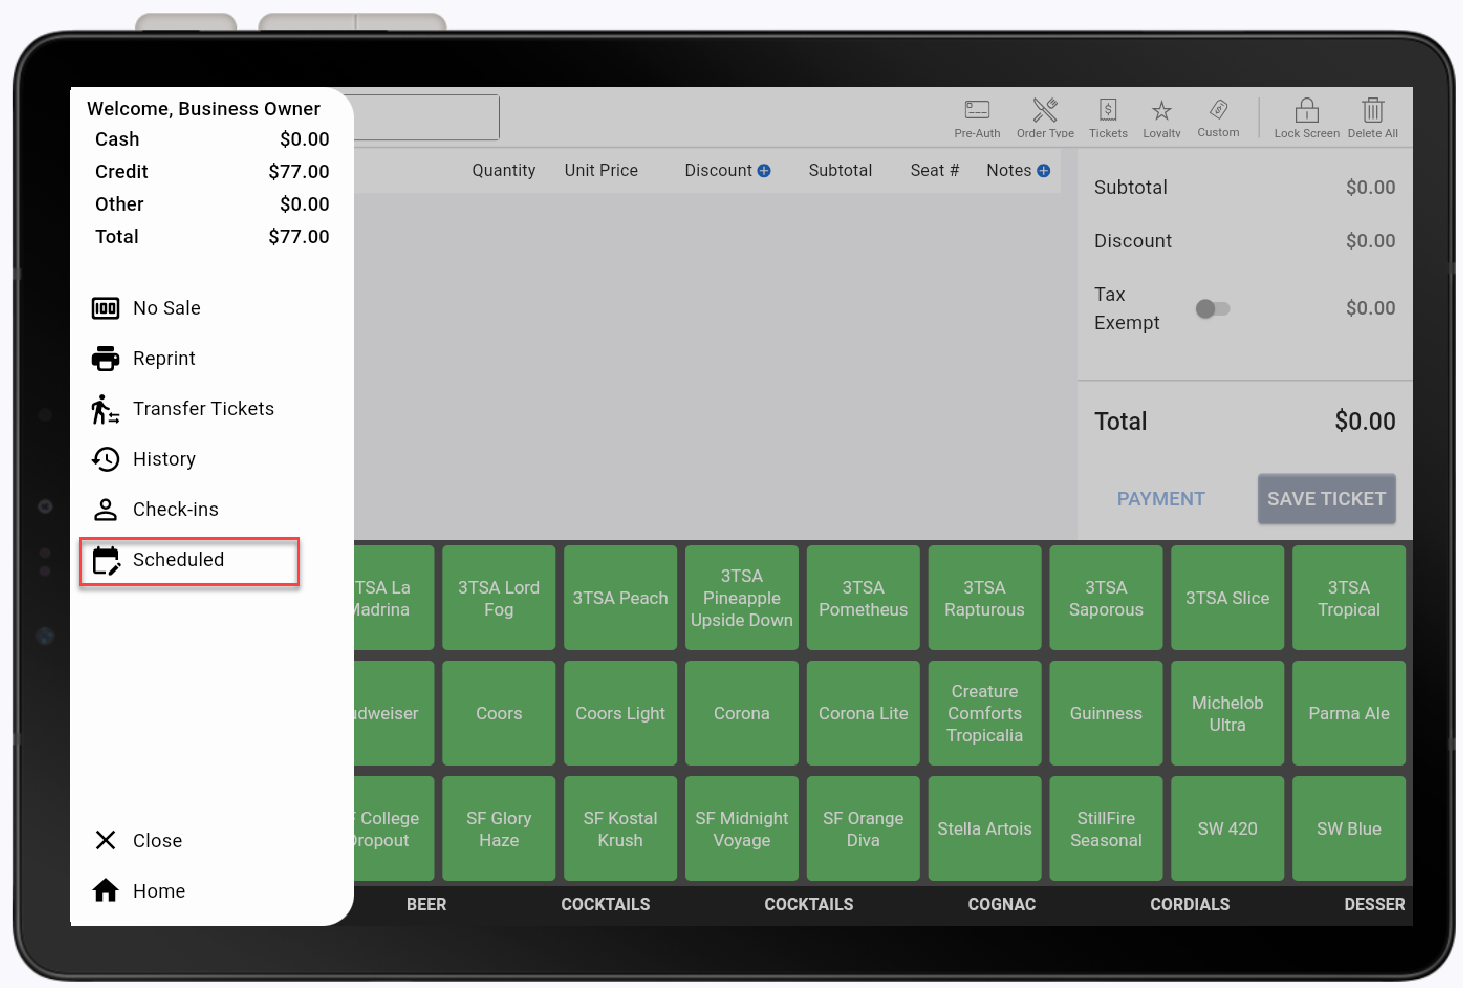
- Scheduled allows you to view the orders that are scheduled for pickup or completion.
- *music*
Sales summary
The Sales Summary appears at the top of the Order screen menu, showing totals for the day, including totals by payment method (tender).
TIP!
You can hide this view from employees by disabling Show Till Summary in Hardware settings.

No Sale
Use No Sale to open the cash register without completing a sale, if you have the permissions to do so.
Reprint
If you have the permission, you can reprint a receipt from any ticket completed within the last 24 hours.
To reprint a receipt
- Tap Reprint from the Orders menu.
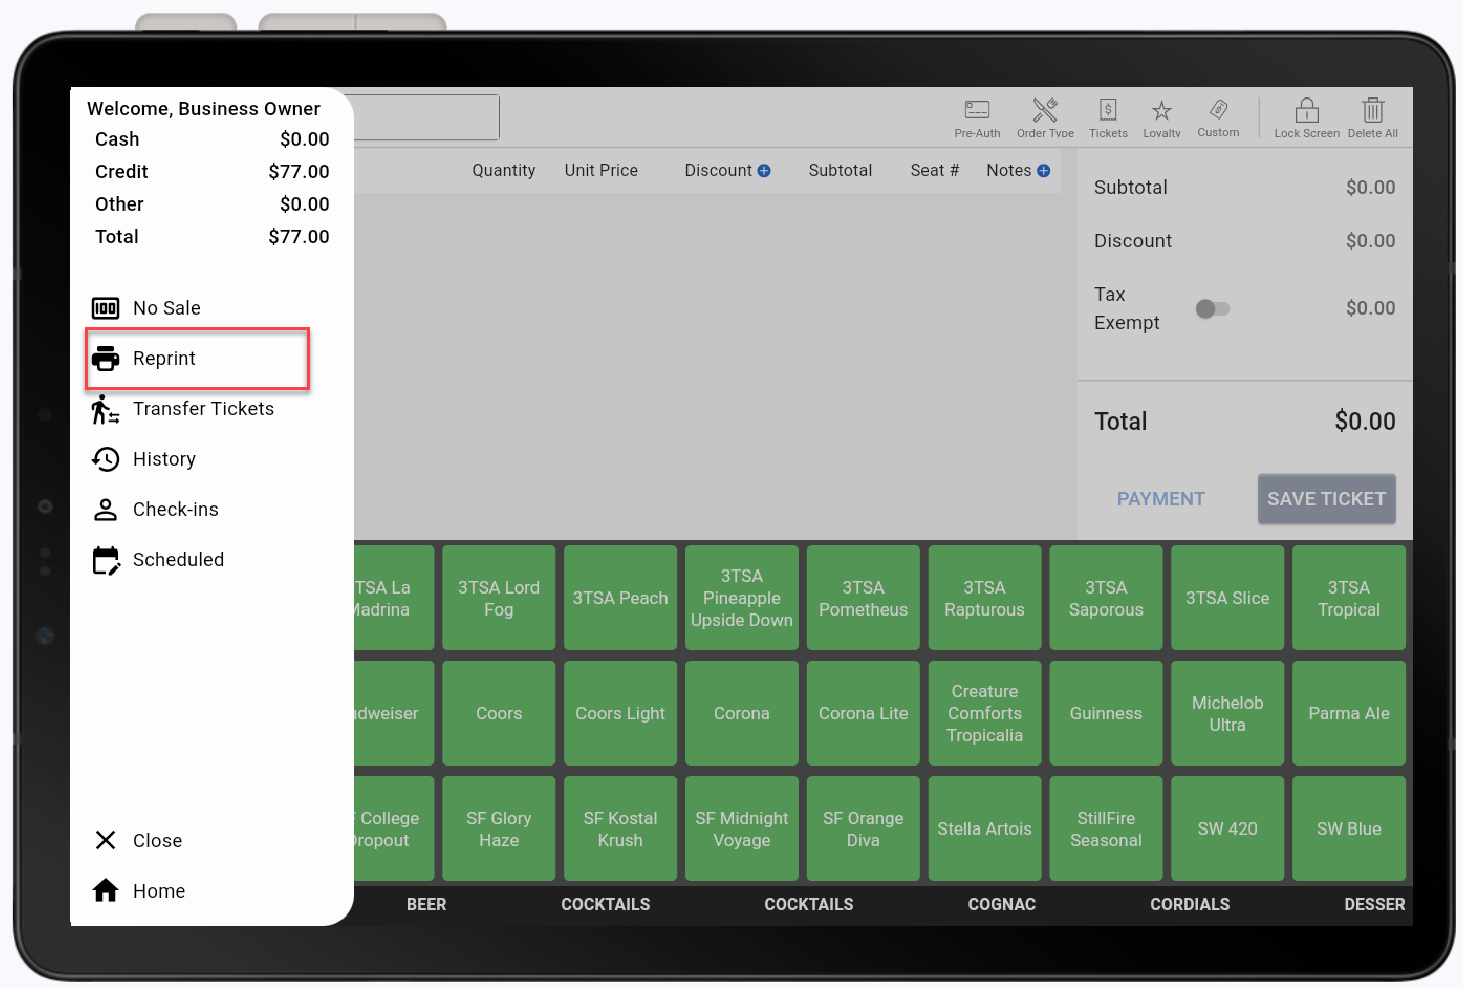
- Select the ticket.
- Choose a reprint option.
Transfer a ticket
When ending a shift or going on break, you can transfer an open ticket to another employee.
To transfer a ticket
- Tap Transfer Tickets from the Orders menu.

- Select the ticket.
- Choose the employee.
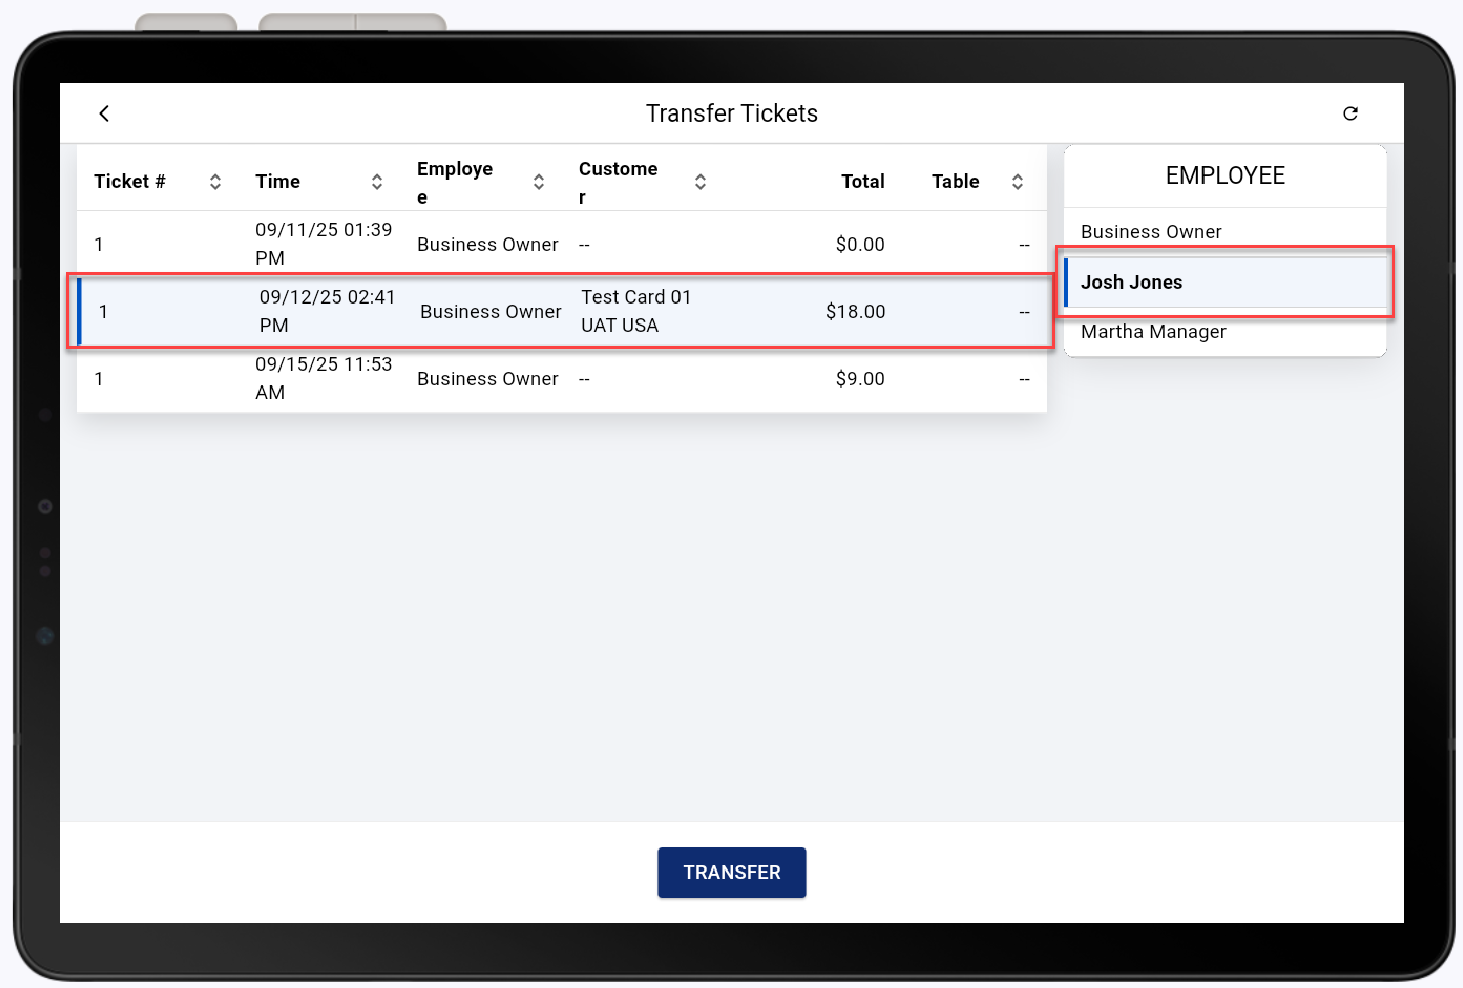
- Tap Transfer.
Order History
The Orders History displays completed orders from the last 24 hours. You can recall orders that have been completed within the last year by entering the order number from the receipt, customer email or customer phone number in the search field in the top right corner. 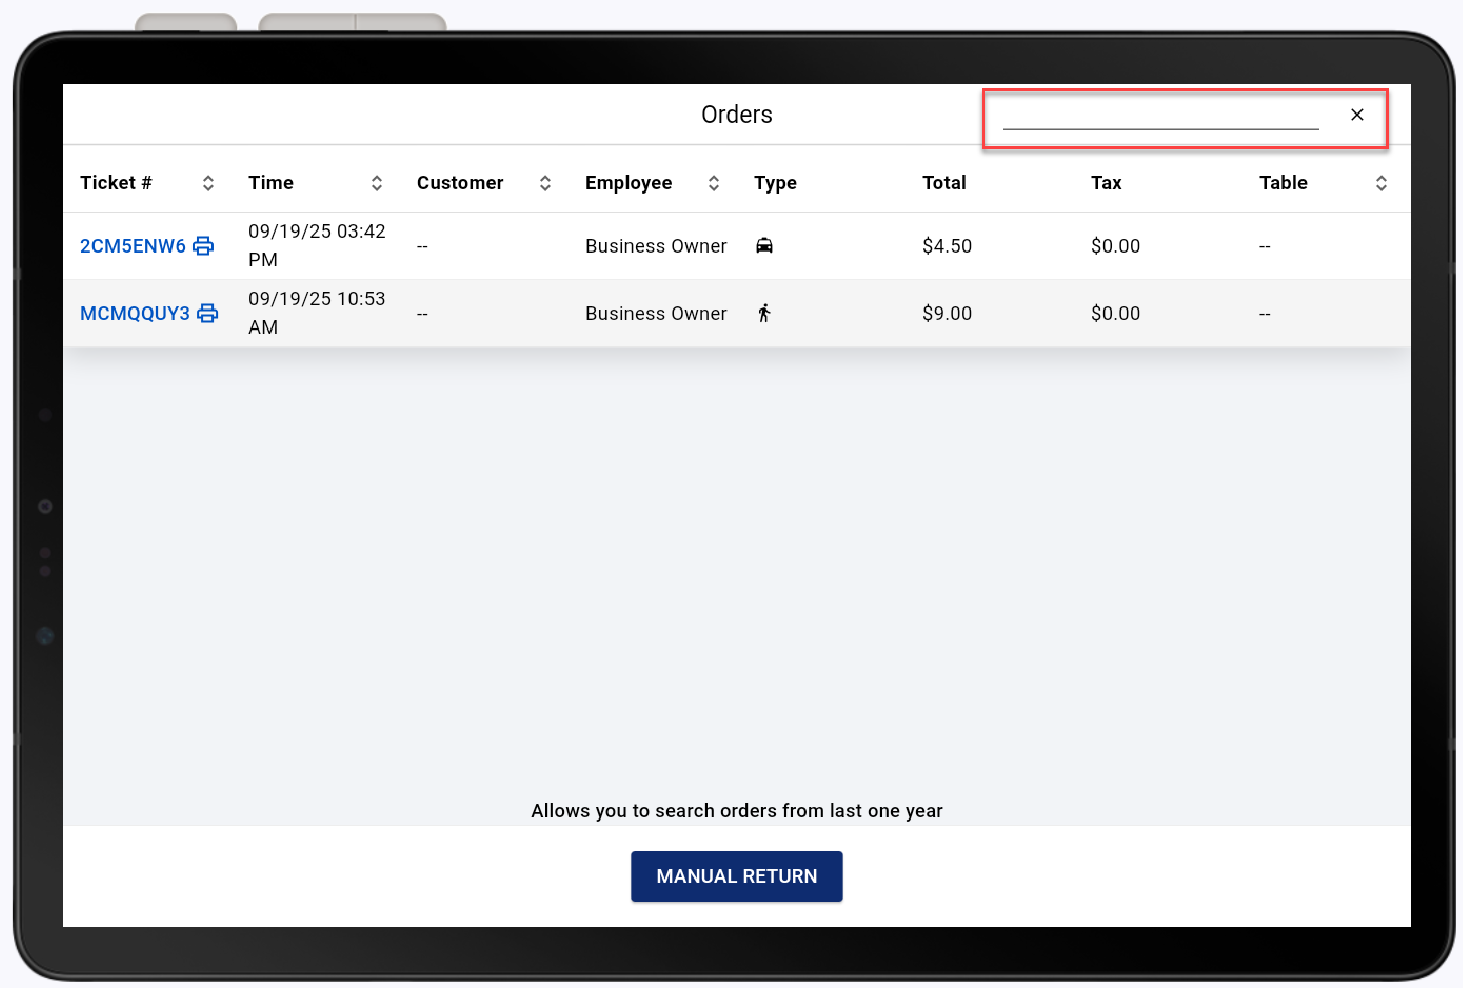
From History, you can recall an order to:
NOTE:
If you need to recall an open (unpaid or partial paid) order, tap the Tickets or Tables button in the top right menu. Learn more about recalling a saved order.
To recall a completed ticket
- Select History from the Orders menu.

- Select the ticket. If needed, search for the ticket by entering the order number from the receipt, customer email or customer phone number in the search field in the top right corner.
- Choose an option to return, repeat, or add loyalty to a completed order.
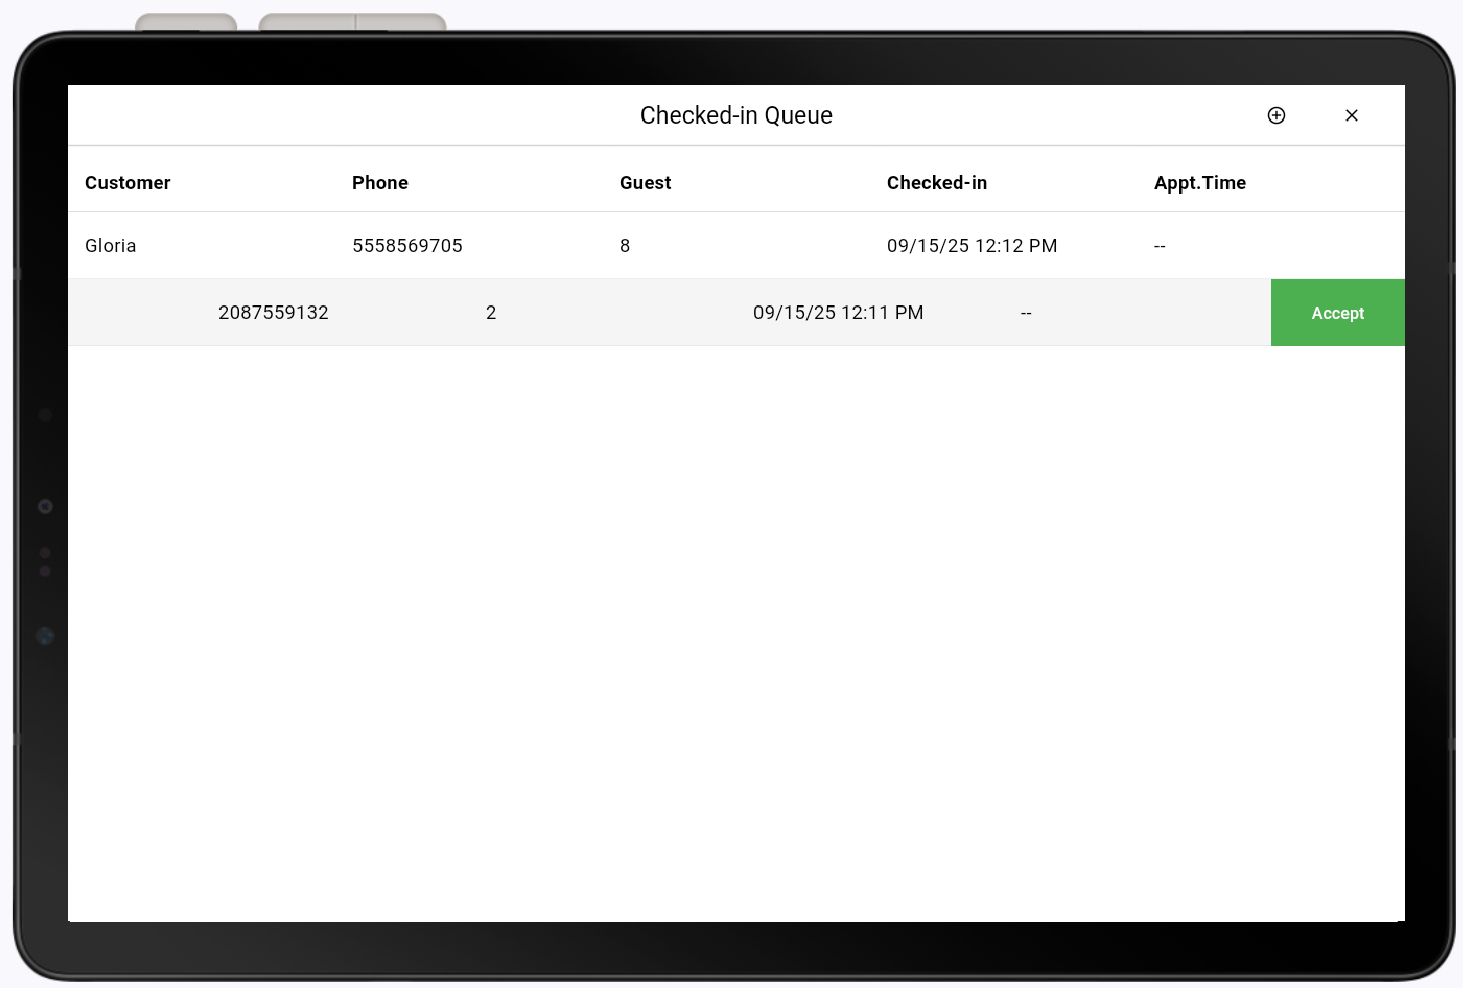
Check-in a customer
The Check‑ins feature works as a customer waiting list, commonly used by restaurants or service‑based businesses. For example, some restaurants use a waitlist for customers waiting for a table or you might use it for customers that do not have an appointment.
To add a customer to the check-in list
- Select Check-ins from the Orders menu.

- Tap Add in the top right corner.
- Enter the customer details.
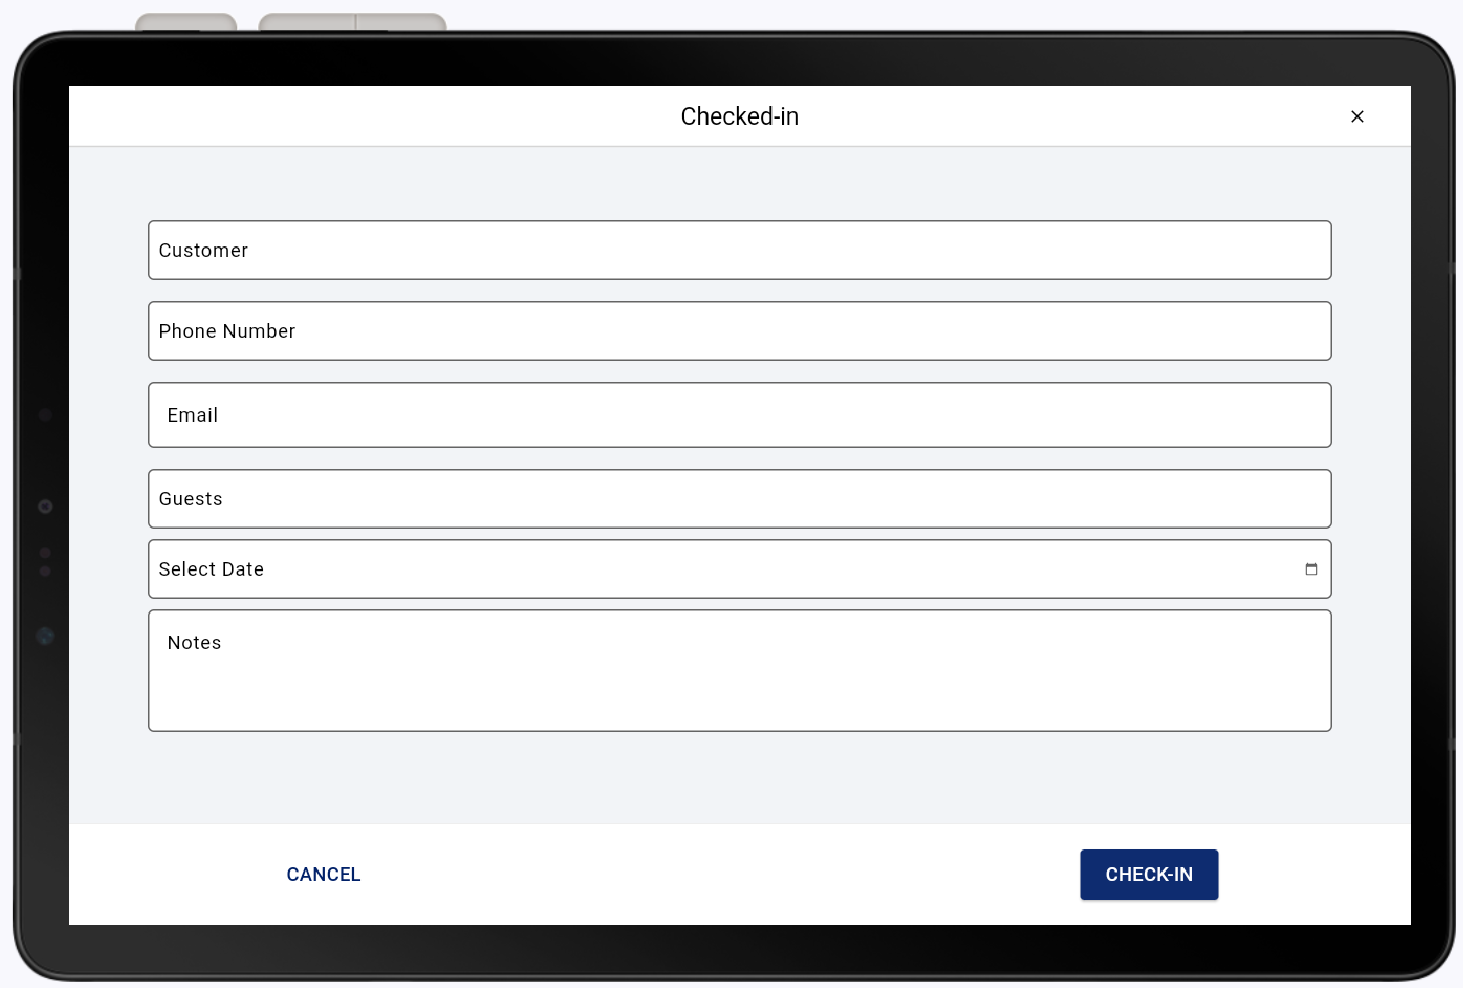
- Tap Check-in.
To check-in a customer
- Select Check-ins from the Orders menu.
- Select the customer.
- Swipe left to accept and start the order.
Schedule pickups/deliveries
Tap Scheduled to view orders that are scheduled for pickup/completion.