Point of Sale Solution Back Office Global Settings
Description
What's in this article?
Global settings manage the configuration of your business such as business hours, delivery times and limitations, item settings, tip settings and more. Settings available to you will depend on your Point of Sale Solution software plan.
NOTE:
If you update a Global Setting, scroll to the bottom of the page and click Save to save the changes.
Watch the videos:
- *music*
- This video will walk you through the many setting options available in your Back Office.
- In Back Office, select Basic Settings > Global Settings.
- Global Settings allows you to manage the configuration of your business, such as business hours, delivery times and limitations, item settings, tip and gratuity settings, and much more.
- Settings available to you will depend on your Point of Sale Solution software plan.
- Now, let's go over each section in the order that you see them.
- Login image
- The Login Image is your company logo or image that will display on the Point of Sale app when your staff enters their PIN. First, click Choose file to select a jpg or png image to upload. The image can be a maximum width of 1200 pixels and maximum height of 900 pixels. 2. Navigate to select your file and click Open. 3. Click Upload to upload the file.
- Business Hours
- Set your business start and end times.
- Delivery
- A charge for delivery can be placed on orders that do not meet your minimum order for free delivery. Set the minimum order amount, then set the charge for orders that do not meet the minimum. You can also limit which departments, items, categories and products are available for delivery.
- To set Do Not Sell restrictions. Select Do Not Sell from the navigation list or scroll down to the Do Not Sell section. To set Do Not Sell restrictions. Select a Department, Category, or Product to restrict by clicking the blue plus icon. To set Do Not Sell restrictions, select the appropriate Department, Category or Product from the dropdown list. Enter the start and end time for the sales restriction.
- Item Settings
- Choose whether to show the default modifiers and product description on the ticket:
- Default Modifiers Choose whether to show the modifiers that are automatically applied to an item. These items will print on your ticket. Showing modifiers may provide more information for your kitchen staff but will take more space on your printed ticket.
- Product Description Choose to show or hide the description of your product on the ticket.
- Time Out
- Set the Point of Sale app login timeout. After this time, the user will need to enter their PIN again to access the Point of Sale app.
- Multiple Discounts
- Multiple Discounts allows multiple discounts to be applied to an order at the Point of Sale. If multiple discounts are not allowed, only one discount may be applied.
- Signature Required
- Requires a customer signature to checkout on screen or on printed receipt for amounts on or over the specified amount.
- *music*
- *music*
- This video will walk you through the many setting options available in your Back Office.
- In Back Office, select Basic Settings > Global Settings.
- Global Settings allows you to manage the configuration of your business, such as business hours, delivery times and limitations, item settings, tip and gratuity settings, and much more.
- Settings available to you will depend on your Point of Sale Solution software plan.
- Now, let's go over each section in the order that you see them.
- Gift Card Program
- Enables creation, sale, and redemption of gift cards.
- Pre-Auth
- Allow a pre-authorization to hold funds until the final bill is paid. If enabled, you can set the limit on the pre-authorization amount. If Amount Editable is enabled, the pre-authorization limit may be overridden at the Point of Sale.
- Tip
- Enable tipping and configure either suggested tip amounts for inline tipping as either a percentage or a set amount. Select whether to tip employees and, if so, whether to tip them equally or by value. Select whether tips are enabled at the register and whether they can be settled at the register.
- Auto Gratuity Applies a gratuity as an amount or percentage to a ticket automatically based on the size of the party.
- Check-In Guests Allow guest check-in in the order of arrival on the Point of Sale app. When checking in guests, enabling Use Loyalty Customer will use the Loyalty Customer list to check-in a guest. If not enabled, the customer information can be added.
- Change Taxes on Register Allows changing tax settings at the Point of Sale app. For example, if your processing location is mobile, you can choose the appropriate tax for the area that you are doing business in.
- Order Scheduling Enables order scheduling on the Point of Sale app. Orders can be entered in the Point of Sale app and scheduled to complete at a particular time. Set the Delivery Window, which is the number of hours in the delivery window and choose whether to print the order when a scheduled order is marked complete.
- Layout & Seating Enable seat numbers to be able to enter the seat number when ordering on the Point of Sale app. Enabling layouts will allow you to create seating layouts and manage customer seating. If Download QR Codes is enabled, after setting up your table layouts the QR code download for the tables will be available to print.
- Tender Types Choose the tender types that you will allow at your business. Cash, credit, EBT, gift cards, or other custom tender types such as Uber Eats or similar. You can create custom tender types for your business if needed. To create a custom tender type In POSBO, select Basic Settings > Global Settings. To create a custom tender type Select Tender Types from the navigation list or scroll down to the Tender Types section. To create a custom tender type Click the blue plus icon. To create a custom tender type Enter the tender name. (Optional) Enter a description. Click Save. Order Types Enable order types available on the Point of Sale for your business needs.
- *music*
Login image
The Login image is your company logo or image that will display when staff members enter their PIN on the Point of Sale app.
- To set the Login image for the Point of Sale app
- In the Point of Sale Solution Back Office, select Basic Settings > Global Settings.
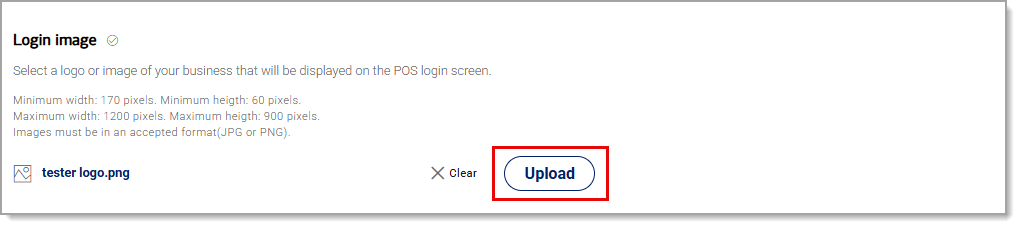
- Click Choose file to select a jpg or png image to upload. The image can be a maximum width of 1200 pixels and maximum height of 900 pixels.
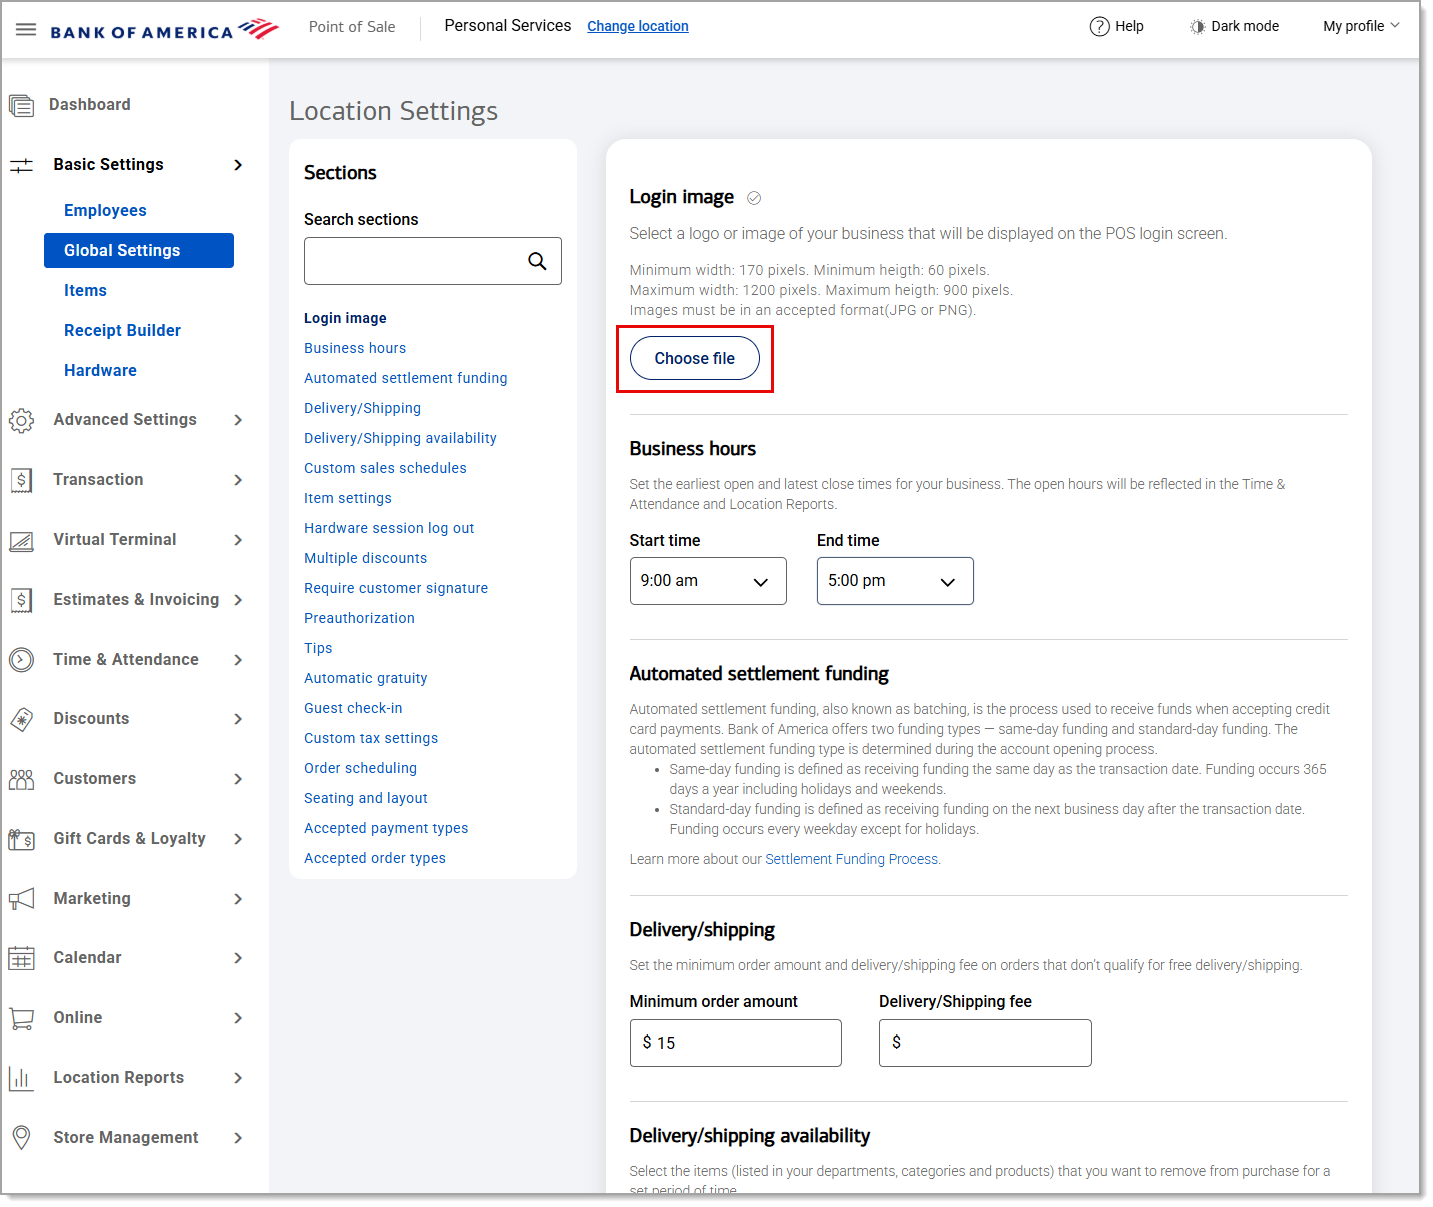
- Navigate to select your file and click Open.
- Click Upload to upload the file.
Business hours
Set your business start and end times. Business hours can be adjusted by clicking the dropdown lists and scrolling to set a new time.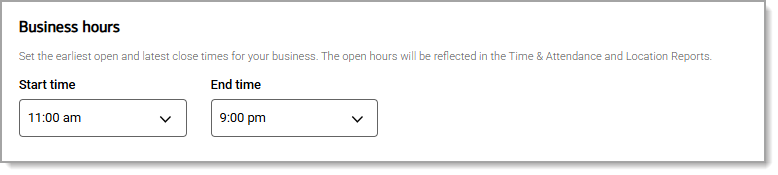
Automated settlement funding
Automated settlement funding, also known as batching, is the process used to receive funds when accepting credit card payments. Bank of America offers two funding types — same-day funding and standard-day funding. The automated settlement funding type is determined during the account opening process. Same-day funding is defined as receiving funding the same day as the transaction date. Funding occurs 365 days a year including holidays and weekends. Standard-day funding is defined as receiving funding on the next business day after the transaction date. Funding occurs every weekday except for holidays. Learn more about our Settlement Funding Process.
Delivery/shipping
A charge for delivery/shipping can be placed on orders that do not meet your minimum order for free delivery. Set the minimum order amount, then set the charge for orders that do not meet the minimum. You can also limit which departments, item categories and products are available for delivery or shipping.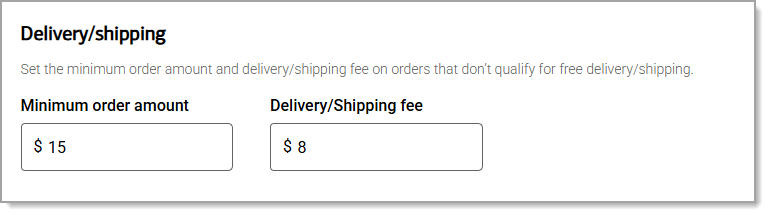
Delivery/shipping availability
You can choose departments, categories or individual products that you do not want to be delivered/shipped. This will remove the item from being selected on the Point of Sale. Restrictions can be removed.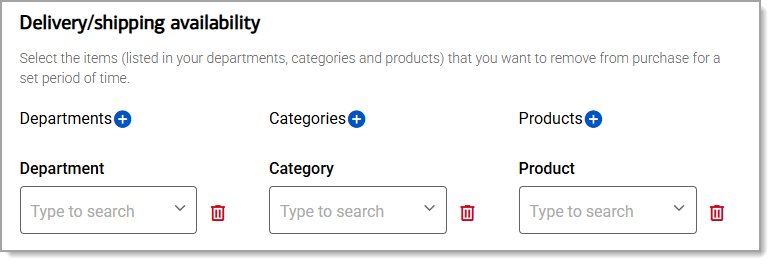
Custom sales schedules
Restrict sales of your items by department, category, or product. You can choose the start and end time of availability. 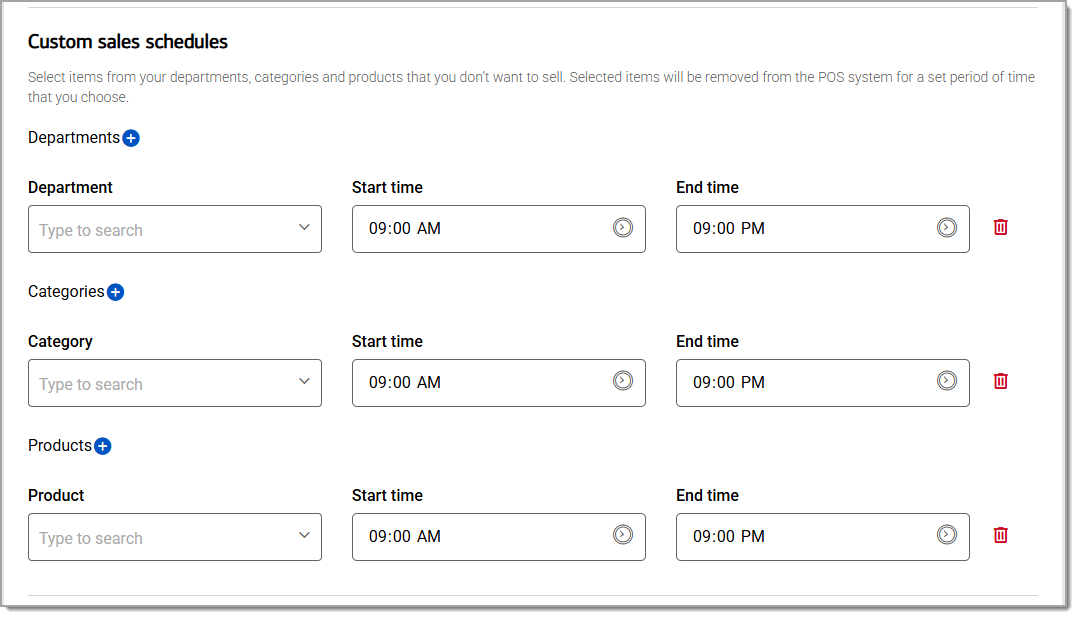
- To set custom sales schedules
You can put restrictions on the delivery or sale of items based on the item department, category or product. Restrictions can be removed at any time.
- In the Point of Sale Solution Back Office, select Basic Settings > Global Settings.
- Select Custom sales schedules from the navigation list or scroll down to the Location Settings section.
- Select a Department, Category, or Product to restrict by clicking the blue plus icon.
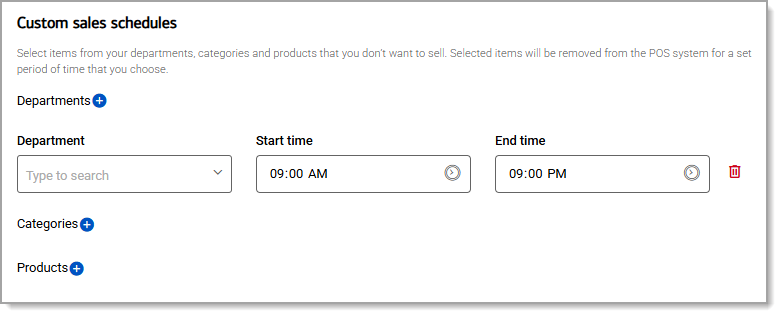
- Select the appropriate Department, Category or Product from the dropdown lists.
- Enter the start and end time for the sales restriction.
Item settings
Enable or disable what level of item detail will display on tickets. Choose to show the default modifiers and/or the product description on the ticket:
- Display defaults modifiers
Choose whether to show the modifiers that are automatically applied to an item. Showing modifiers provides more information for your kitchen staff but will take more space on your printed ticket. - Display product description
Choose to show or hide the description of your product on the ticket.

Session log out
Set the Point of Sale app login timeout. After this time, staff members will need to enter their PIN again to access the Point of Sale app.
Multiple discounts
Enable or disable multiple discounts to be applied to an order at the Point of Sale. If multiple discounts are not allowed, only one discount may be applied. 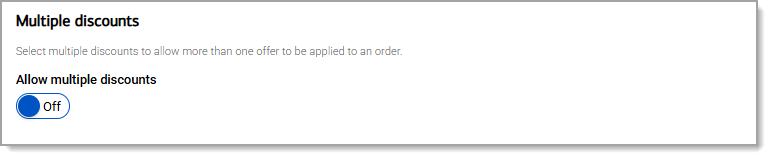
Require customer signature
Requires a customer signature at checkout on screen or on a printed receipt for amounts on or over the specified amount.

Gift cards
Enable or disable the sale and redemption of gift cards.
Preauthorization
Allow a pre-authorization to hold funds until the final bill is paid. If enabled, you can set the limit on the pre-authorization amount. If Amount editable is enabled, the pre-authorization limit may be overridden at the Point of Sale.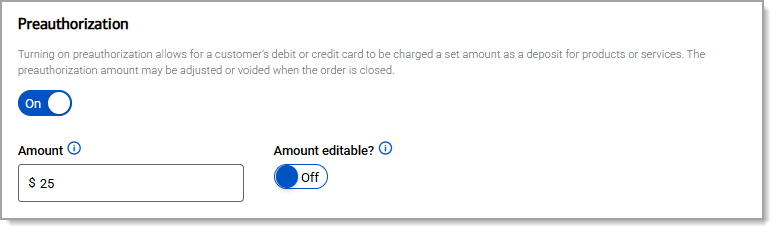
Tips
Enable tipping and configure suggested tip amounts for inline tipping as either a percentage or a fixed amount. Enable Allow tipping on register to prompt for an inline tip during the sale.
For tip-eligible employees, choose whether Employee tips are distributed equally or based on the value of the service provided by the employee.
For example, if Employee A performs a service for $100 and Employee B performs a service for $50, if the customer tips 20% and the tips are split equally each employee receives $15. If tips are split by value, Employee A receives $20 and Employee B receives $10.
NOTE:
Tipping is not supported when invoicing payments.
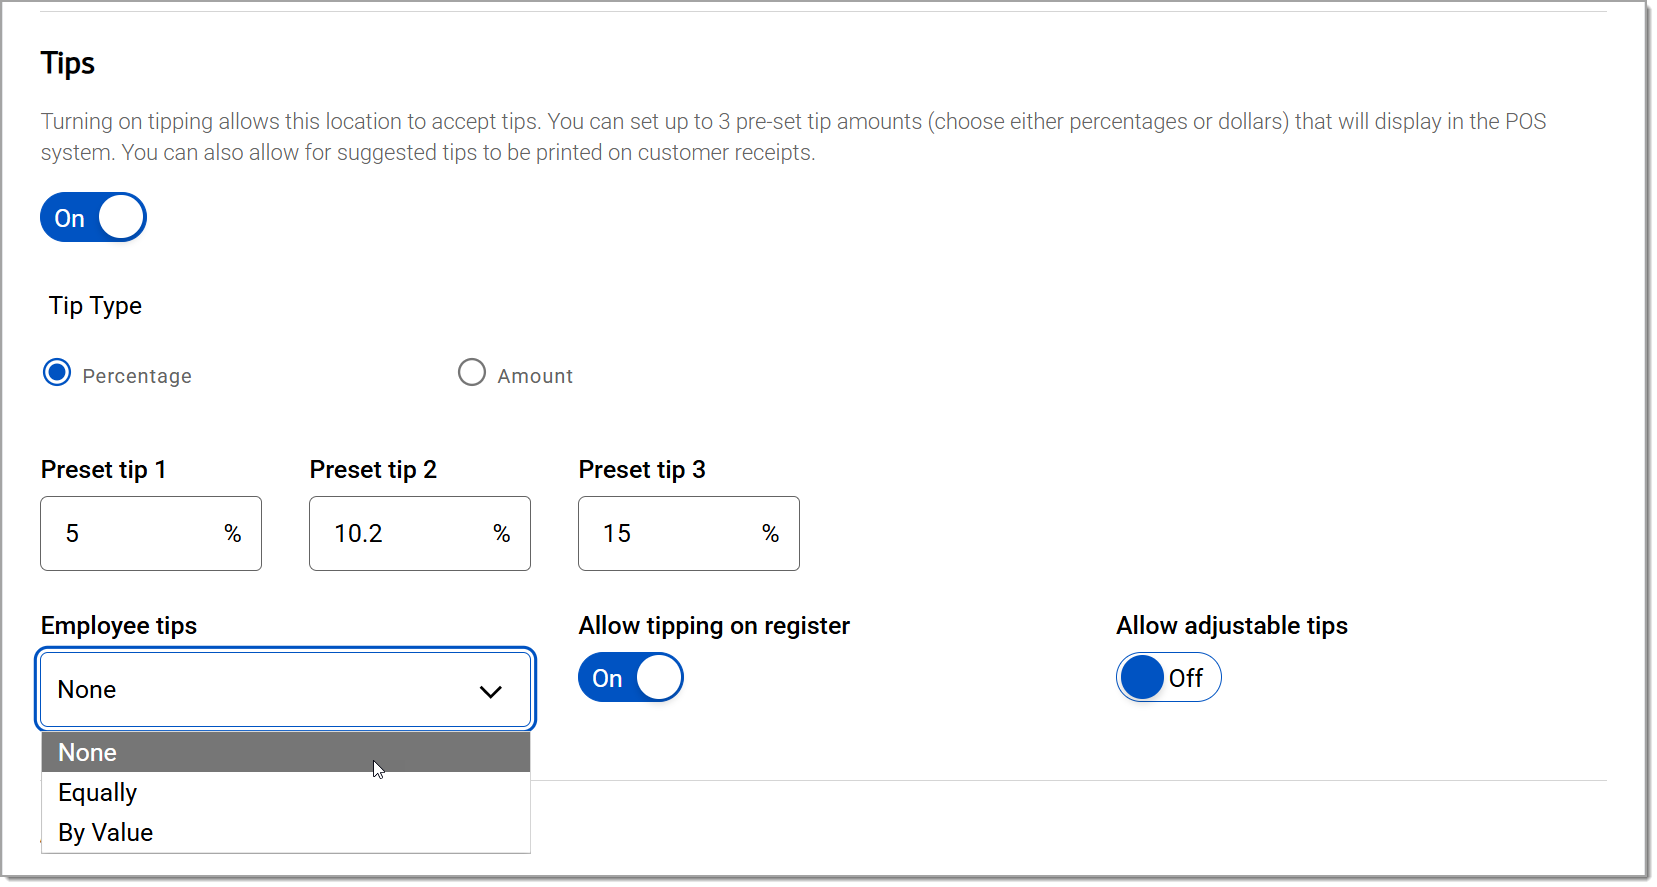
If your Merchant Category Code (MCC) supports adjusted tipping, you can enable adjustable tips by disabling Allow tipping on register and enabling Allow adjustable tips.
Automatic gratuity
Enable a gratuity to be charged as an amount or percentage of a ticket automatically based on the size of the party. The number of guests that will activate the charge can be entered and the charge can be set as an amount or percentage of the ticket.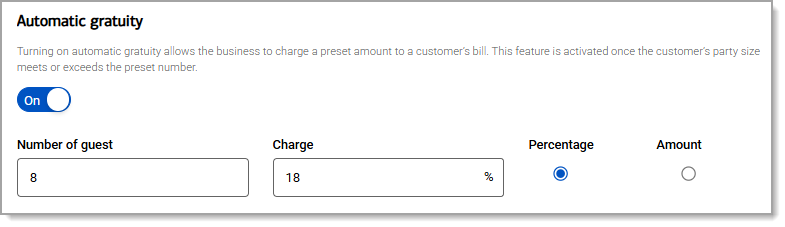
Guest check-in
Allow guest check-in in order of arrival on the Point of Sale app. When checking in guests, enabling Customer loyalty program will use the Loyalty Customer list to check in a guest. If not enabled, the customer information can be manually entered.
Custom tax settings
Allow changing tax settings at the Point of Sale app. For example, if your processing location is mobile you can choose the appropriate tax for the area that you are doing business in.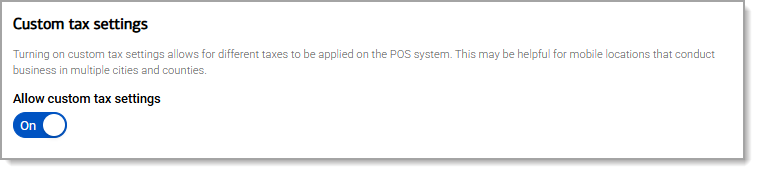
Order scheduling
Enables order scheduling on the Point of Sale app. Orders can be entered in the Point of Sale app and scheduled to complete at a particular time. Set the number of hours for your delivery window and choose whether to print the order when a scheduled order is marked complete.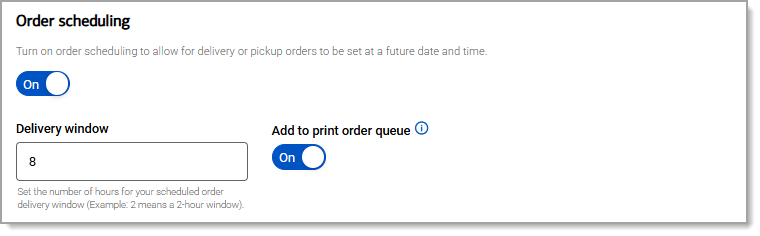
Seating and layout
Enable seat numbers to be able to enter the seat number when ordering on the Point of Sale app. Enabling layouts will allow you to create seating layouts and manage customer seating. If Download QR Codes is enabled, the QR code download for the tables will be available to print after setting up your table layouts. Learn more about using QR codes.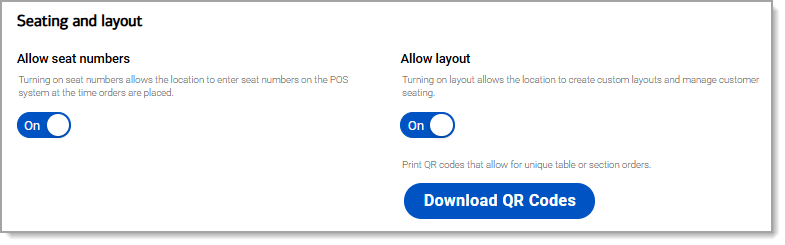
Accepted payment types
Choose the additional accepted payment types that you will allow at your business: gift cards, check, EBT, or other custom tender types. You can create custom tender types for your business if needed.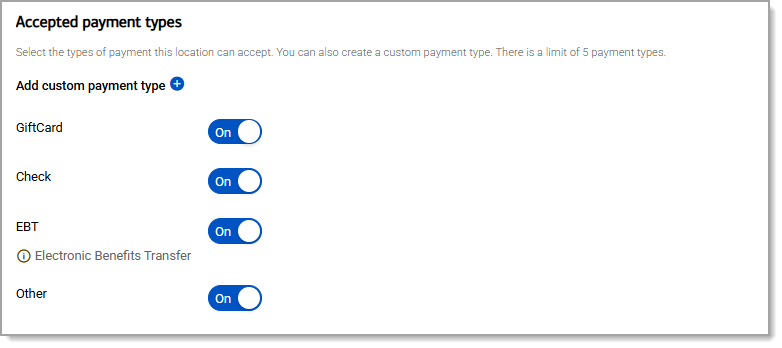
- To create a custom tender type
- In the Point of Sale Solution Back Office, select Basic Settings > Global Settings.
- Select Accepted payment types from the navigation list.
- Click the blue plus icon.
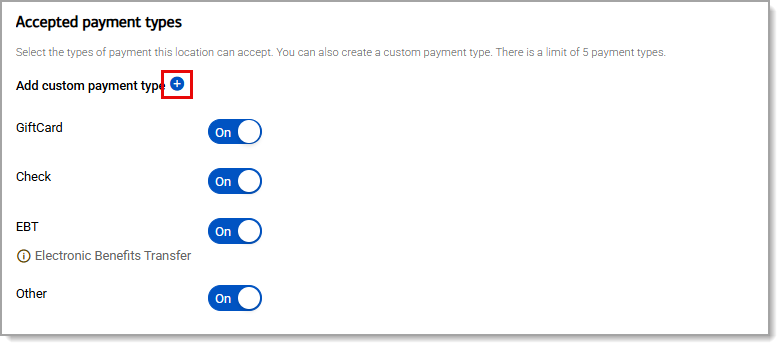
- Enter the tender name.
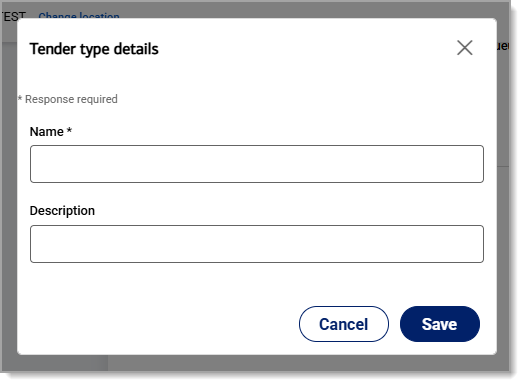
- (Optional) Enter a description.
- Click Save. When you sync your register, the order payment types will update.
Accepted order types
Enable order types available on the Point of Sale for your business needs. As you enable an order type, that order type will move to the top of the list. In the Point of Sale Solution App, order types display in the order listed. You can enable a maximum of five order types.
By default, order types are available during ordering by selecting the Order Type button on the top of the Orders page. If you would like to prompt users to select an order type for every order, select Show Order Type in the Point of Sale Solution App Settings options.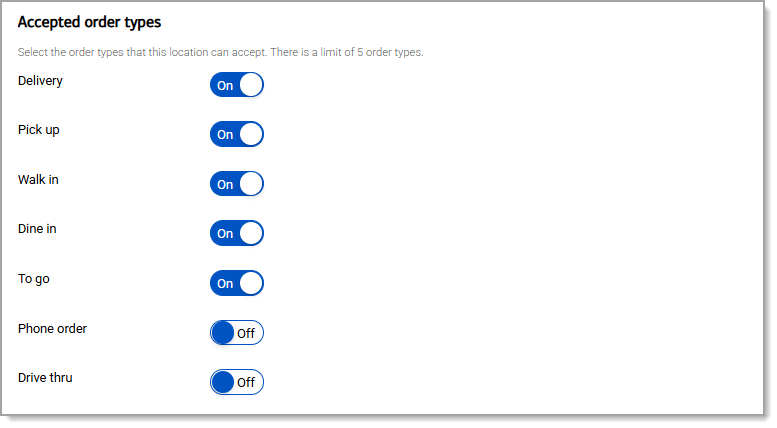
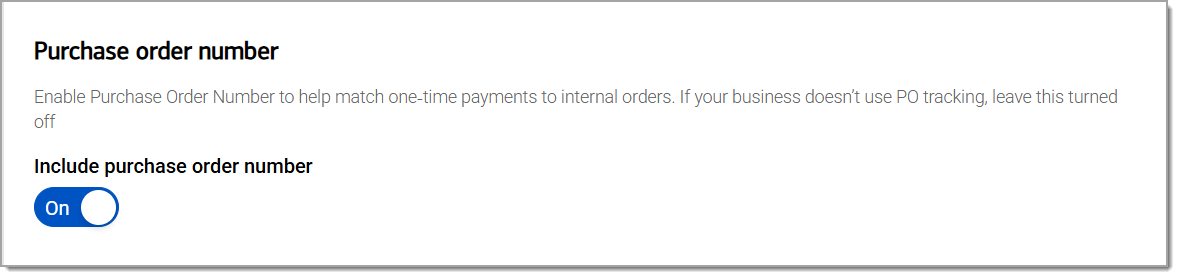
Purchase order number
When enabled, a purchase order field appears in the Virtual Terminal One Time Payment form. Transactions that include a purchase order will show the number on the receipt and in related reporting