PIN Pad A35 Setup
Description
What's in this article?
The PIN Pad A35 is a customer-facing PIN pad designed to integrate with the Hybrid A800 as a PIN entry device or Station L1400 to provide a dedicated payment screen for customers.
What's in the box?
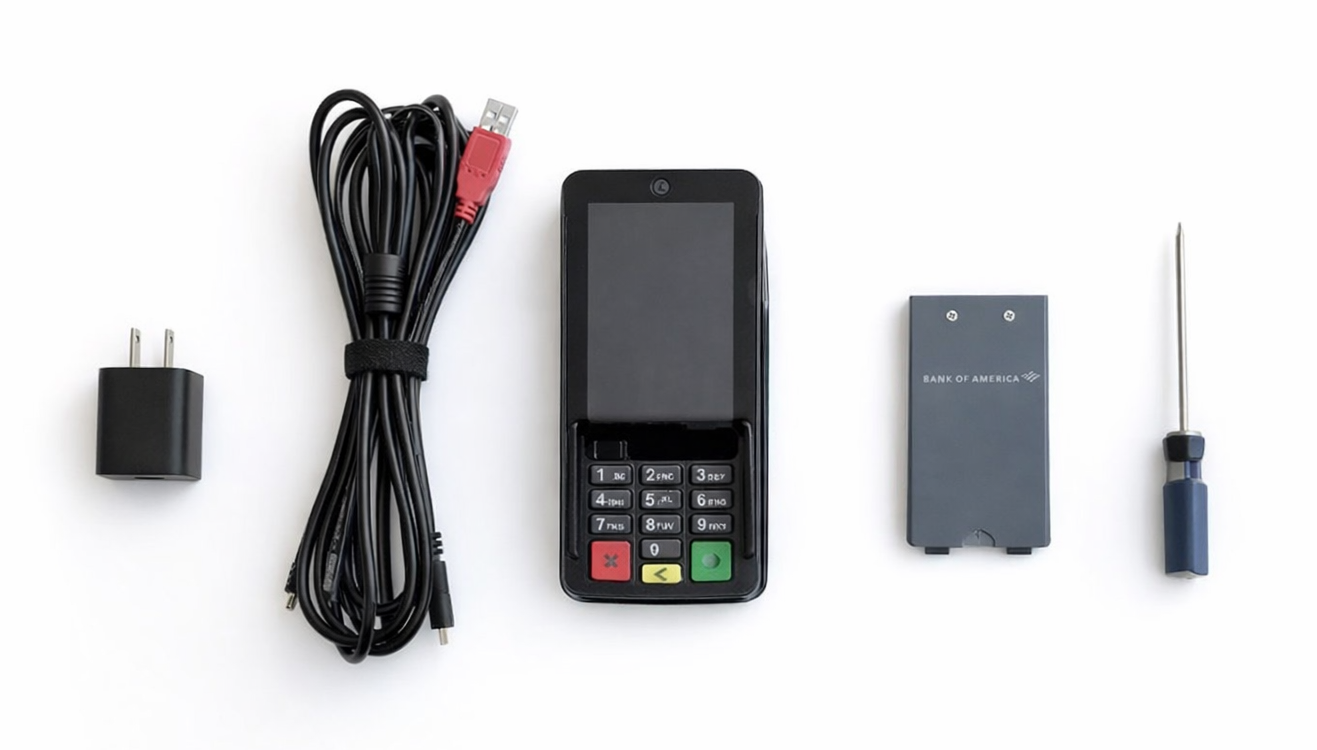
The PIN Pad A35 arrives with a USB power cable, power adapter, the back plate and required screws, and a screwdriver.
1 Connect the PIN Pad
The A35 must be connected to power and then connected to either the Hybrid A800 via cable or the Station L1400 through Wi-Fi.
Connect to the Station L1400
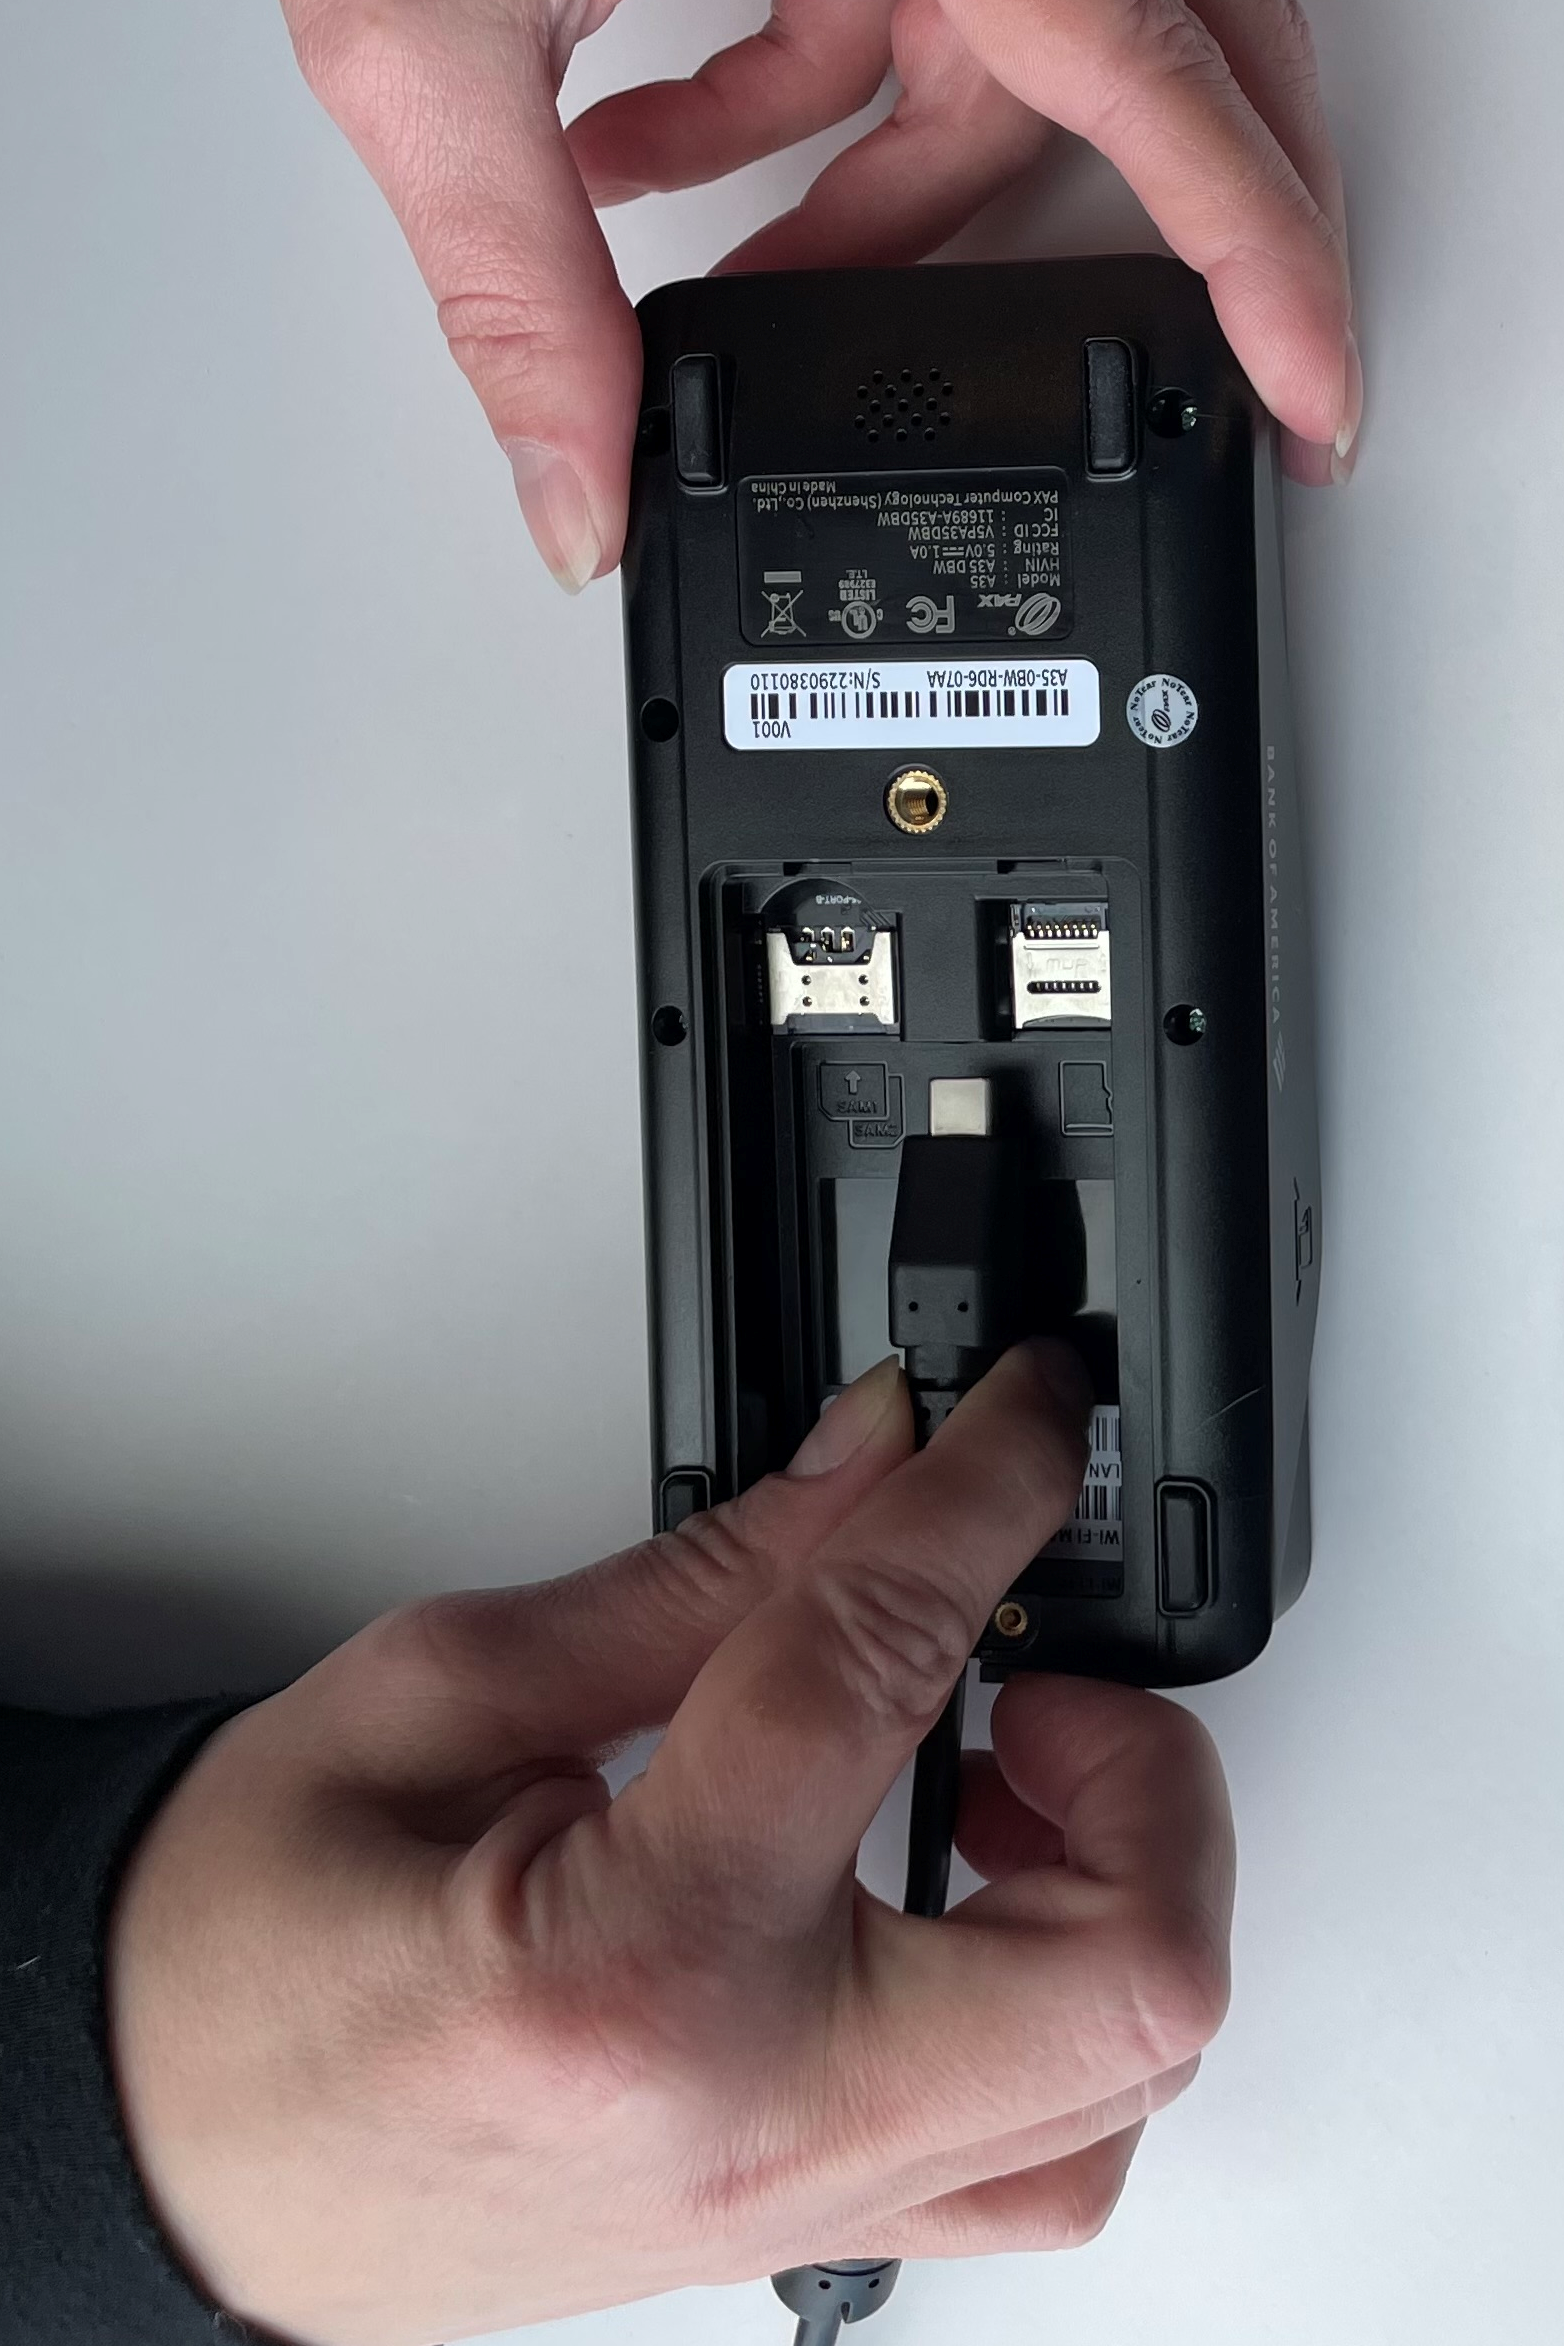
- Plug the PIN Pad A35 cable into the back of the A35 into the center USB port.
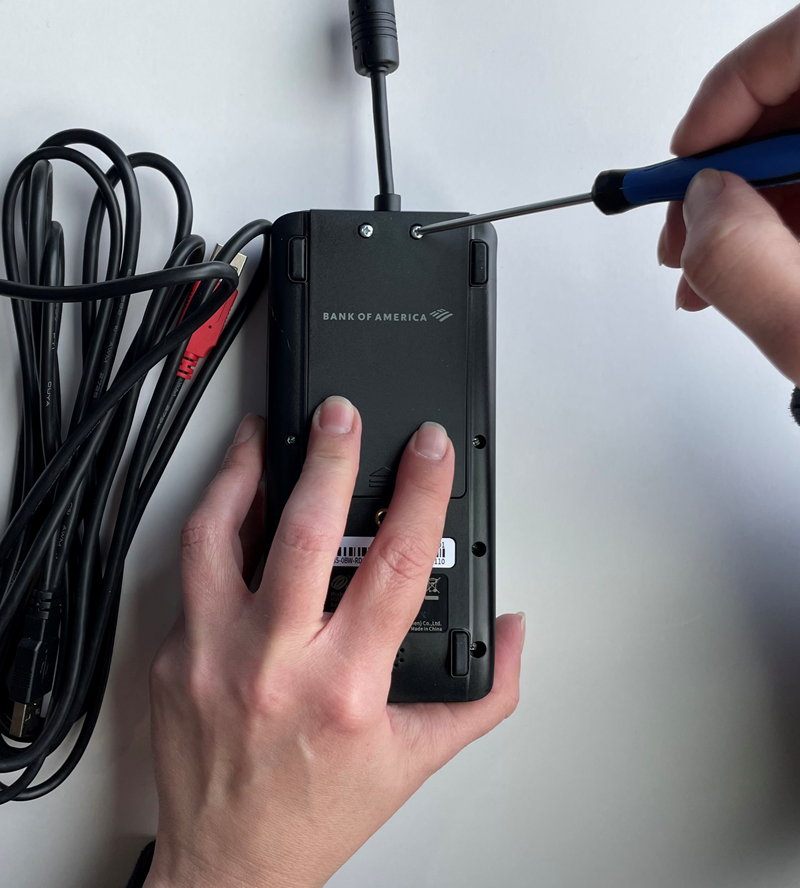
- Attach the back plate, inserting the plate into the slots and then attaching with the screws provided using a Phillips-head screwdriver.
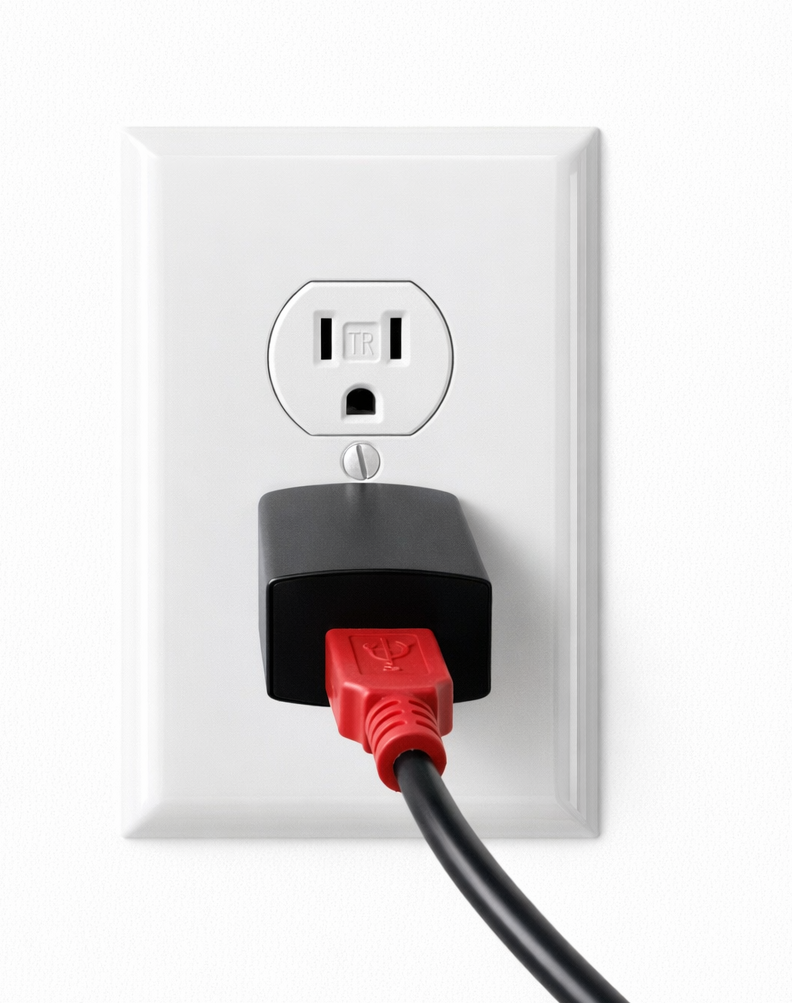
- Plug the red USB-A end of the cable into the power adapter, then plug the power adapter into a power outlet.
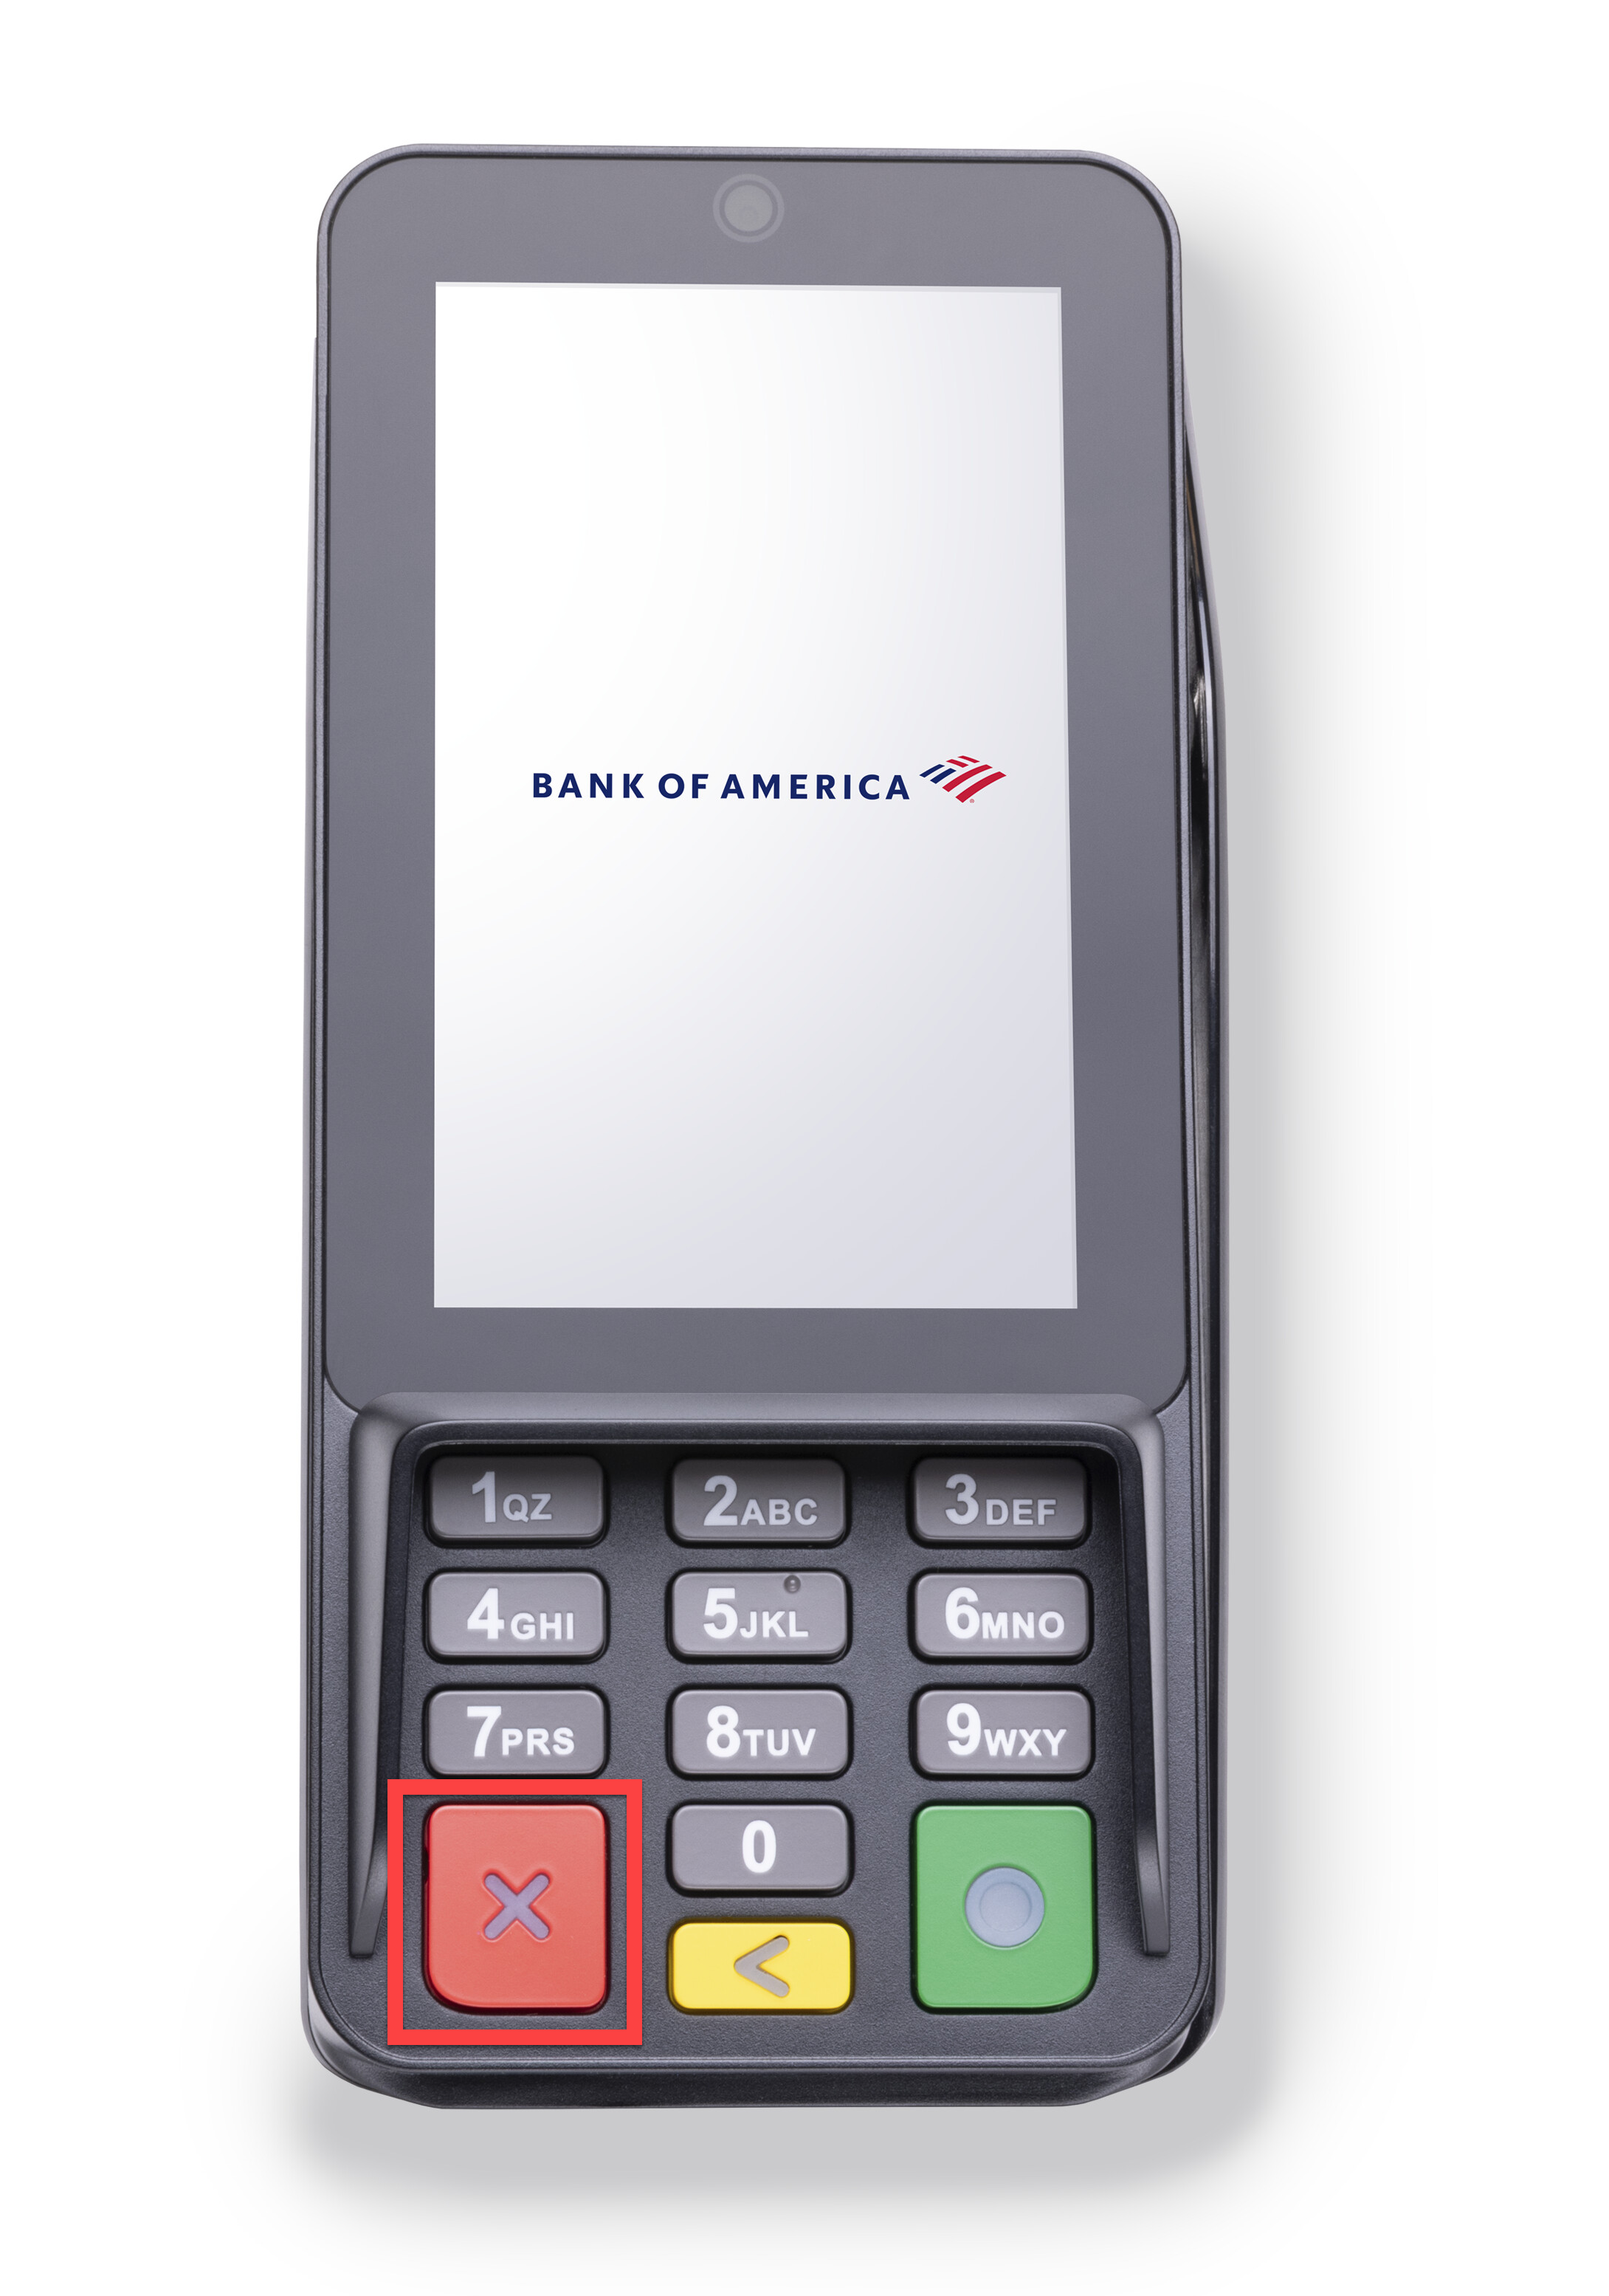
- Press the red X button on the PIN Pad A35 to power on.
2 Connect to the internet
Connect the PIN Pad A35 to Wi-Fi. Learn more about network connection.
3 Configure the device
Once the PIN Pad A35 is connected and powered on, configure the PIN Pad to connect with the Station L1400.
To configure the PIN Pad A35 for the Station L1400
- After connecting to Wi-Fi, in the Settings on the A35 scroll to About Device A35 and locate the IP address. Learn more about how to obtain the IP address for the PIN Pad A35.
- Log in to the Point of Sale App on the Station L1400.
- Select Settings > Hardware from the navigation menu.
- In the Payment Terminal field, select the Settings gear icon.
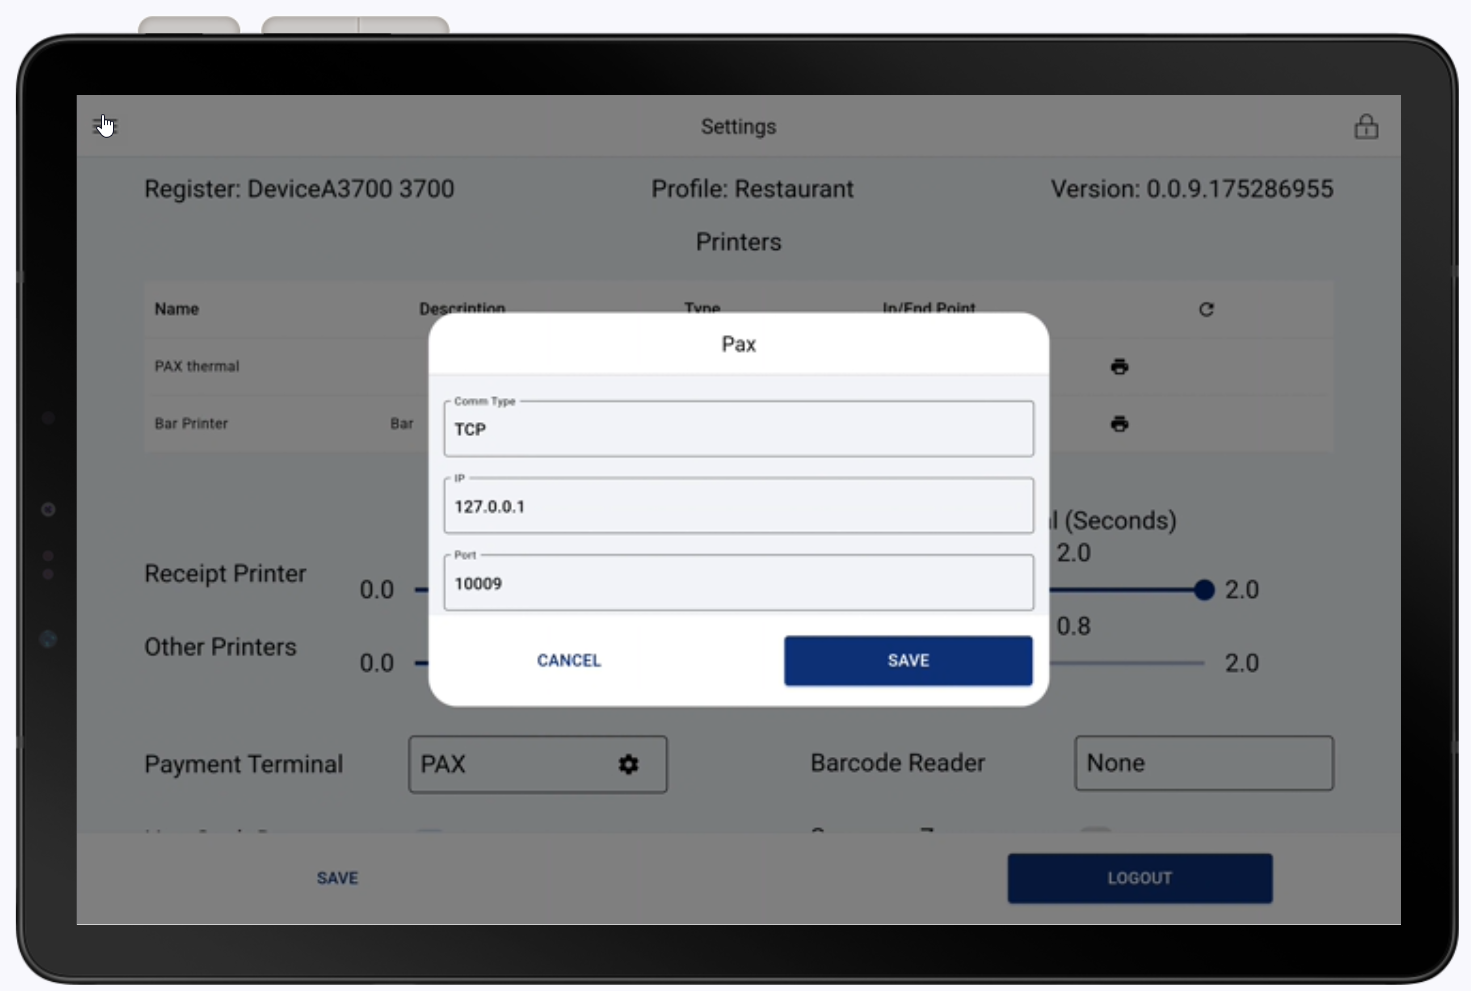
- Enter the pairing information:
Field Enter Comm type TCP IP Address Enter the IP address from the PIN Pad Port 10009 - Tap Save.
Take a payment
The A35 accepts chipped card insertions or contactless taps. Your customers can also swipe their cards or use a mobile or digital wallet on a device to make a payment.
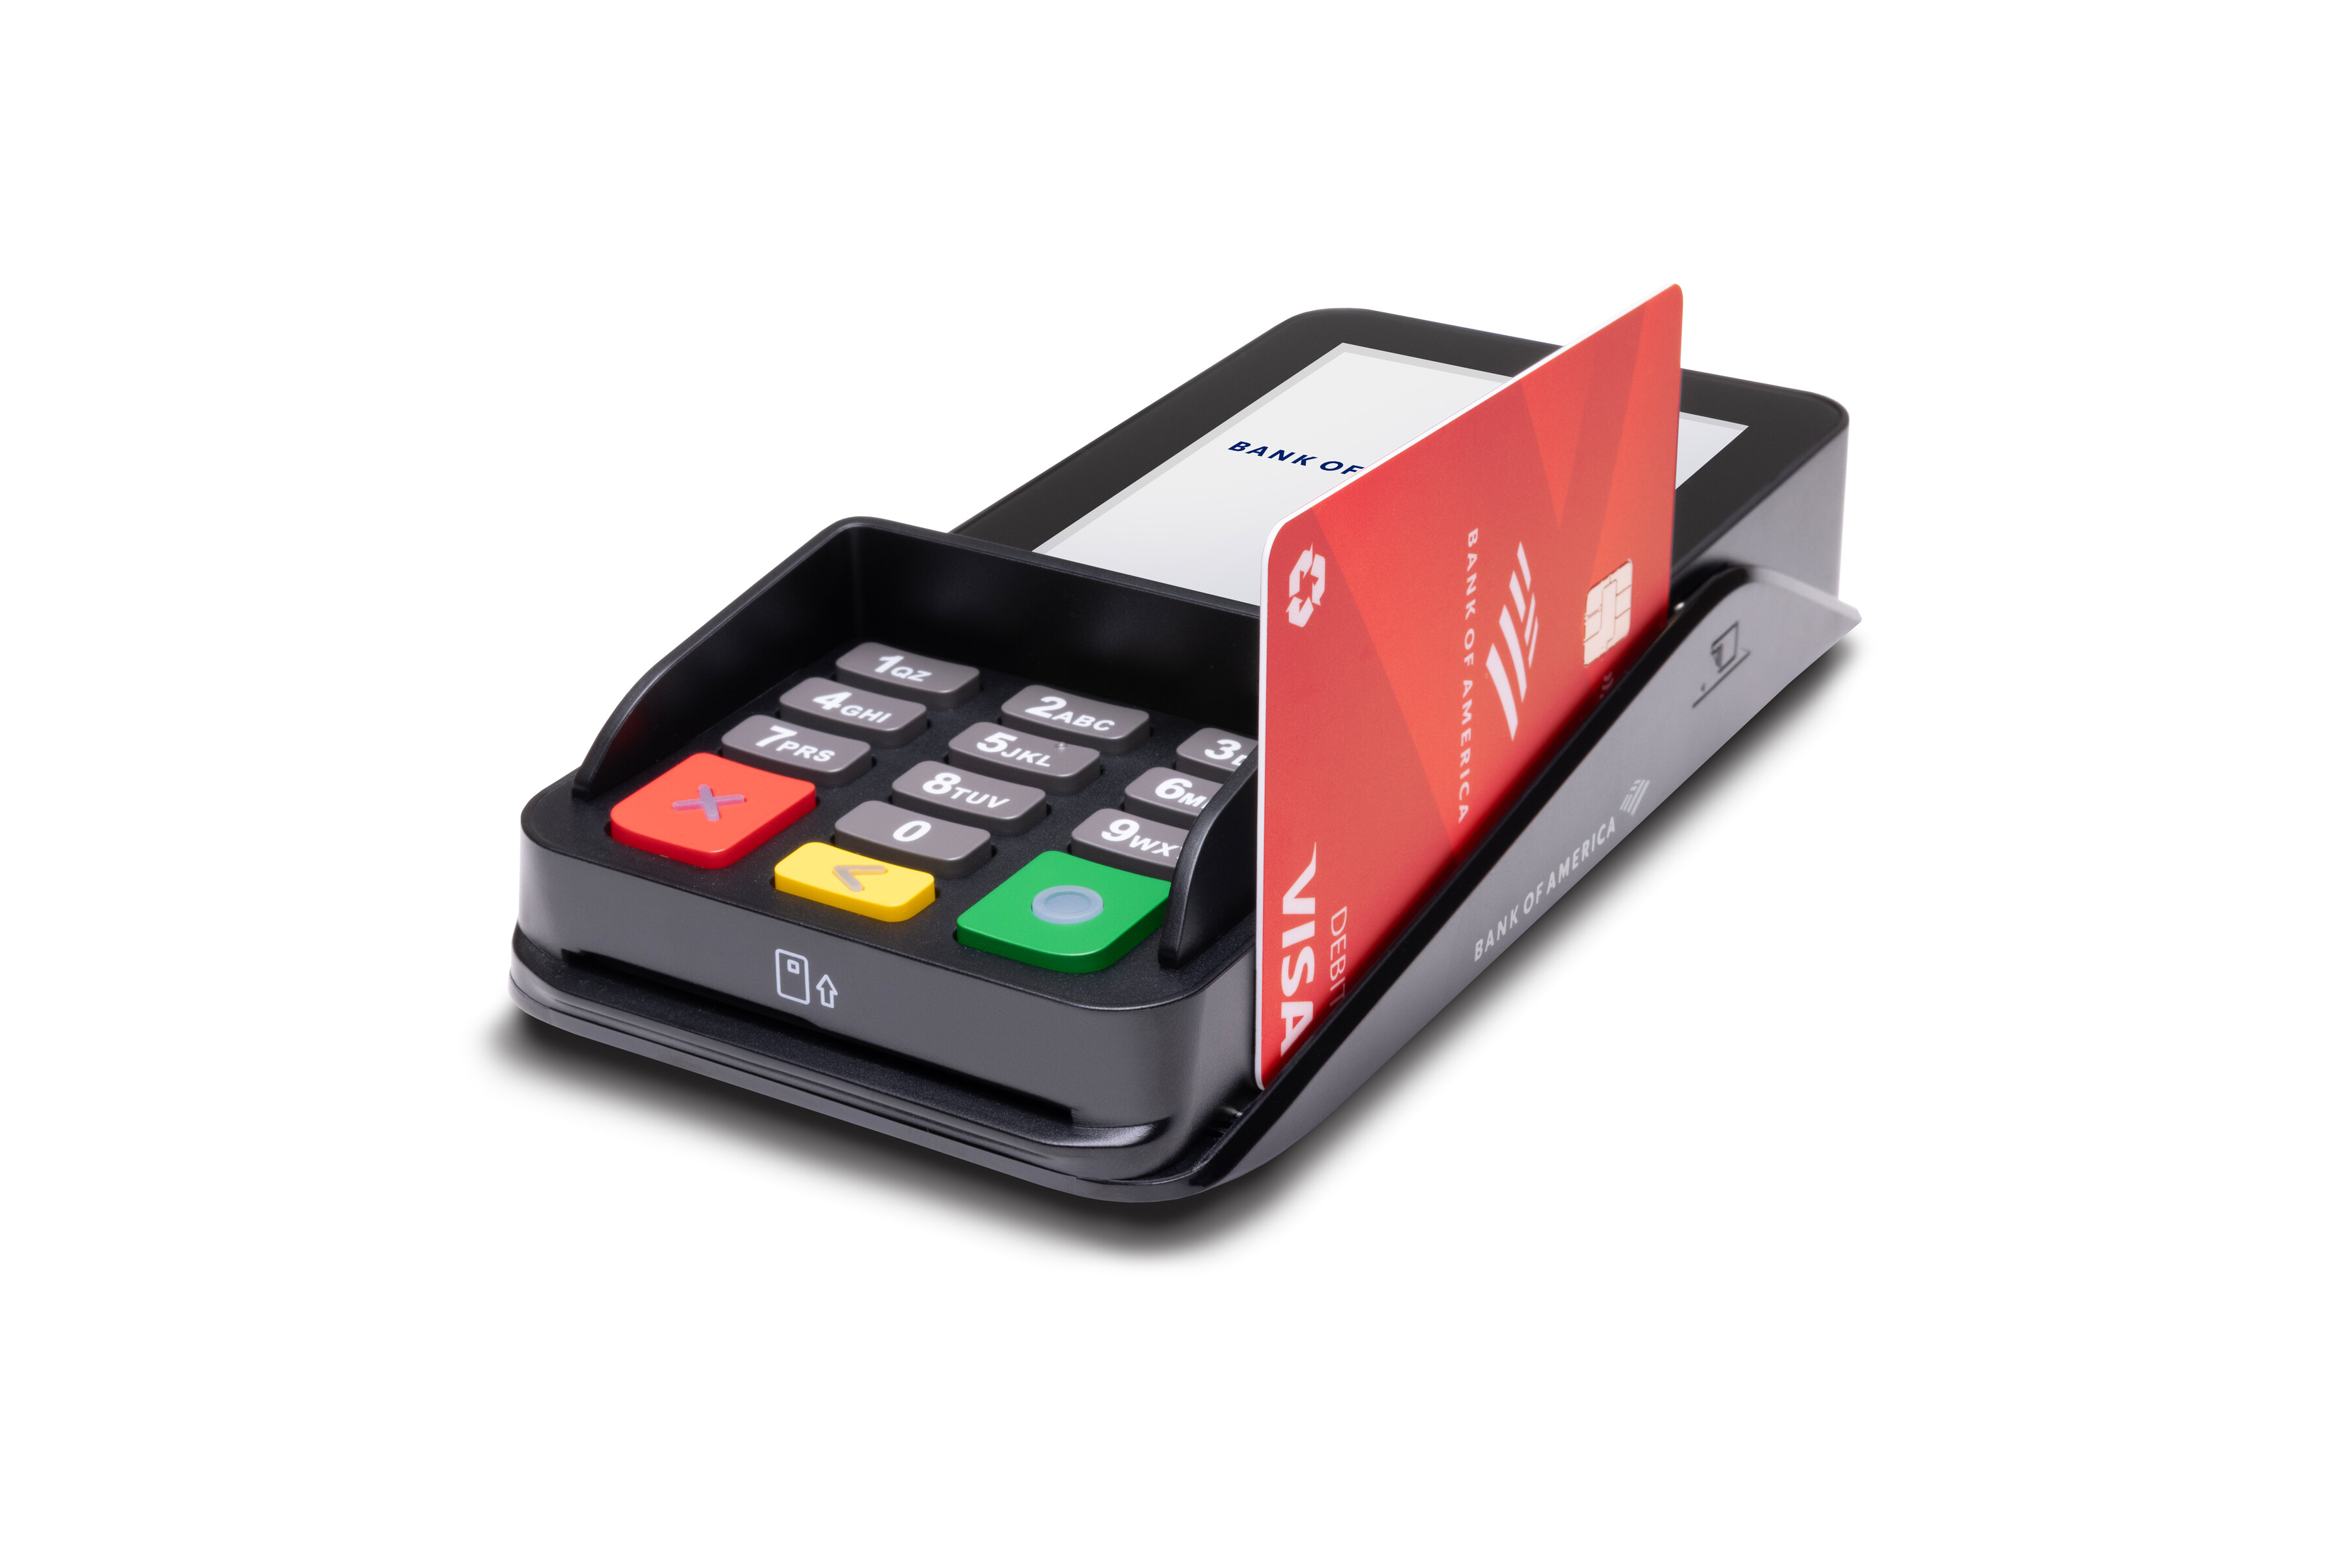
Smart Chip
Magnetic Stripe
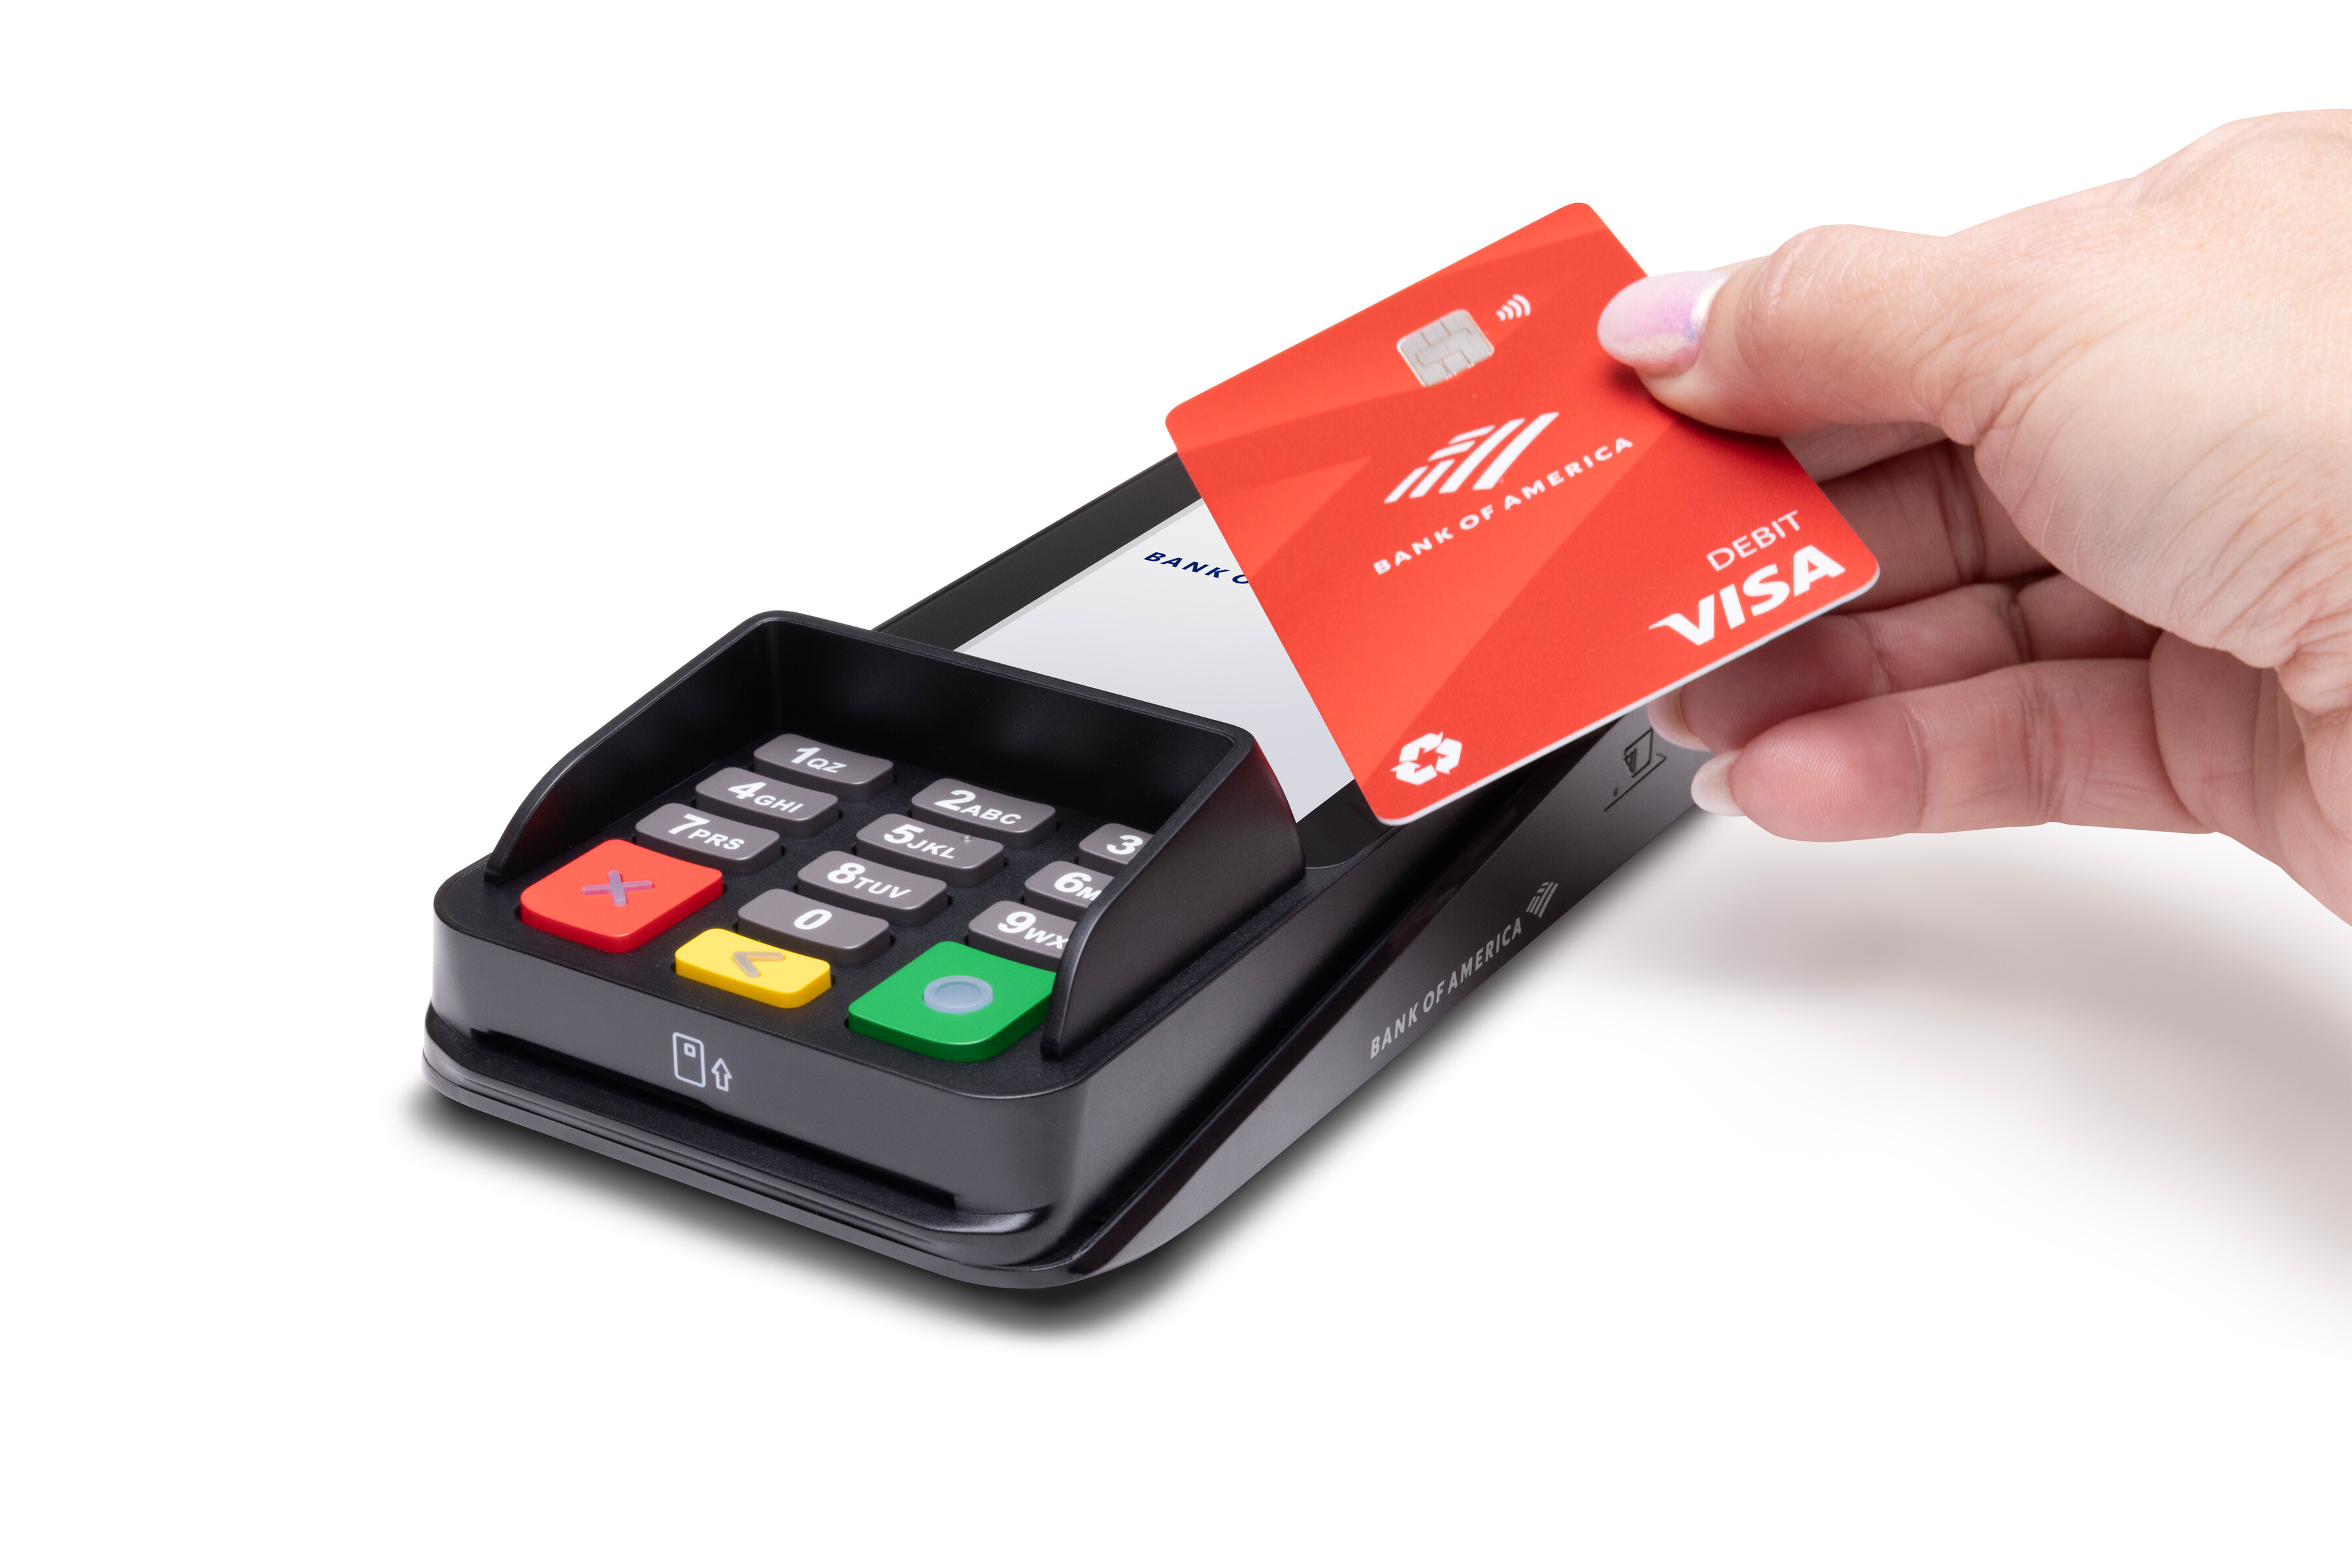
Contactless
Mobile/Digital
Insert the card chip-side first and chip face up. When prompted, remove the card. 
Swipe the card through the magnetic stripe reader with the strip toward the bottom of the terminal.
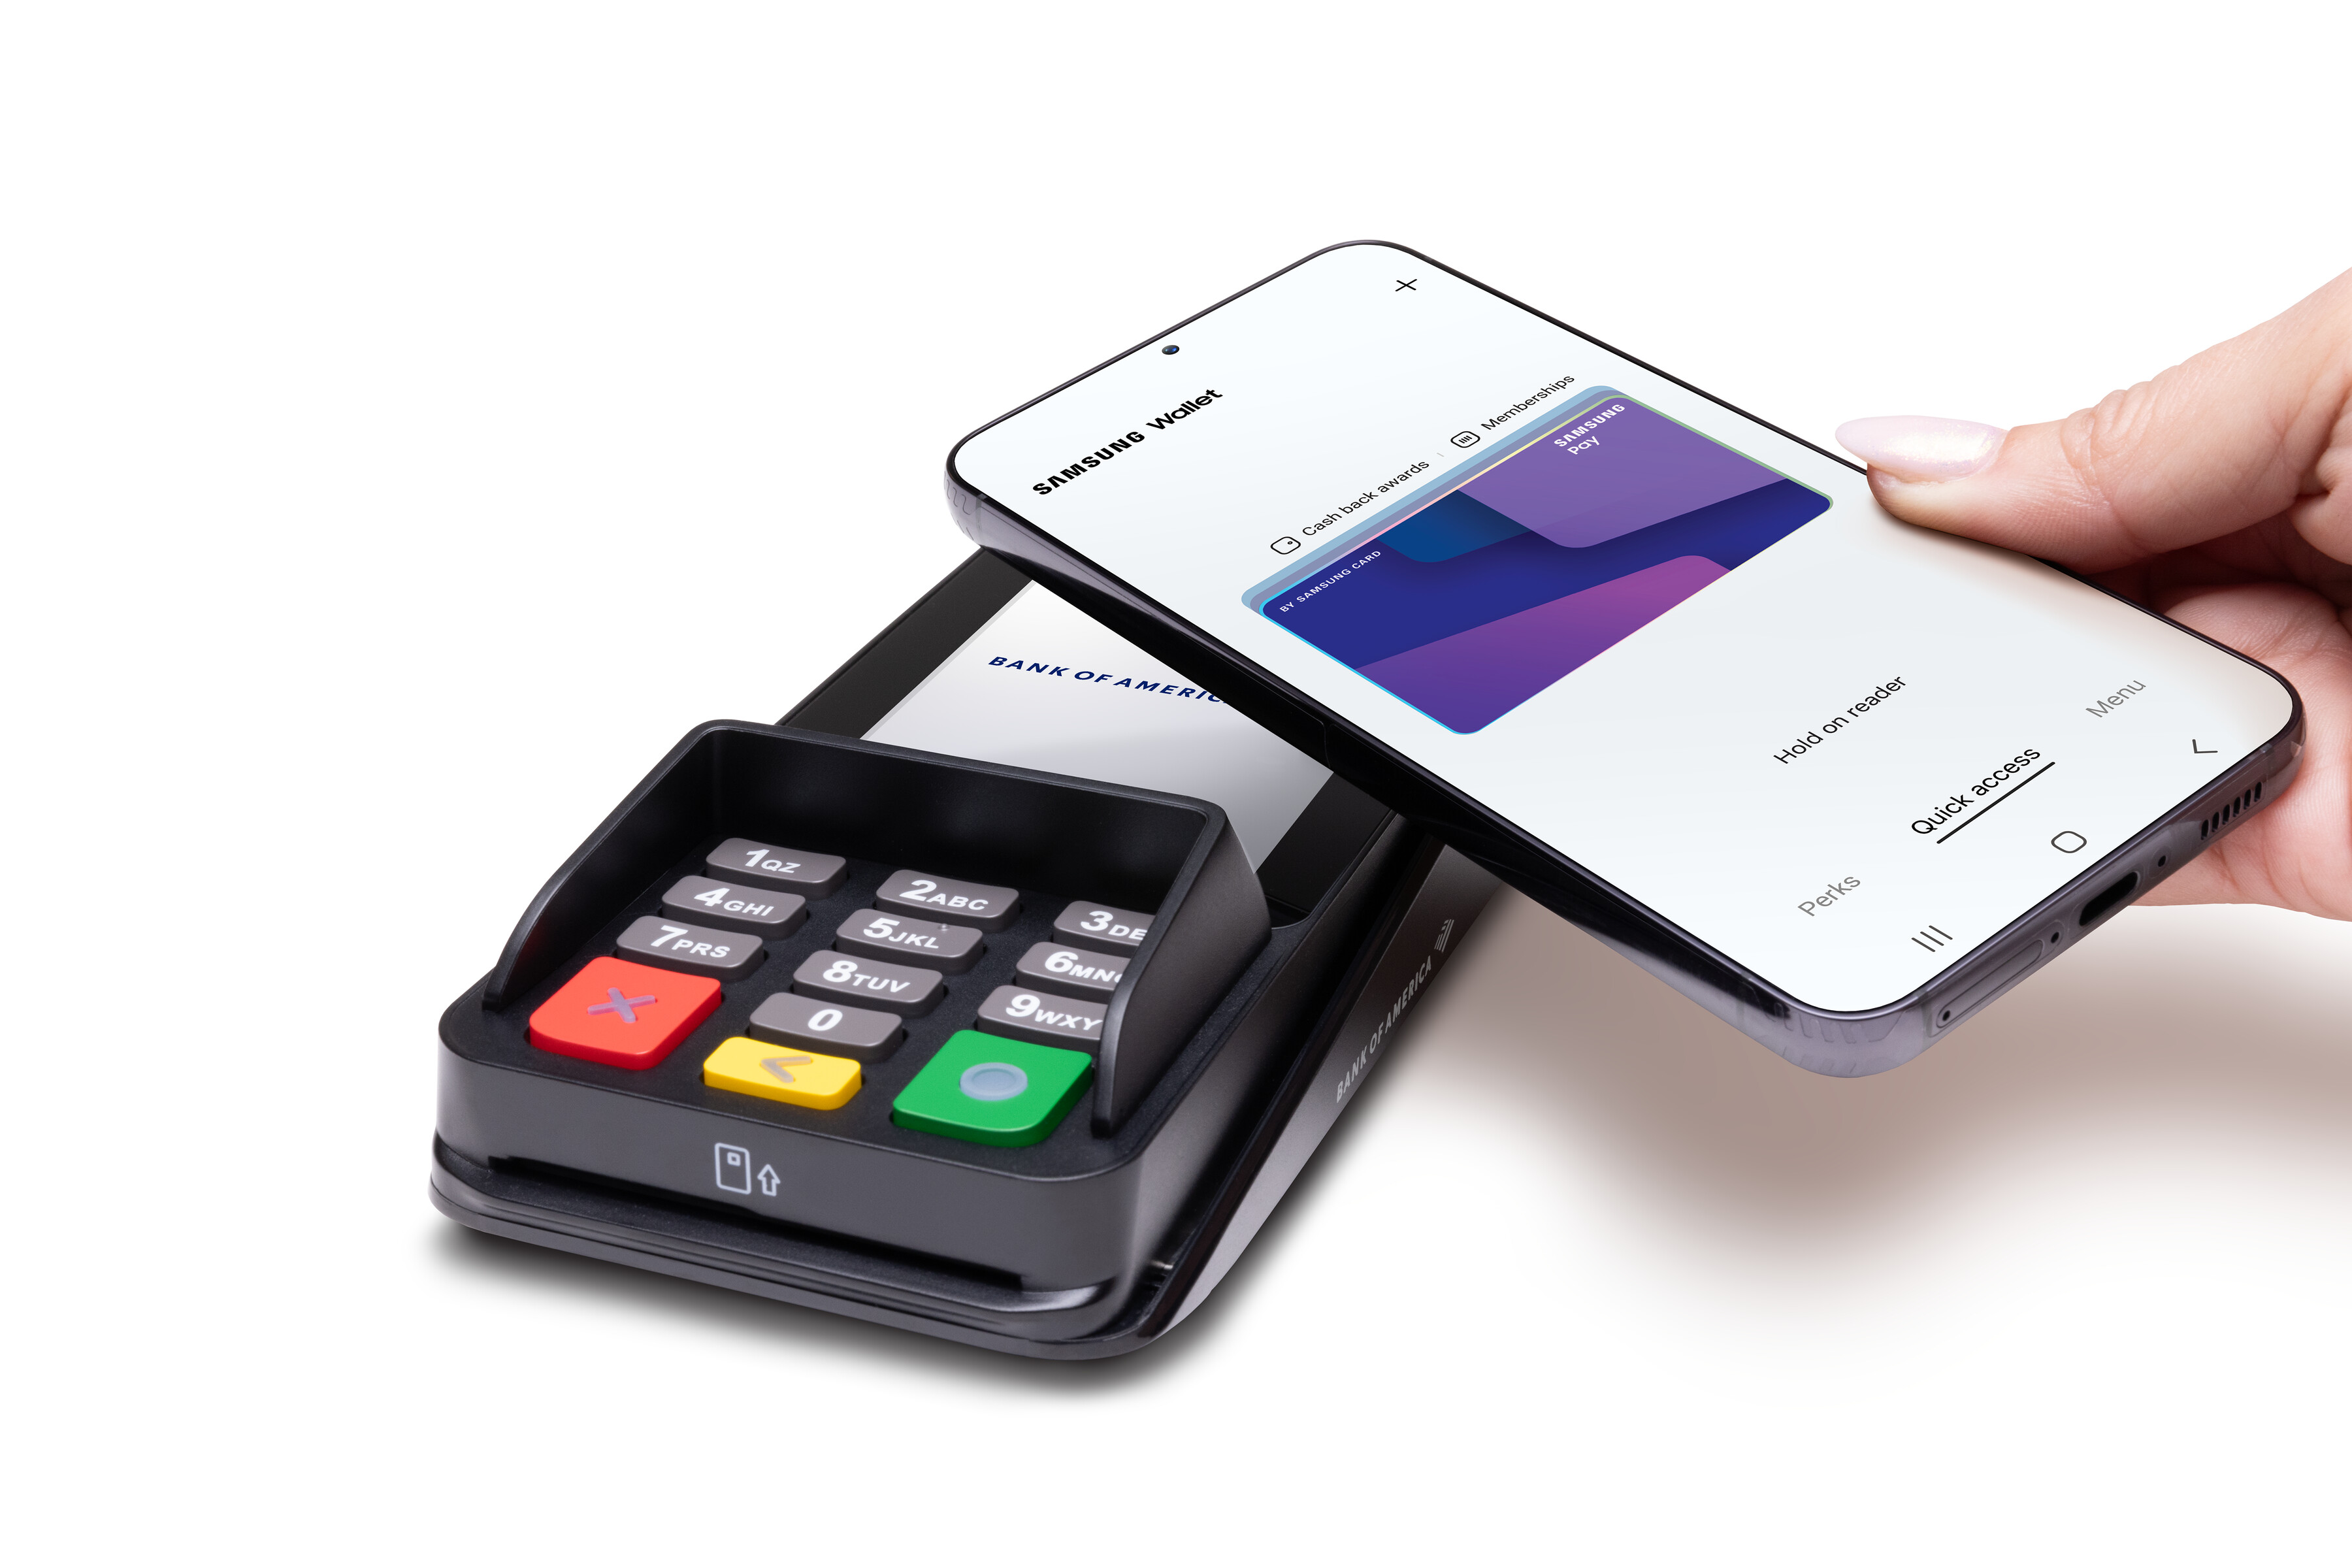
Tap or hold the card within two inches of the top of the terminal.
Hold the mobile phone/device within two inches of the top of the terminal. the customer will then need to approve the payment on their phone/device.
Terminal settings
You can adjust your device settings to your preference, including: terminal volume and key sounds, brightness, and timeout settings.
Terminal Care
For care guidelines, cleaning recommendations and other best practices, see Terminal Care.