Virtual Terminal Transactions
September 19, 2025
Description
How to run a transaction, authorization, void or credit using Virtual Terminal
Sales and authorizations
When entering a sale in Virtual Terminal, required fields are designated with an asterisk. Required fields will vary depending on the card presence selected.
If your business routinely processes corporate or commercial cards that require Level II data, it is a best practice to complete the Level II fields with each sale. Virtual Terminal will not automatically identify a Level II transaction and require those fields. Virtual Terminal may also process international cards.
- To process a card present/card not present sale
- Access Virtual Terminal.
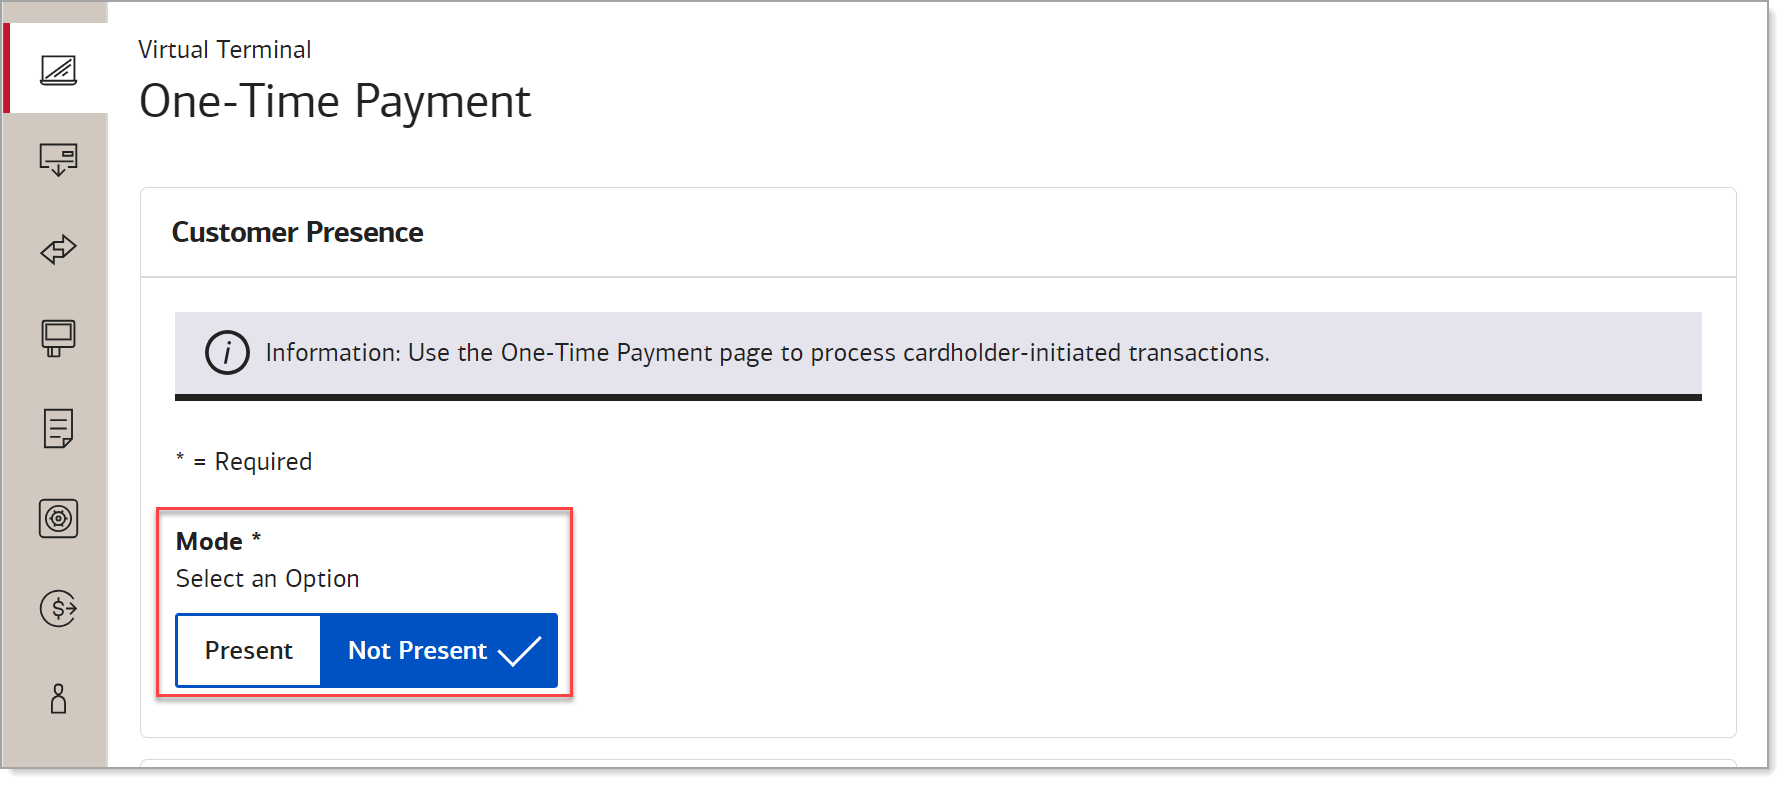
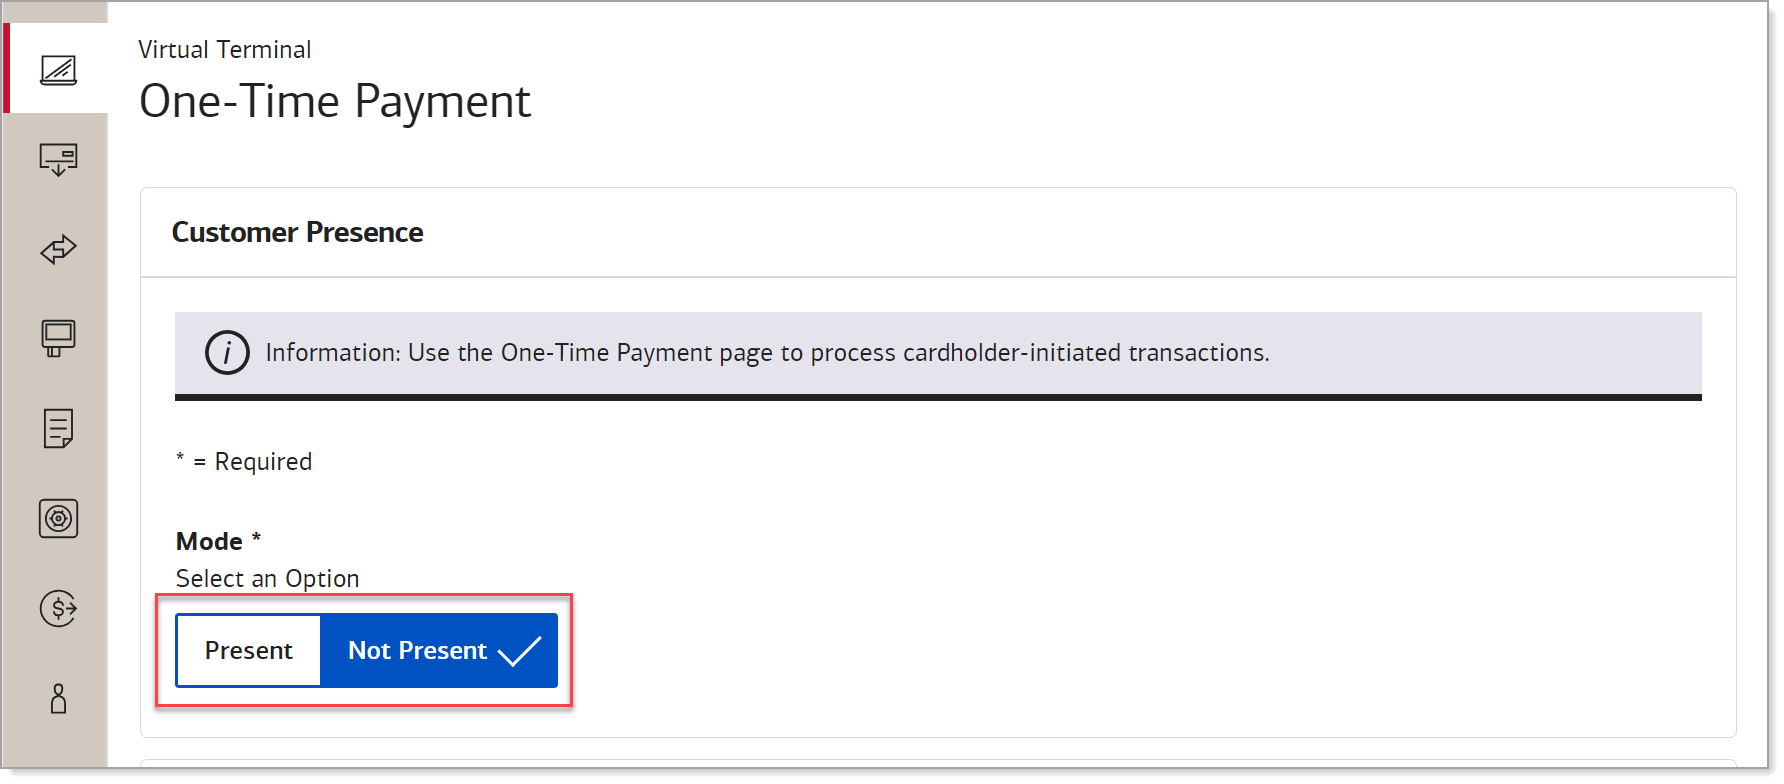
- Select whether the card is physically Present or Not Present for the transaction.
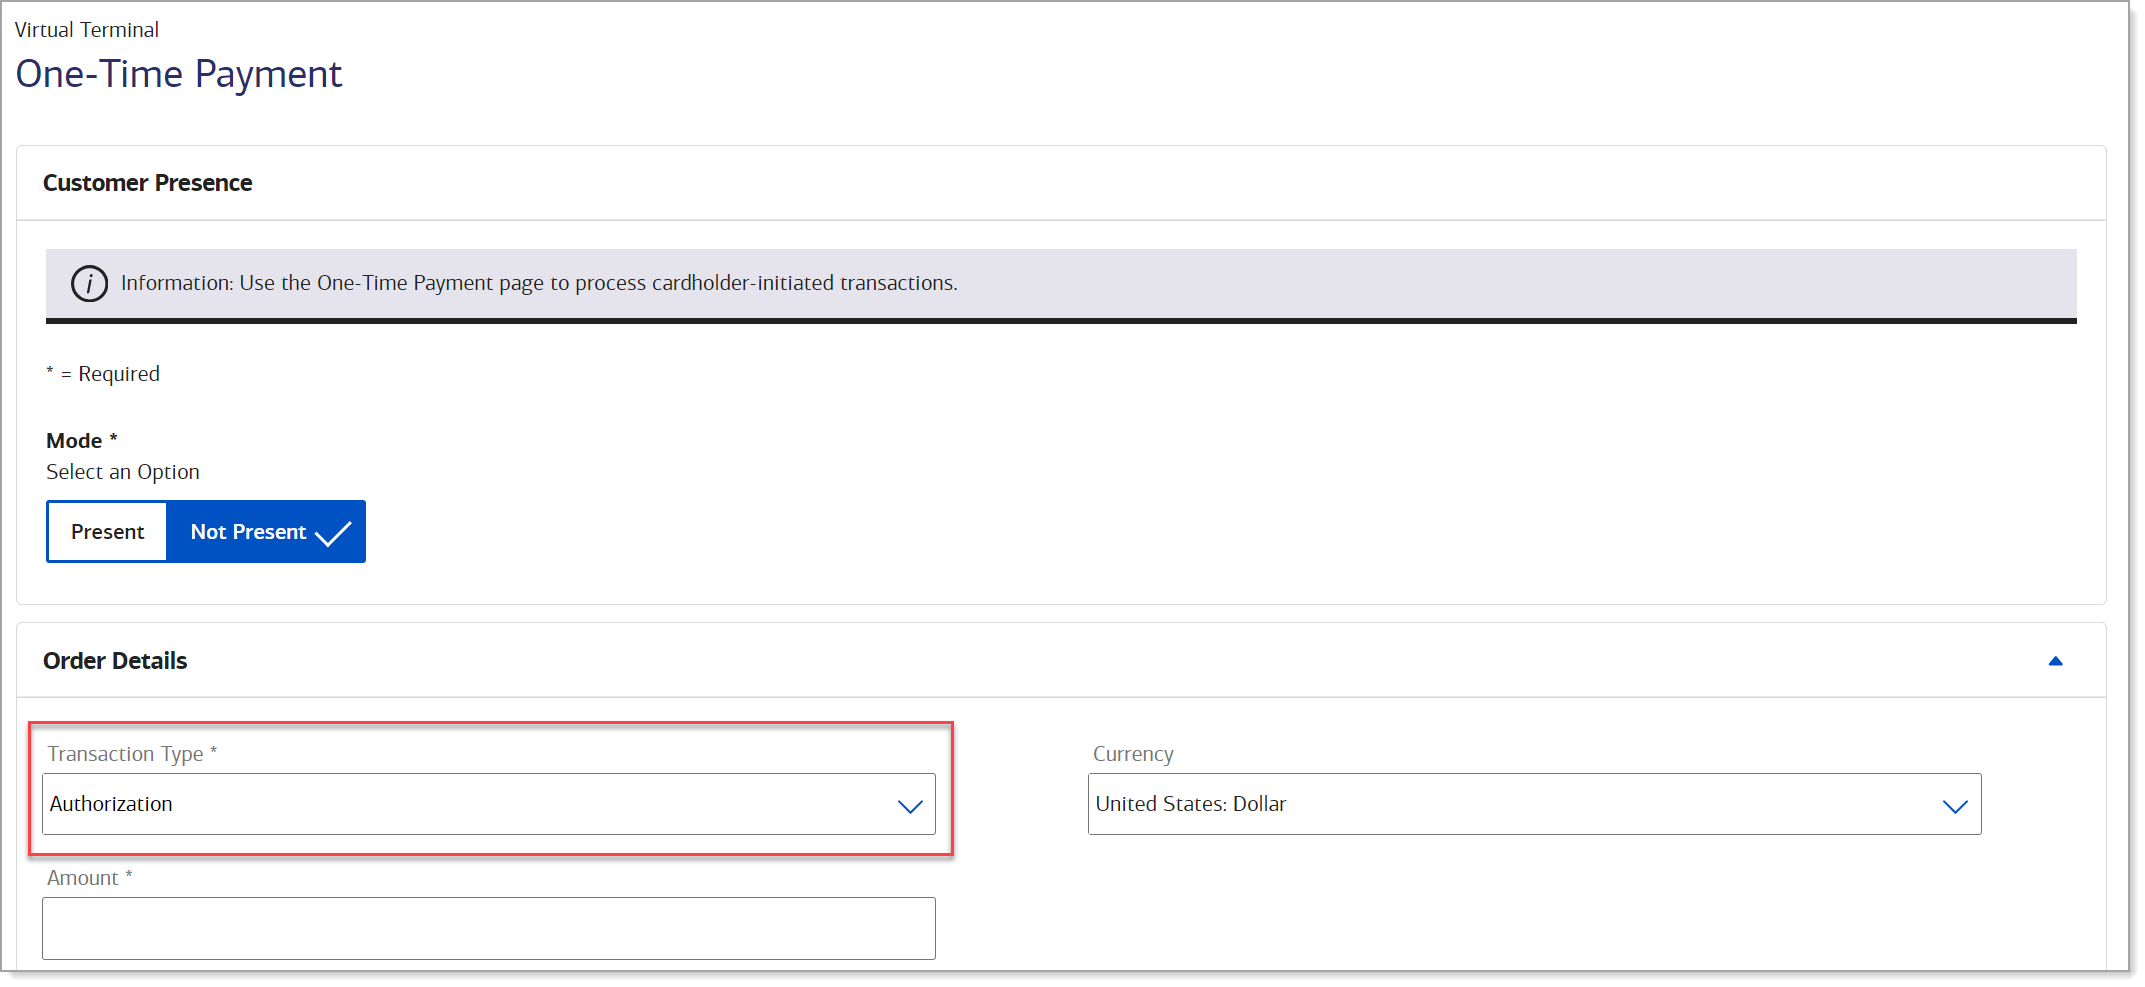
- Enter the Amount. As you enter the amount and any tax, duties, or other charges to the order, the order total will update at the bottom right of the form.
- Leave the Transaction Type as Sale.
- Leave Currency option as United States Dollar, the only supported currency option.
- The field will accept up to 12 characters.

- (Optional) Enter Level II transaction information:

Table of level 2 fields and descriptions| Level II Field | Description |
|---|
| Tax | Enter the sales tax amount for the transaction. Tax is not automatically calculated by Virtual Terminal. Enter the appropriate tax for your transaction, if required. |
| Tax Exempt | Indicate if the transaction was exempt from sales tax. |
| Duty | Enter total charges for any import or export duties included in the total transaction amount, if applicable. |
| Purchase Order Number | A unique reference ID for this transaction. IMPORTANT! Only alphanumeric characters are allowed (A-Z or 0-9). Special characters will cause the transaction to decline. |
- (Optional) Enter merchant contact number.
IMPORTANT!
If you choose to enter a number, do not enter any special characters or the country code 1 before the phone number. The transaction will be rejected. The field allows 10 digits.
- Enter an Order or Merchant Reference Number. This number can be an invoice number, order number or any number that ties the transaction with the order. This number cannot be repeated and accepts only alphanumeric characters.

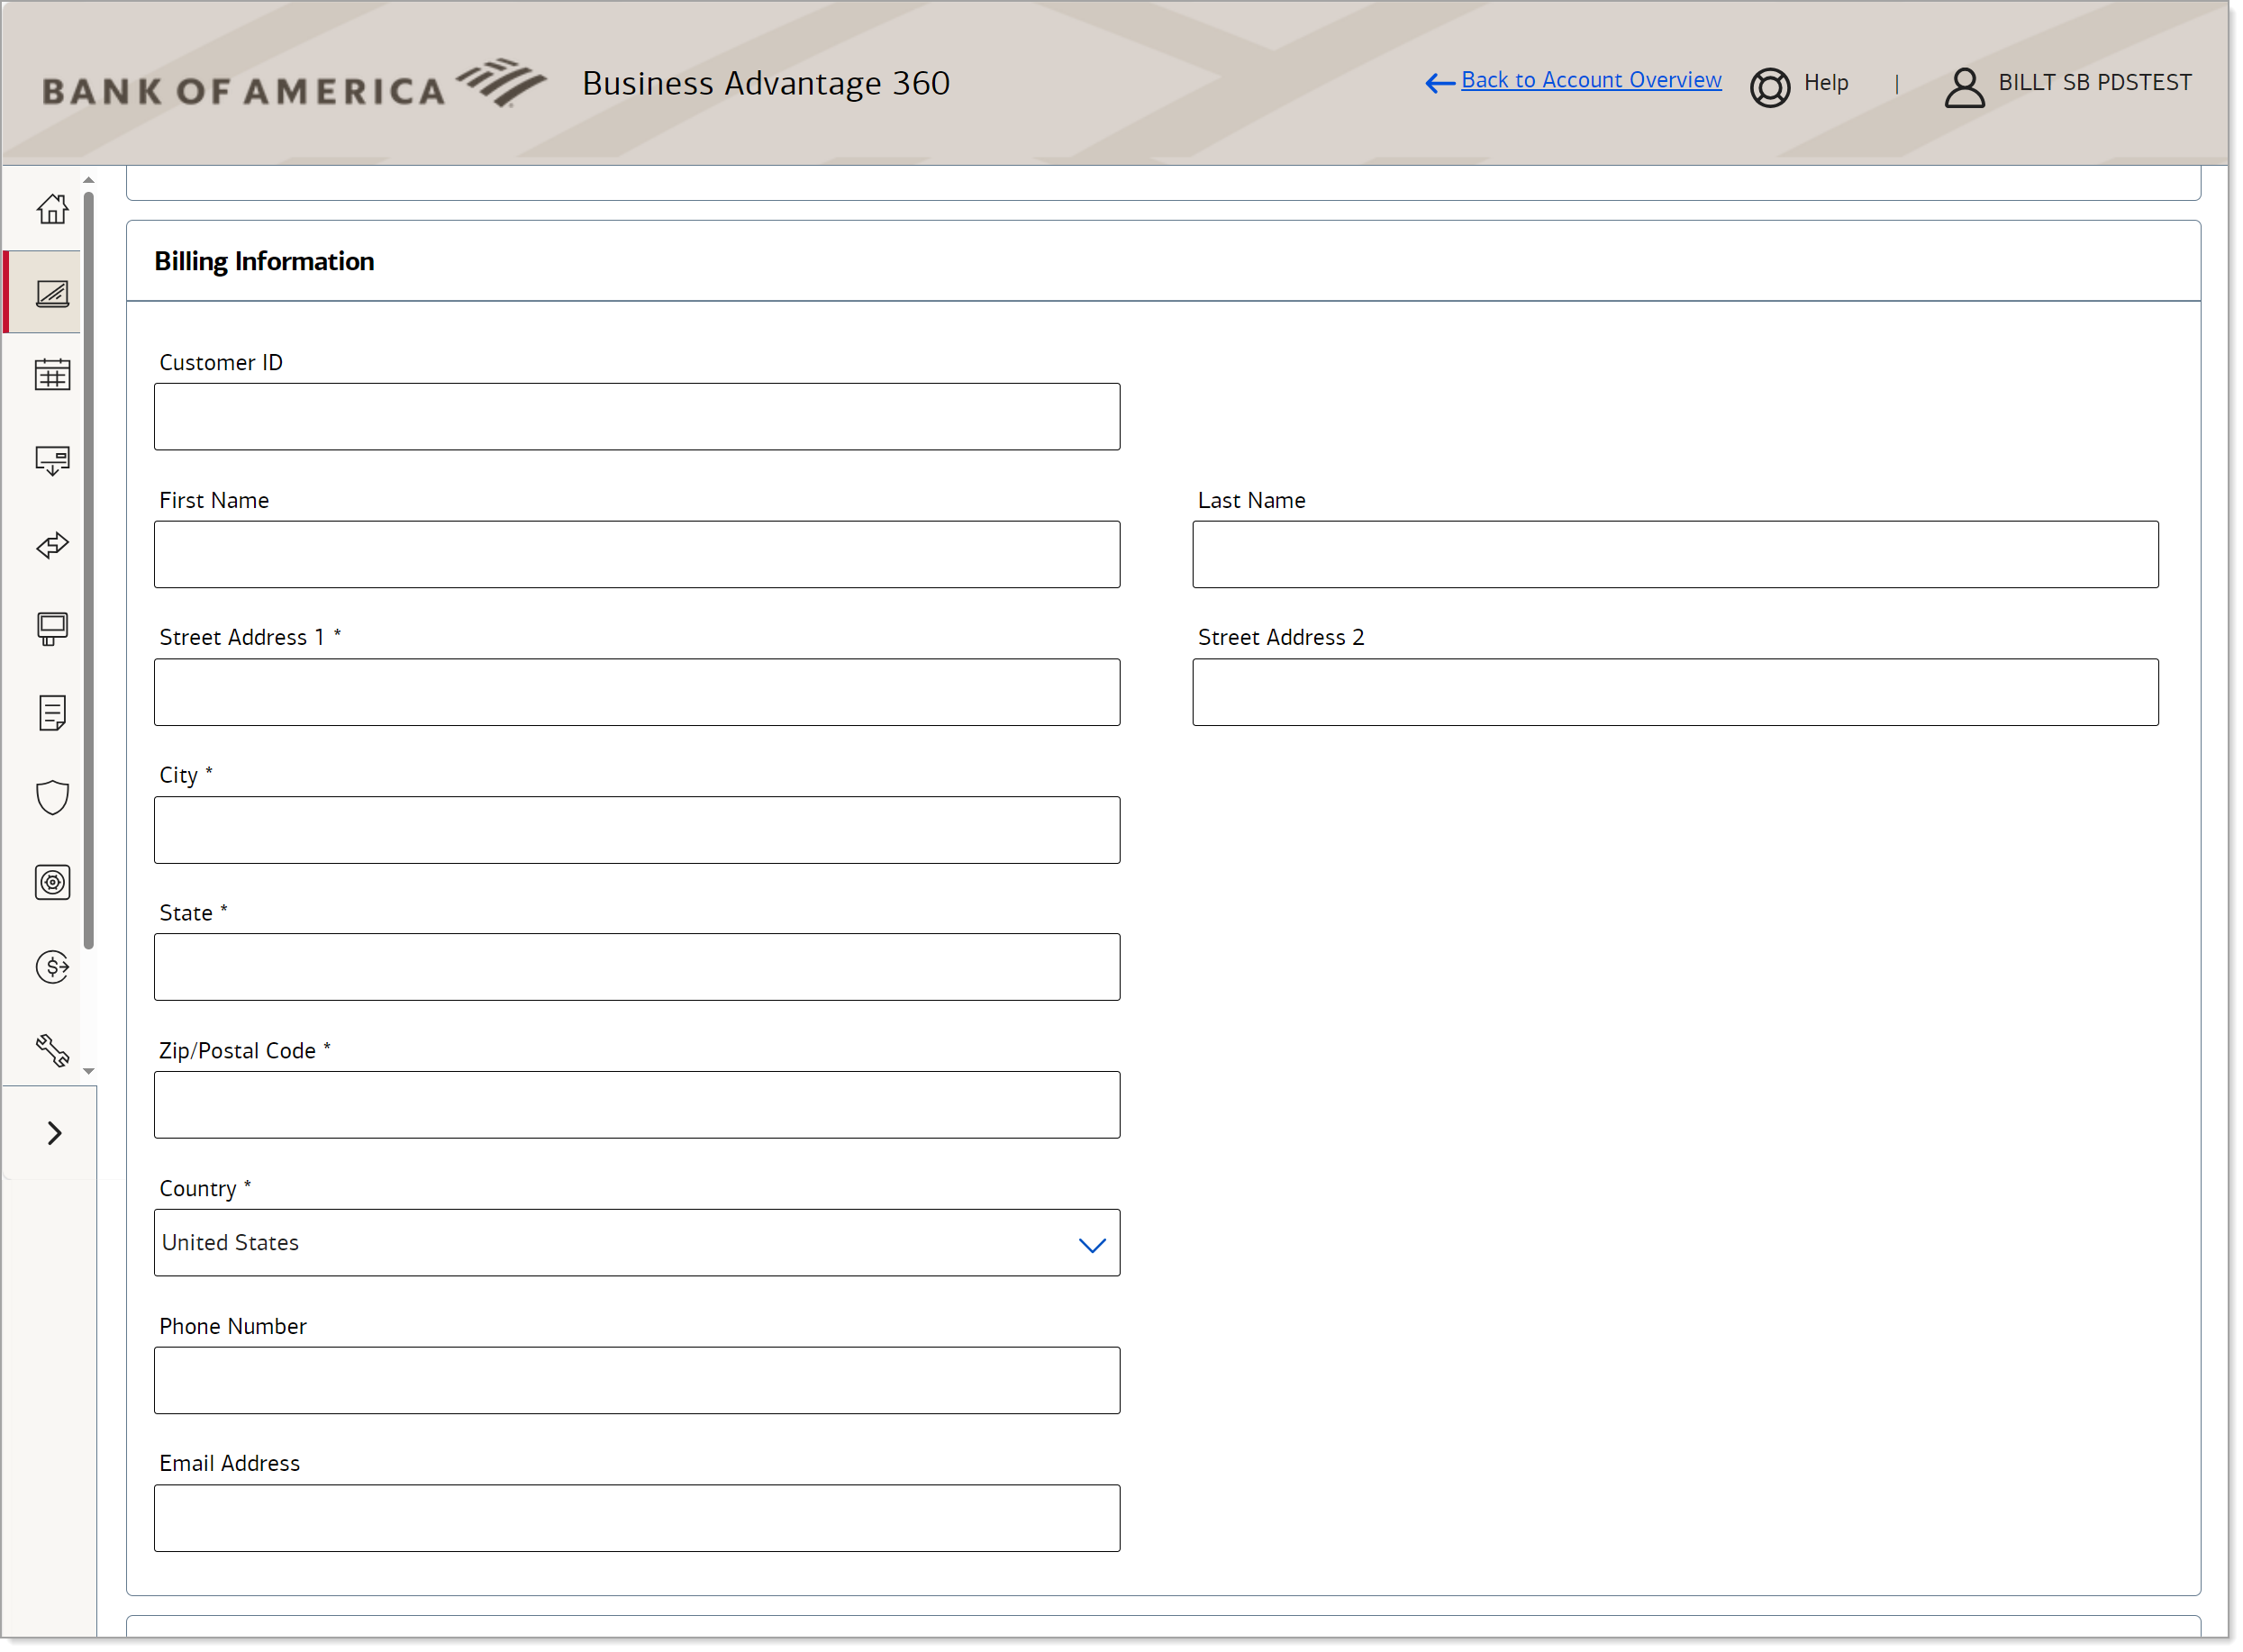
- Enter Billing Information. The customer full name, address, and email address are required. A Customer ID is an optional identification number (alphanumeric only, A-Z or 0-9) that you have assigned to that customer.
- If entering billing information for a Canadian address, enter the Province or Territory as the State and the Postal Code in the Zip code.
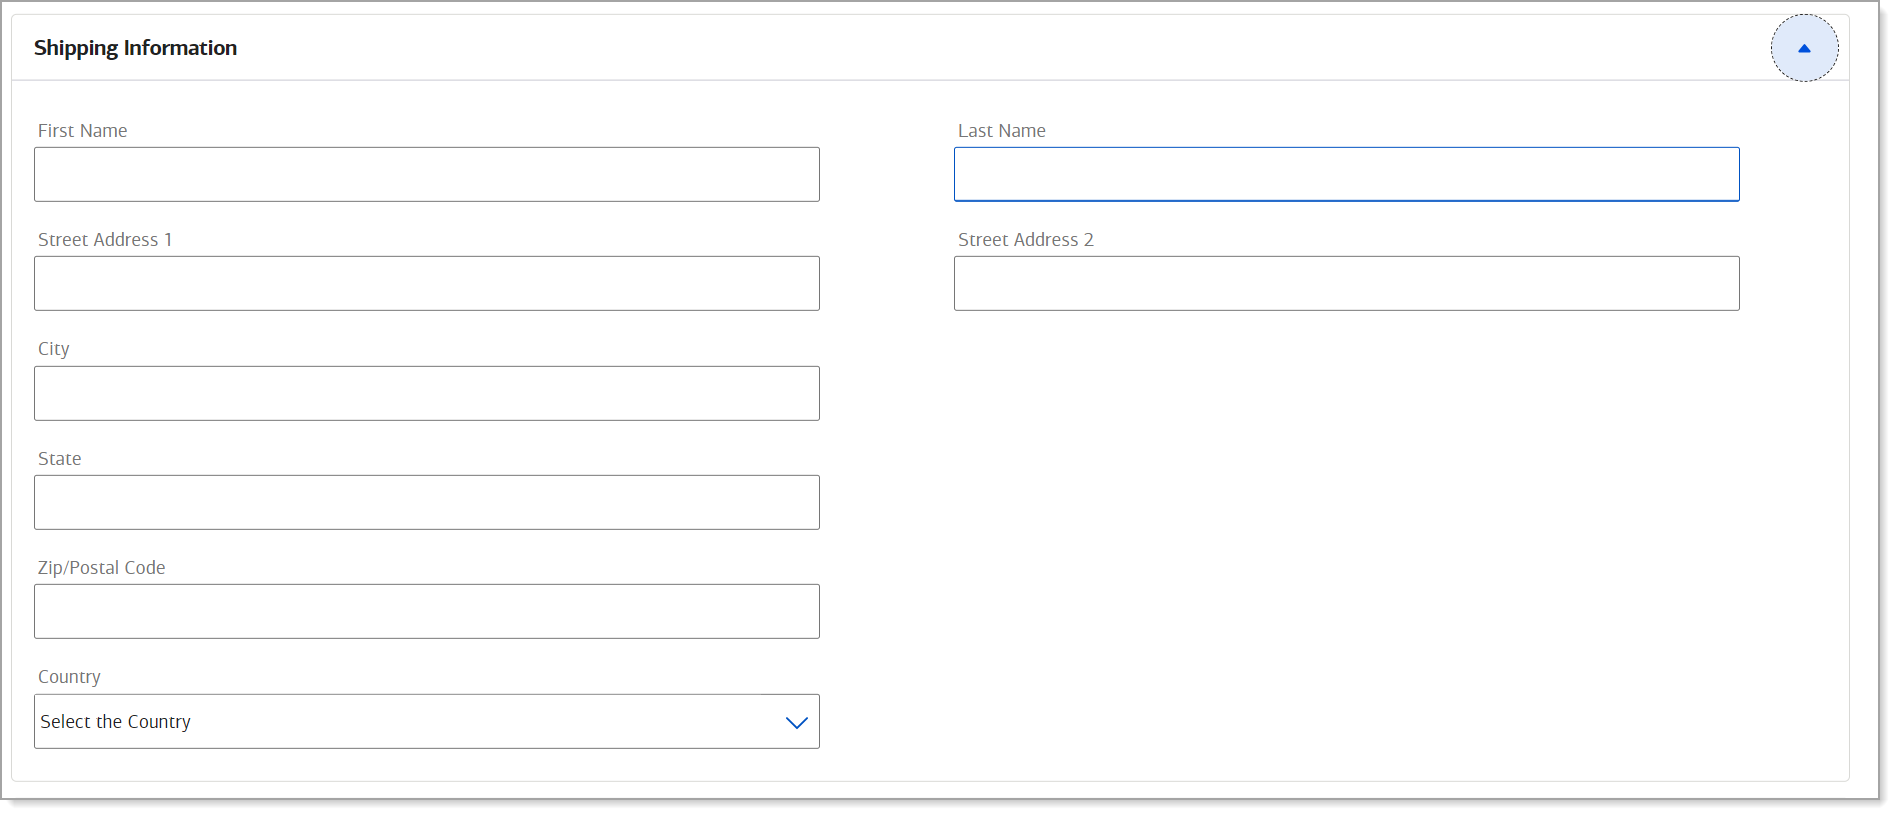
- Enter Shipping Information (if applicable) or select the checkbox to indicate if the shipping information is the same as billing and autofill the shipping information.
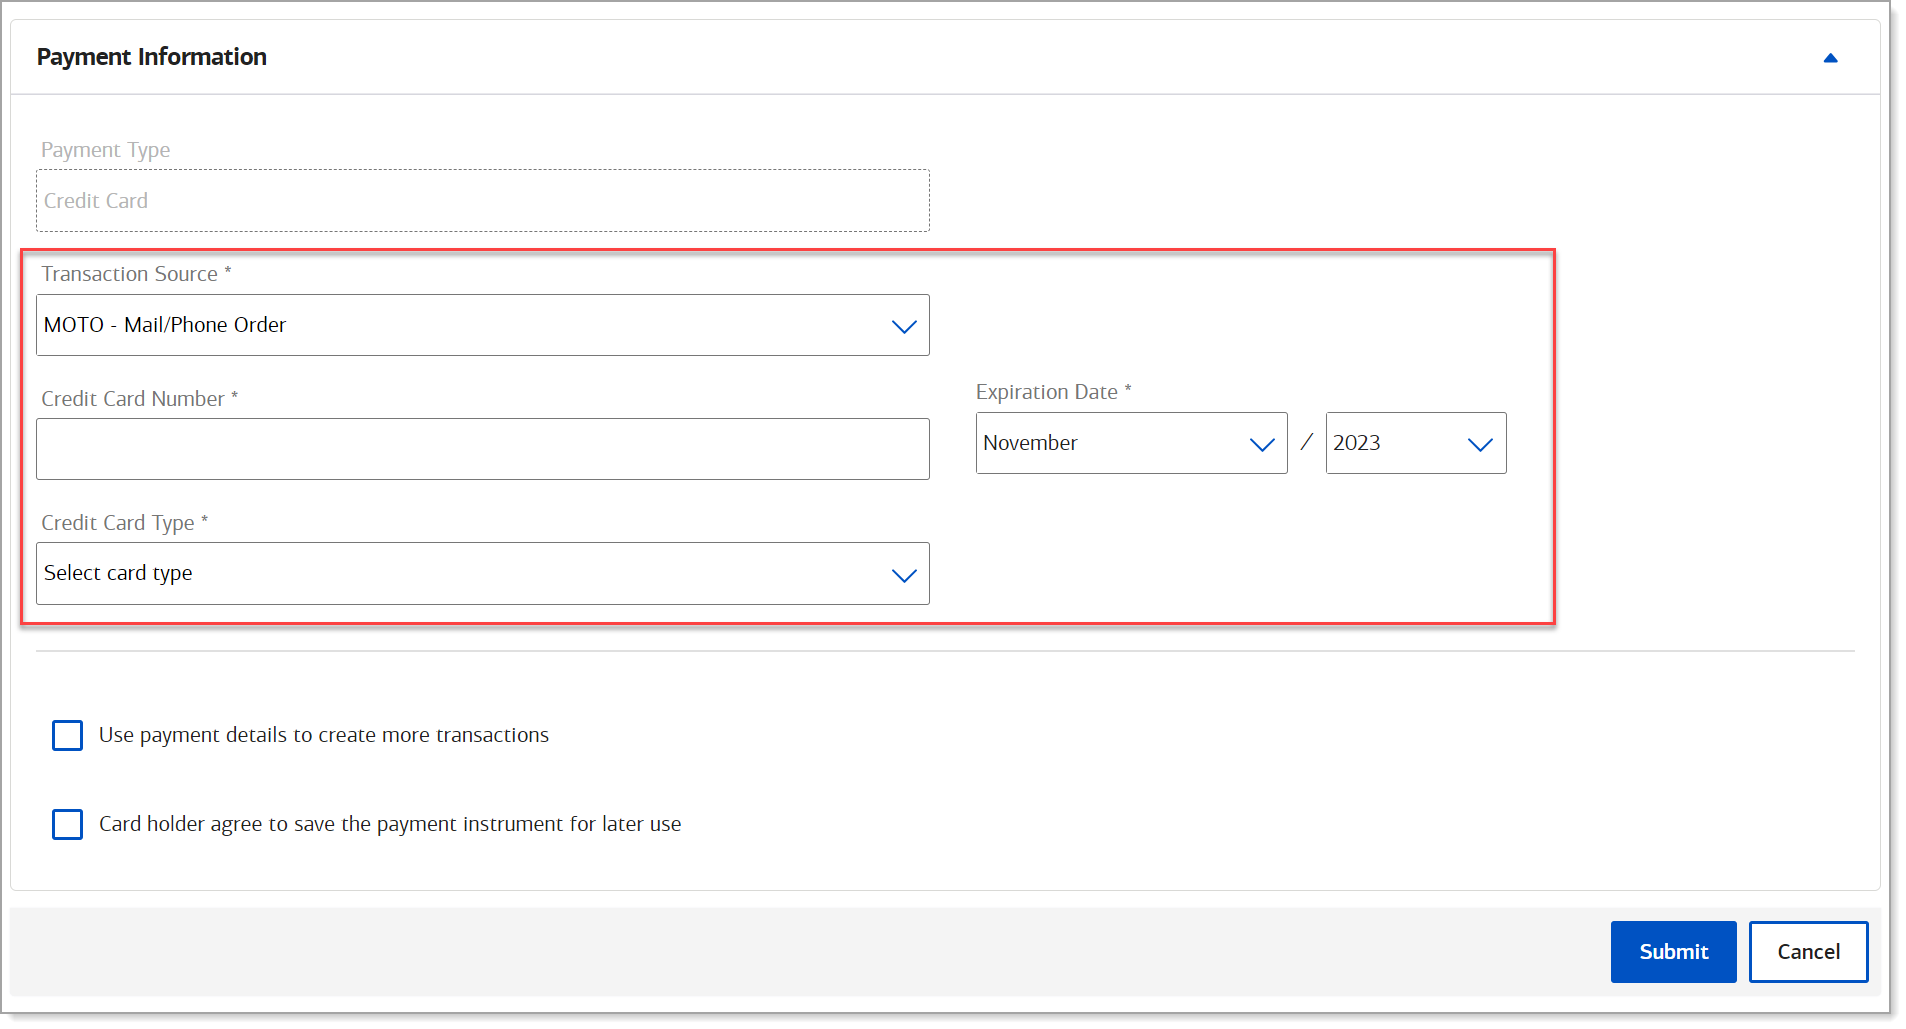
- Enter Payment Information: Credit Card Number, Credit Card Type, and Expiration Date.
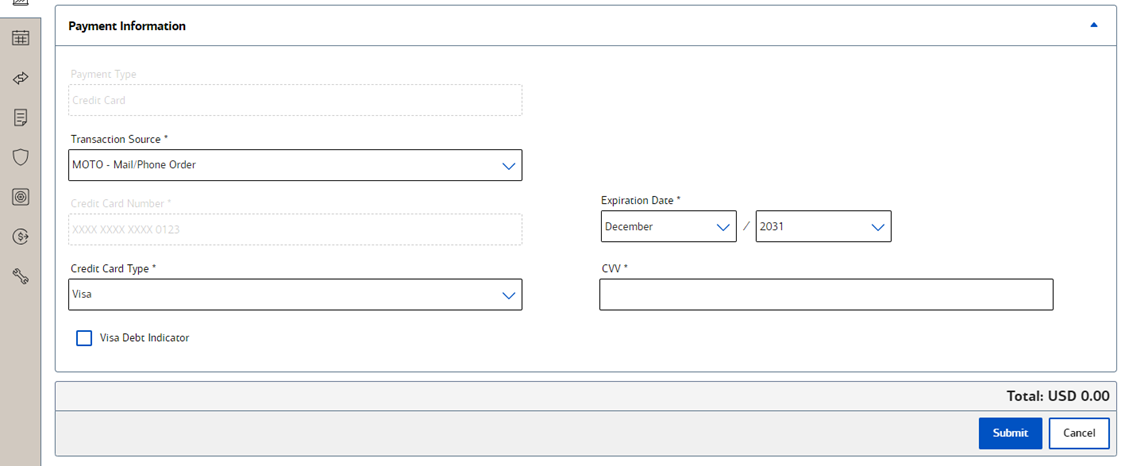
- If the transaction is card present, enter the CVV. Although not set as required, the three- or four-digit number printed on the card confirms that possession of the card. The CVV may be found on the back of the card in the signature line for most card types. American Express and JCB provide the 4-digit number on the front of the card near the card number.
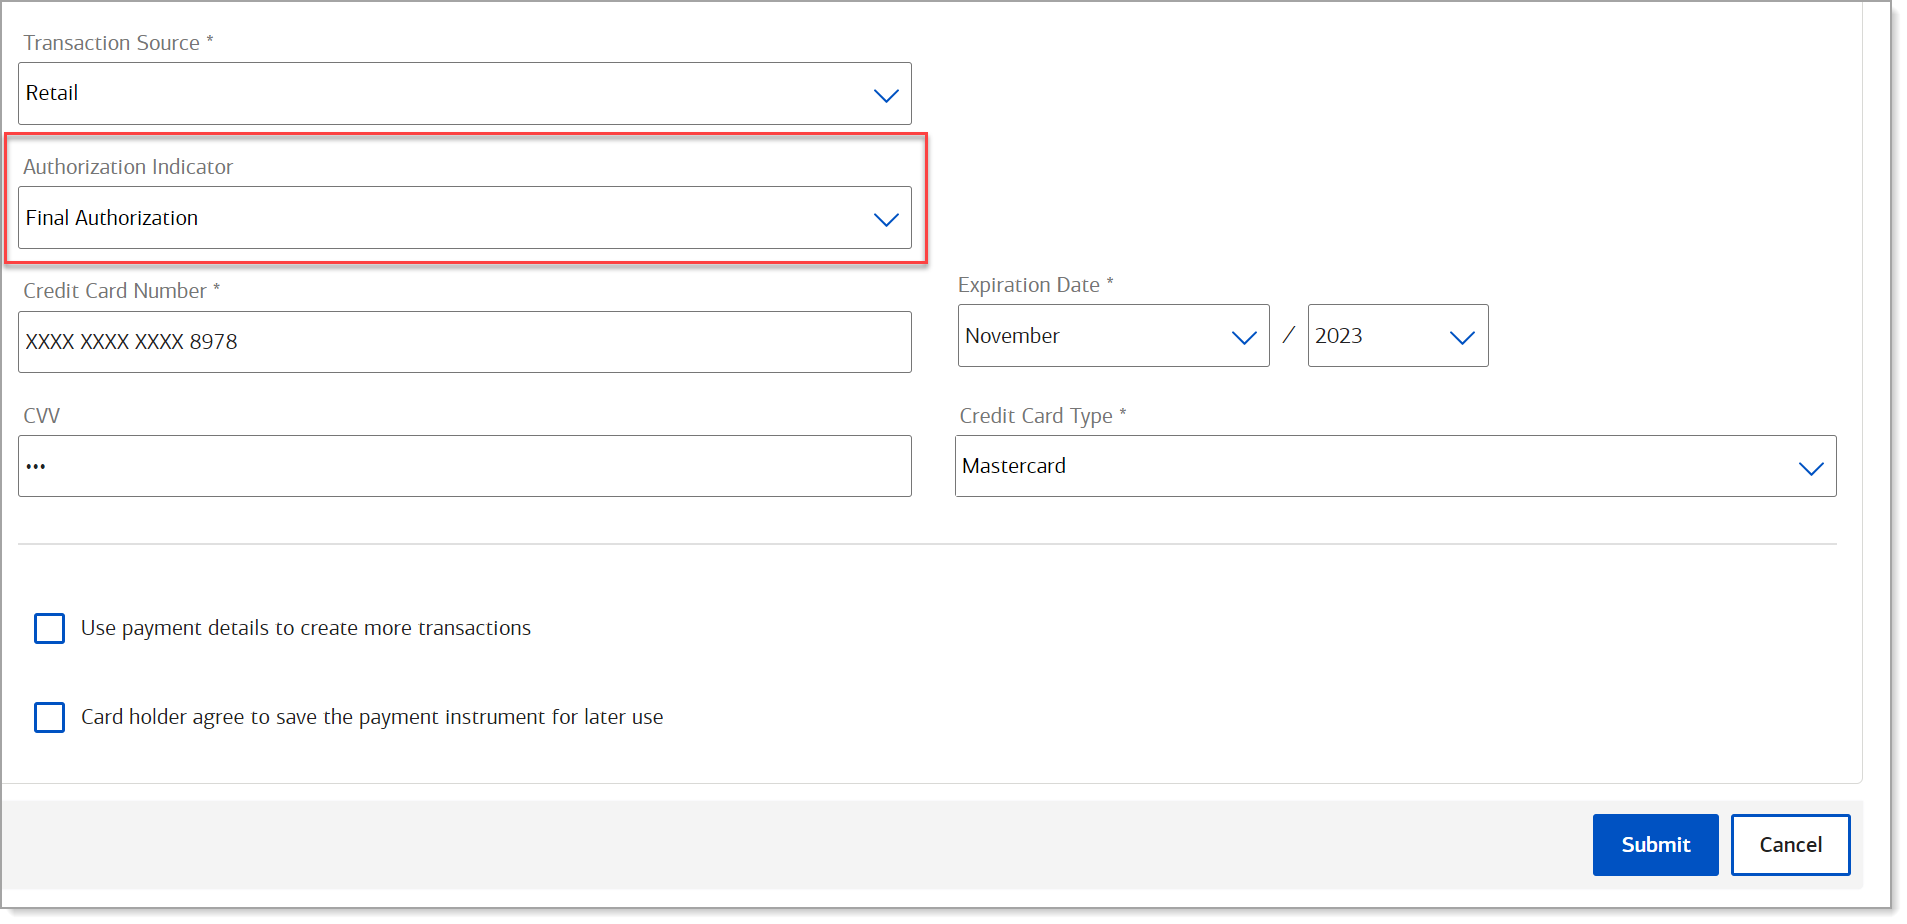
- If the card type is Mastercard, select the Authorization Type, either pre-authorization or final authorization. This field will appear above the credit card number if a Mastercard is entered.
- (Optional) To save this customer's information as a token, select the Use payment details to create more transactions checkbox. Token fees will apply for the creation of the token.
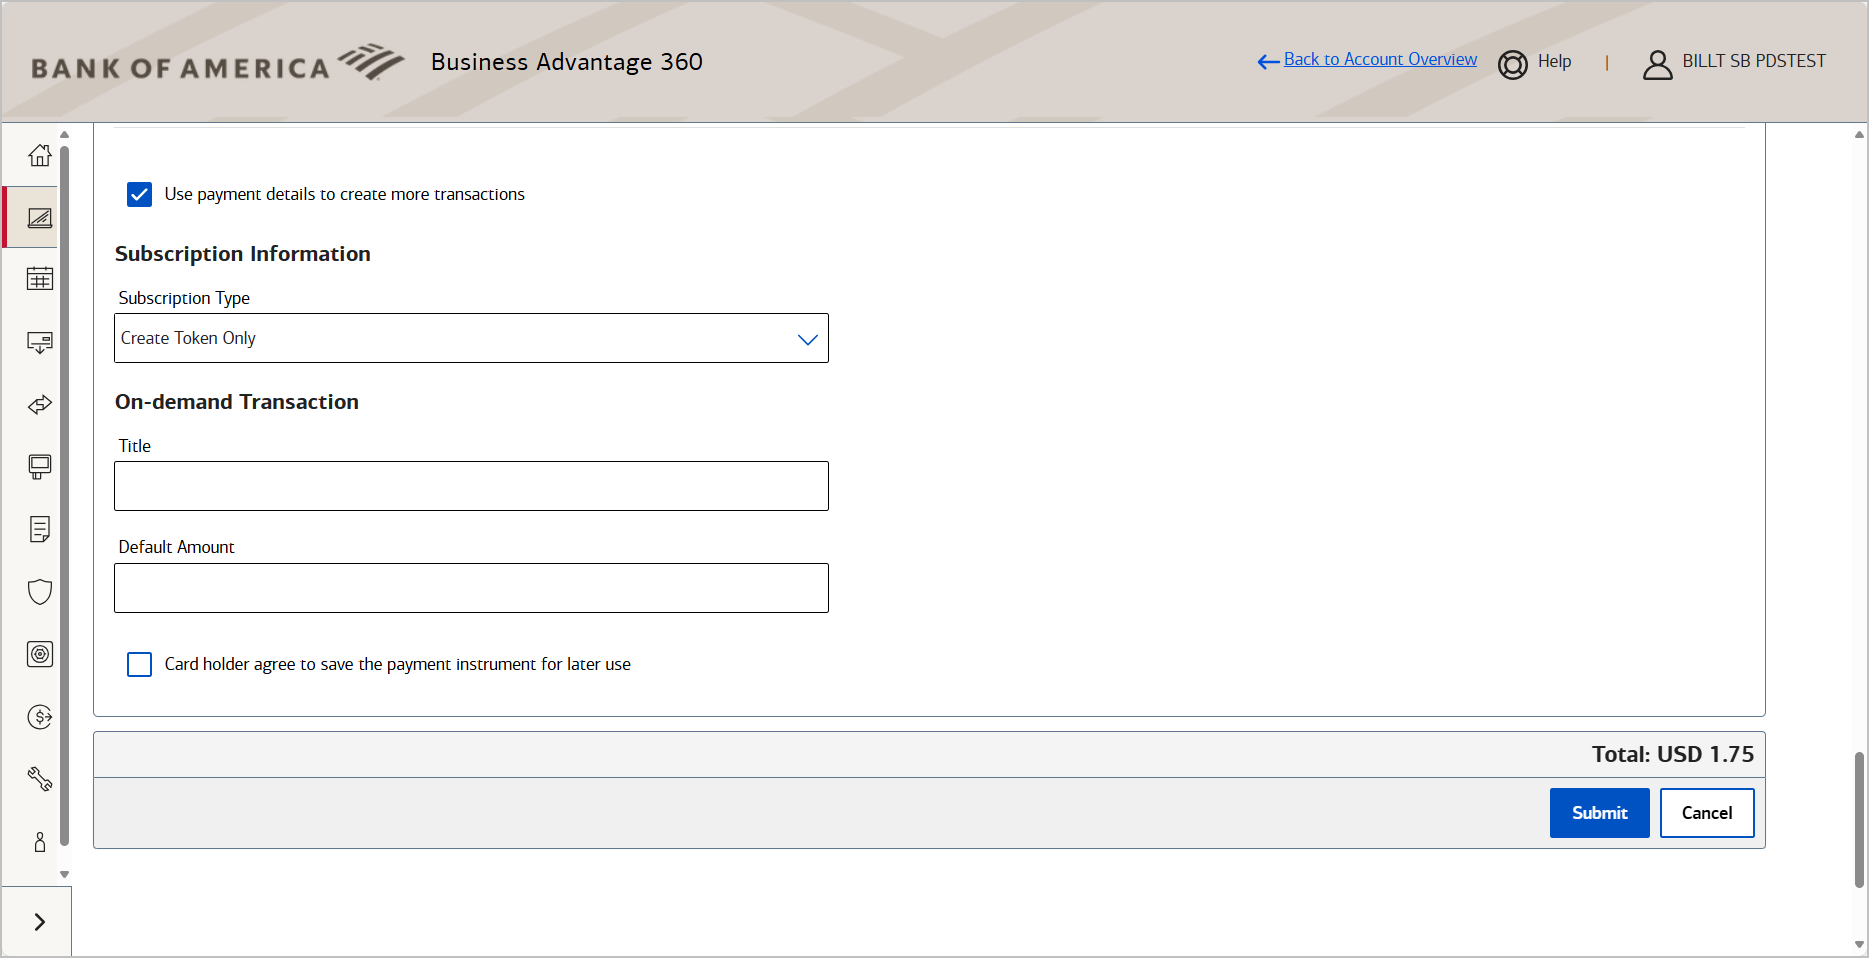
NOTE: To view the token you just created, go to Token Management > Token List. The token list will not populate until you create a filter to search for a token.
- (Optional) If you choose to save the payment details for future use, confirm with the card holder and then select Card holder agrees to save the payment instrument for later use.
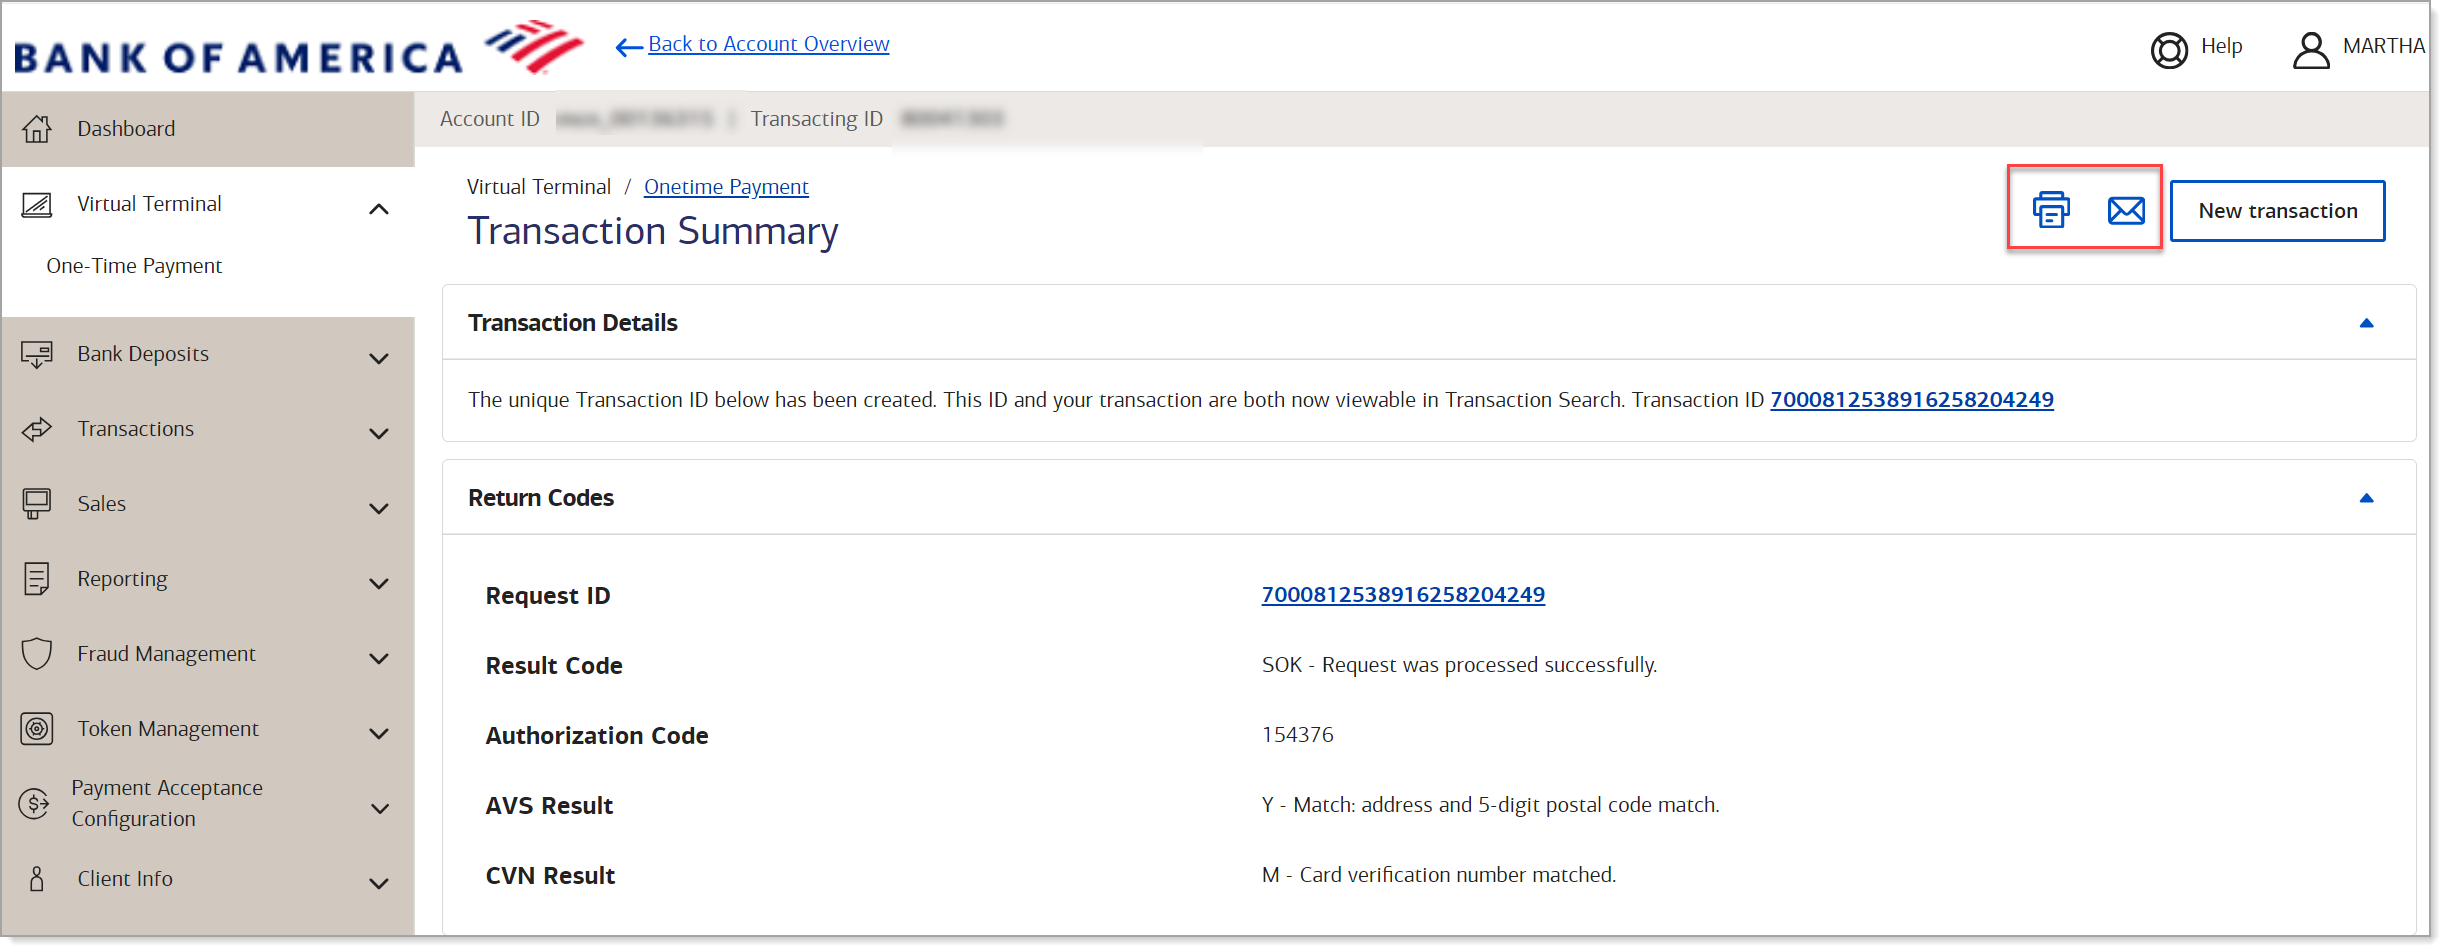
- Review information entered and click Submit, then click Confirm to process the order. Your customer will receive an emailed receipt at the email address entered in the Billing Information.
IMPORTANT! If you receive the error message "The merchant contact must be 10 characters in length and the first 3 characters must be digits", refer to Virtual Terminal merchant contact number error for steps on how to resubmit the transaction.
Click an option to print or email the receipt.

IMPORTANT:
To resubmit a previously declined transaction using the same merchant reference/order number, you must wait 15 minutes before resubmitting in order to successfully complete the transaction settlement.
Void/refund a Virtual Terminal transaction
The void option is available for a transaction until the transaction moves to settlement, then the refund (credit) option becomes available.
NOTE
A credit/refund for more than the original transaction amount is not allowed.
- To void or refund a transaction
- Log in to your Merchant Services account in Business Advantage 360 online banking.
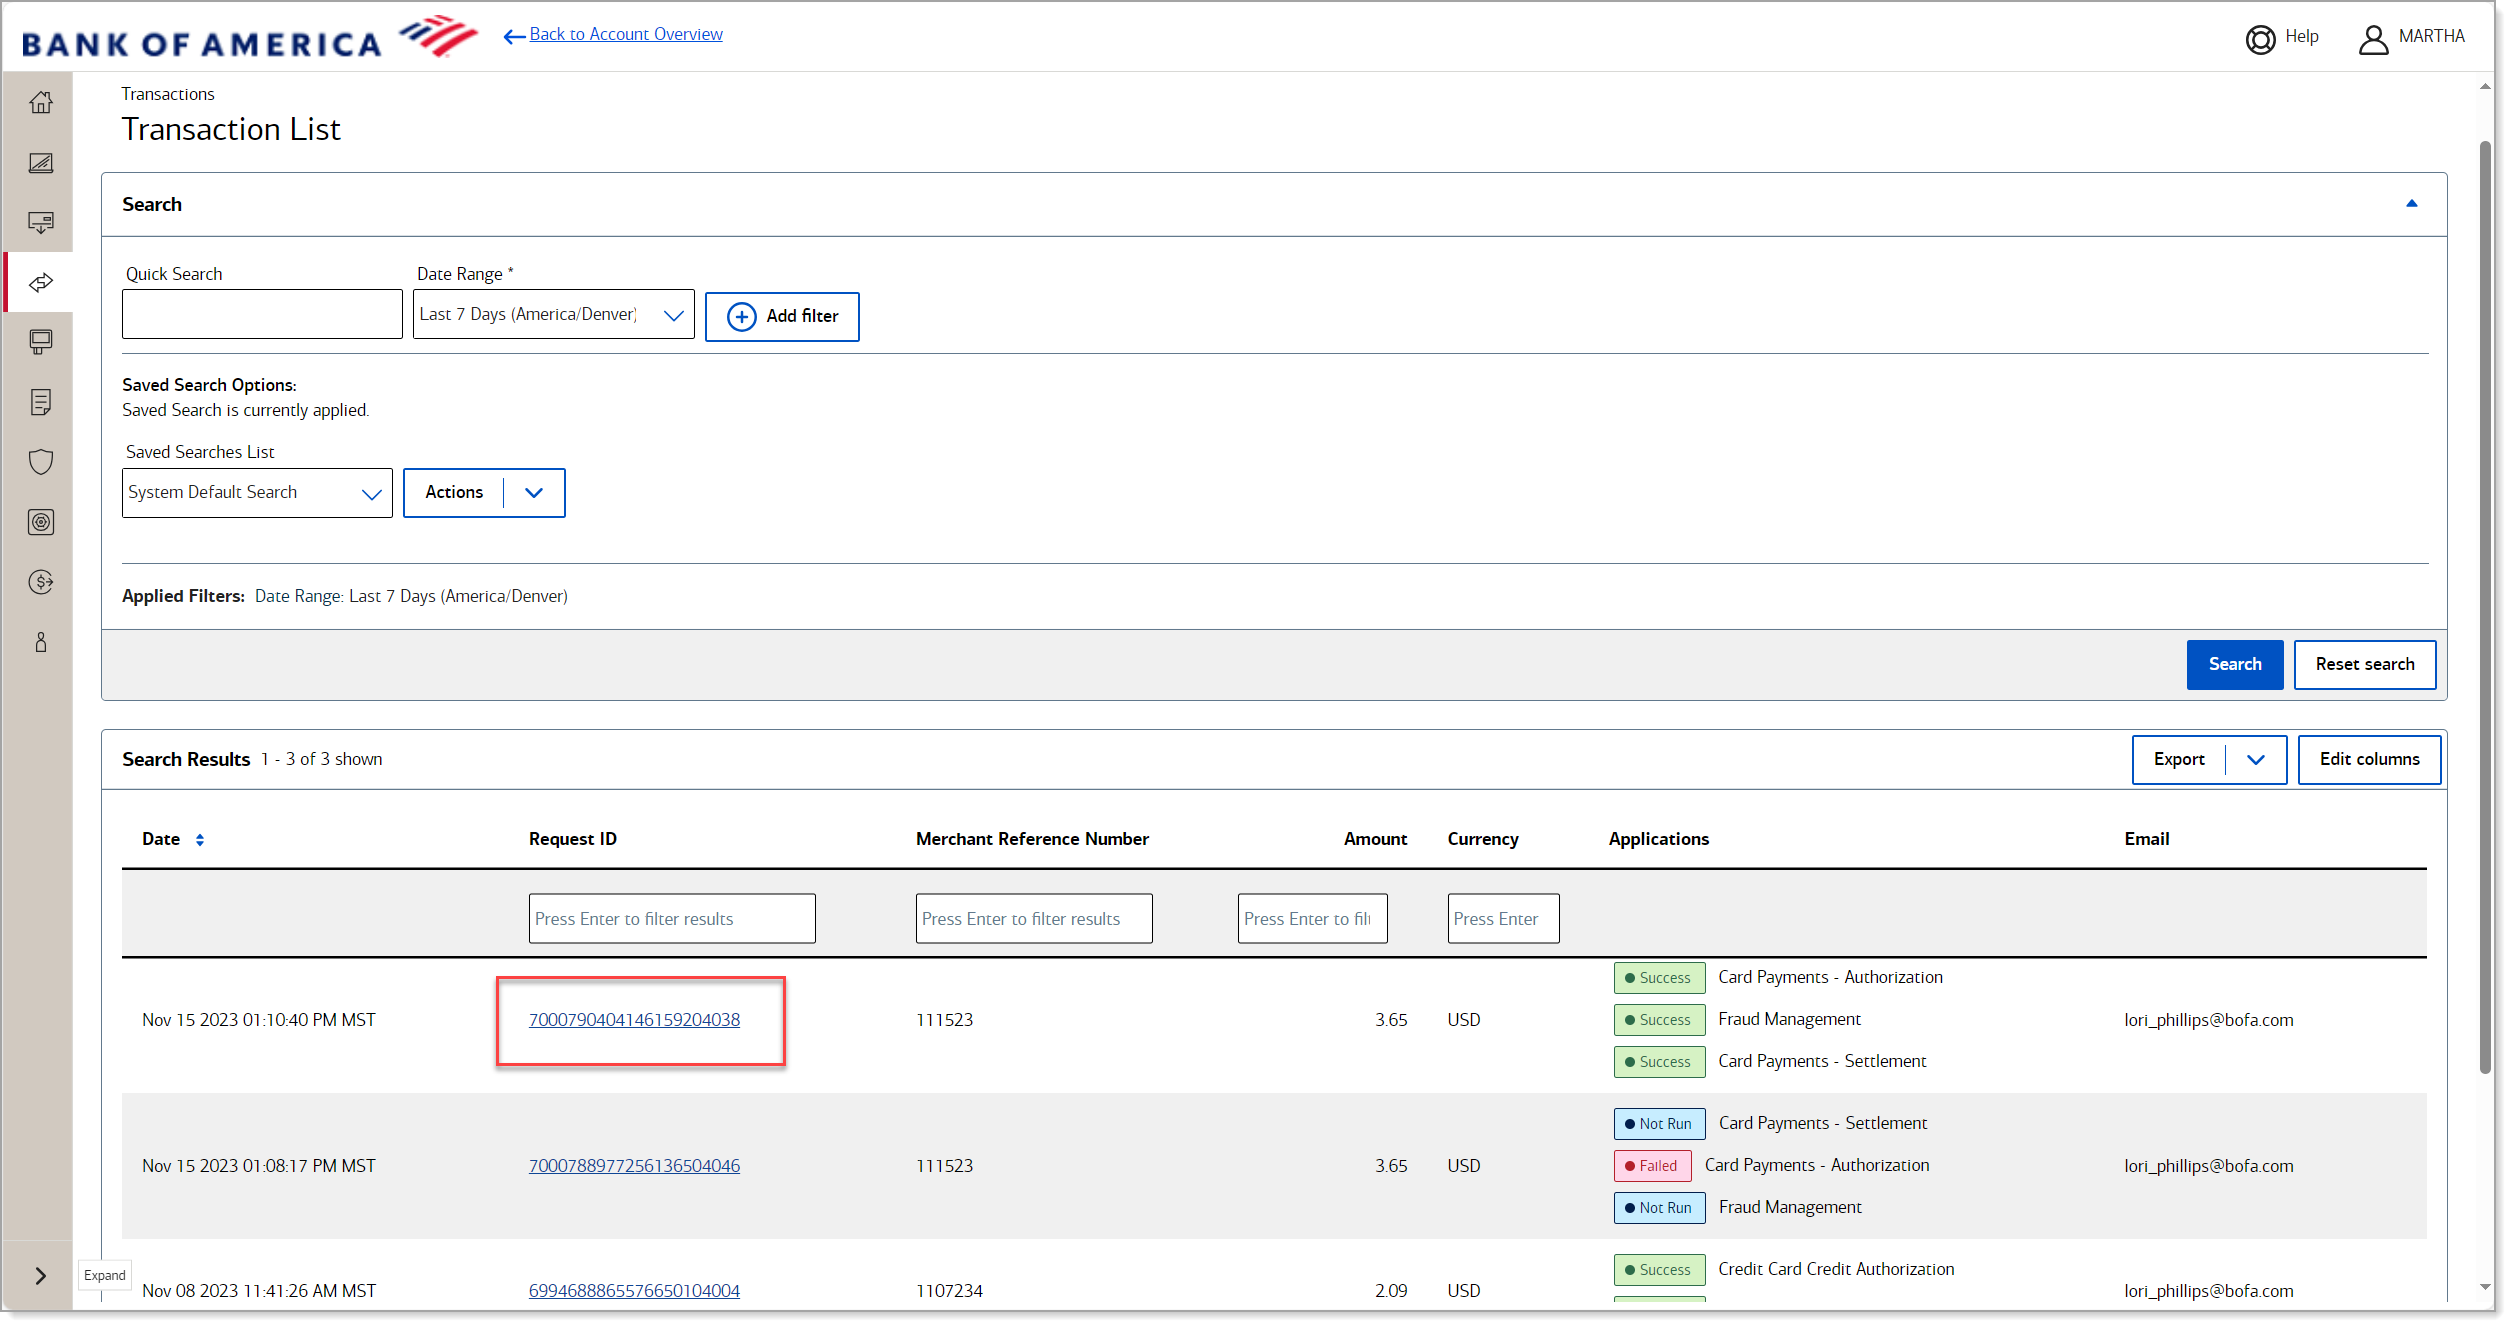
- Select Transactions > Transactions List. The transactions from the last seven days will appear, but you can use the search tools to find a transaction outside of that timeframe.
- Select the Request ID for the transaction that you need to void/refund.
- Depending on whether the transaction has moved into settlement or not, either void or credit the transaction:
- To void the transaction, click Void and the click Confirm.

- To refund/credit the transaction, click Credit, enter the dollar amount to refund, and then click Submit.


