Restaurant App Network Printer Configuration
Description
What's in this article?
Solution: Restaurant
Following adding a printer as a kitchen device and setting up the kitchen routing configuration in Back Office, configure the Point of Sale app for a networked printer. Networked printers can be kitchen printers or receipt printers.
NOTE:
If you are configuring the printer integrated into your payment terminal as a receipt printer, see Restaurant Terminal Printer Configuration .
To configure a network printer in the Point of Sale app
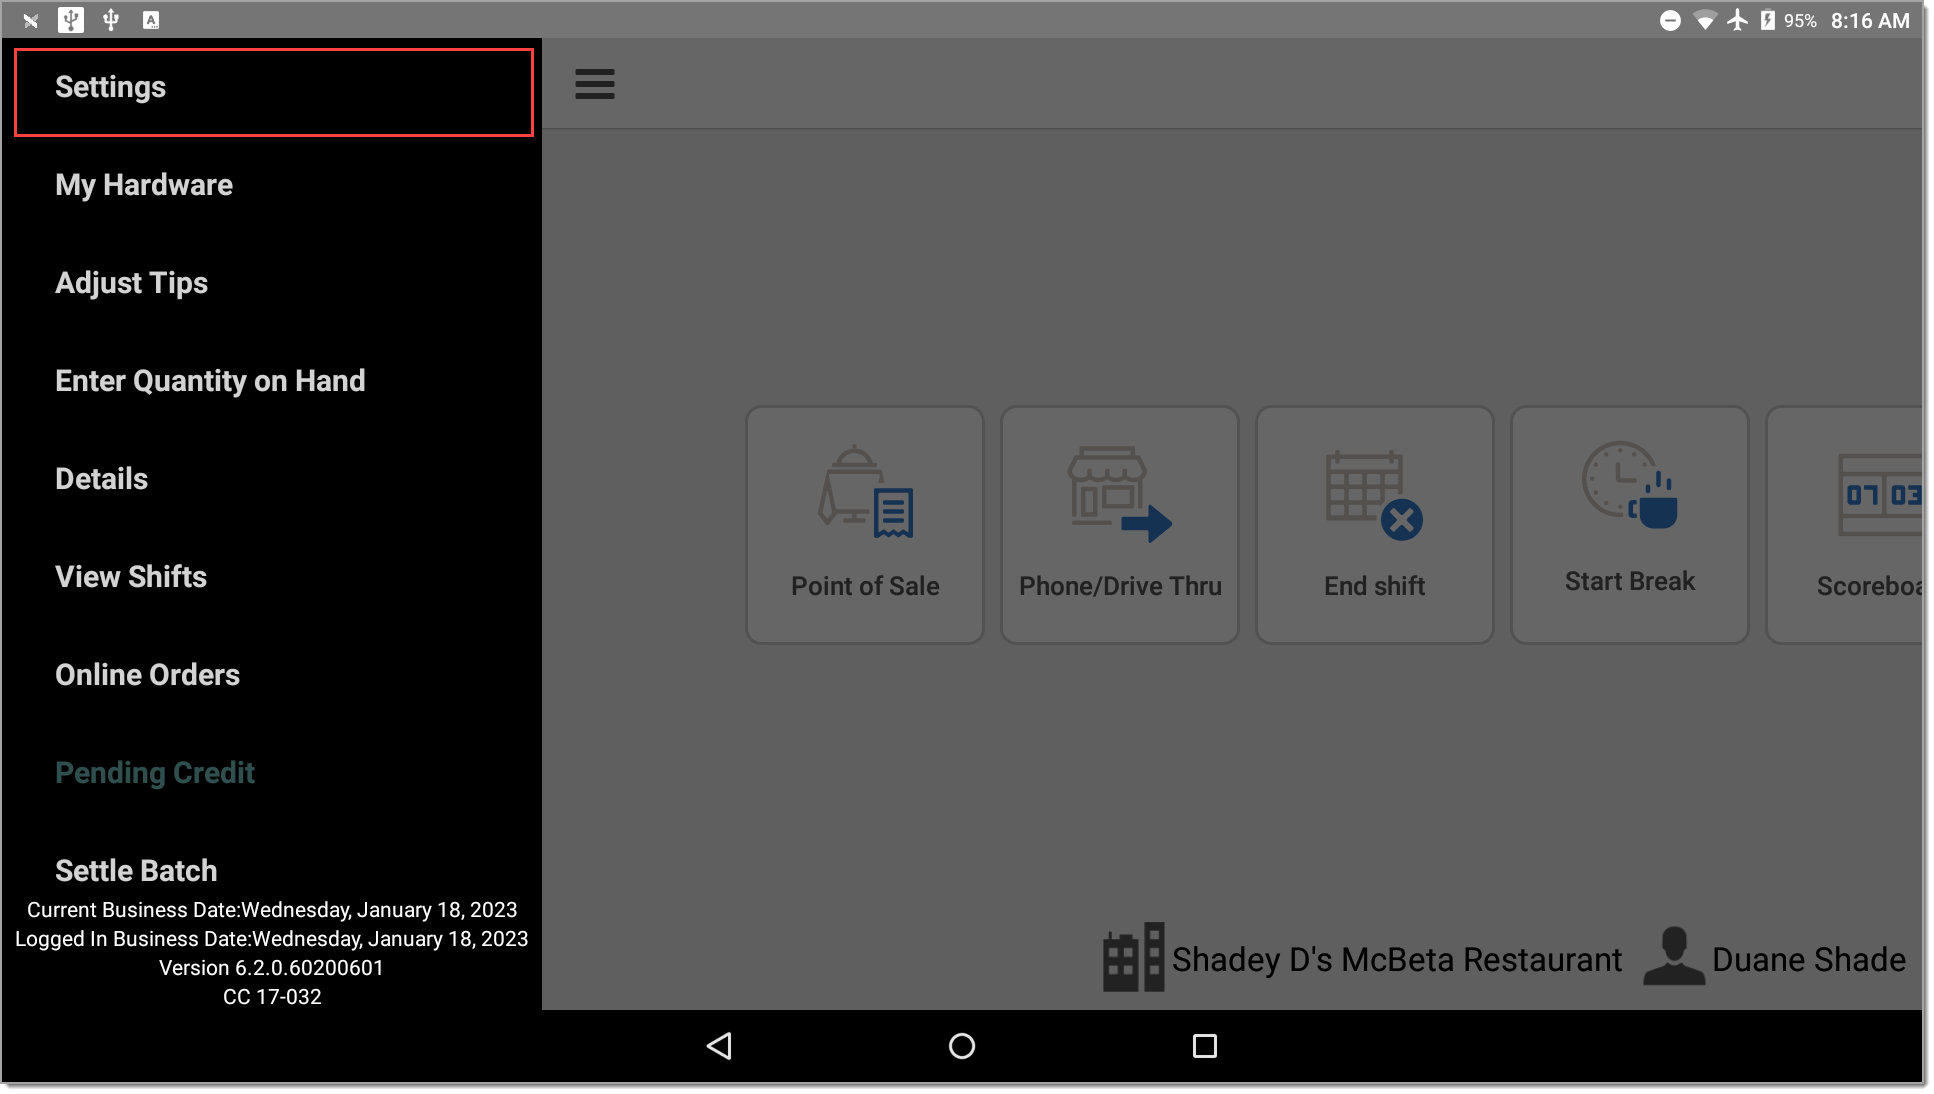
- From the slide-out menu ☰, tap Settings.
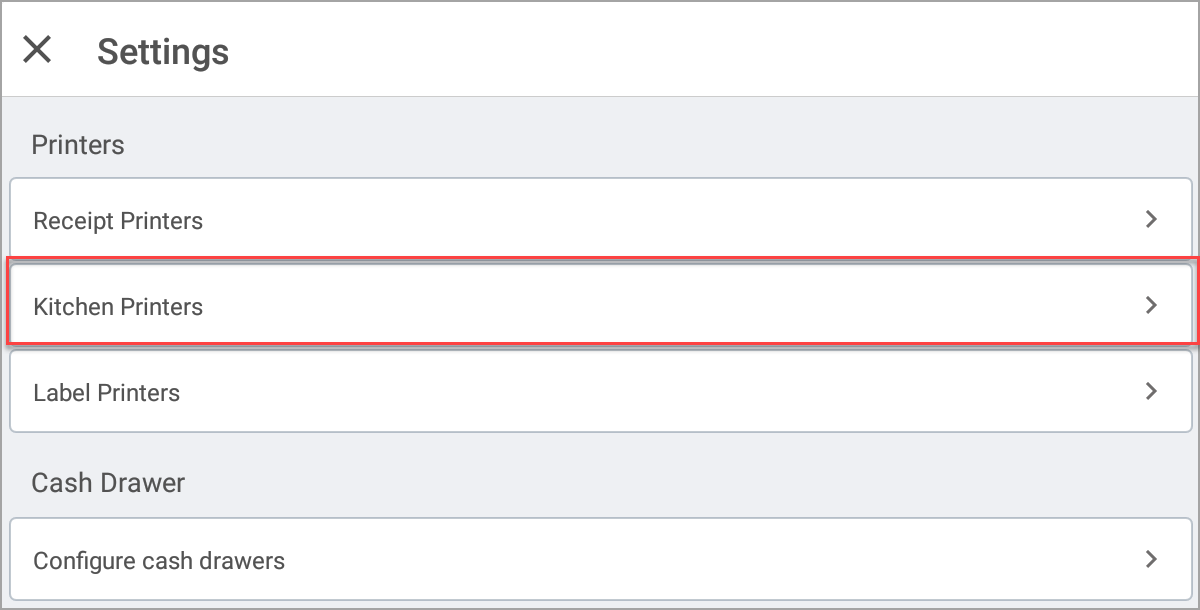
- In the Printers section, choose Receipt Printers or Kitchen Printers, depending on how you will use the printer.
- Tap Add Shared Printer. A list of detected printers will display. The printer name will include Bixolon if connecting to a thermal or kitchen printer. The printer integrated into the terminal will include /usb/ in its name.
- (Optional) Click the Identify button to verify that a listed printer is the one that you want to connect to. A test chit will print from that printer.
NOTE: When in use, void text on a kitchen chit will appear larger and in bold. When using a dual color (red/black) cartridge, void text will print in red.
- Once verified, click on the printer name to complete your connection steps. If the desired printer does not appear in the list, you may tap Refresh to reload the list. If your printer still does not appear, you can add the printer manually
- To manually add a printer
- Tap Specify Printing Manually.
- Tap Using wireless adapter.
- Obtain the IP address for the network-connected printer you are adding.
- Obtain thermal printer IP address
- Use a paper clip or similar device to press the Function button, located on the printer above the USB connection port. A report will print.
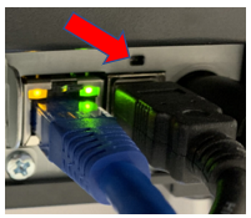
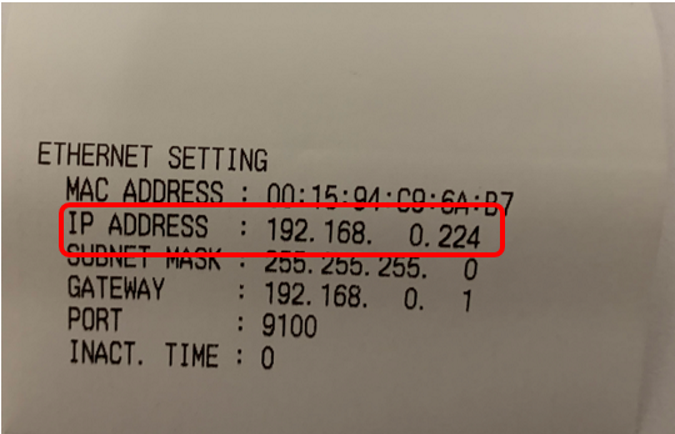
- Under the Ethernet Setting section of the printed report, look for the IP address.
- Use a paper clip or similar device to press the Function button, located on the printer above the USB connection port. A report will print.
- Obtain kitchen impact printer IP address
Power the printer off and then on again. Press and hold the Power button on the side of the printer and the red Feed button at the same time until the report begins to print. The IP address will print in the Ethernet settings section.
- Obtain thermal printer IP address
NOTE: To use the integrated printer in your terminal as a kitchen printer, select the PAX/bus/usb/ option listed.
- To manually add a printer
- Tap Set as default to set this printer as your default receipt printer.
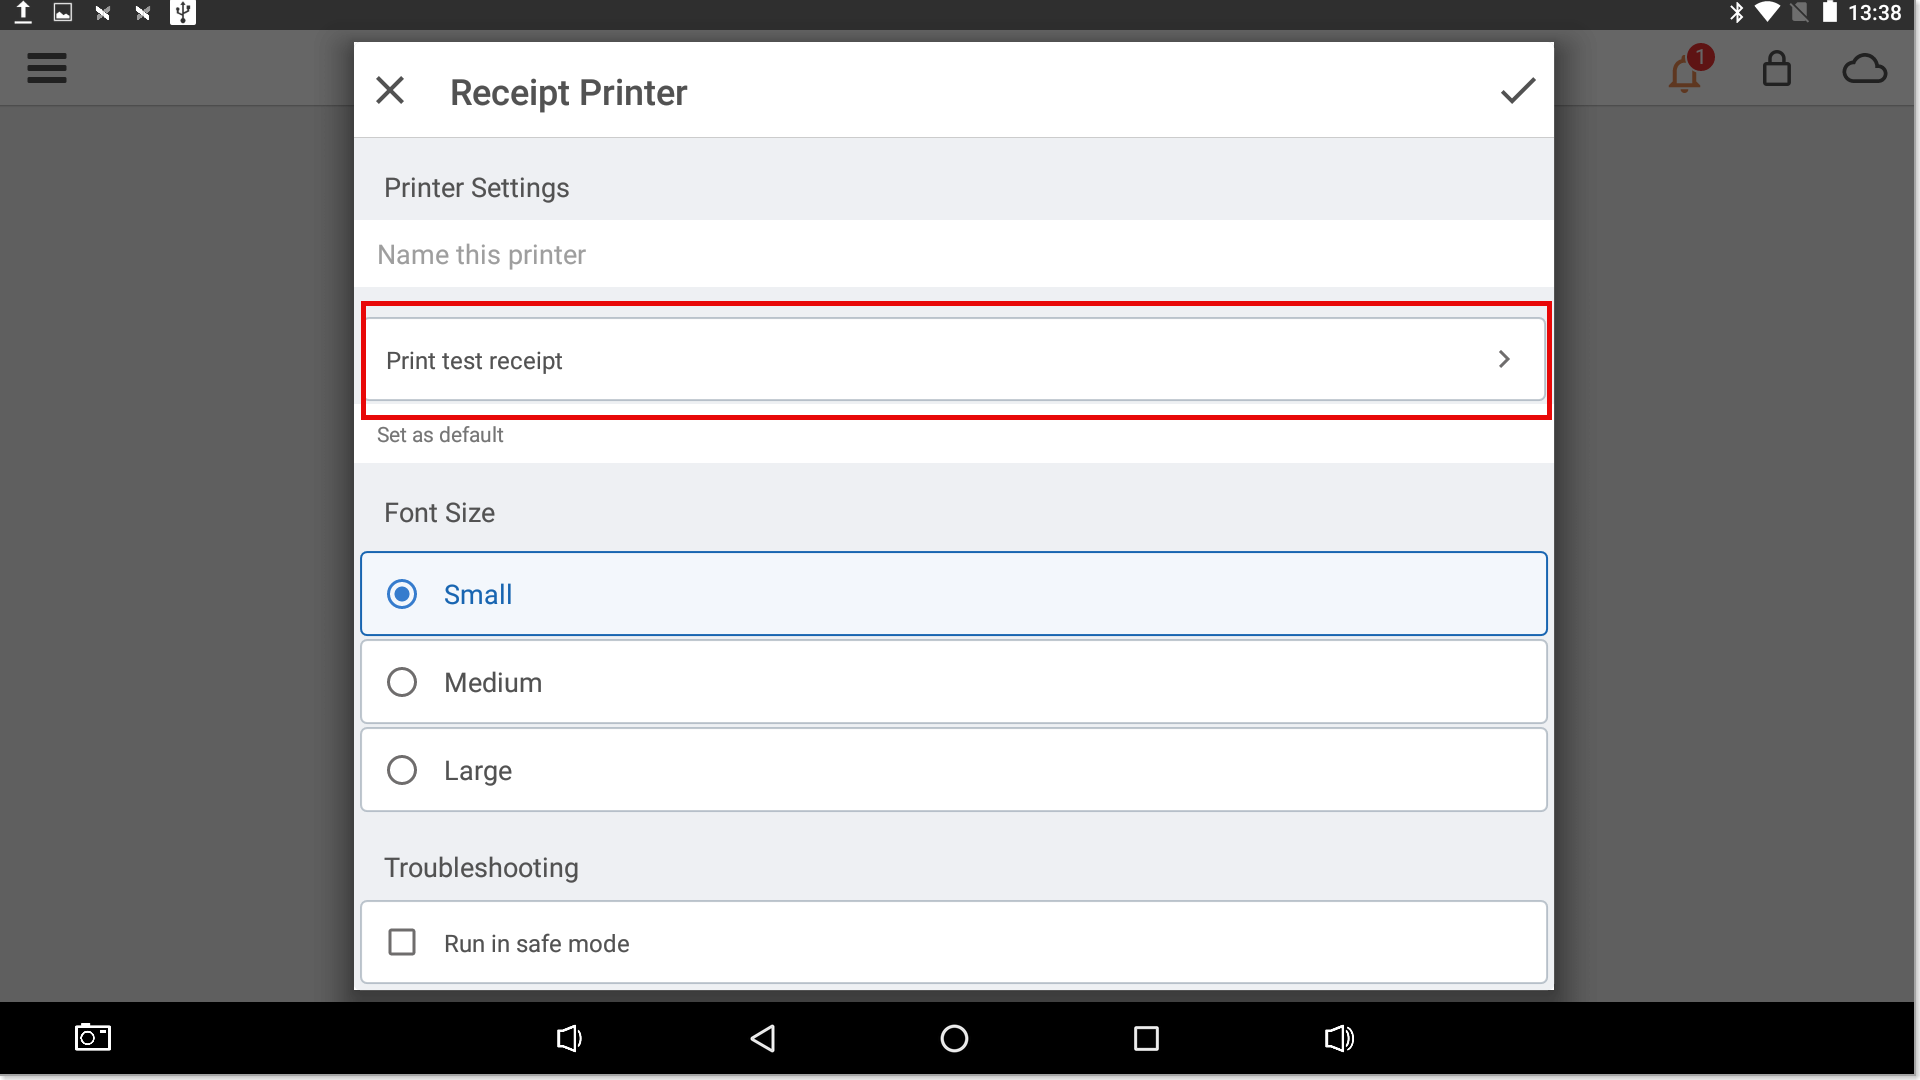
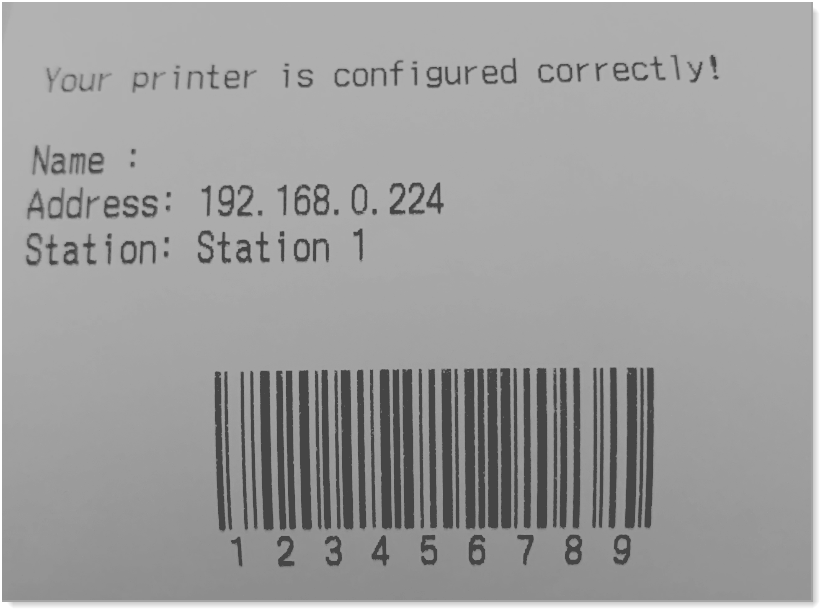
- Tap Print test receipt. The test receipt will print, showing the printer configuration.
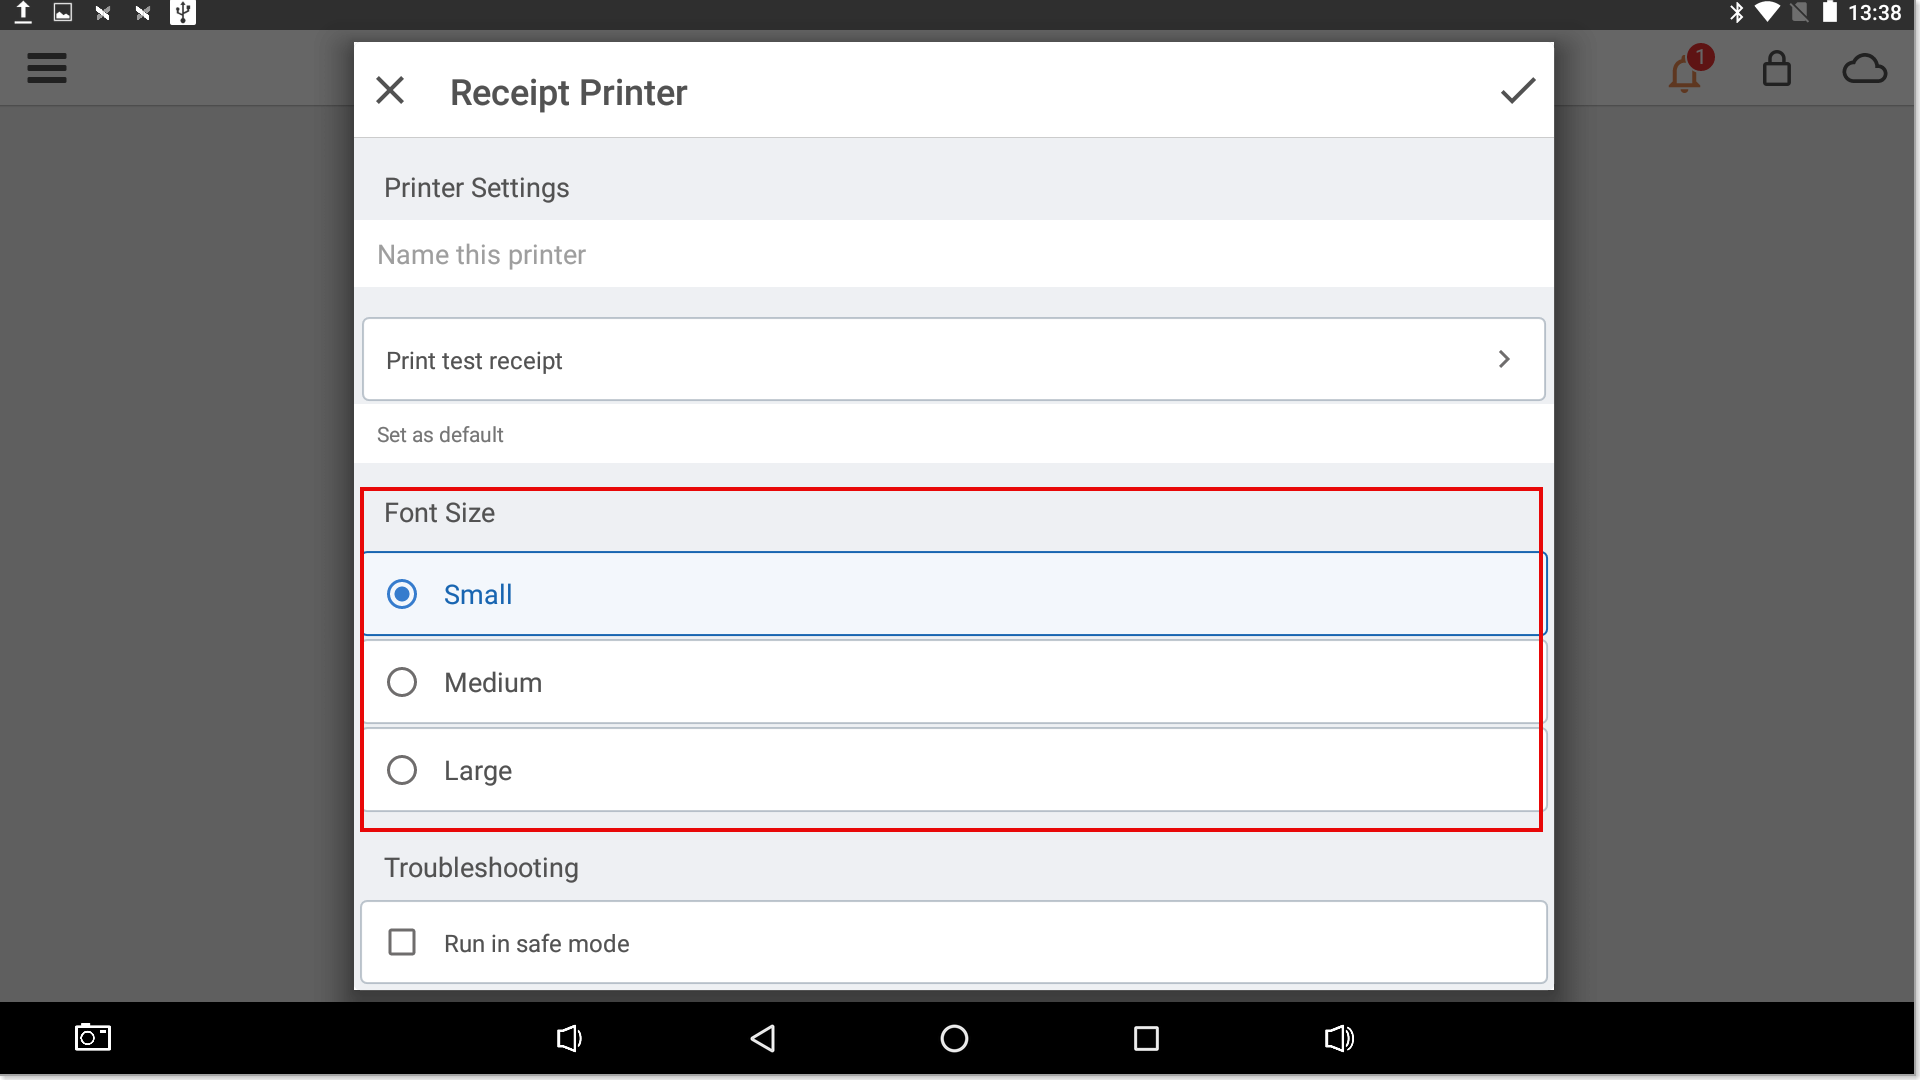
- (Optional) Select your preferred font size from the options available.
- Tap the checkmark in the top corner of the dialog to exit and return to Settings.