Restaurant App Settings Menu
Description
How to access the Settings menu in the Restaurant app
What's in this article?
Solution: Restaurant
Use the Restaurant app Settings menu to: connect devices (such as a thermal or kitchen impact printer, or weight scale) to your terminal, configure check close and receipt options, and access other configuration and settings.
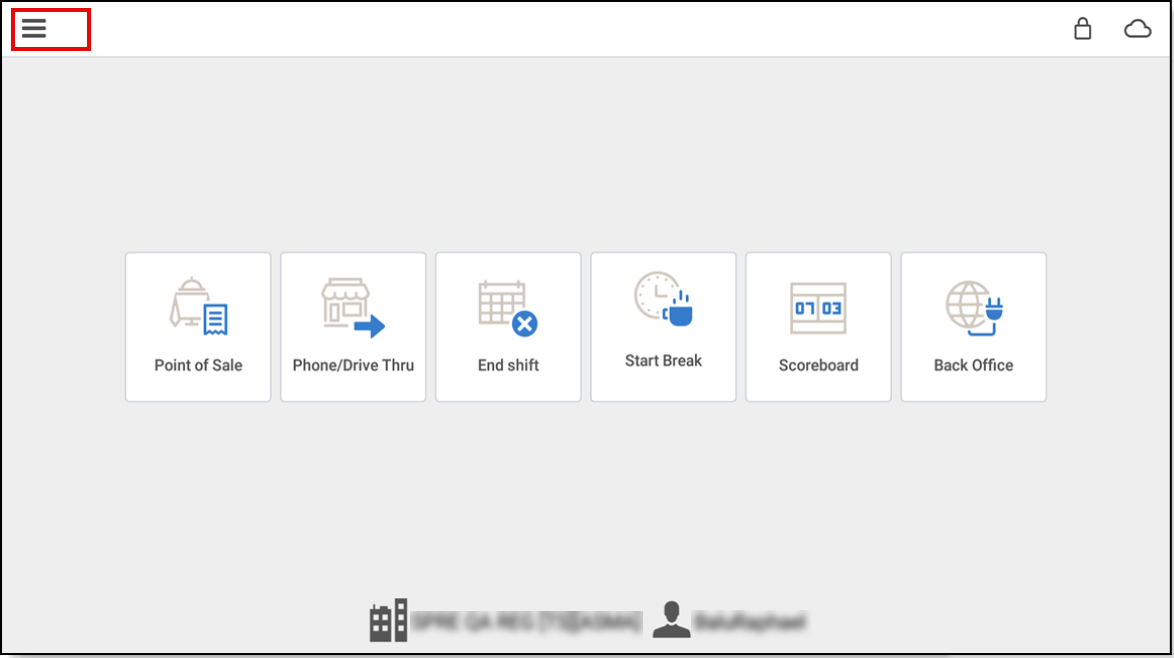
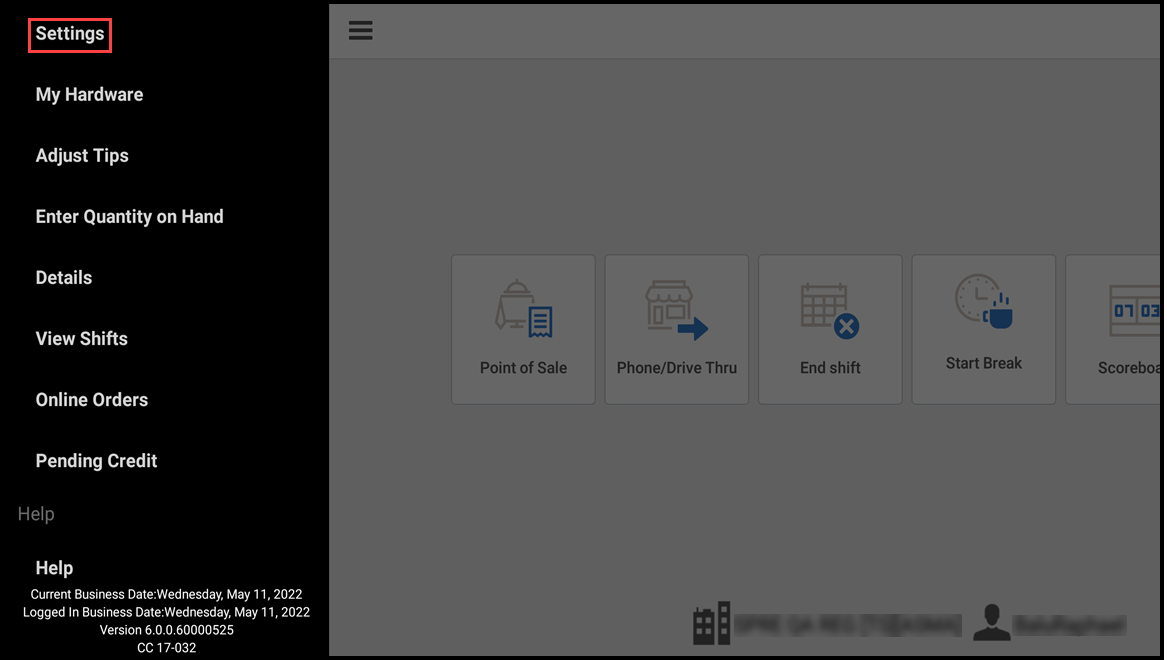
To access the Settings menu
- From the slide-out menu ☰, view the available menu options.
- Tap Settings.
NOTE: If your user role does not permit access to the Settings screen, the "Supervisor's approval needed" screen appears. A supervisor must enter their four-digit PIN and tap Override to continue.
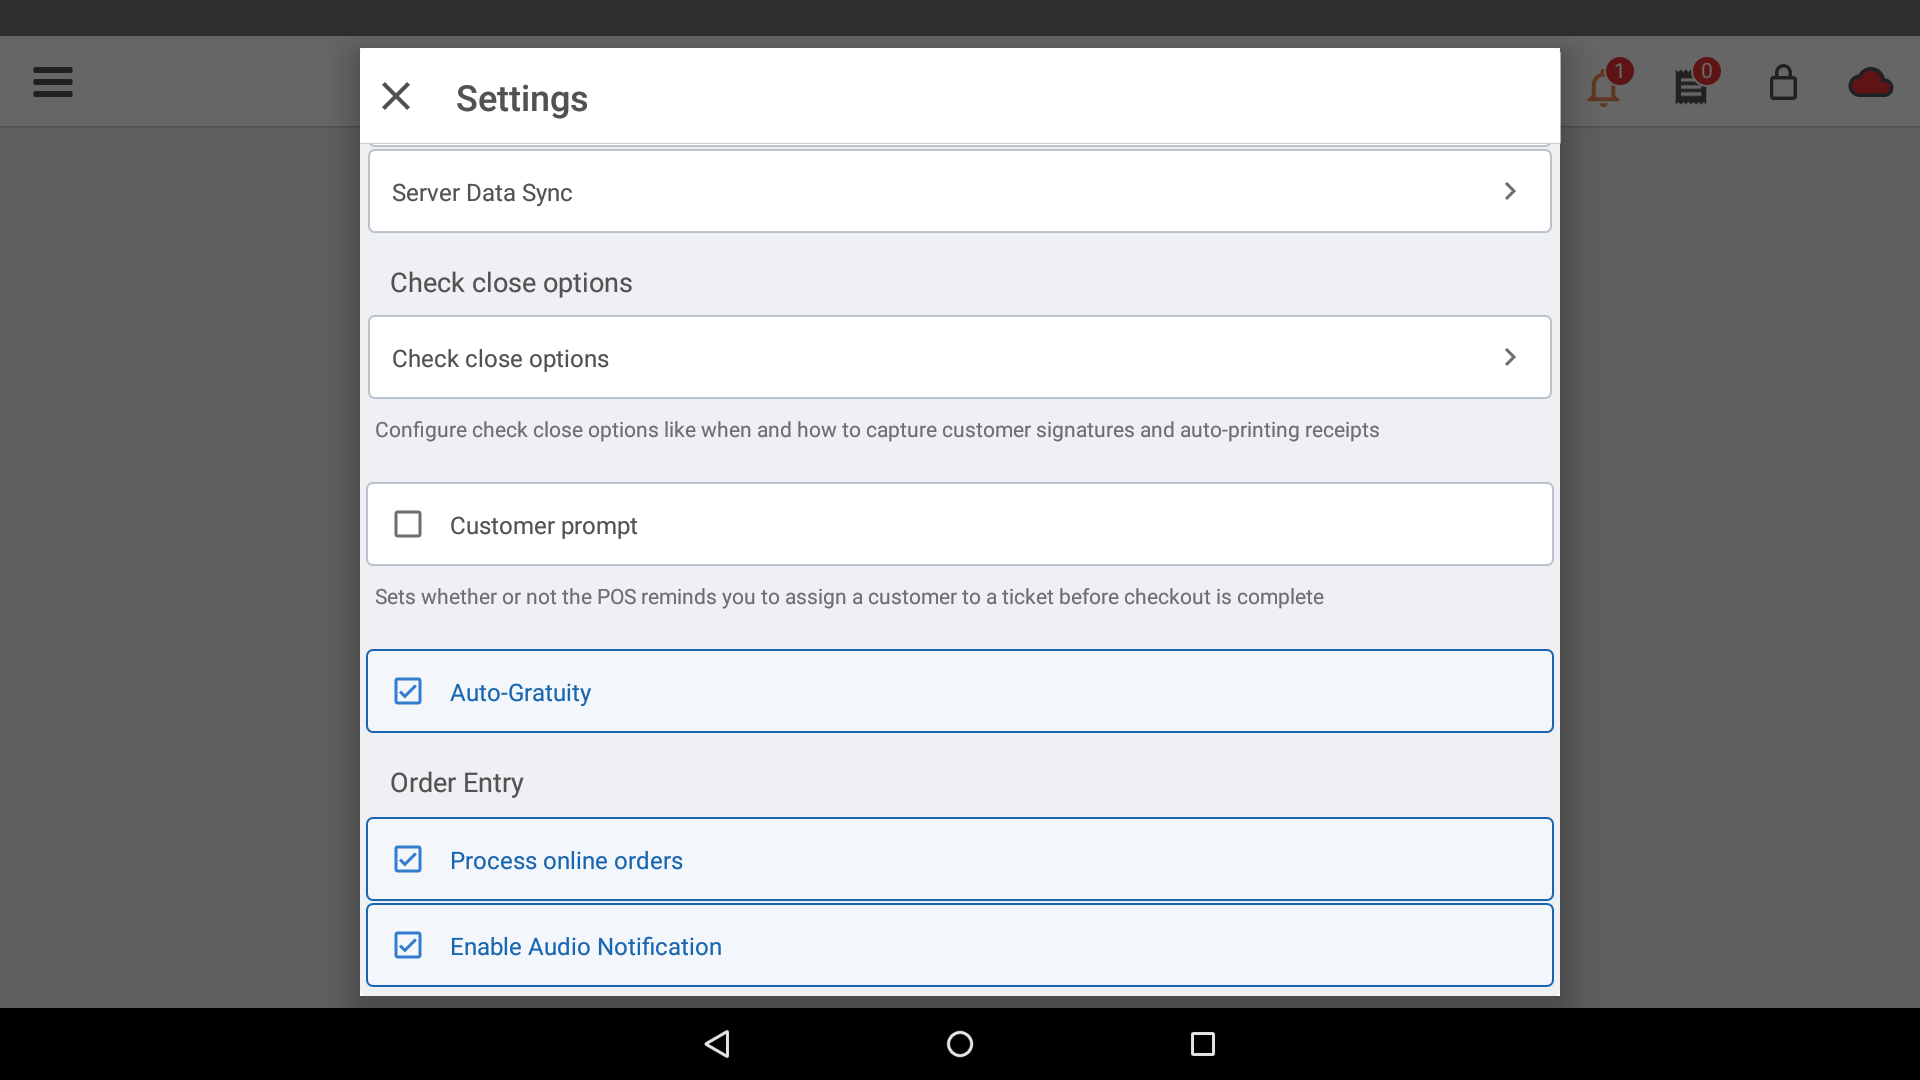
- Tap a Settings menu option to configure the Restaurant app.
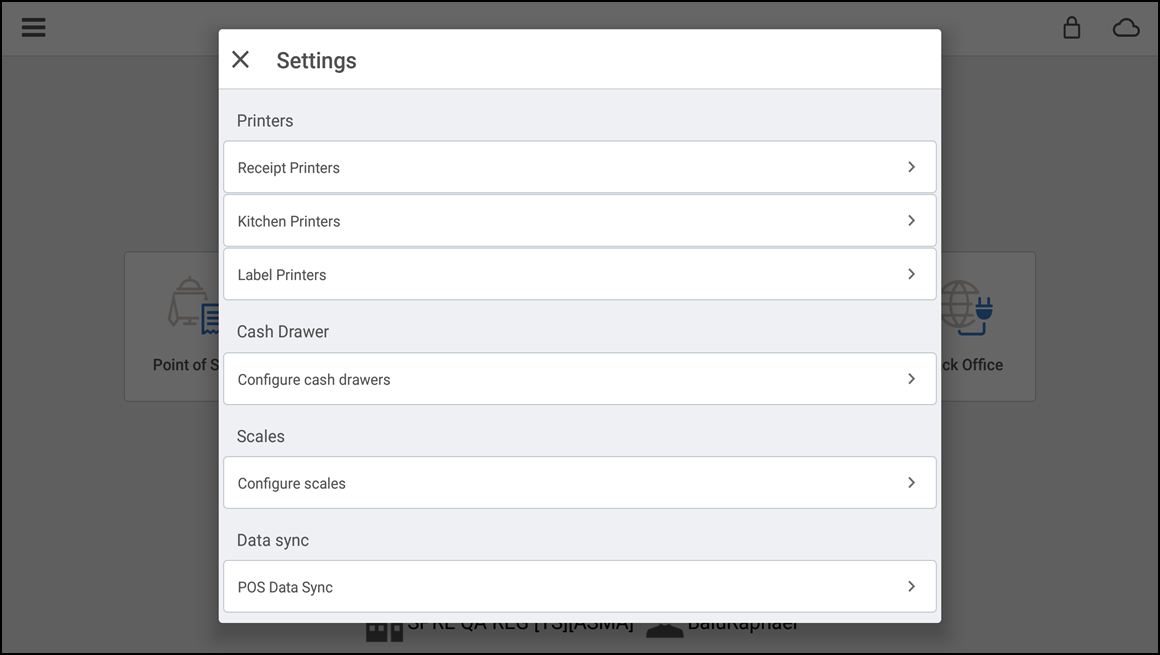
| Setting | Description |
|---|---|
| Printers | Terminal printer configuration to allow printing receipts. |
| Cash Drawer | Configure drawer settings to set drawer opening and closing behavior. |
| Scales | Configure your weight scale. |
| Data Sync | Synchronize your data with the back office. |
| Check close options | Configure check close options to set signature options and how to deliver receipts to customers. |
| Order Entry | Manage order entry. |
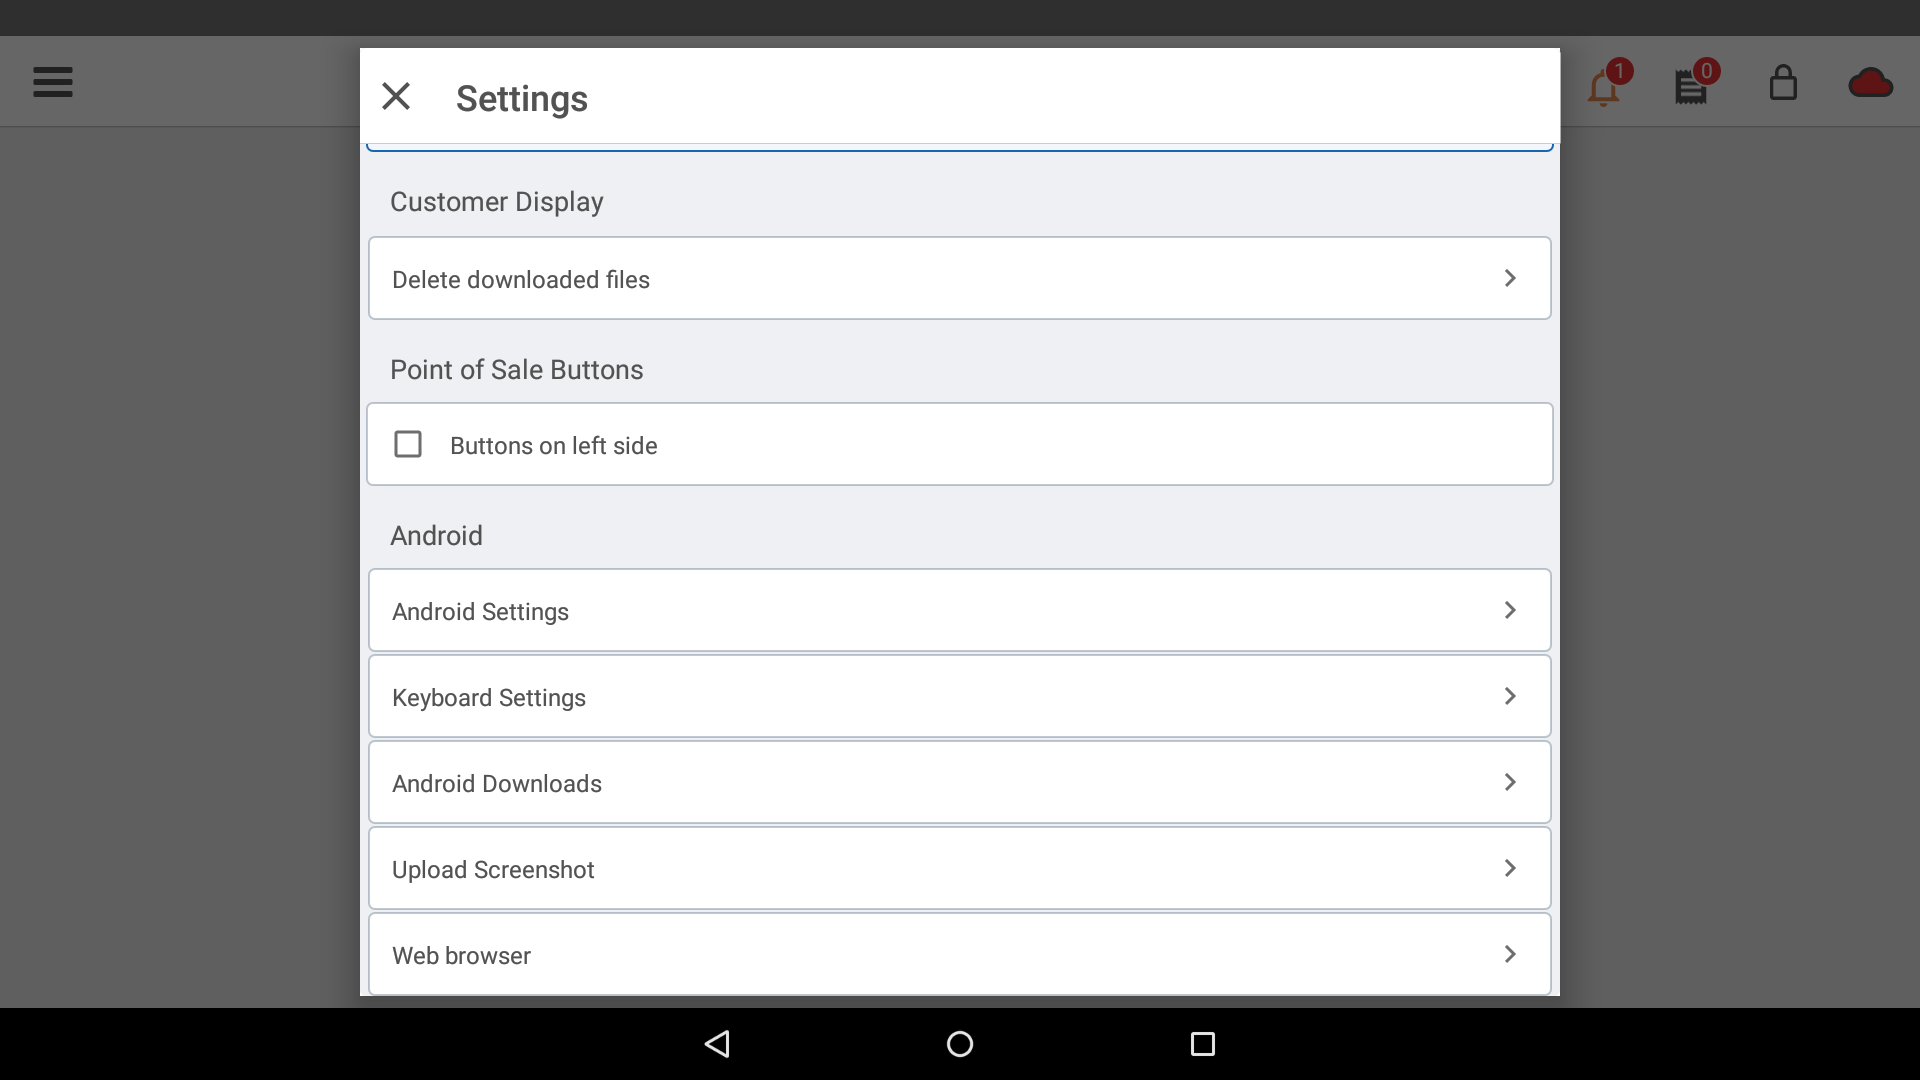
| Point of Sale Buttons | Configure order button placement on right side (default) or left side of the screen. |
| Android | Access the terminal settings from the Restaurant app. |