Getting Started with Retail Solution - Pretraining Tasks
Description
What's in this article?
Congratulations on choosing Retail Solution! A Merchant Activations and Training agent will assist you with the setup of your account; however, we encourage you to complete the following tasks ahead of your training so we can make the most efficient use of your time:
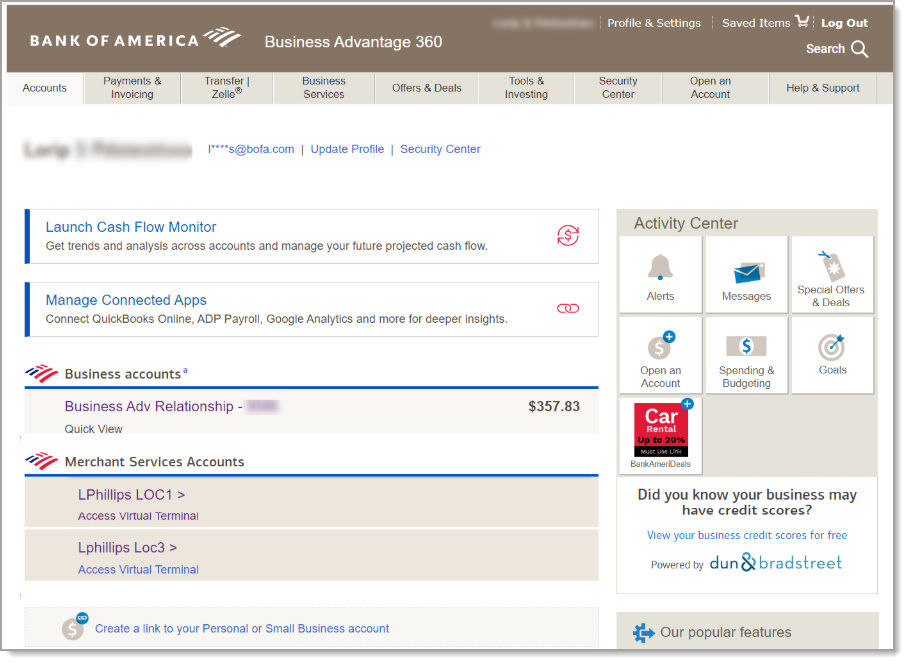
1. Log into your Merchant Services Account
Access your Merchant Services account in online banking to manage your business: track processing activity, manage transactions and disputes, and access statements. You can log in at https://www.bankofamerica.com/smallbusiness/ or bofa.com.
- 3. Review and update Settings
When logged into the Back Office you will see several tabs to navigate and explore. At the top left corner of the screen, select the Settings tab to review and configure the settings for your business. An overview of the Settings options is provided below.

NOTE:
The symbol * indicates a required field. All other fields are editable to the user’s preference on how they’d like to see the system reflect their business goals.Company Information
Company Information and Company Options Settings Retail Settings ConfigurationSettings Review and update Company Information > Company Information Primary Company Contact
Business InformationEmail Marketing Information
IMPORTANT!
The Reply To Email field must be filled in to email receipts. The Reply To email cannot end in “yahoo.com”. If you don’t have a business email address, we suggested entering: “no-reply@yourbusinessname.com”Company Information > Company Options Accept Future Orders – set to Yes
Company Receipt MessageStore Information
Retail store information configurationSetting Review and update Store Information > Configuration Primary Store Contact
Receipt Information
Receipt Message
QR Code for receipt (with Website URL)Store > Cash Management Safe Drop Configuration
Lottery ConfigurationStore > Alert Management Check over the alerts present in the system. Select the checkbox for alerts you would like to receive Store > Menu QR Code Upload a PDF, such as marketing materials or item lists, that you would like share with your customers via QR code Taxes
Tax categories are attached to items. By default, there is a “No Tax” category set to 0%. If you will be selling taxable items, then you must create a new tax category to attach to your items. The tax percentage value can be found by consulting your local department of revenue or business accountant. Learn more about setting up tax categories for your business.
NOTE:
To further expand of tax values (such as splitting the value by state, county, and city –OR– having a different tax rate per order mode type), consult with a Merchant Activations and Training specialist or a support representative.Payment Methods
You can decide which payment types are accepted at the POS. Cash and credit cards are default options and cannot be removed; however, you can choose whether to accept checks or prepaid coupons. You can also decide whether to allow the cashier to manually enter card information or whether you will accept tips on a credit card transaction or round cash payments. Learn more about setting payment method options.
Custom Tenders (optional)
Add a custom tender, if desired. Custom Tenders allow you to configure new, generic payment types in your POS app, such as paper gift certificates. If your business doesn’t support this example, please move on to the next section. Learn more about setting customer tender options.